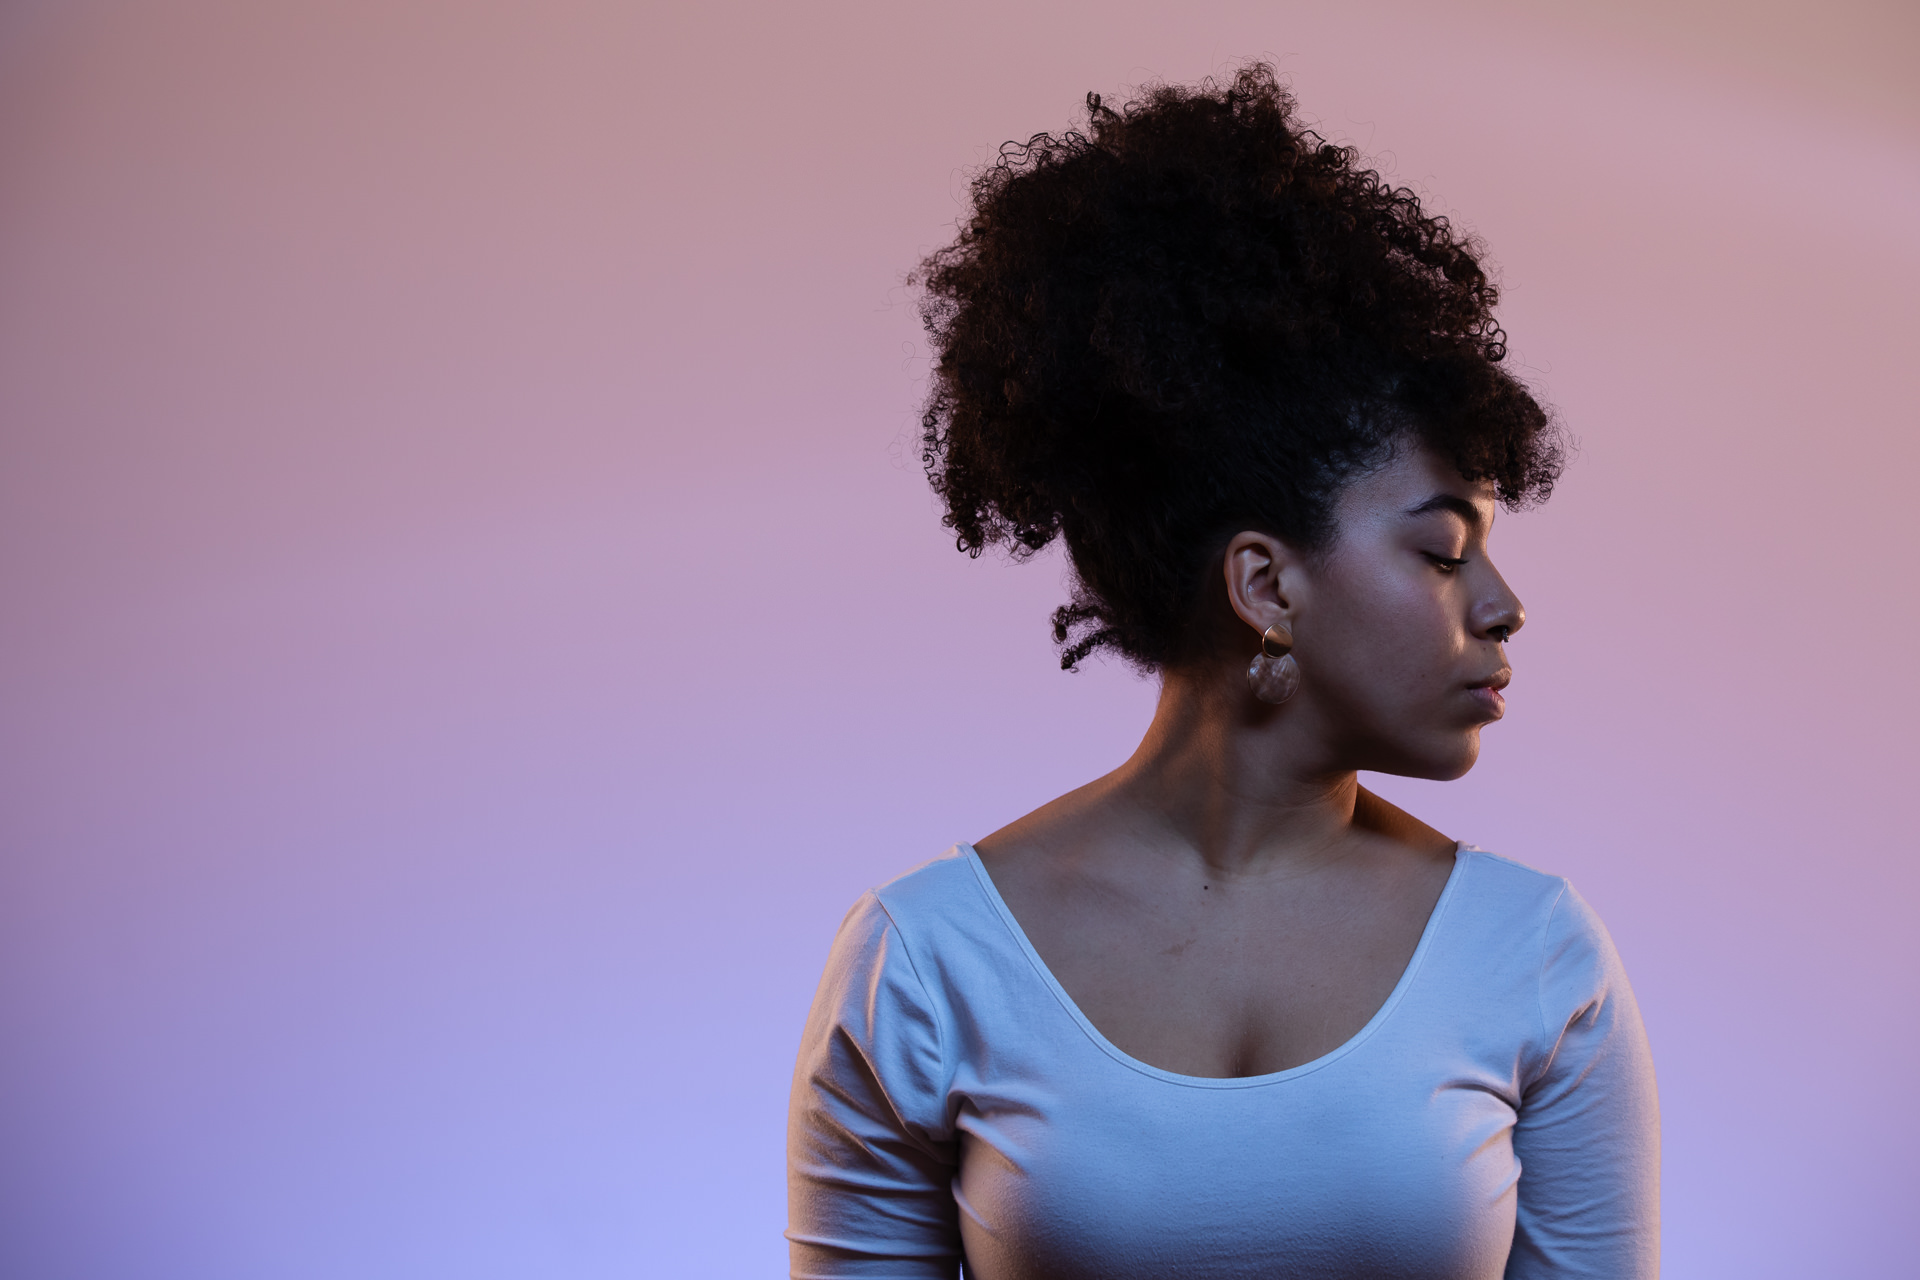
Abbey Turner fights Hodgkin's lymphoma on her terms.

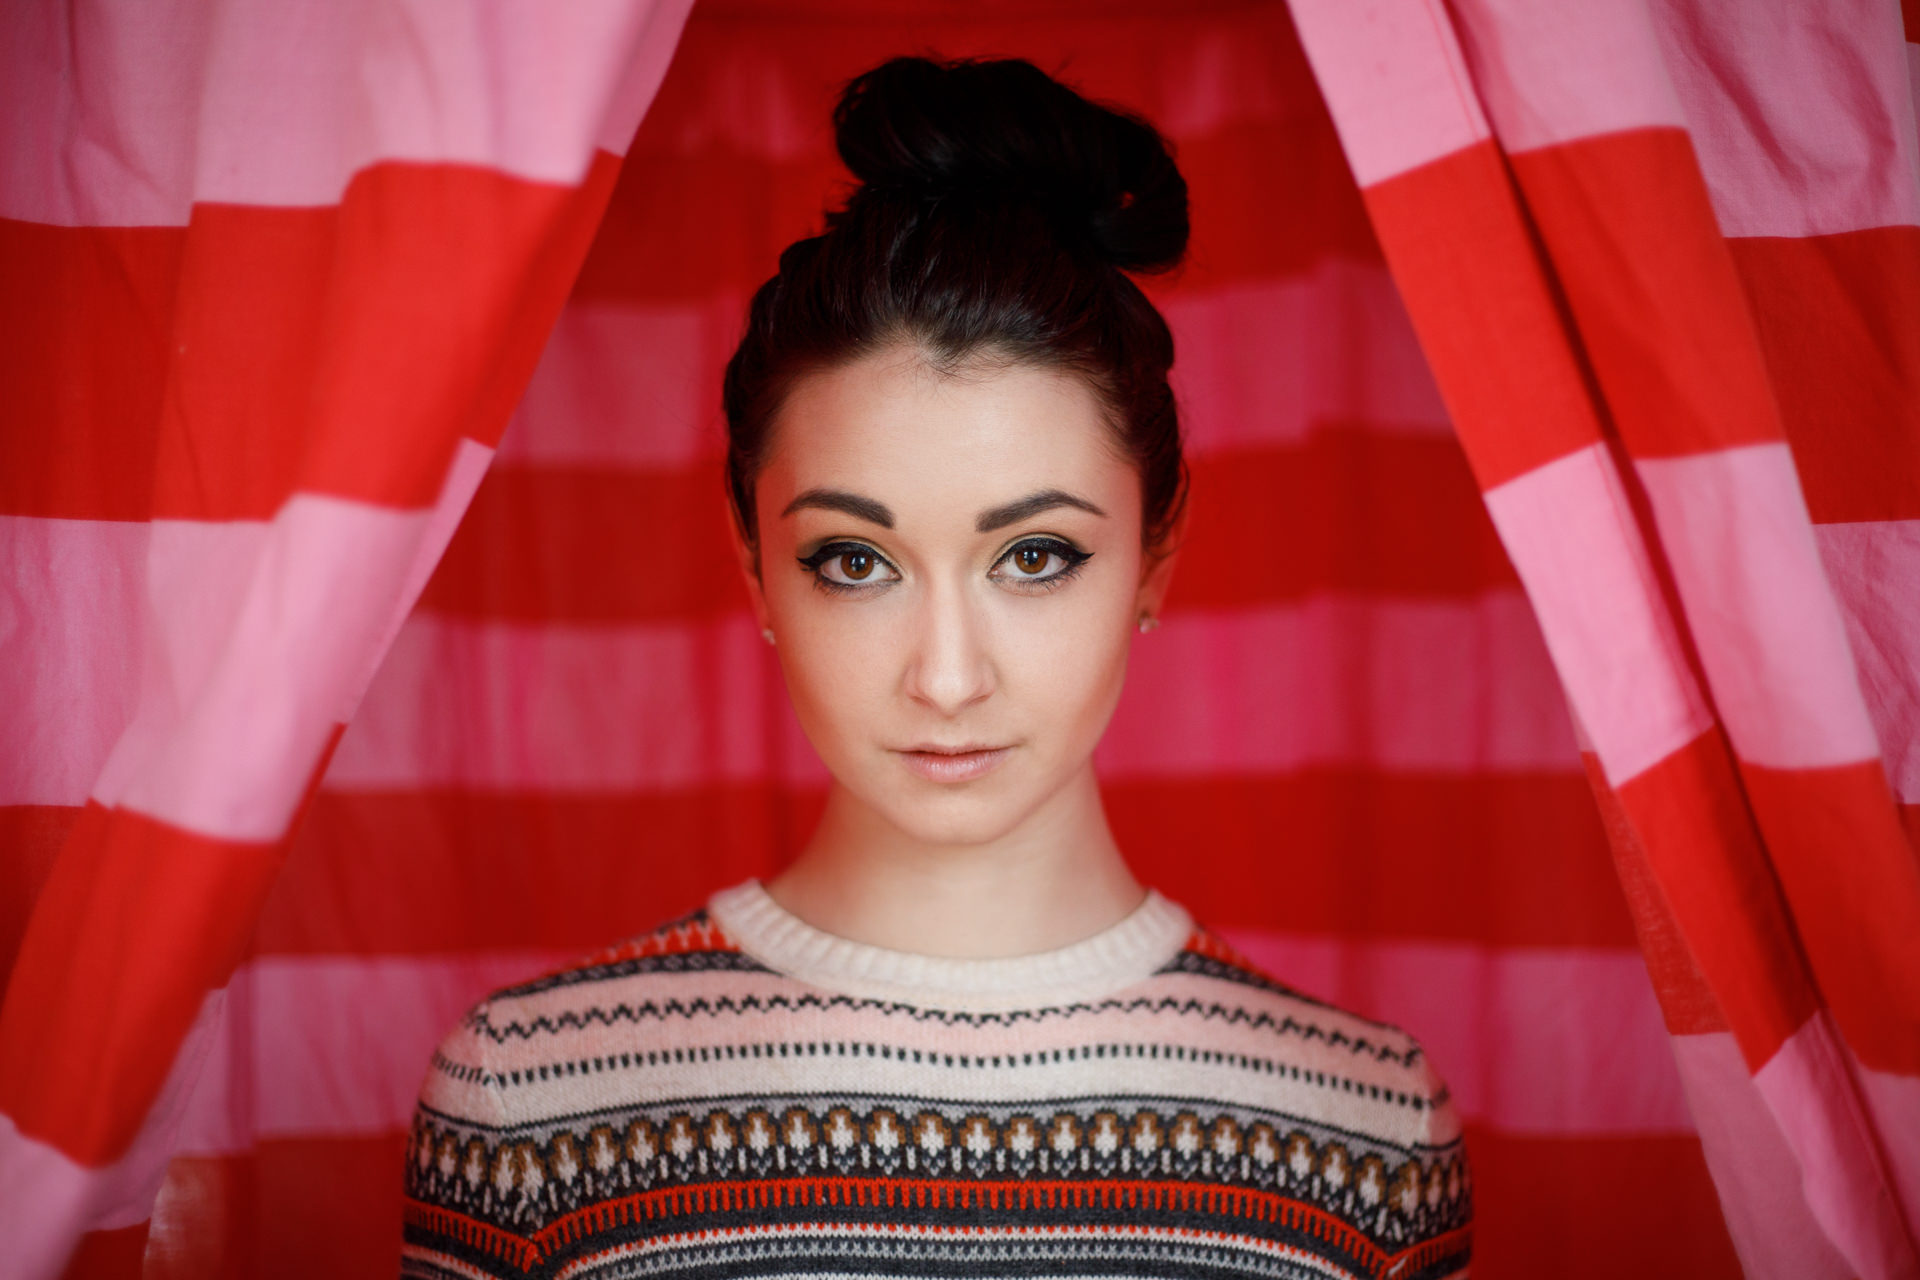
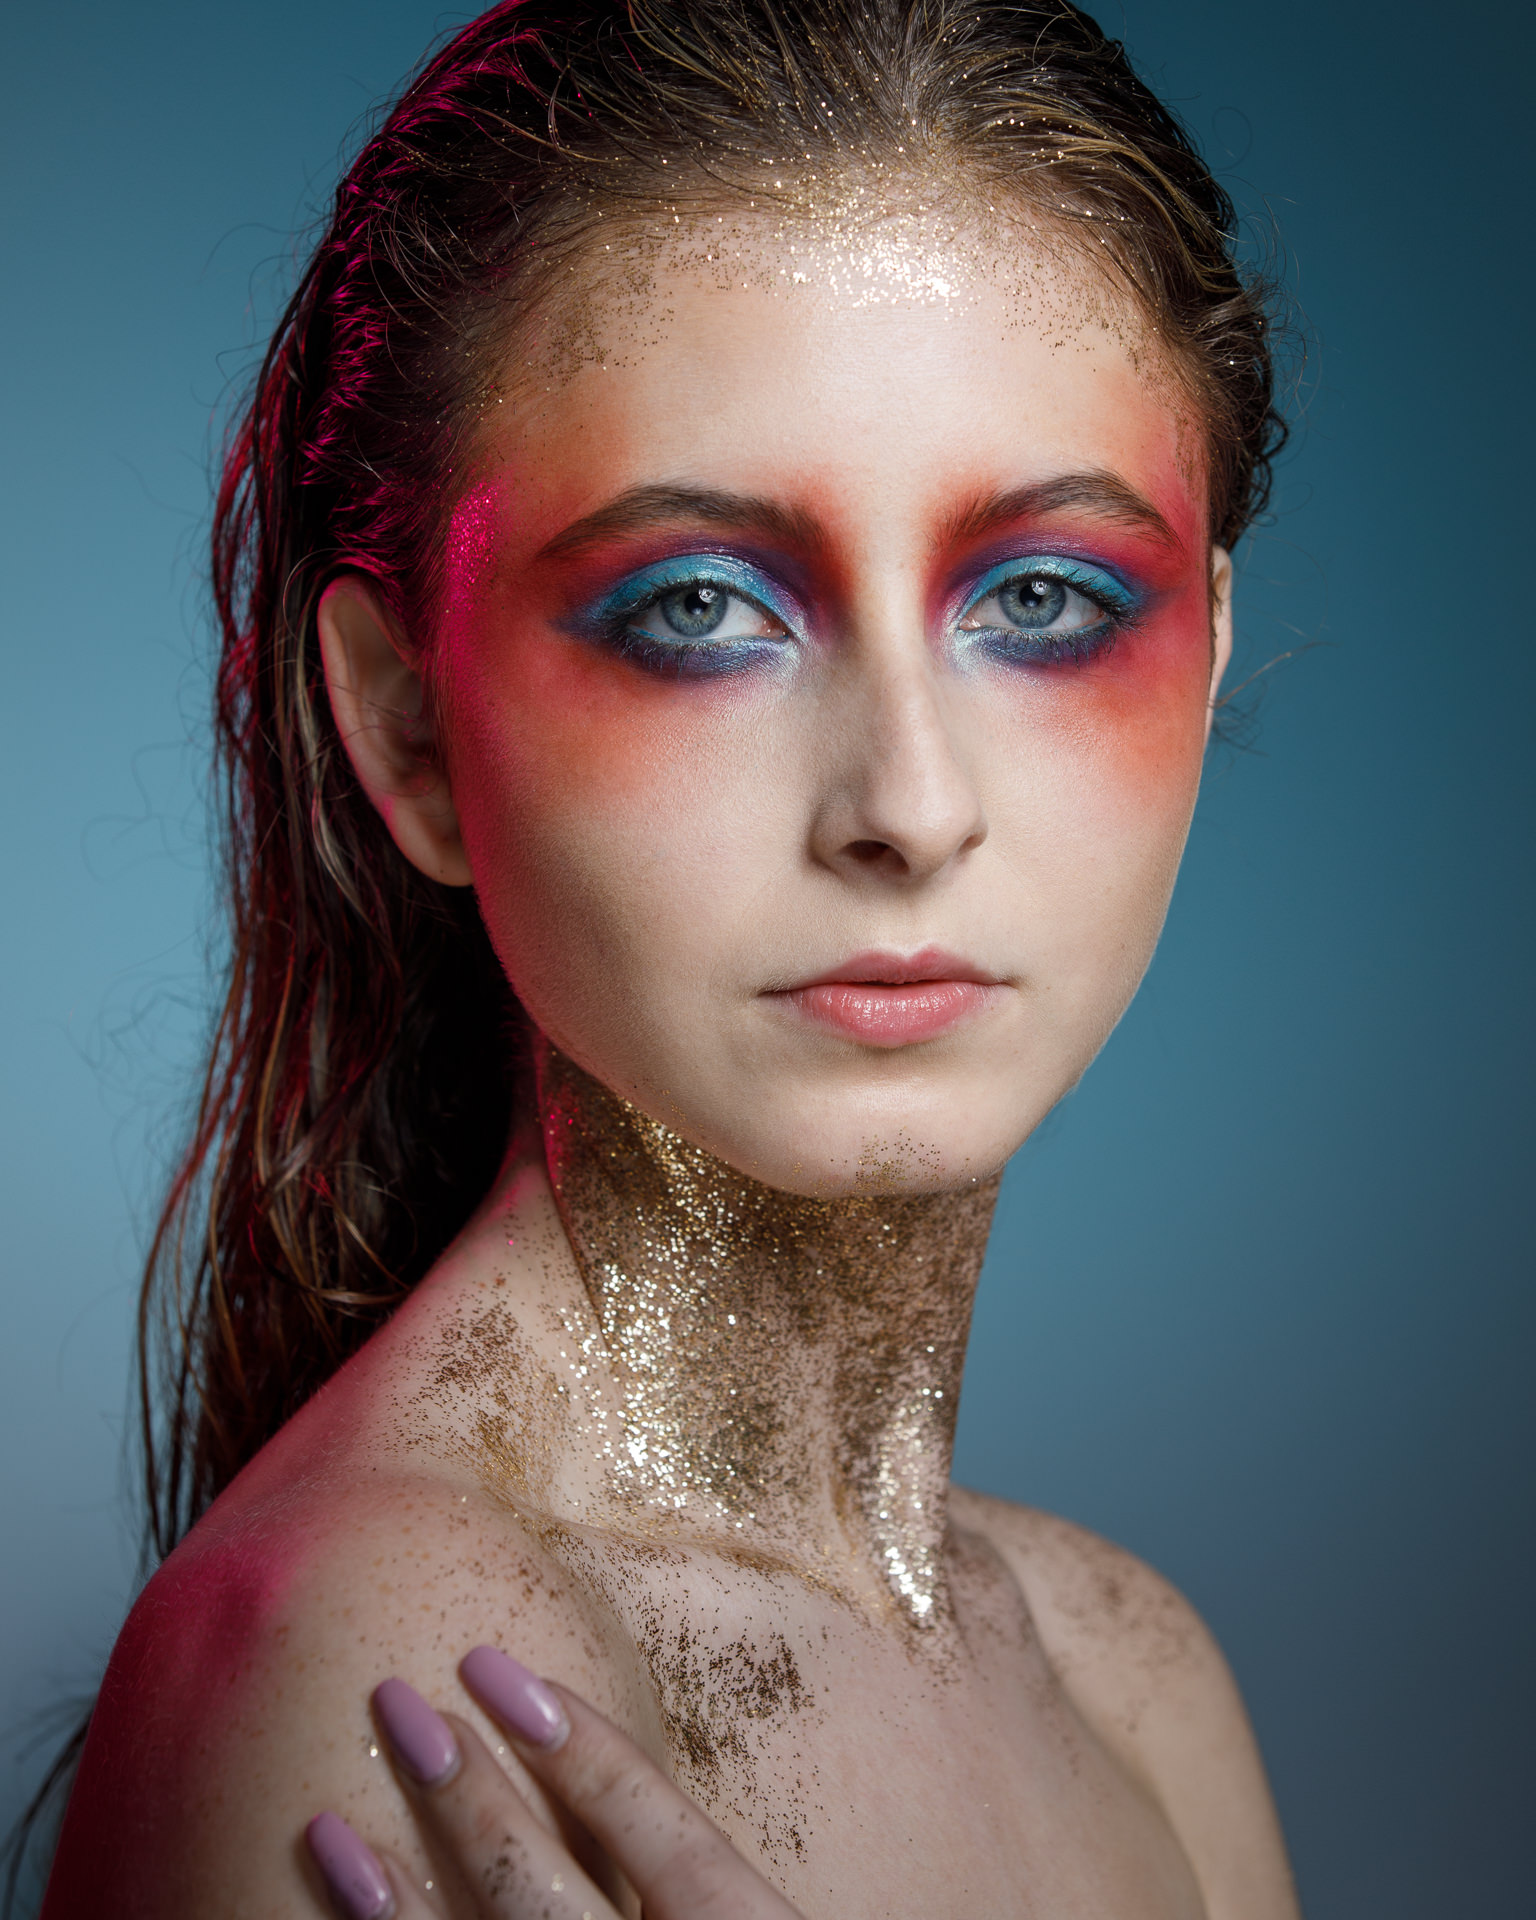
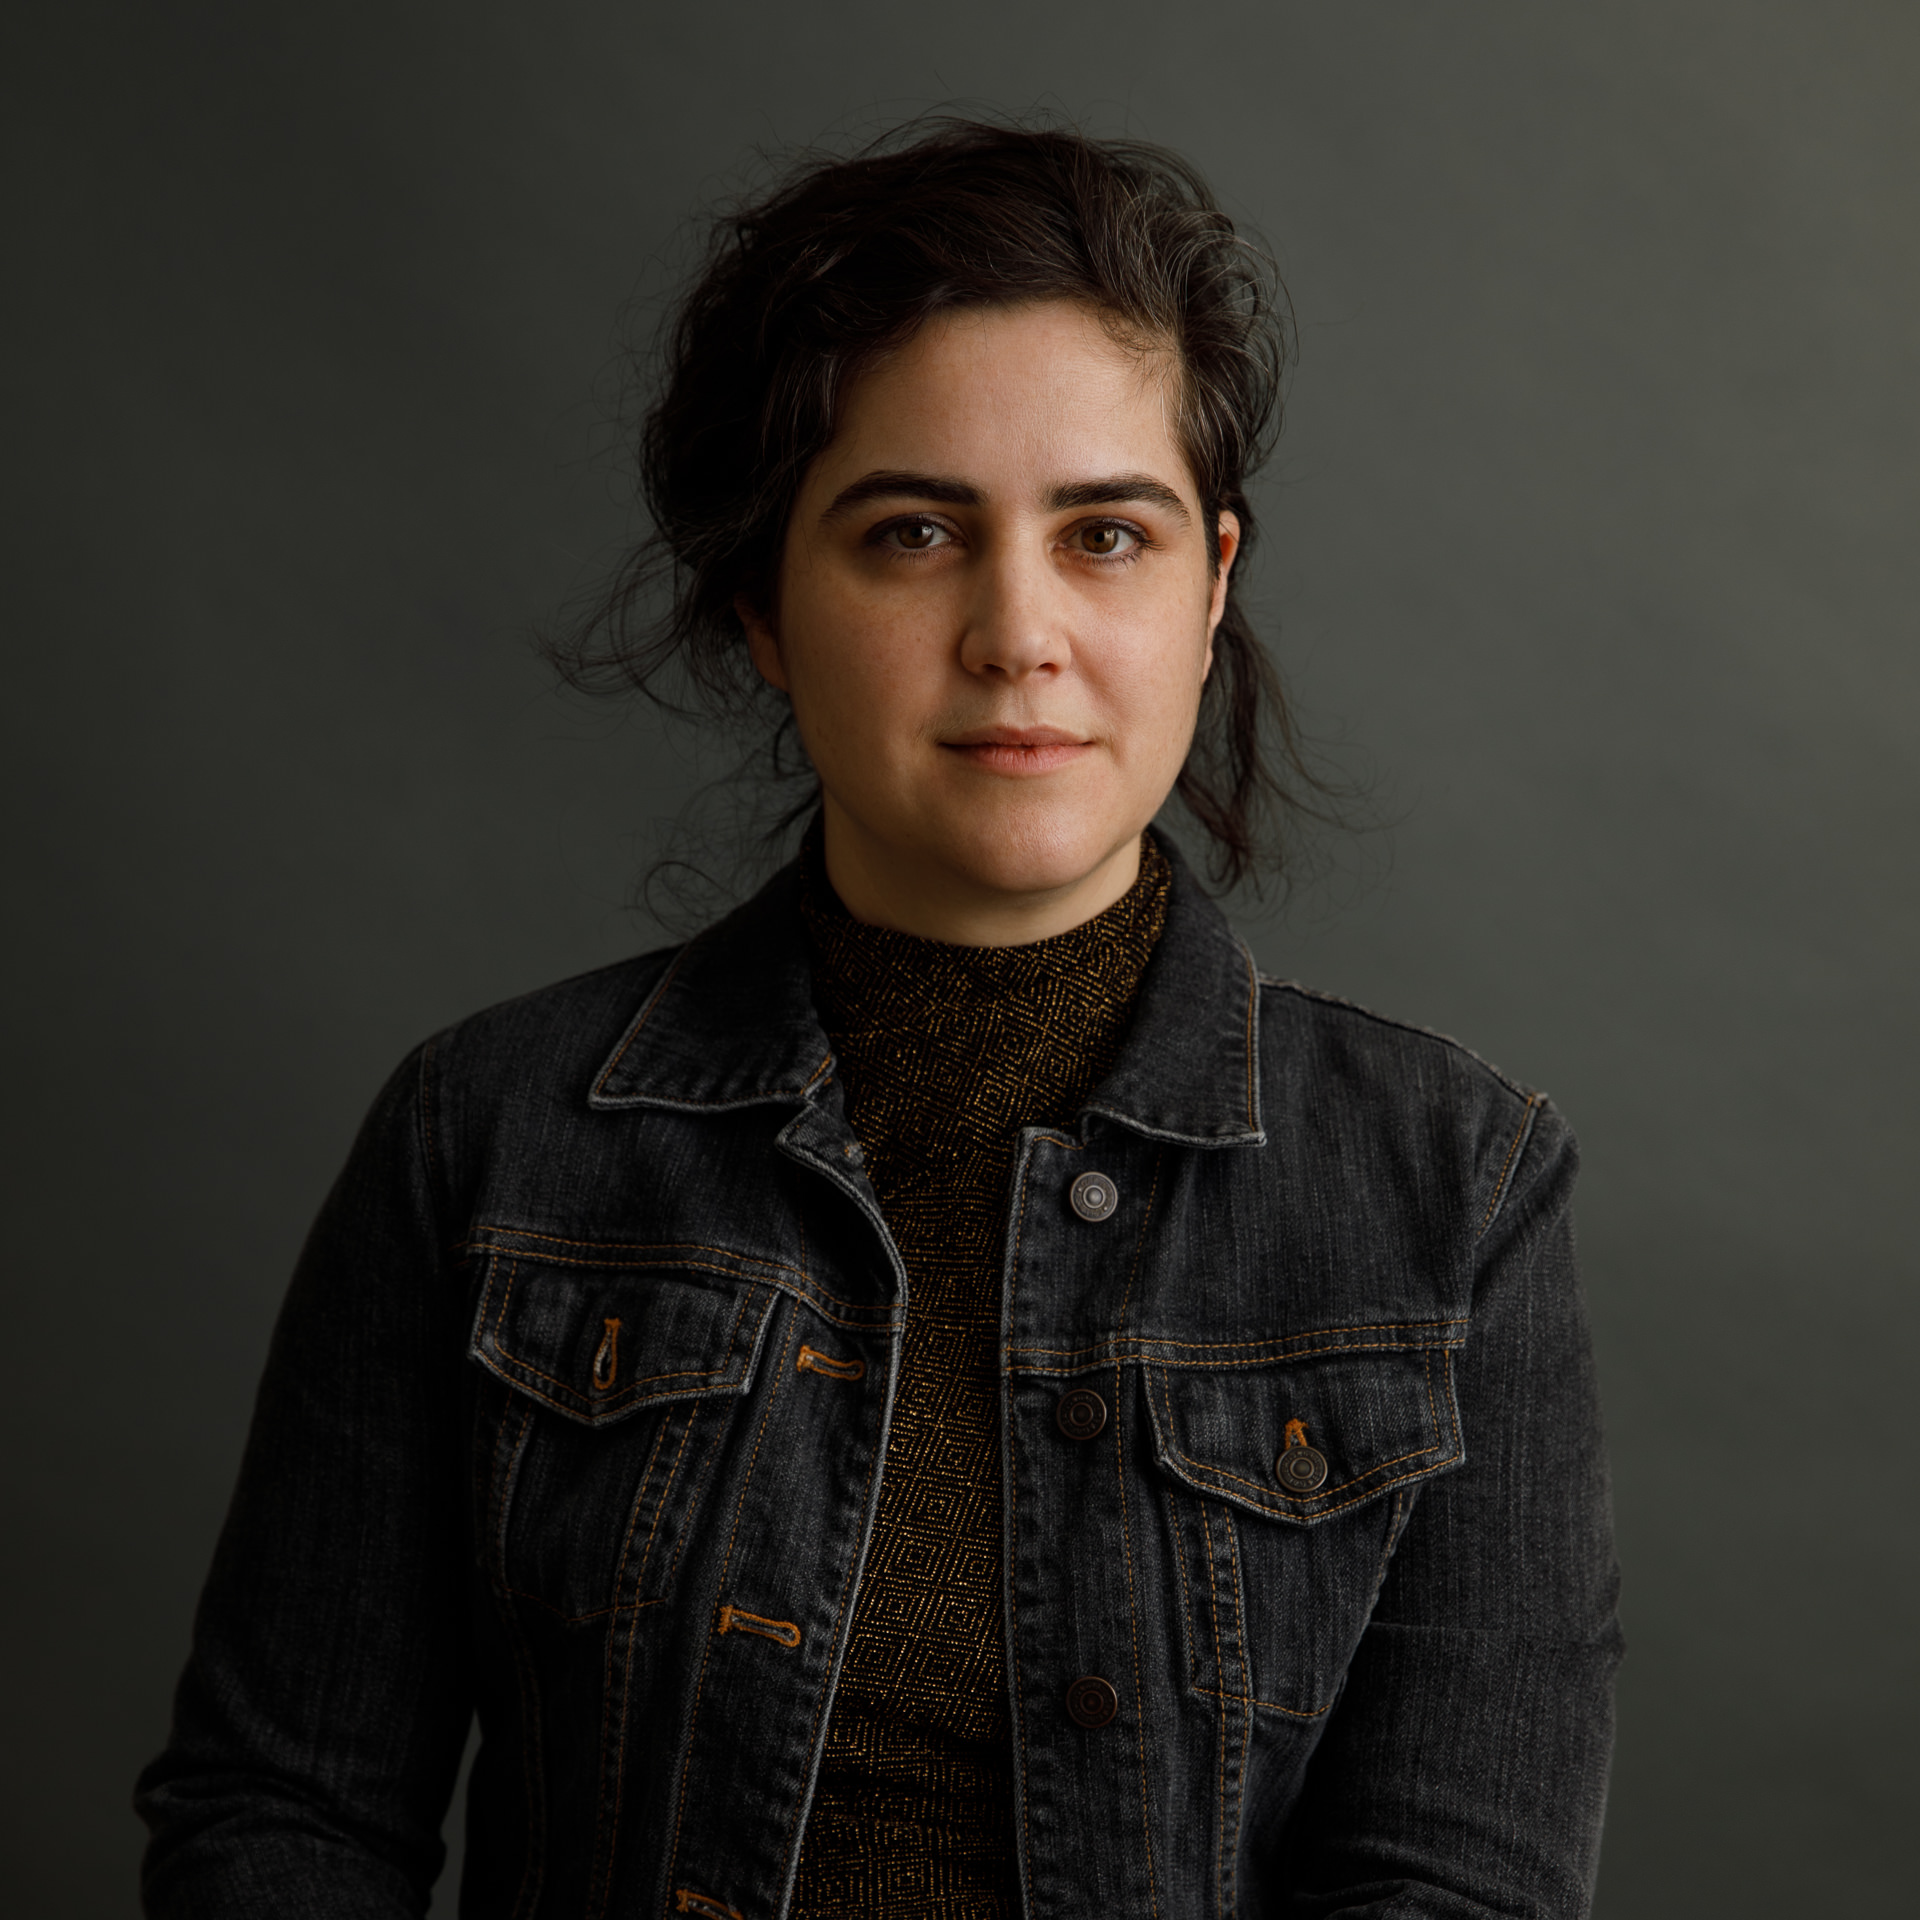
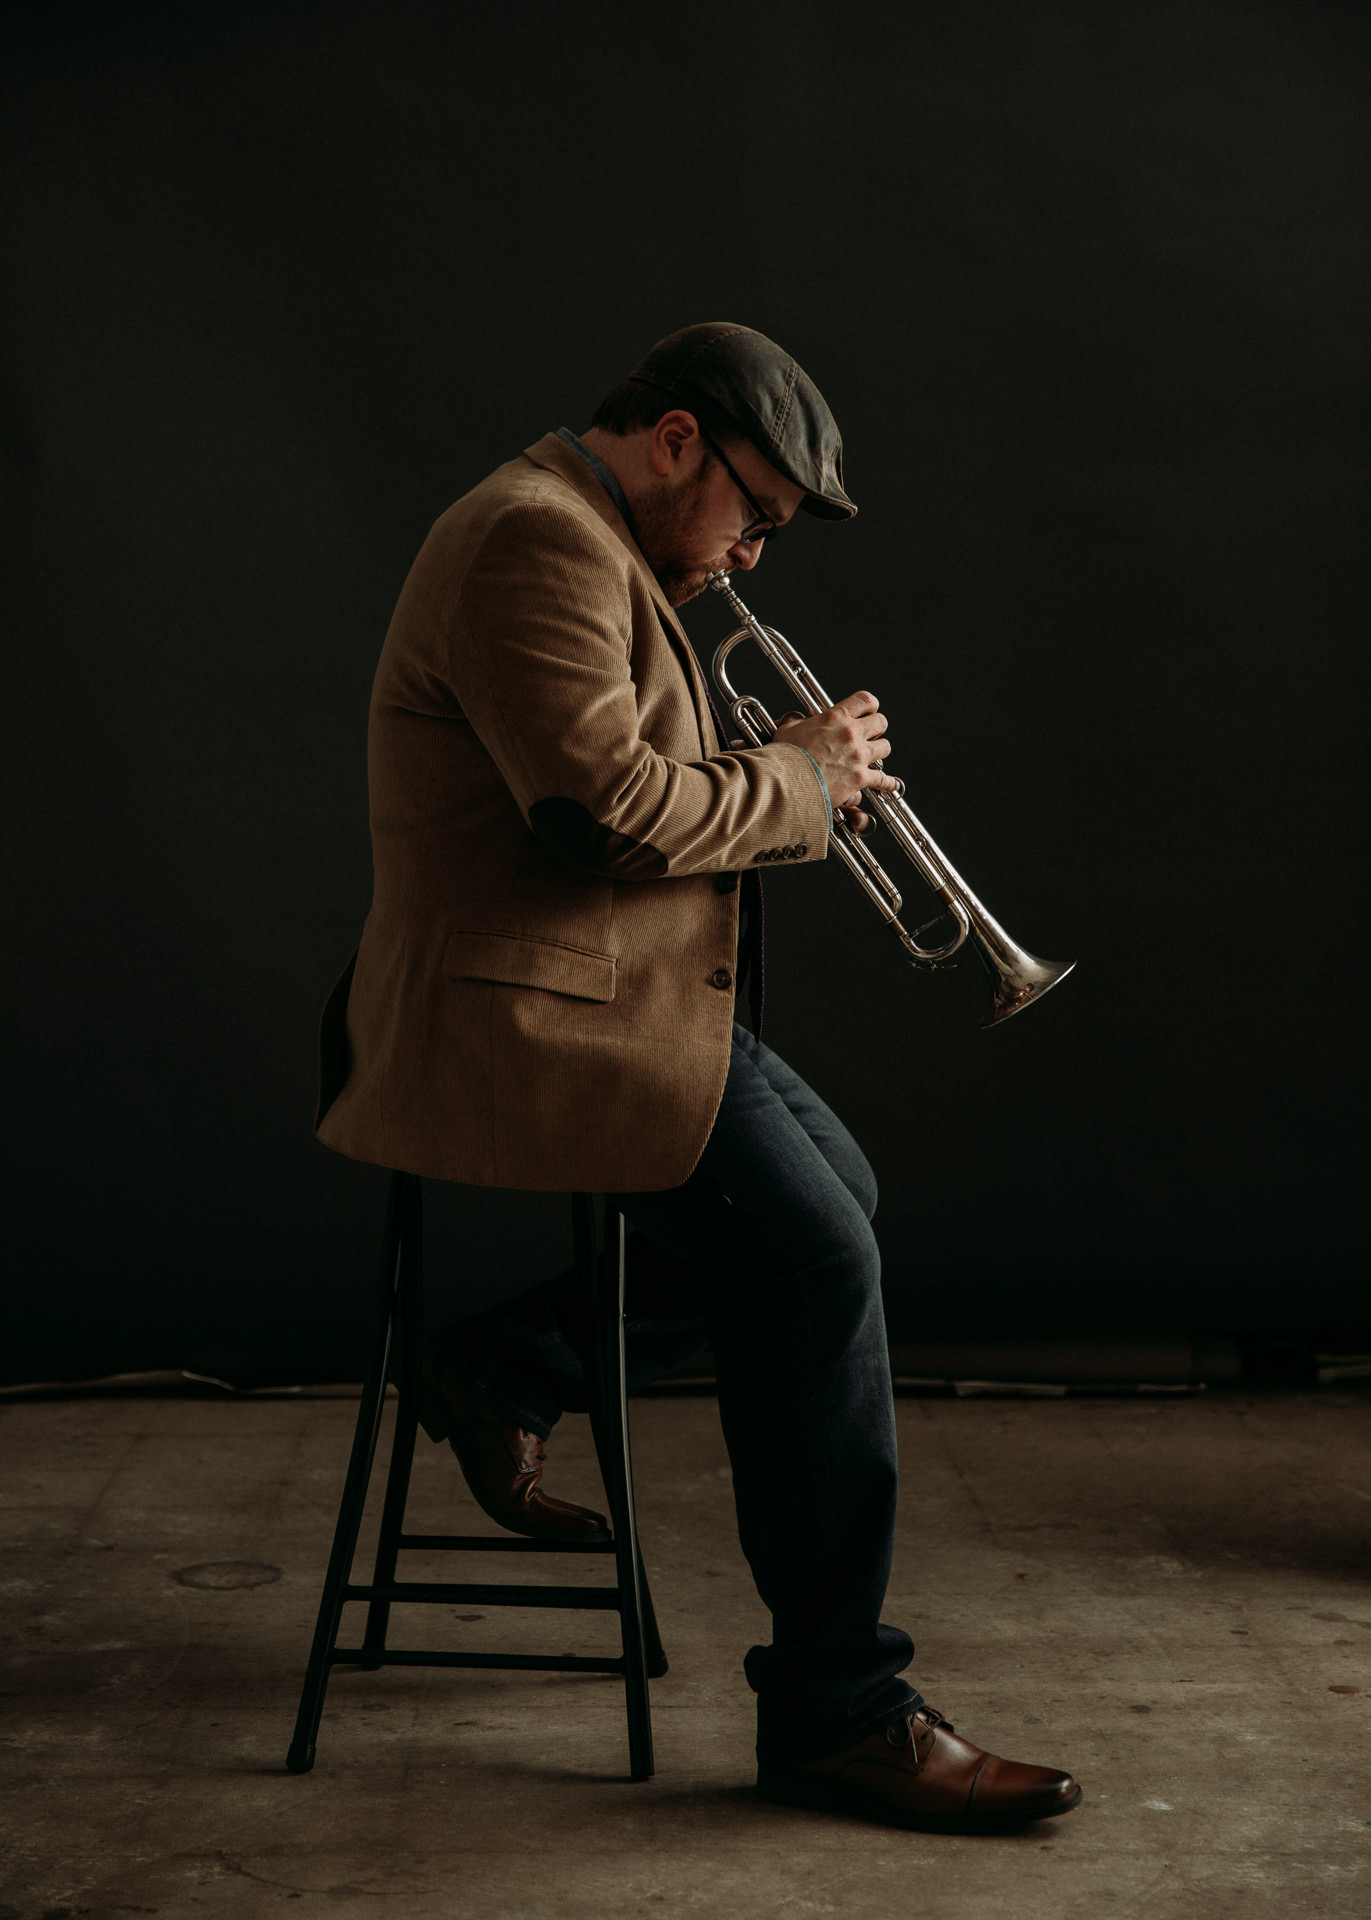
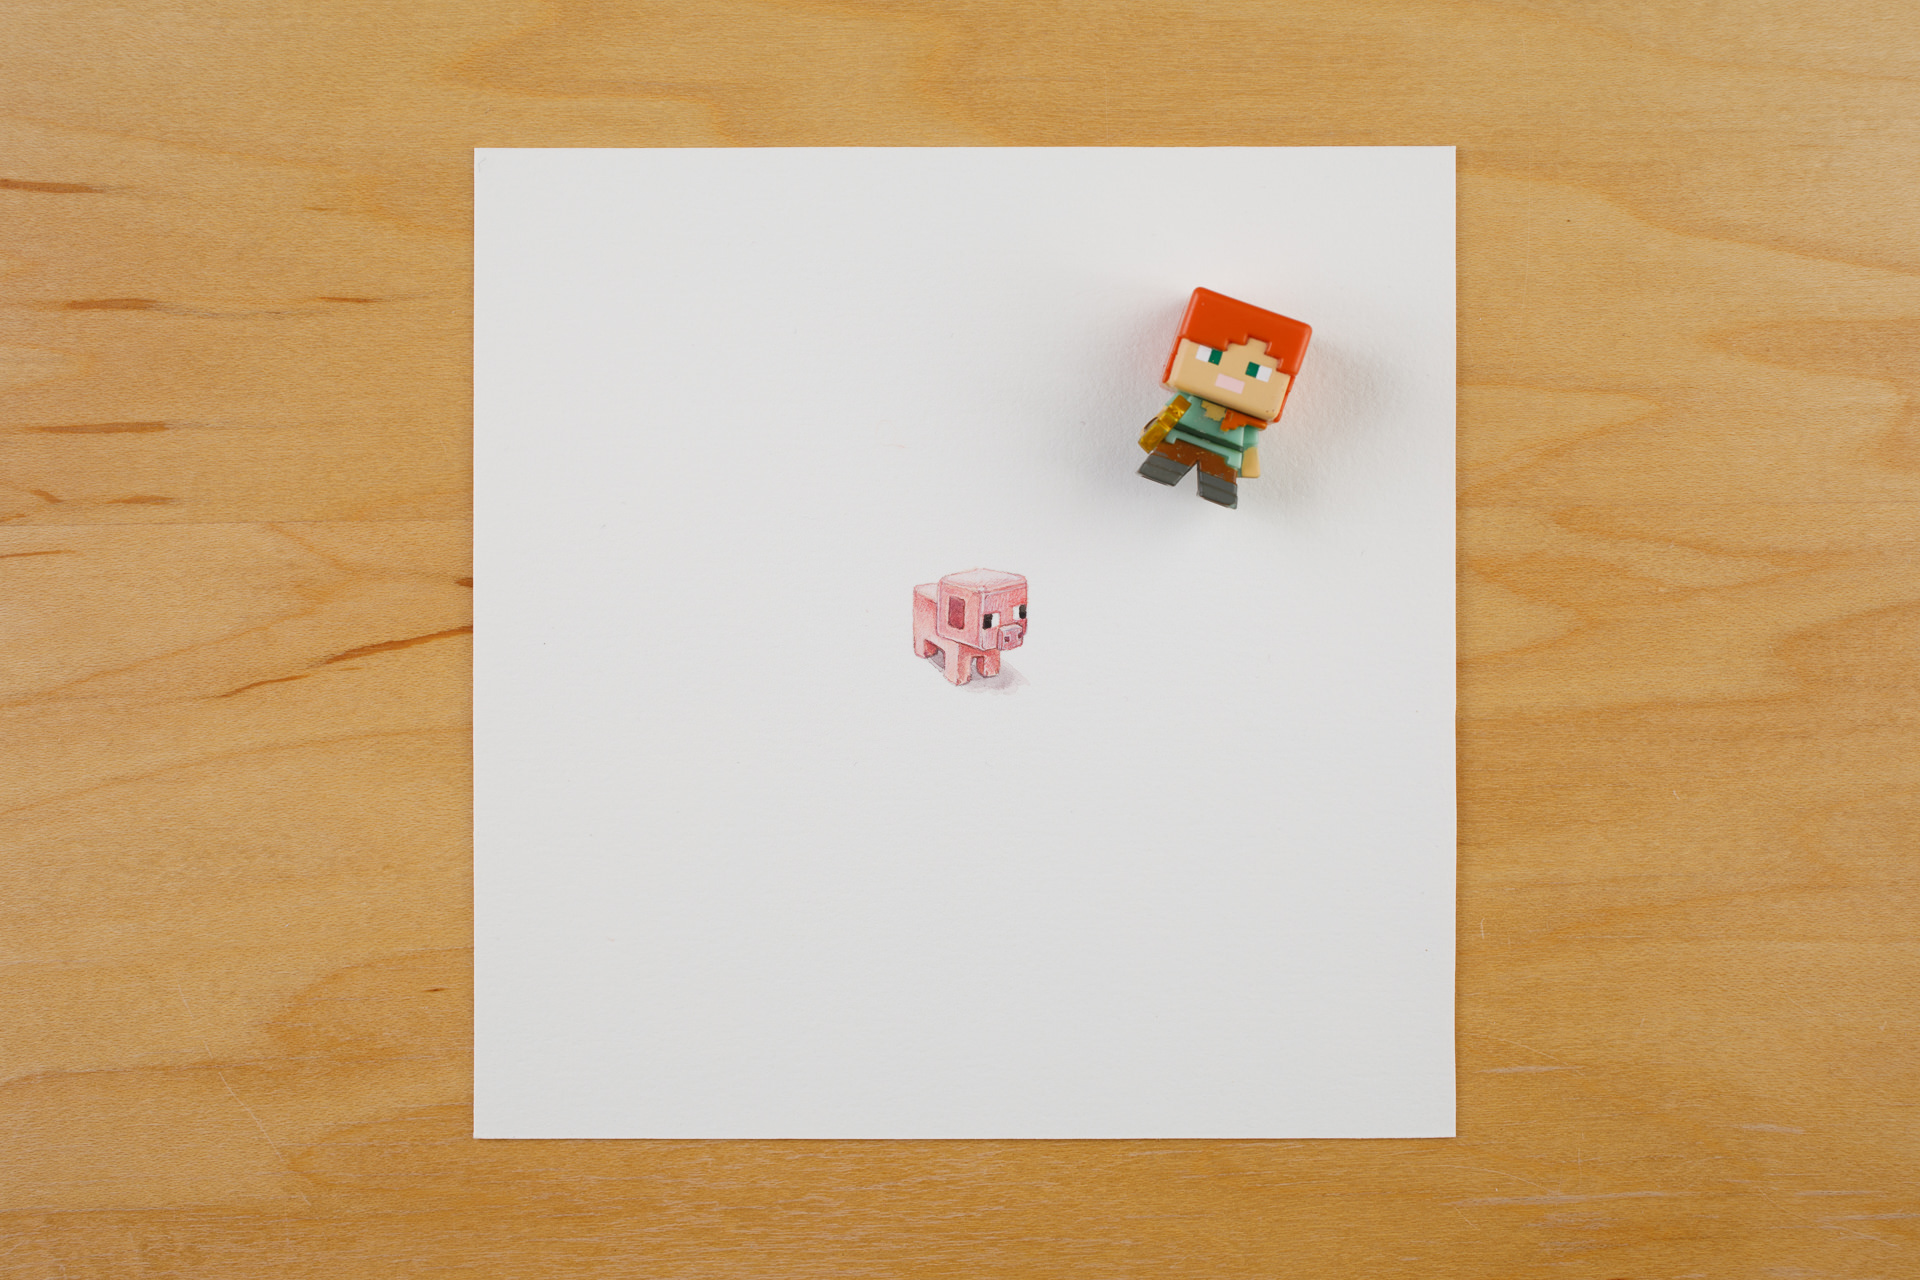
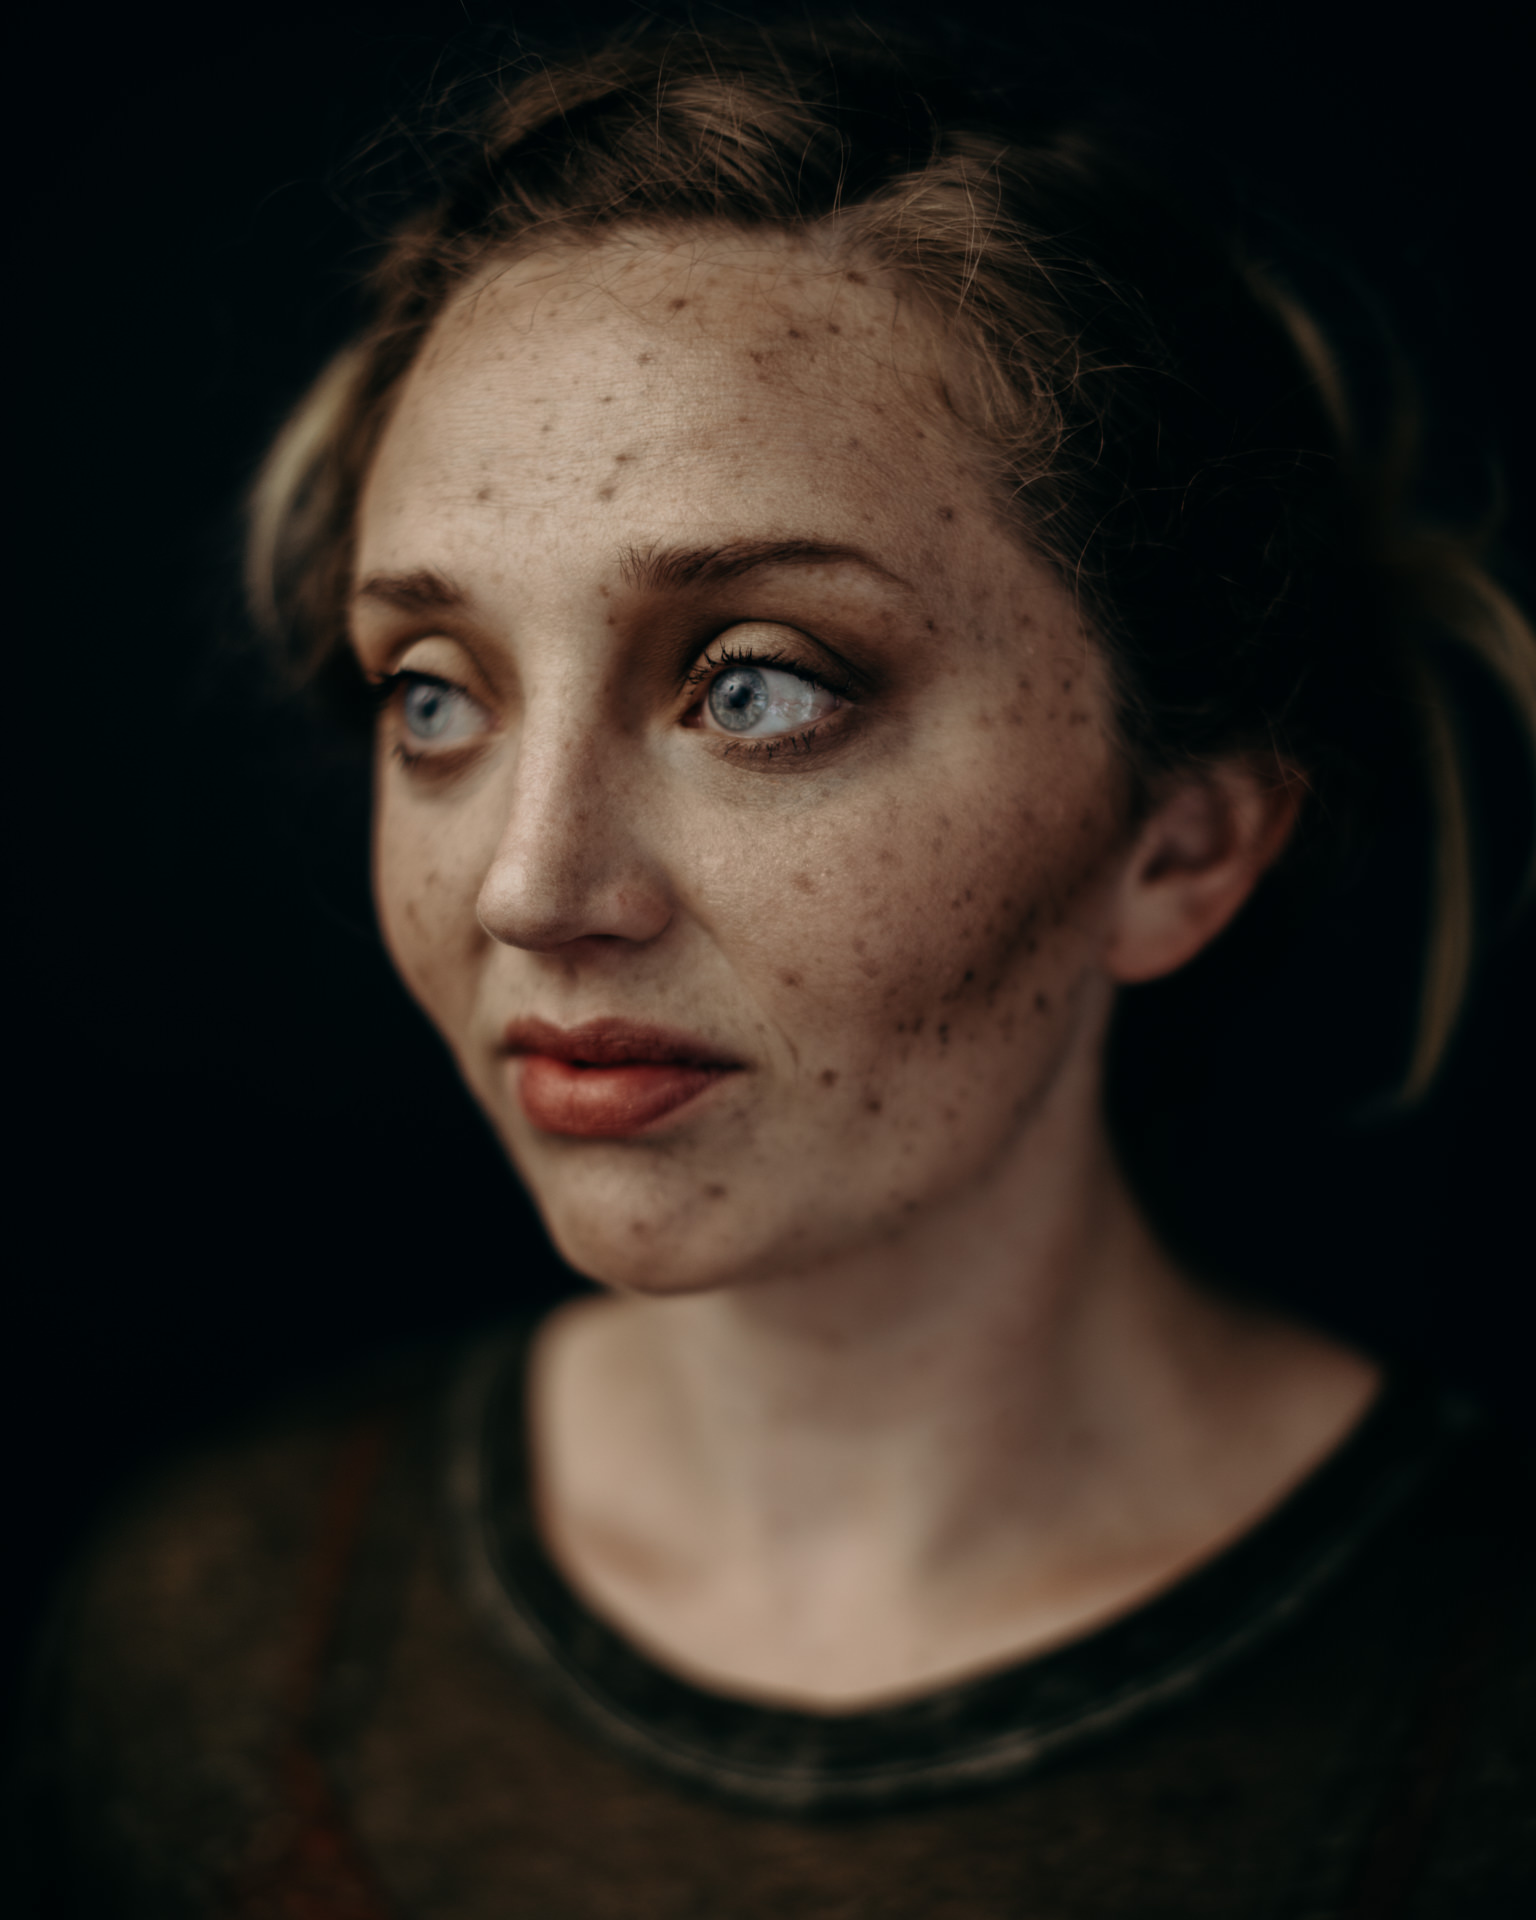
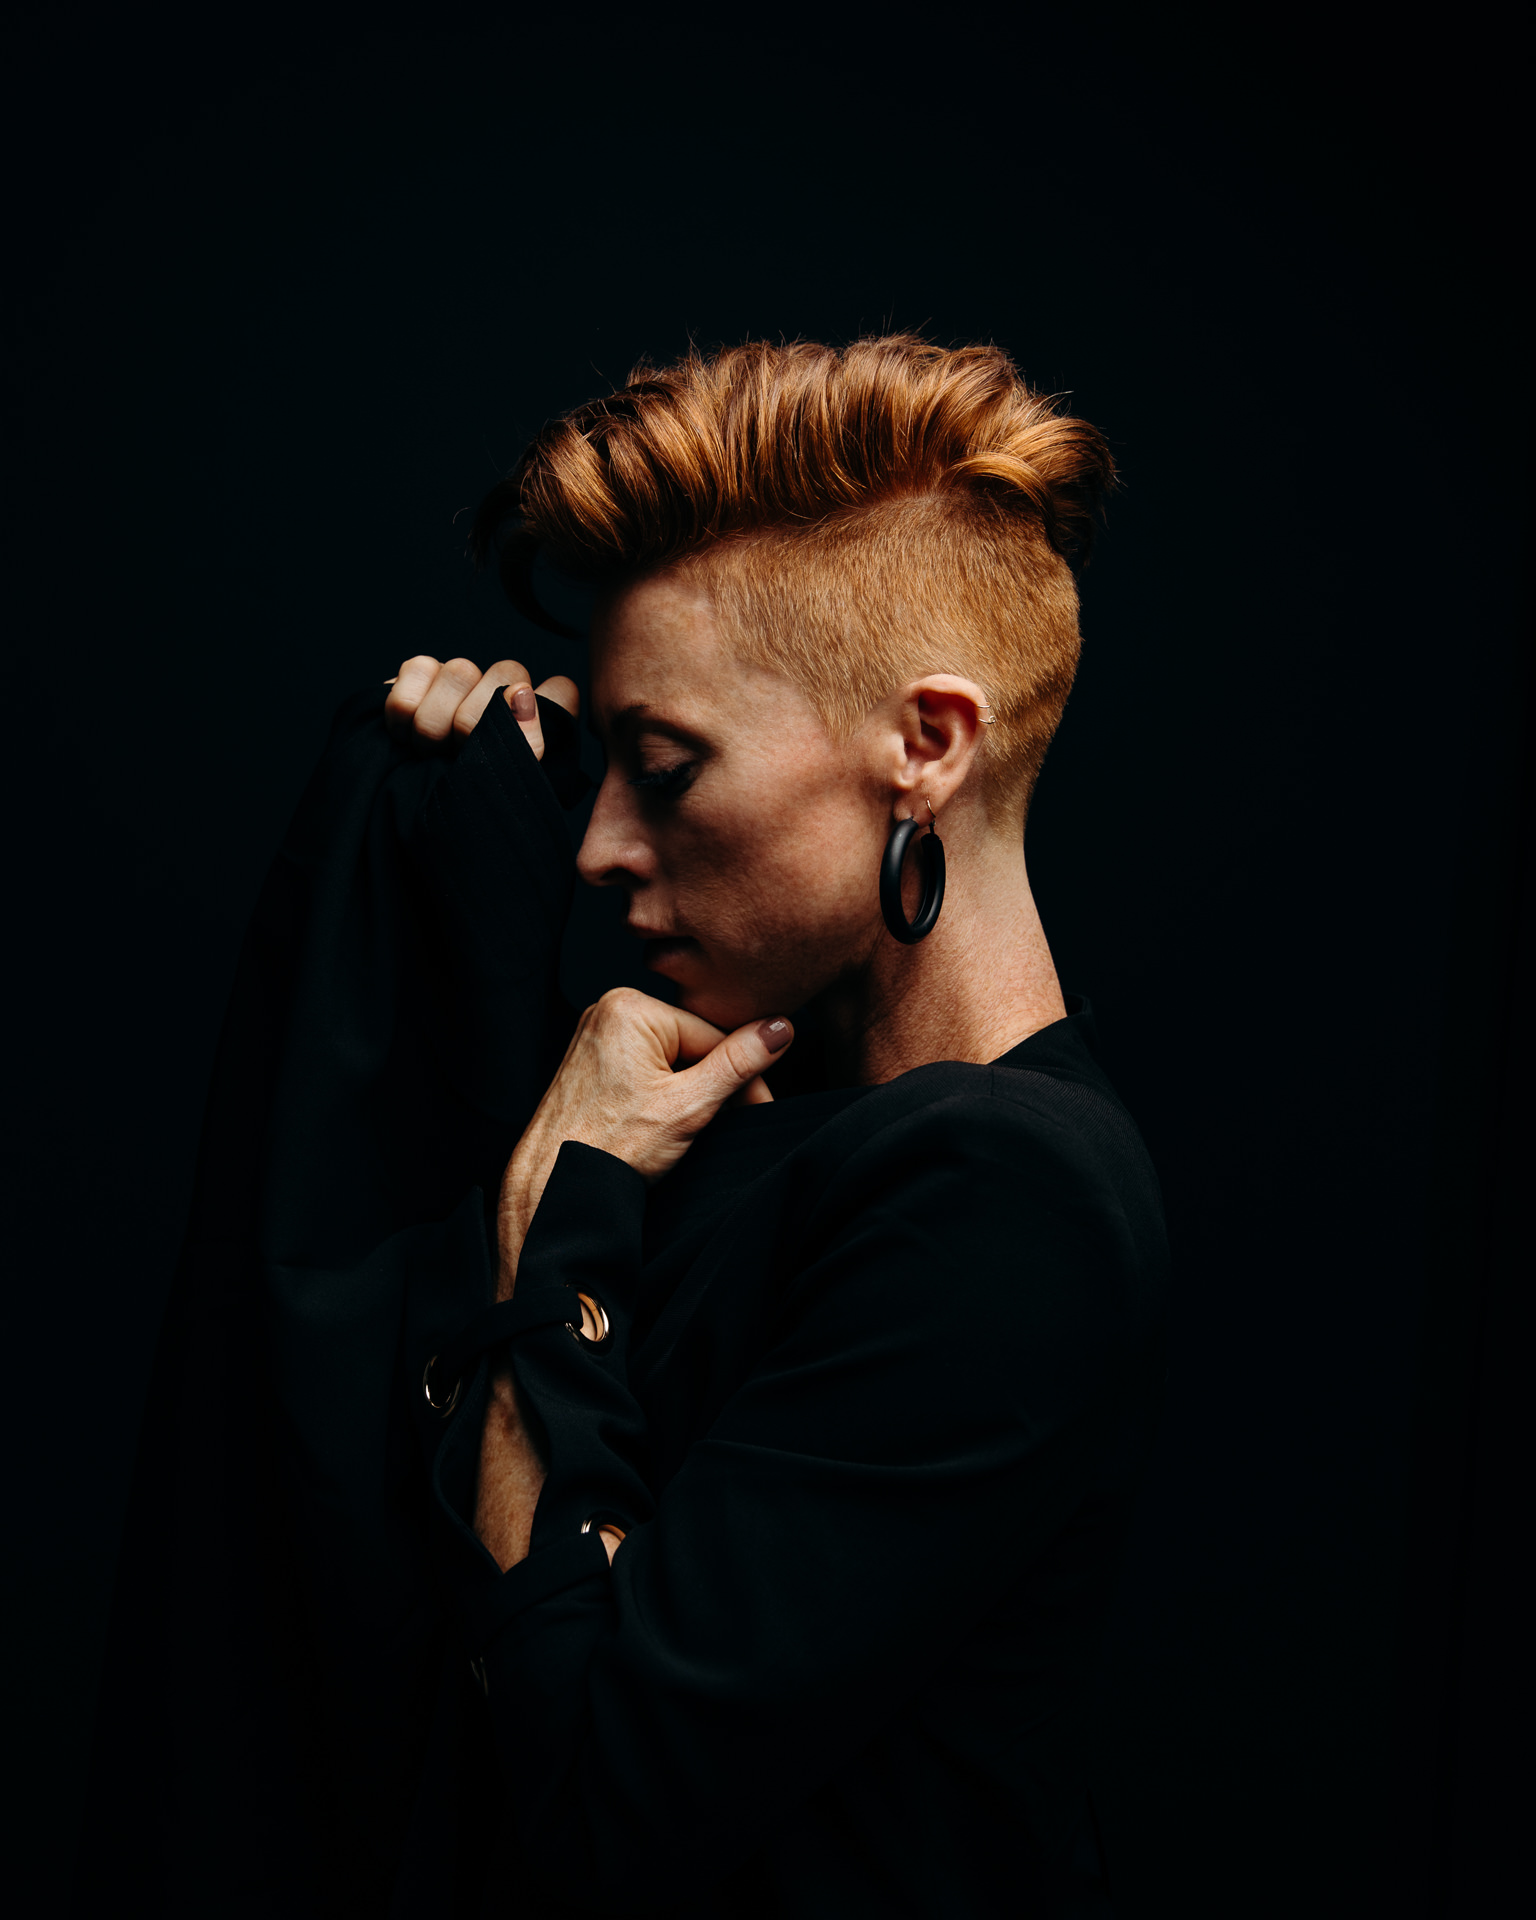
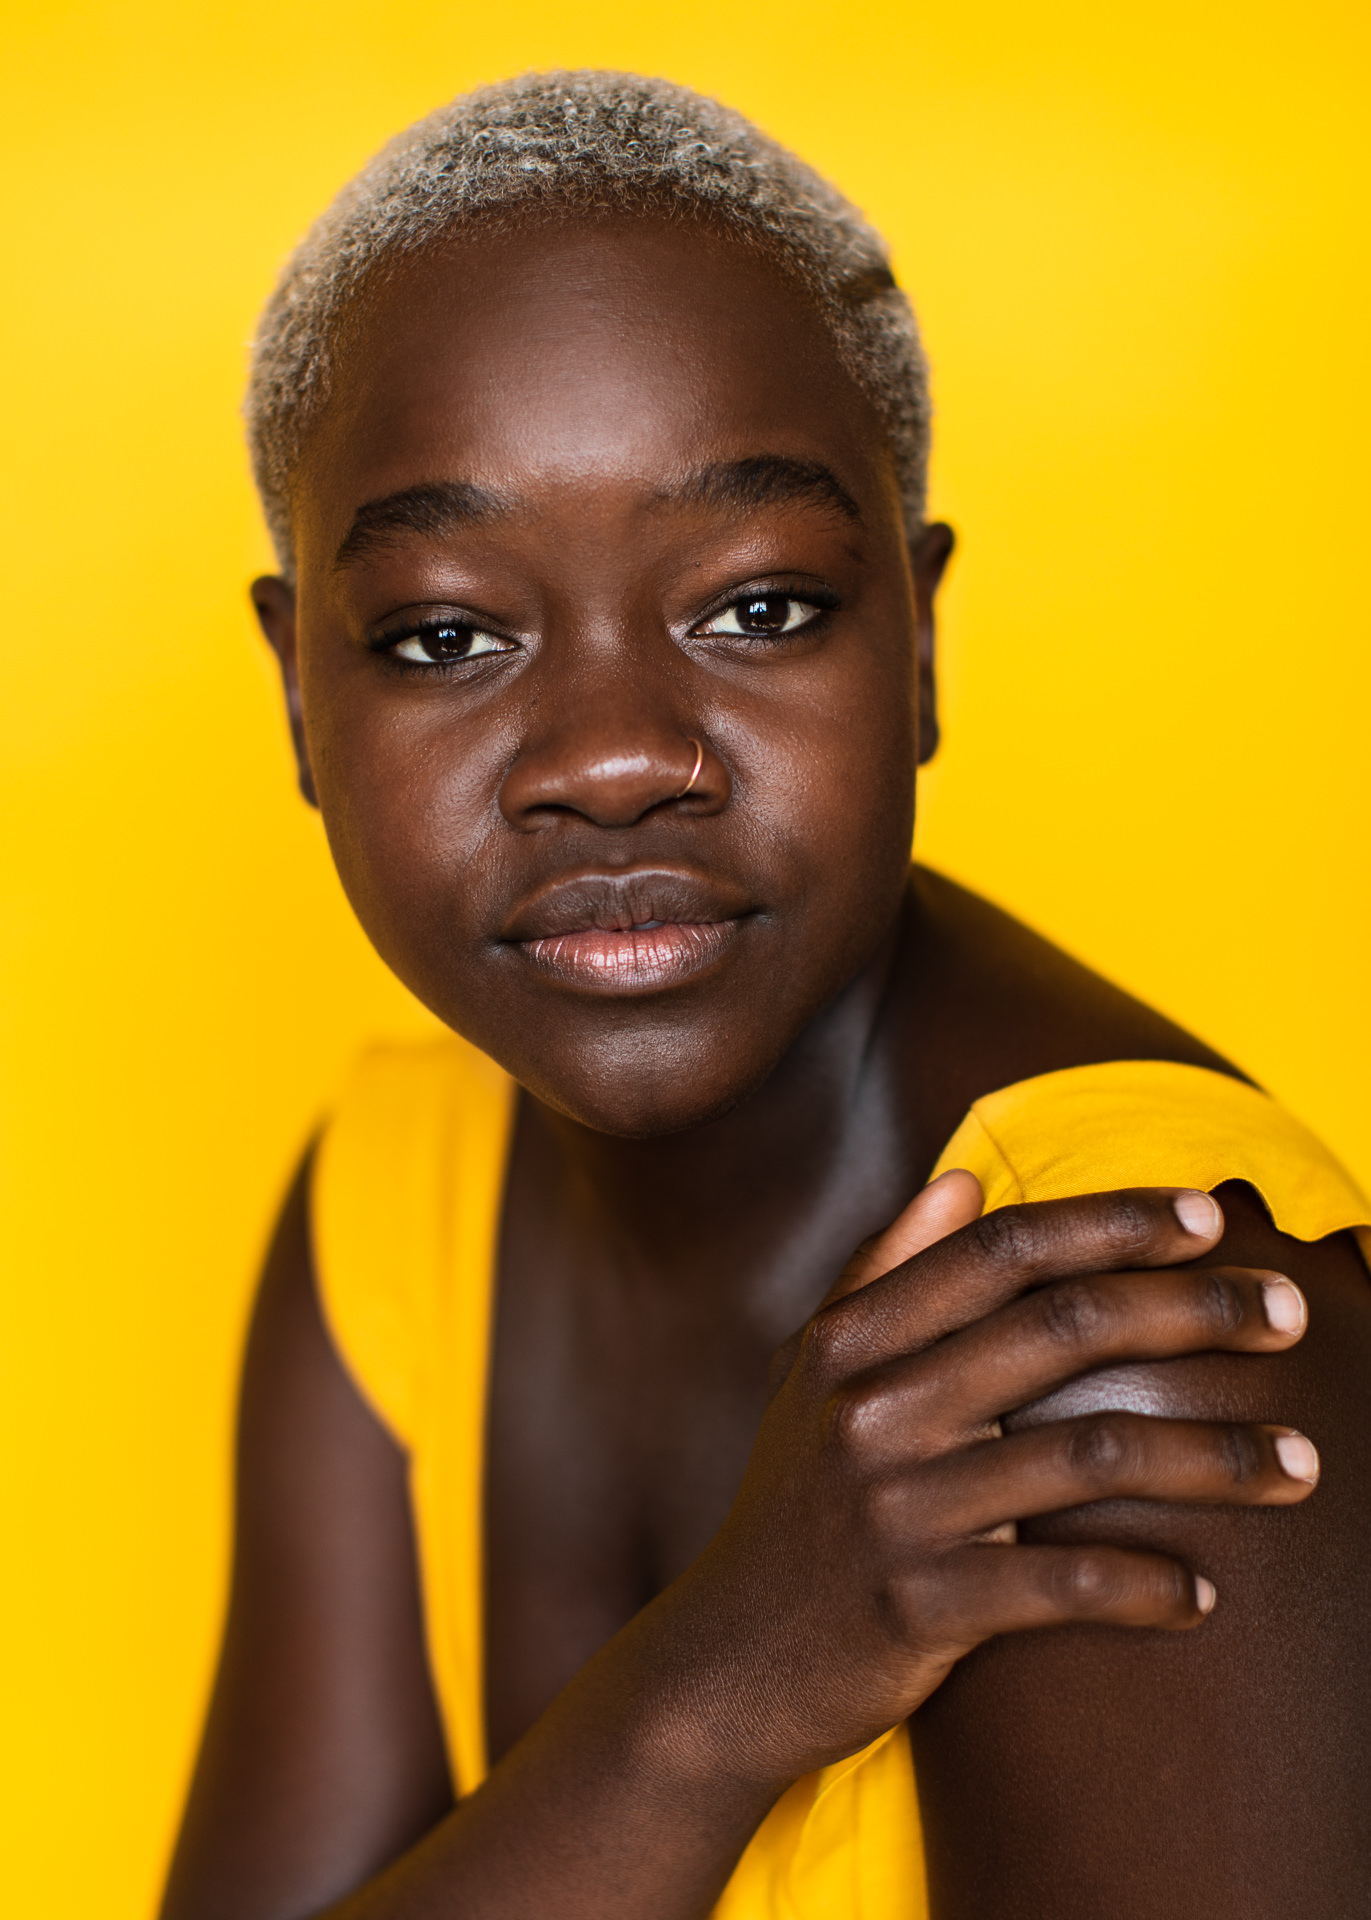
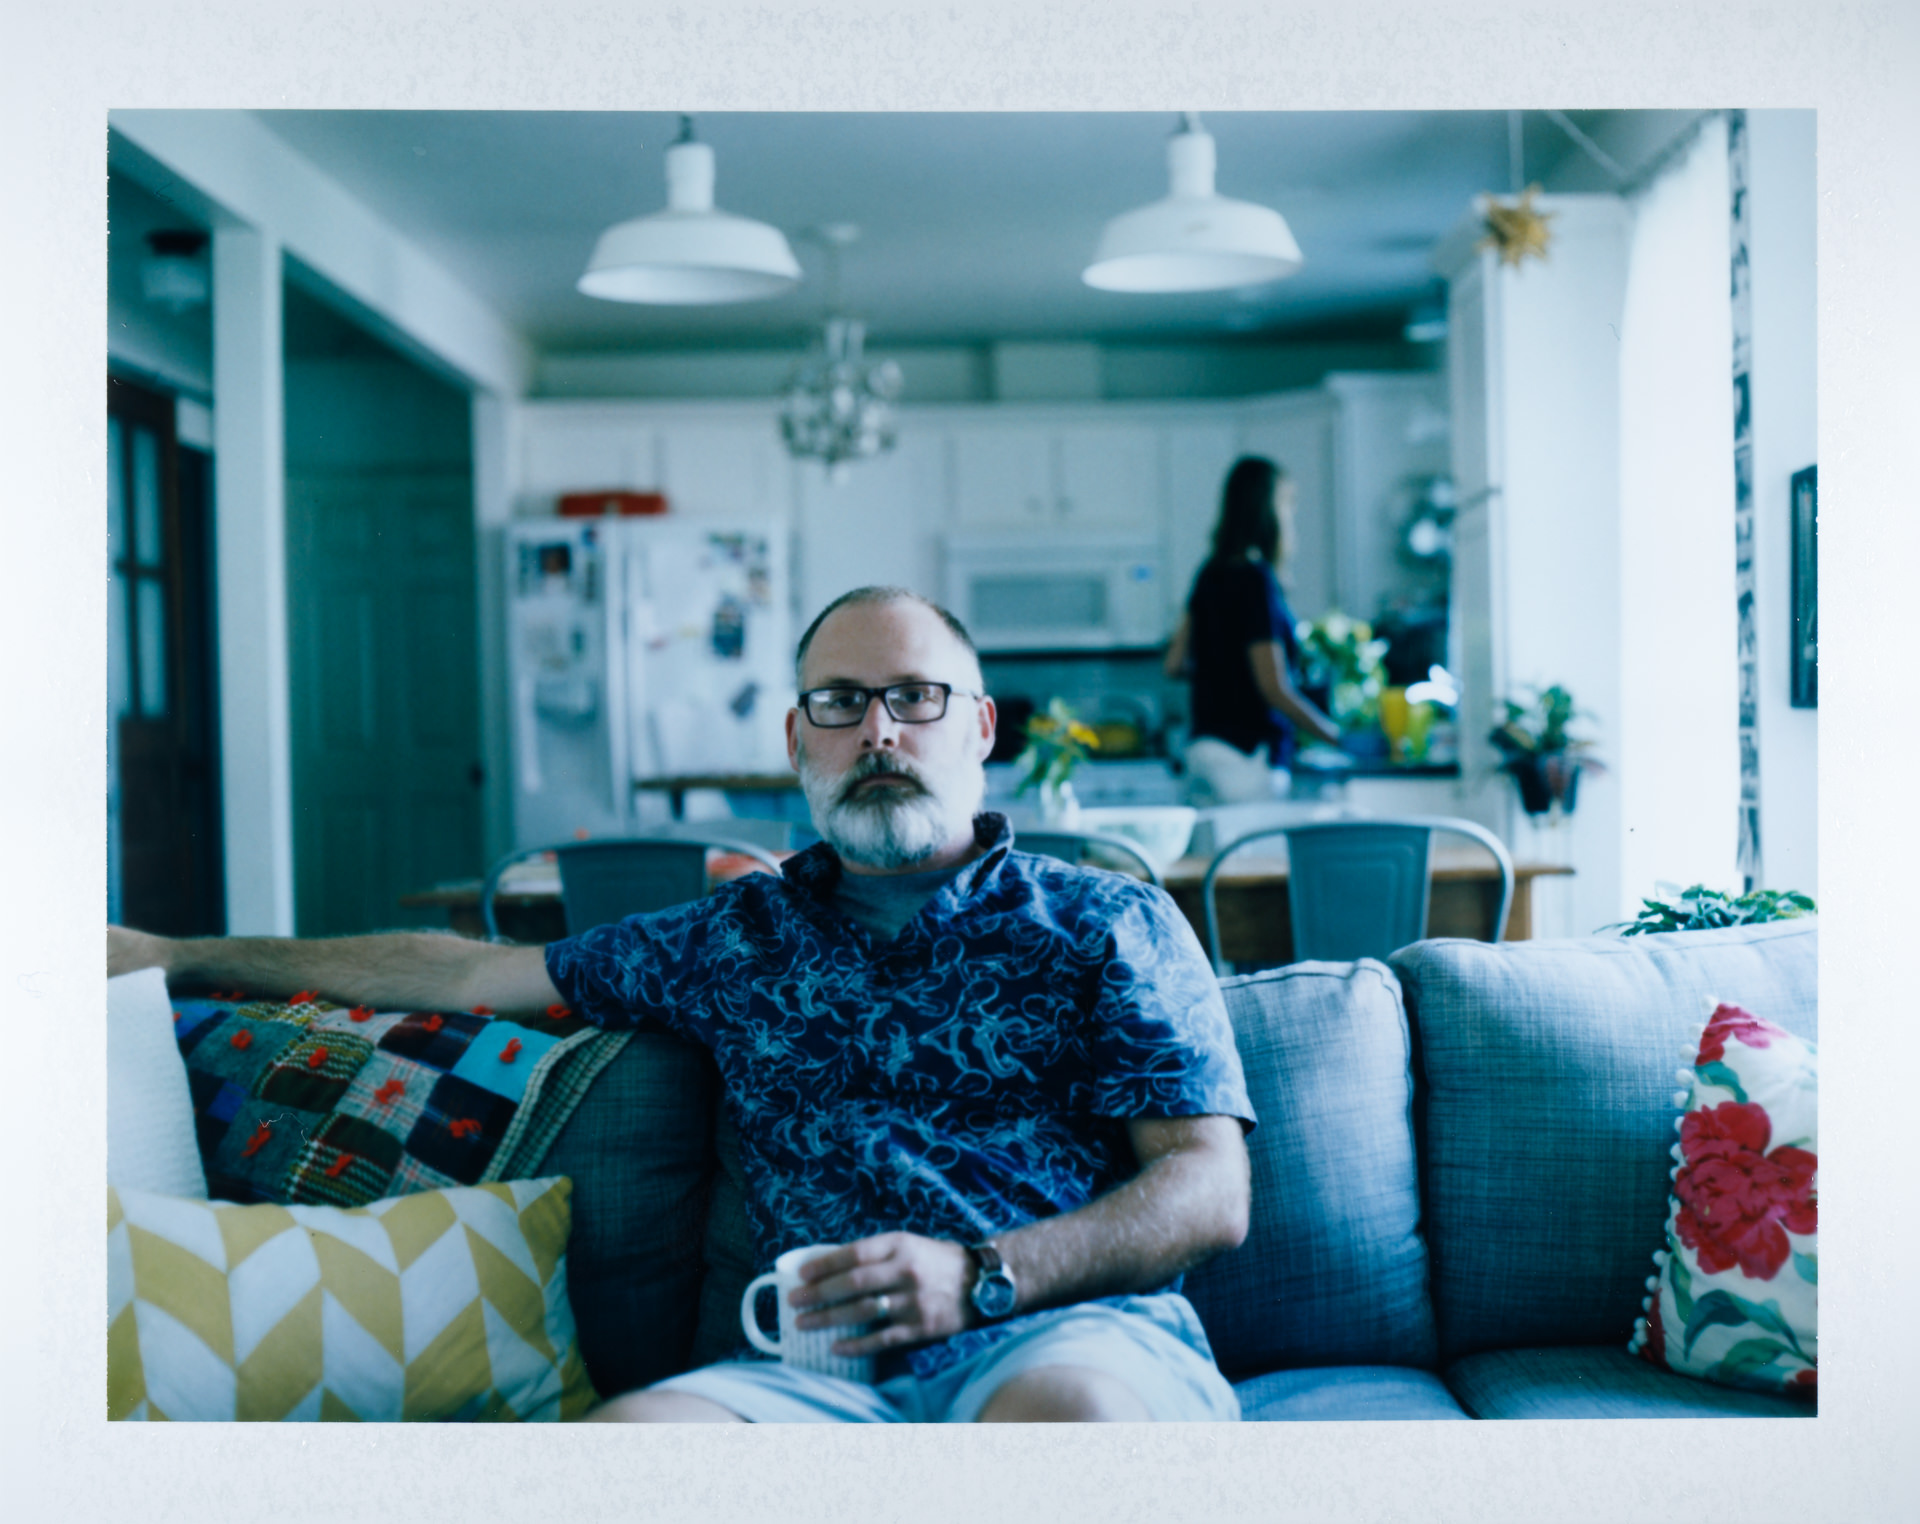
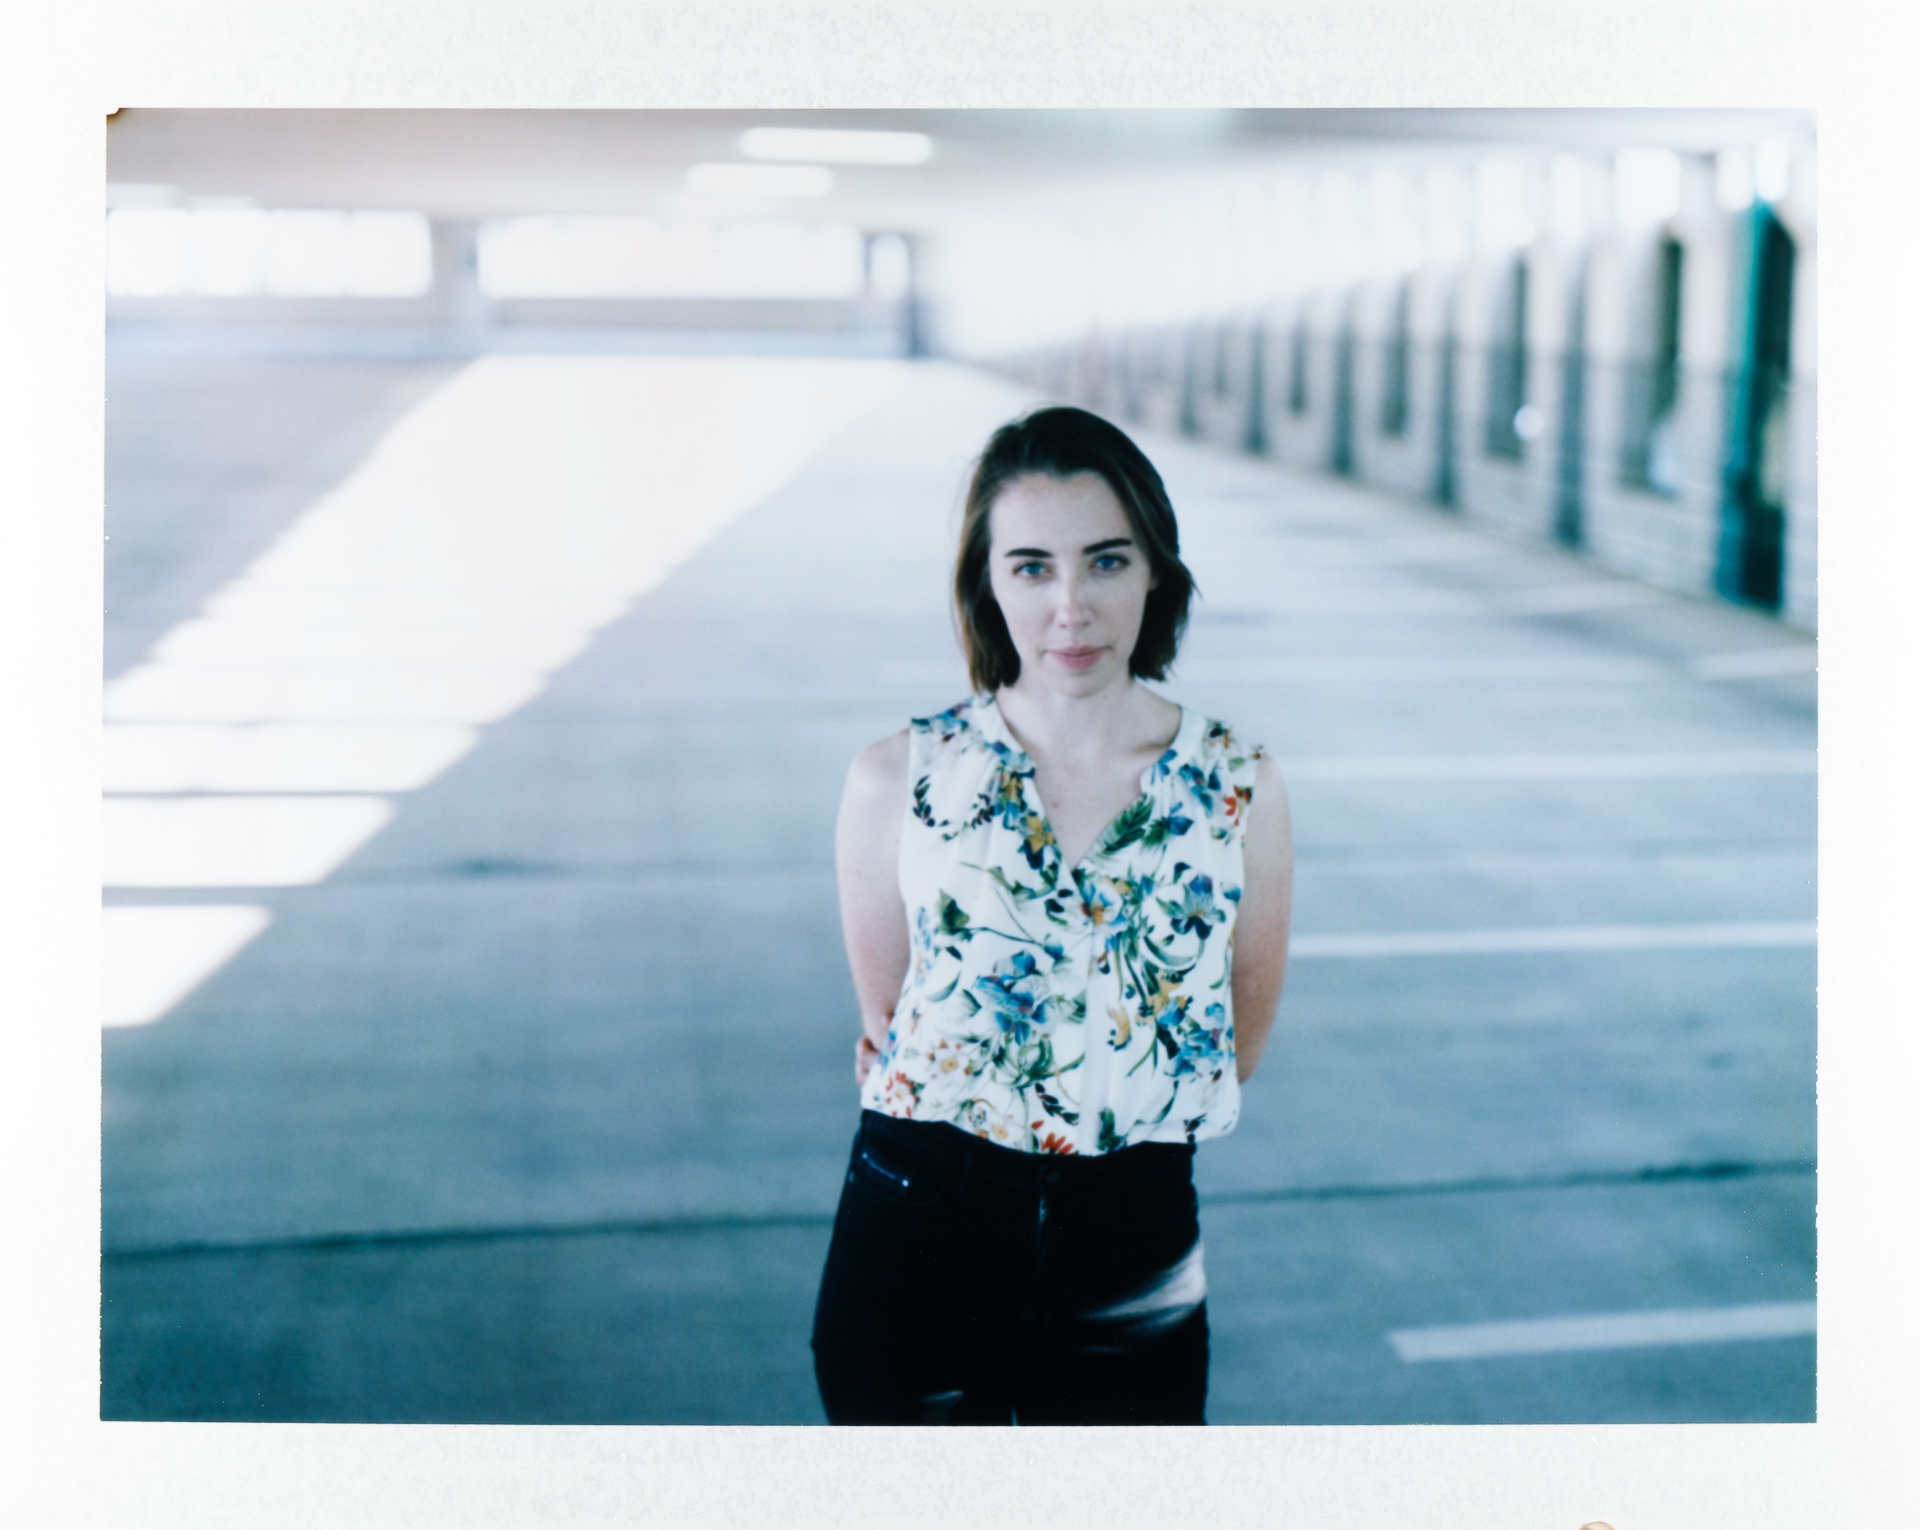
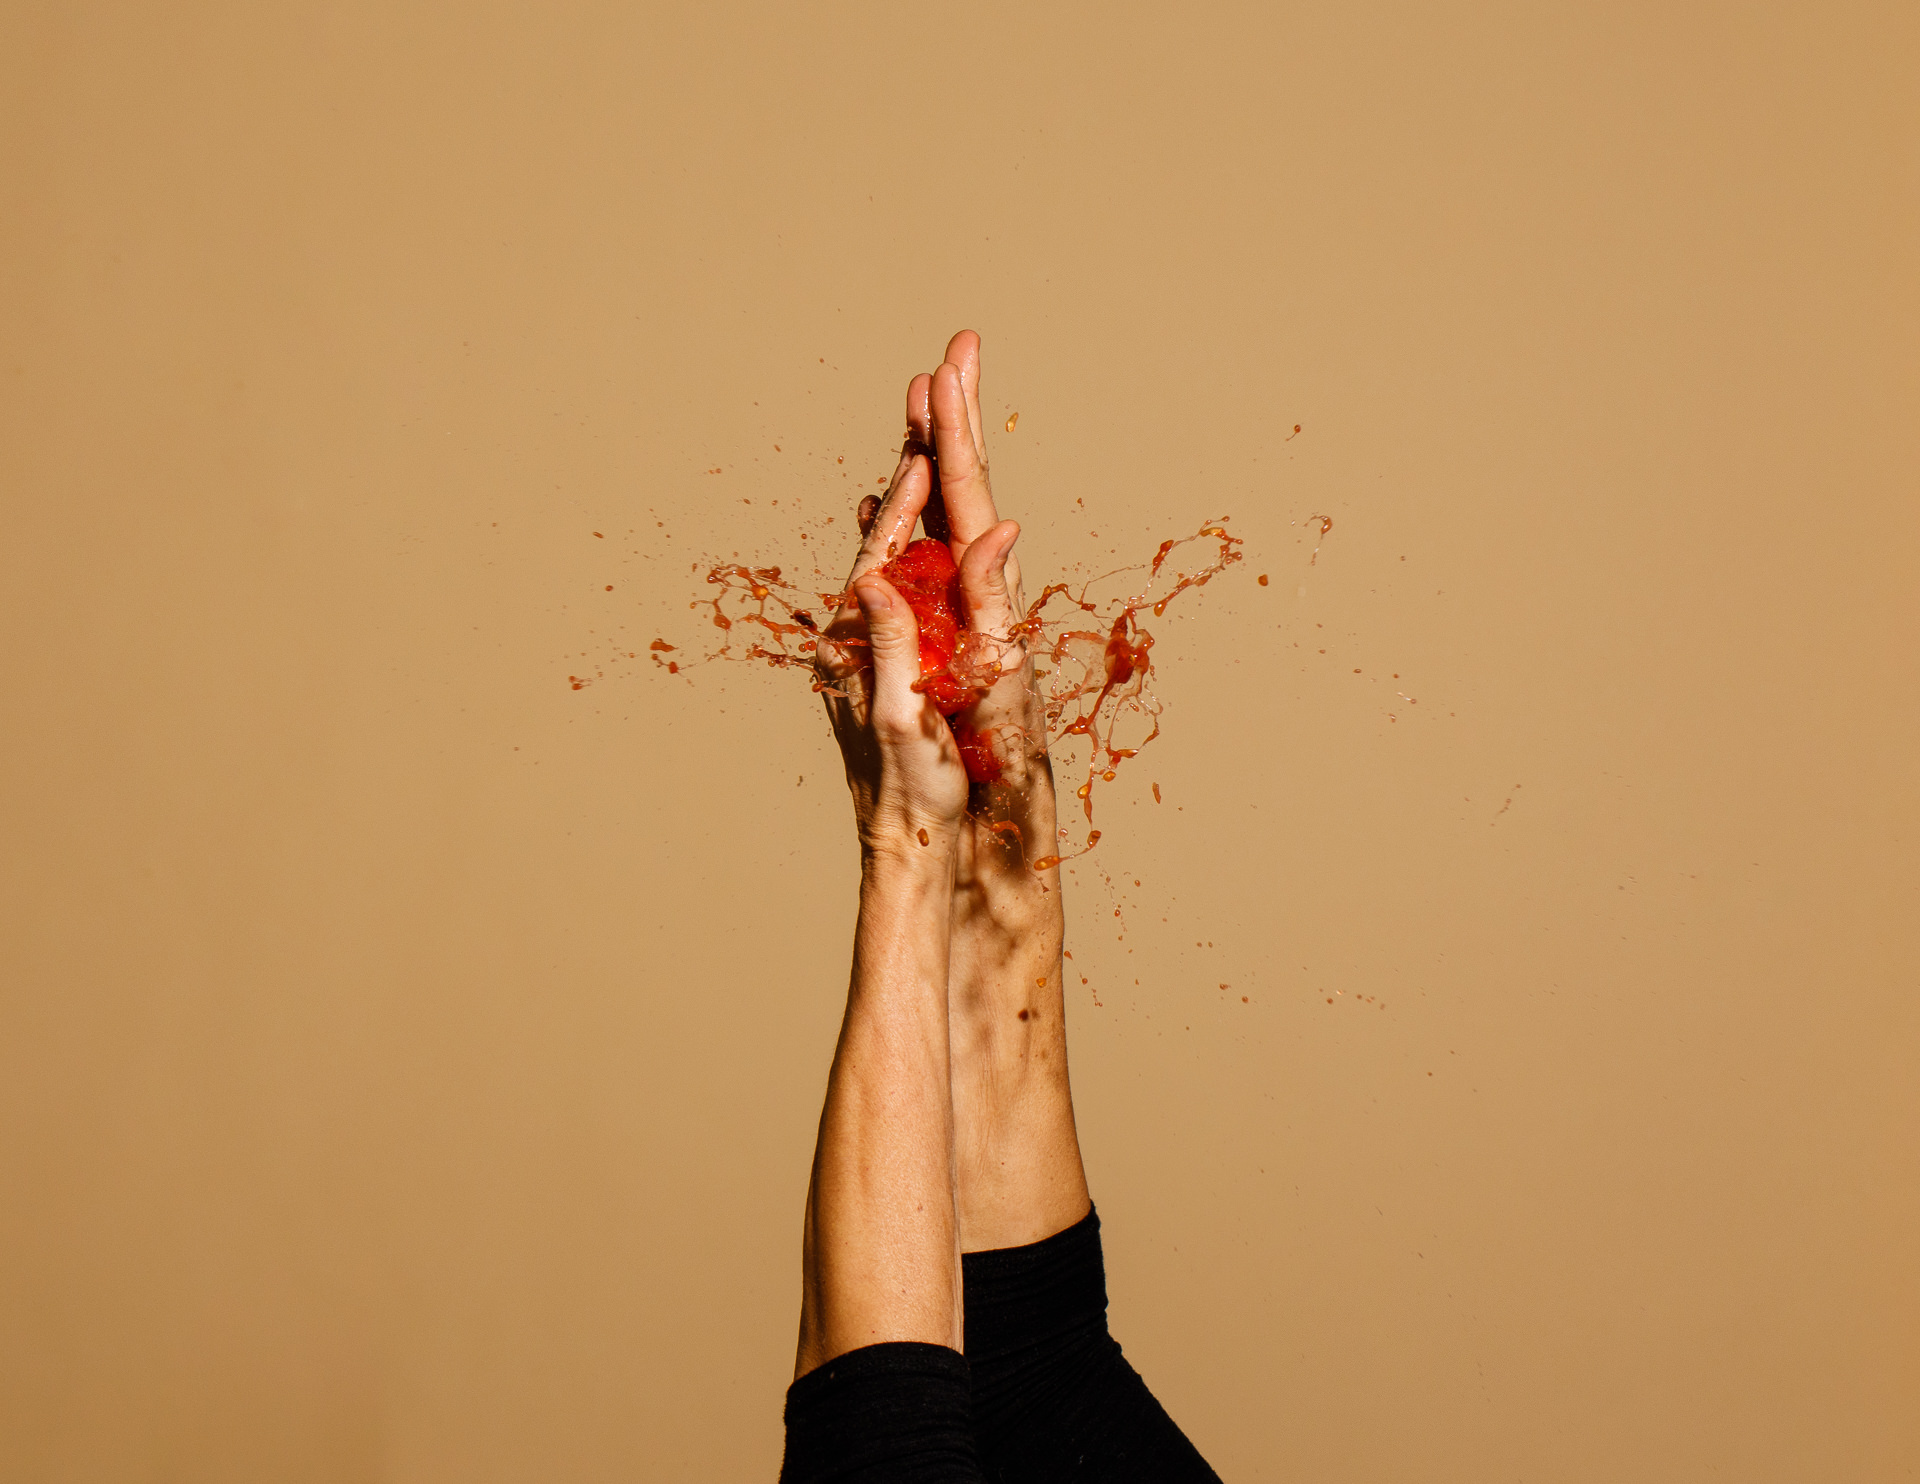
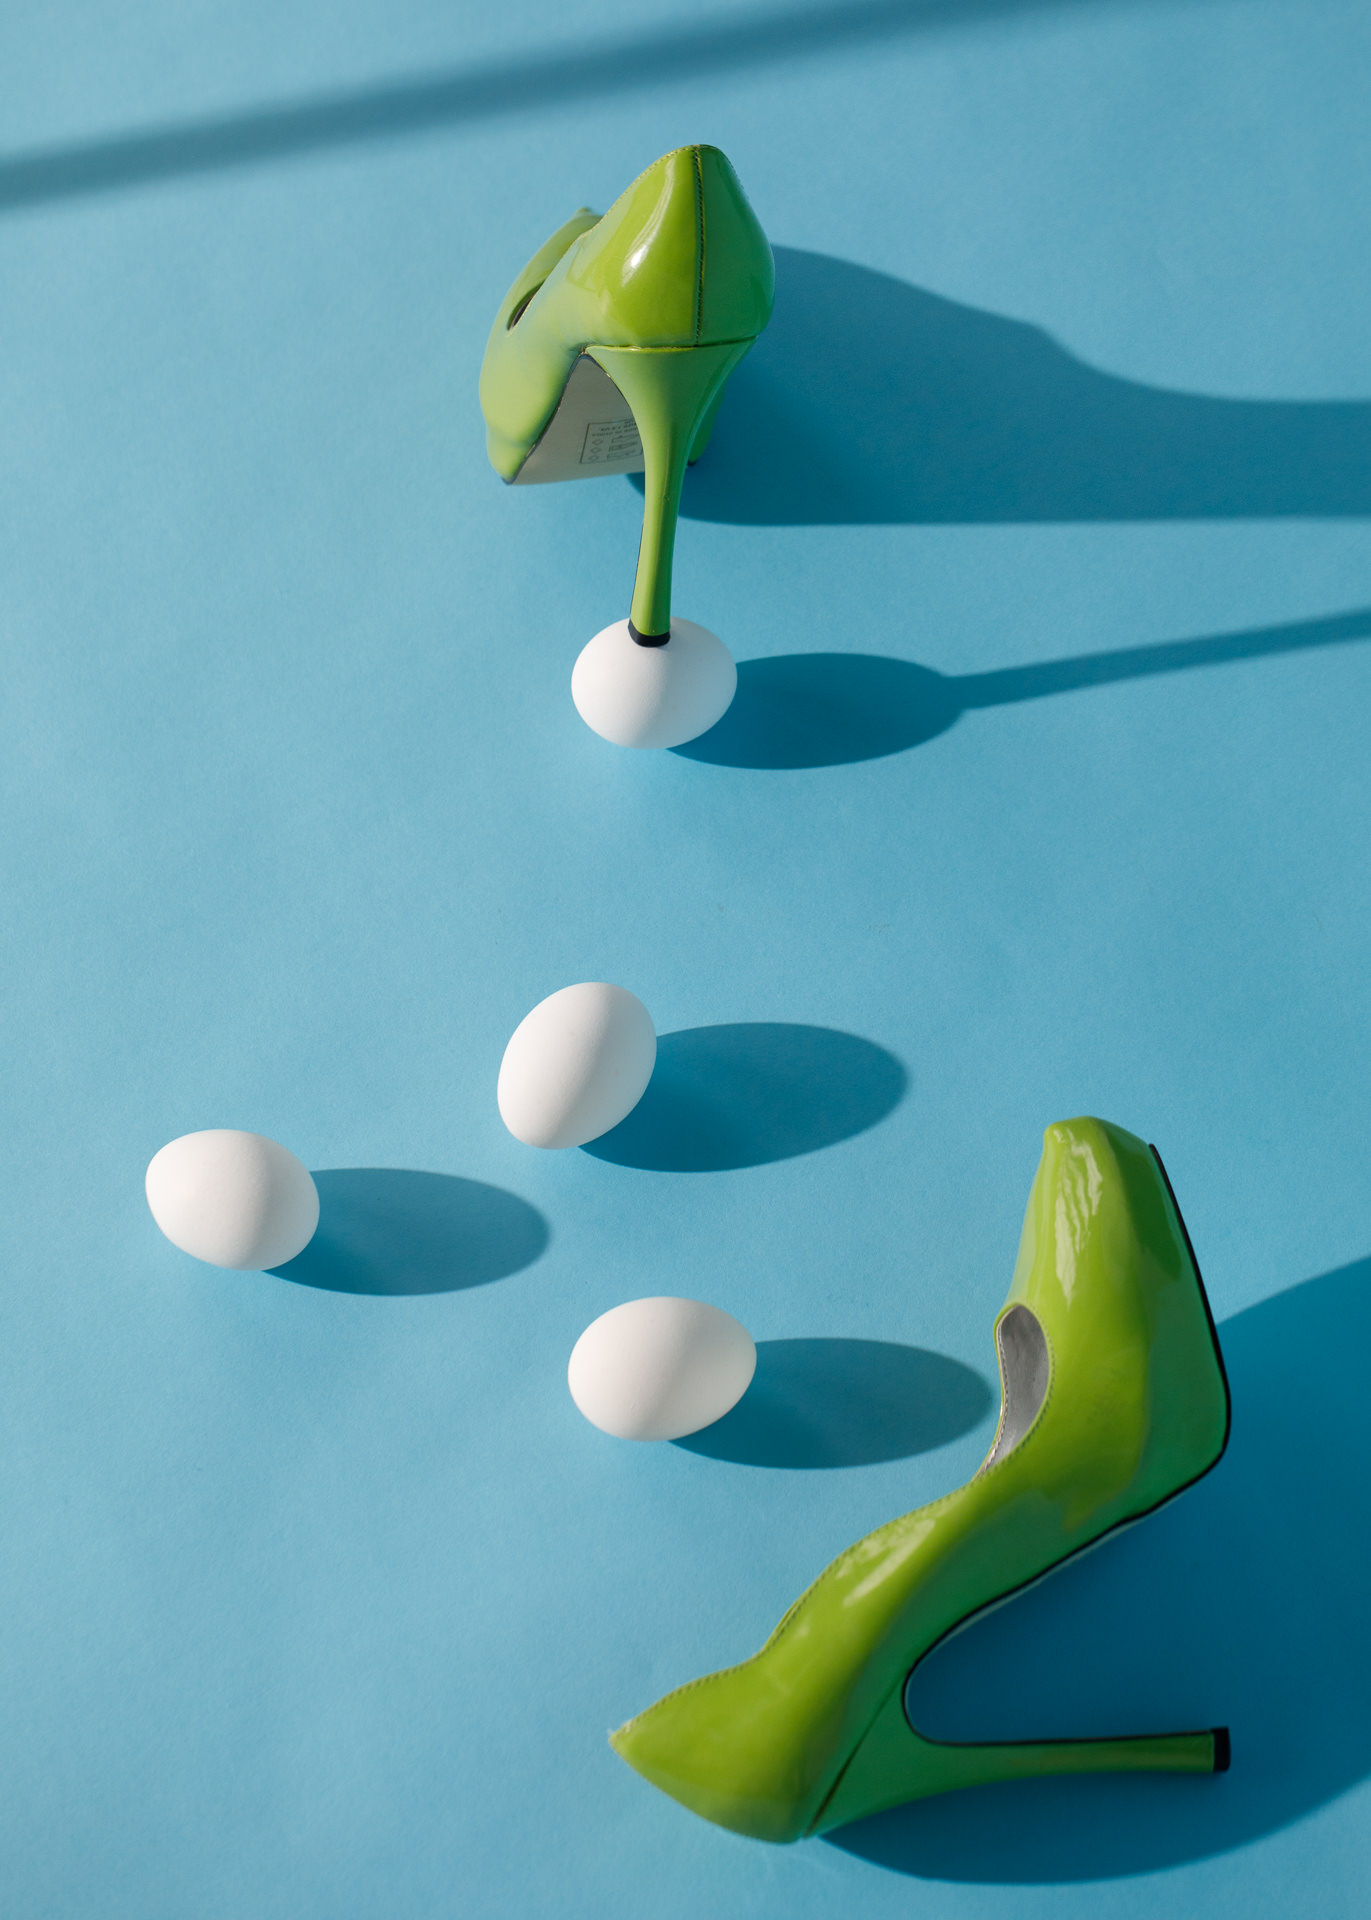
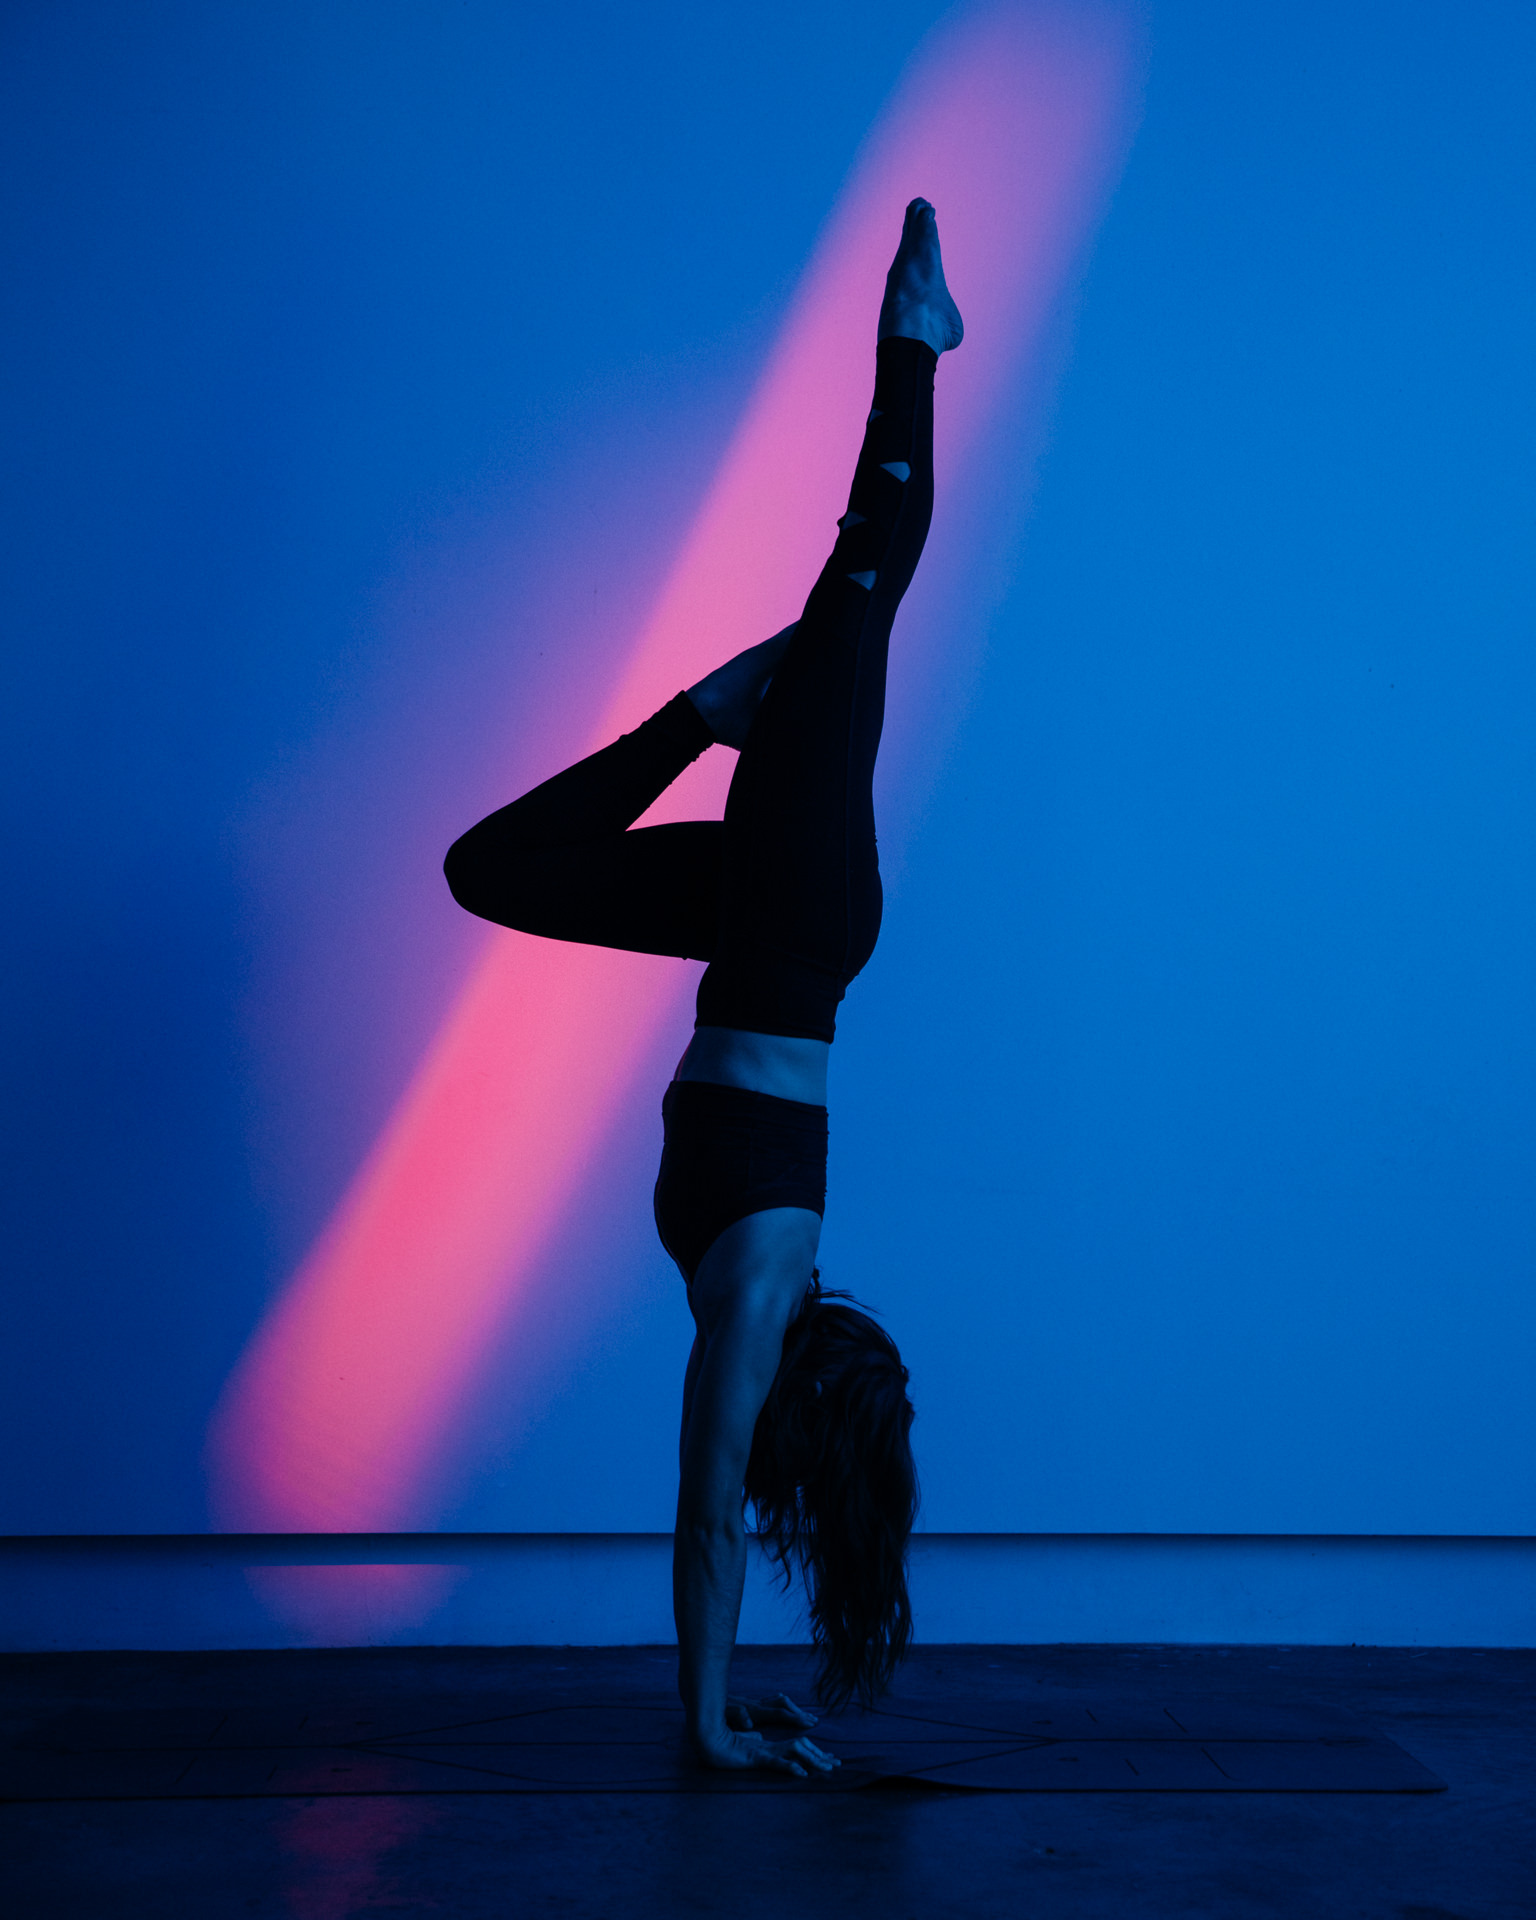
Here's the full collaboration with fellow photographer, Abbey Turner. She is currently fighting Hodgkin's Lymphoma, and this photo series was an attempt to visualize some of the realities of life for her through this time. Abbey was kind enough to write a bit to describe some of her thought process that the photos represent.

On a personal level, being trusted to tell stories that are important is really a lot of what photography is about for me. The storytelling aspect is one that I know I can grow a lot in, but I hope to keep getting those opportunities. There's the old trope about a camera being able to steal your soul, but I think the chances are overstated. Making a photo with soul is one of the hardest things I've ever tried to do.

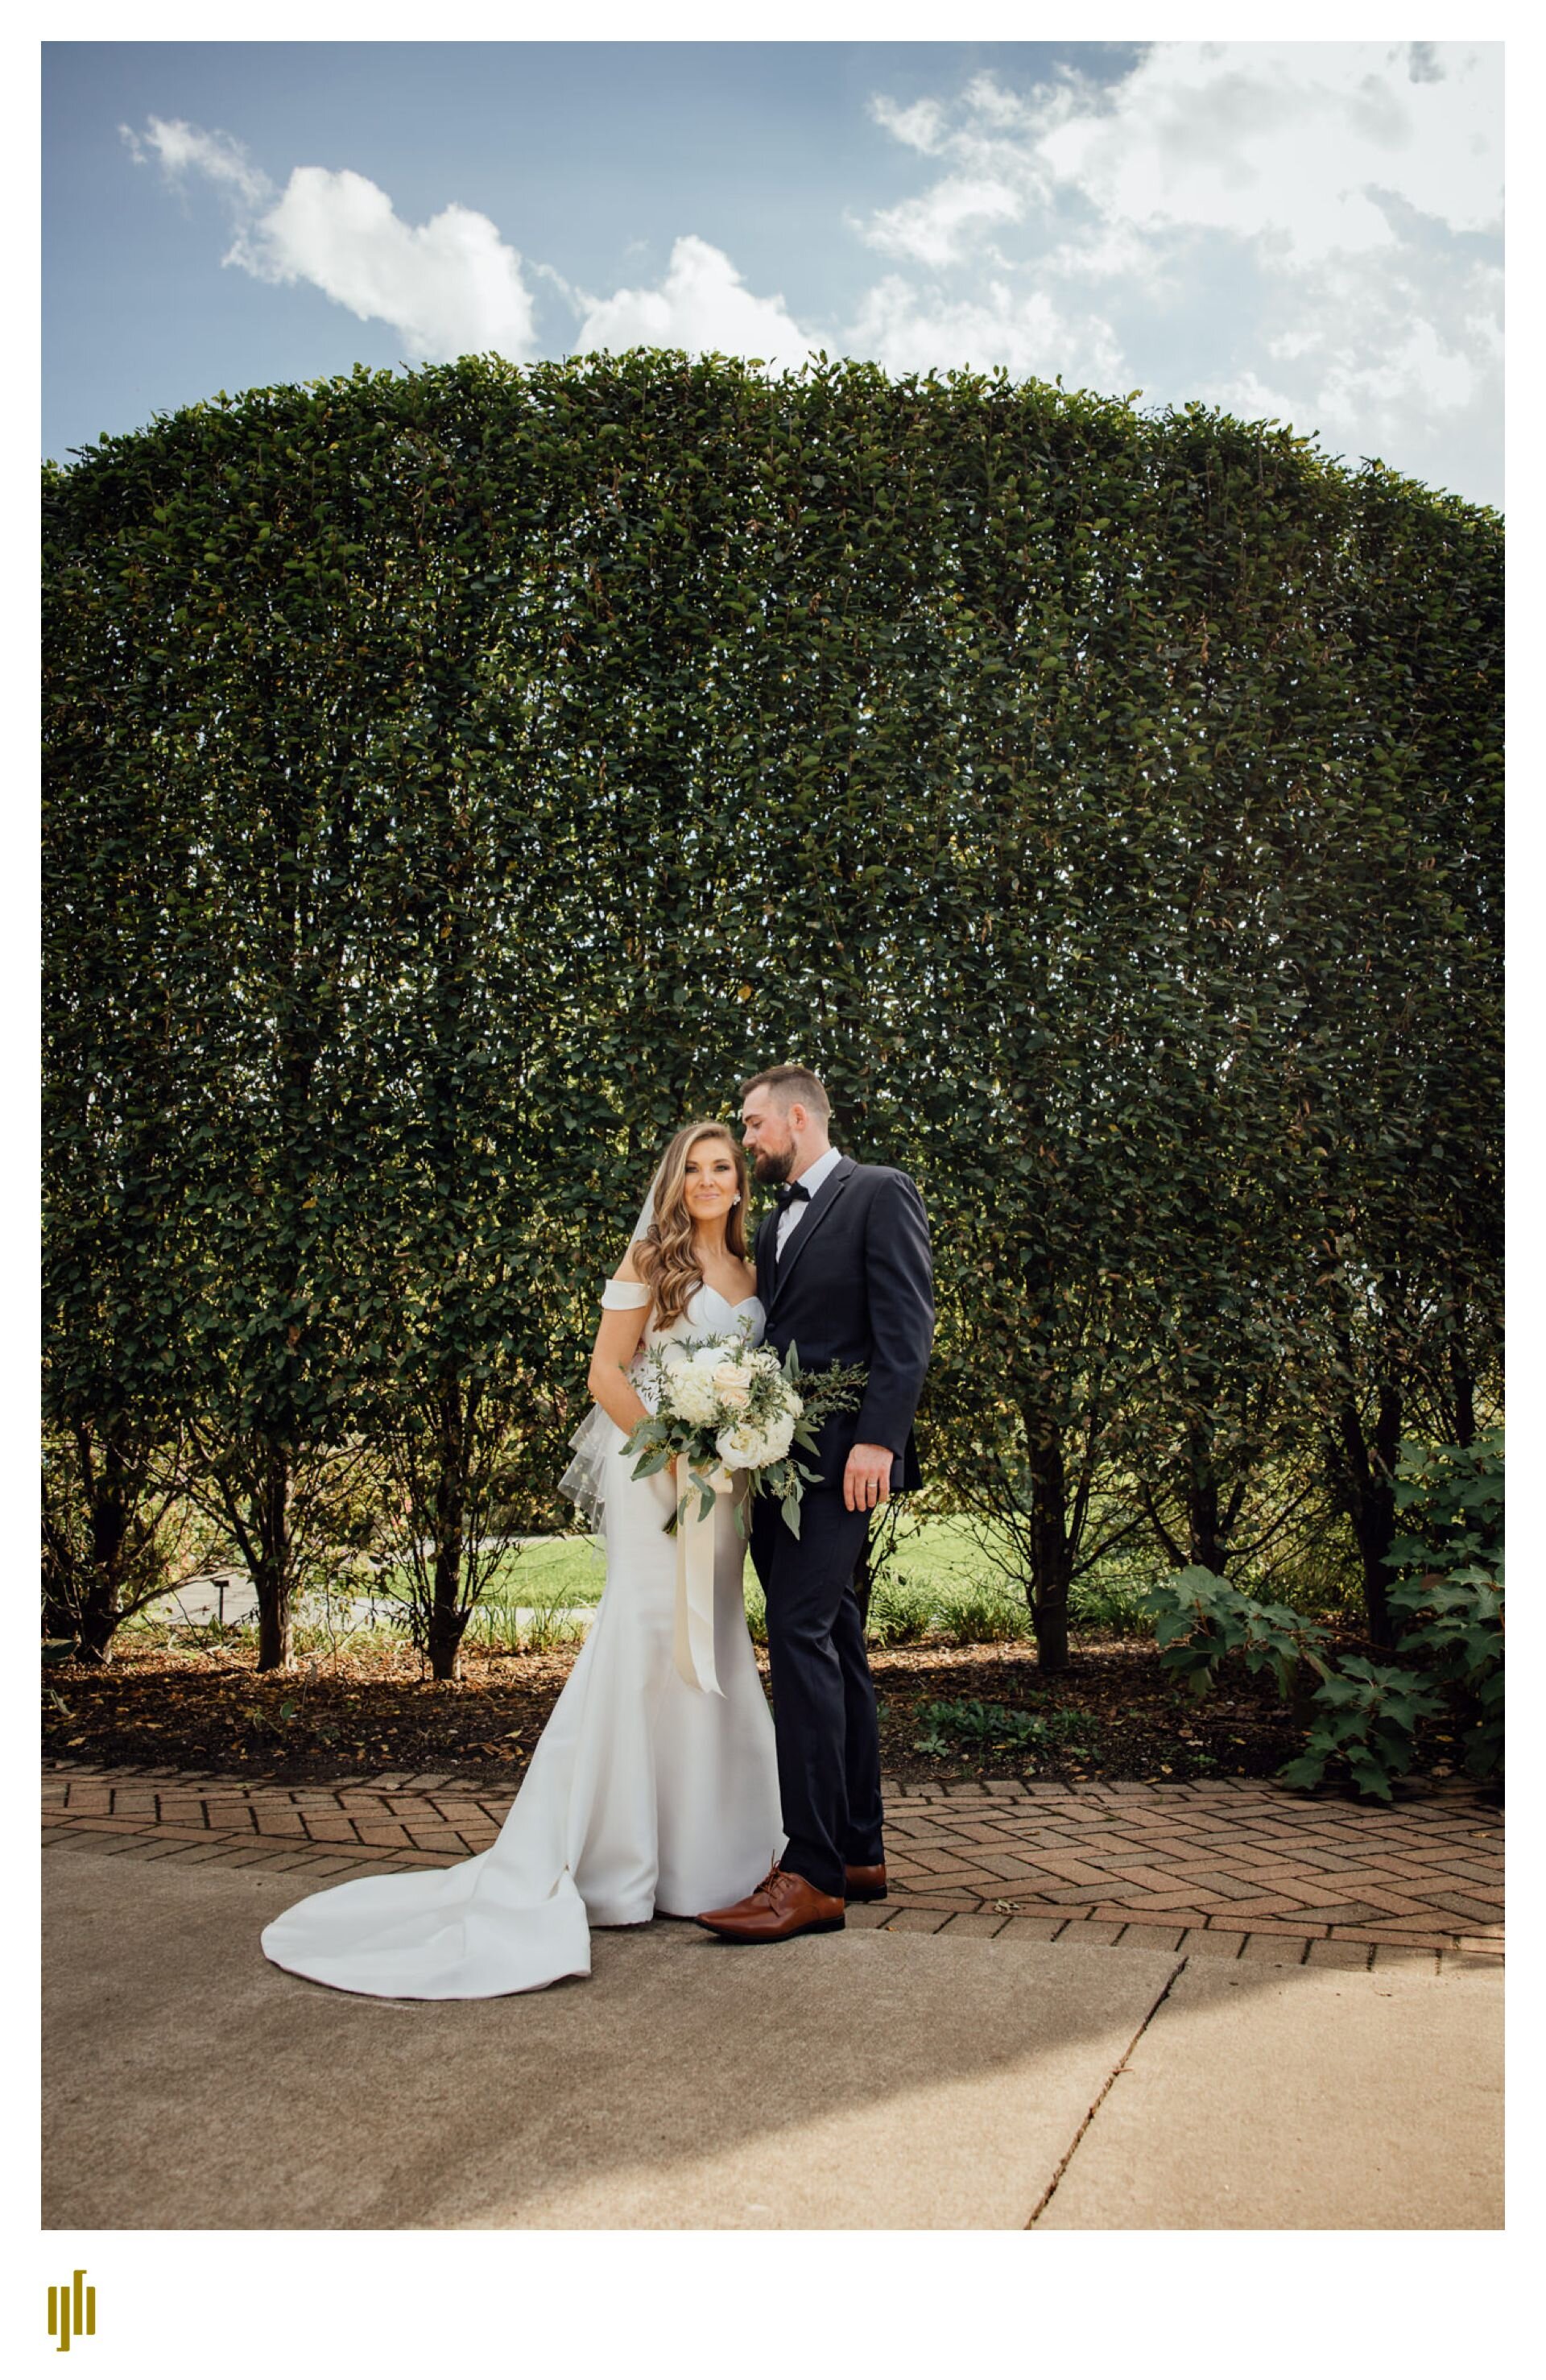
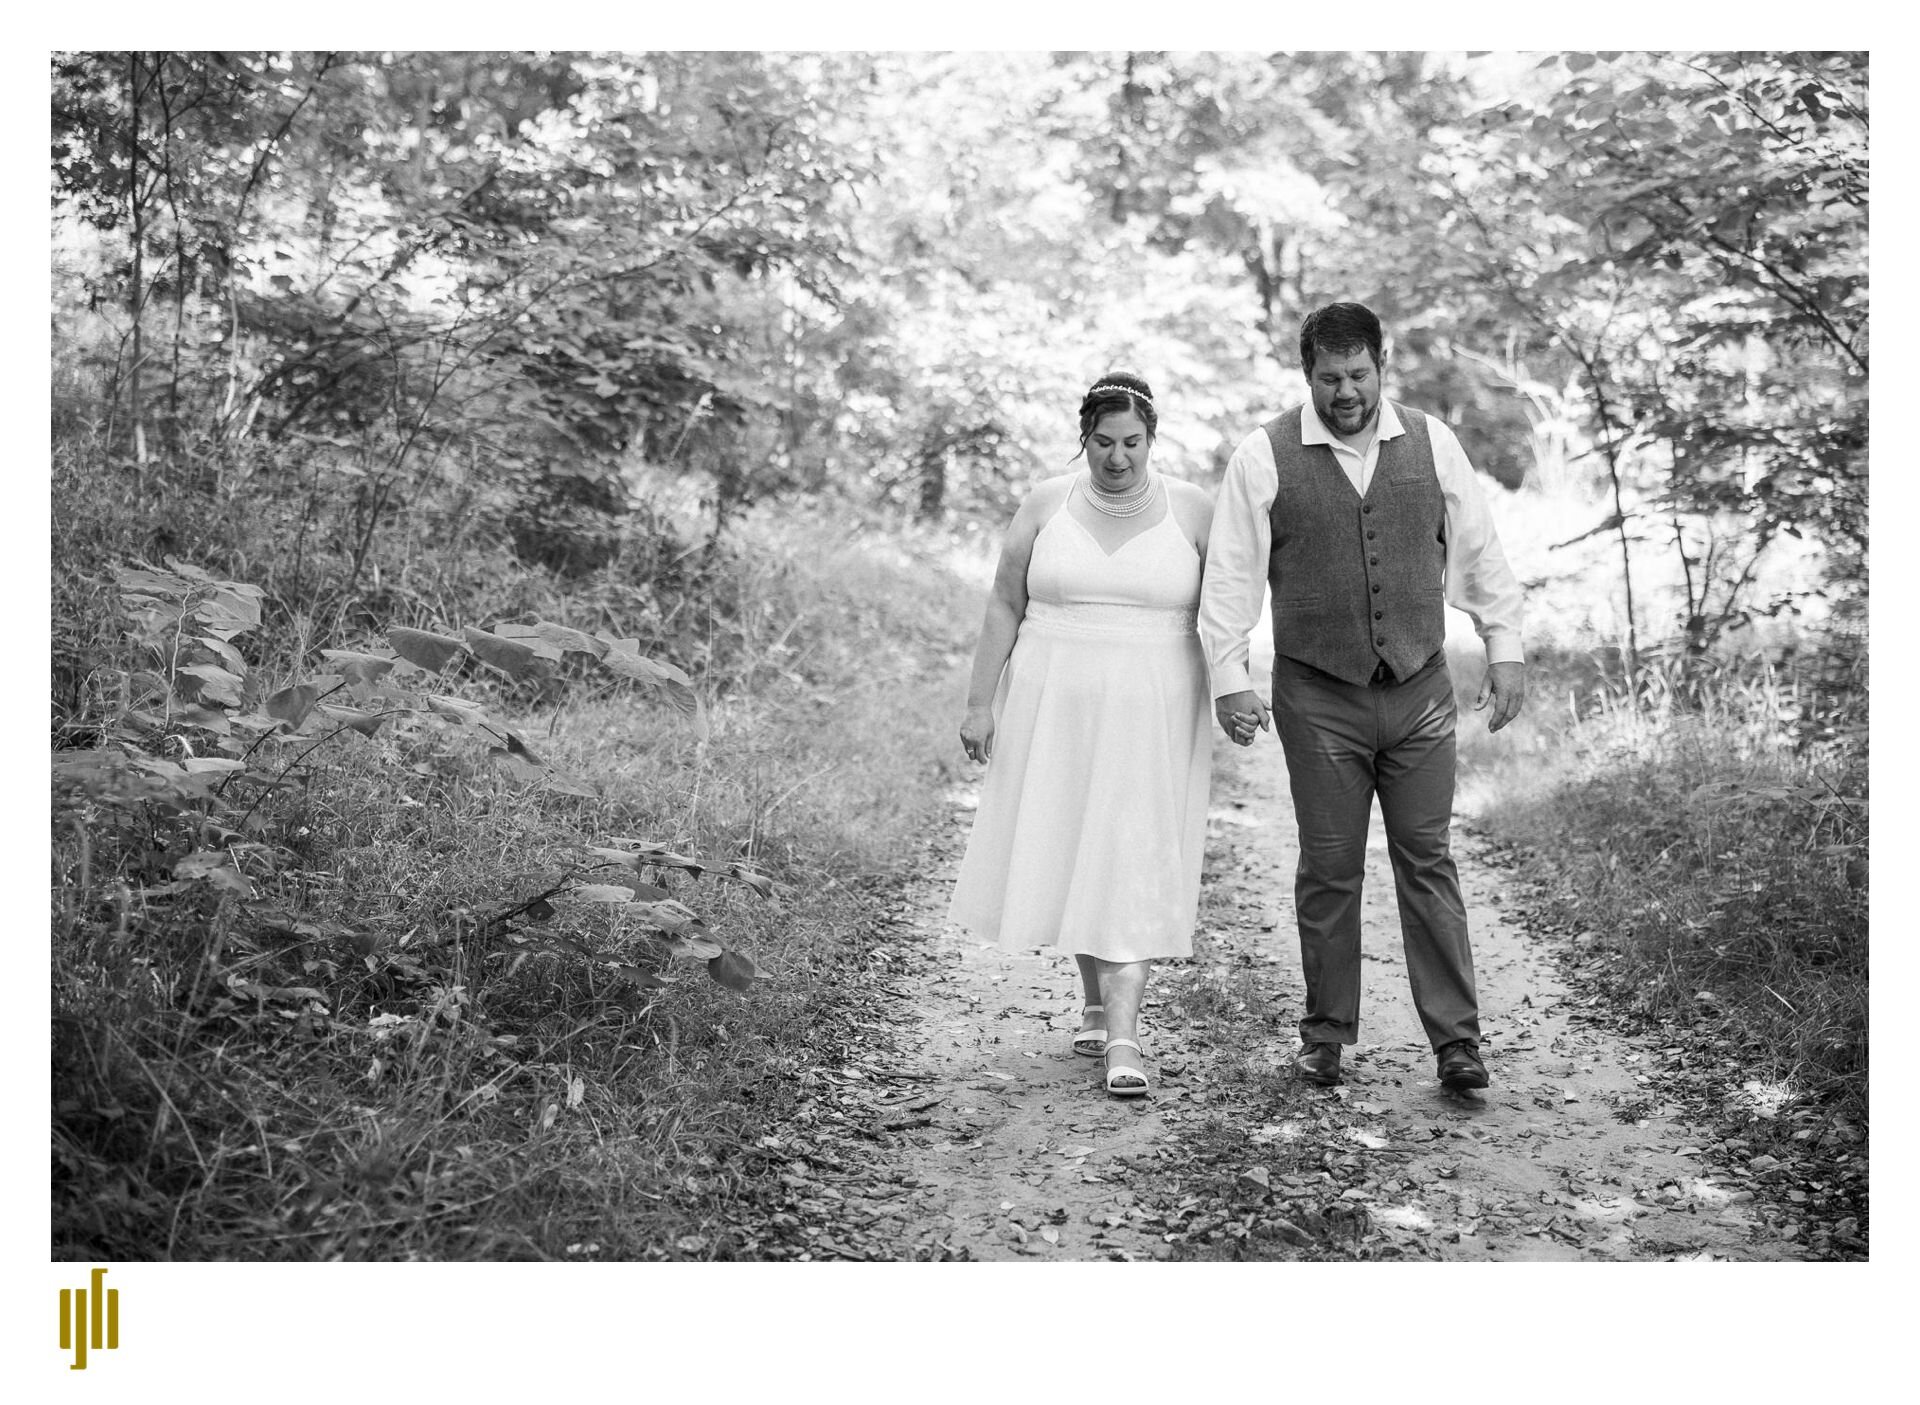
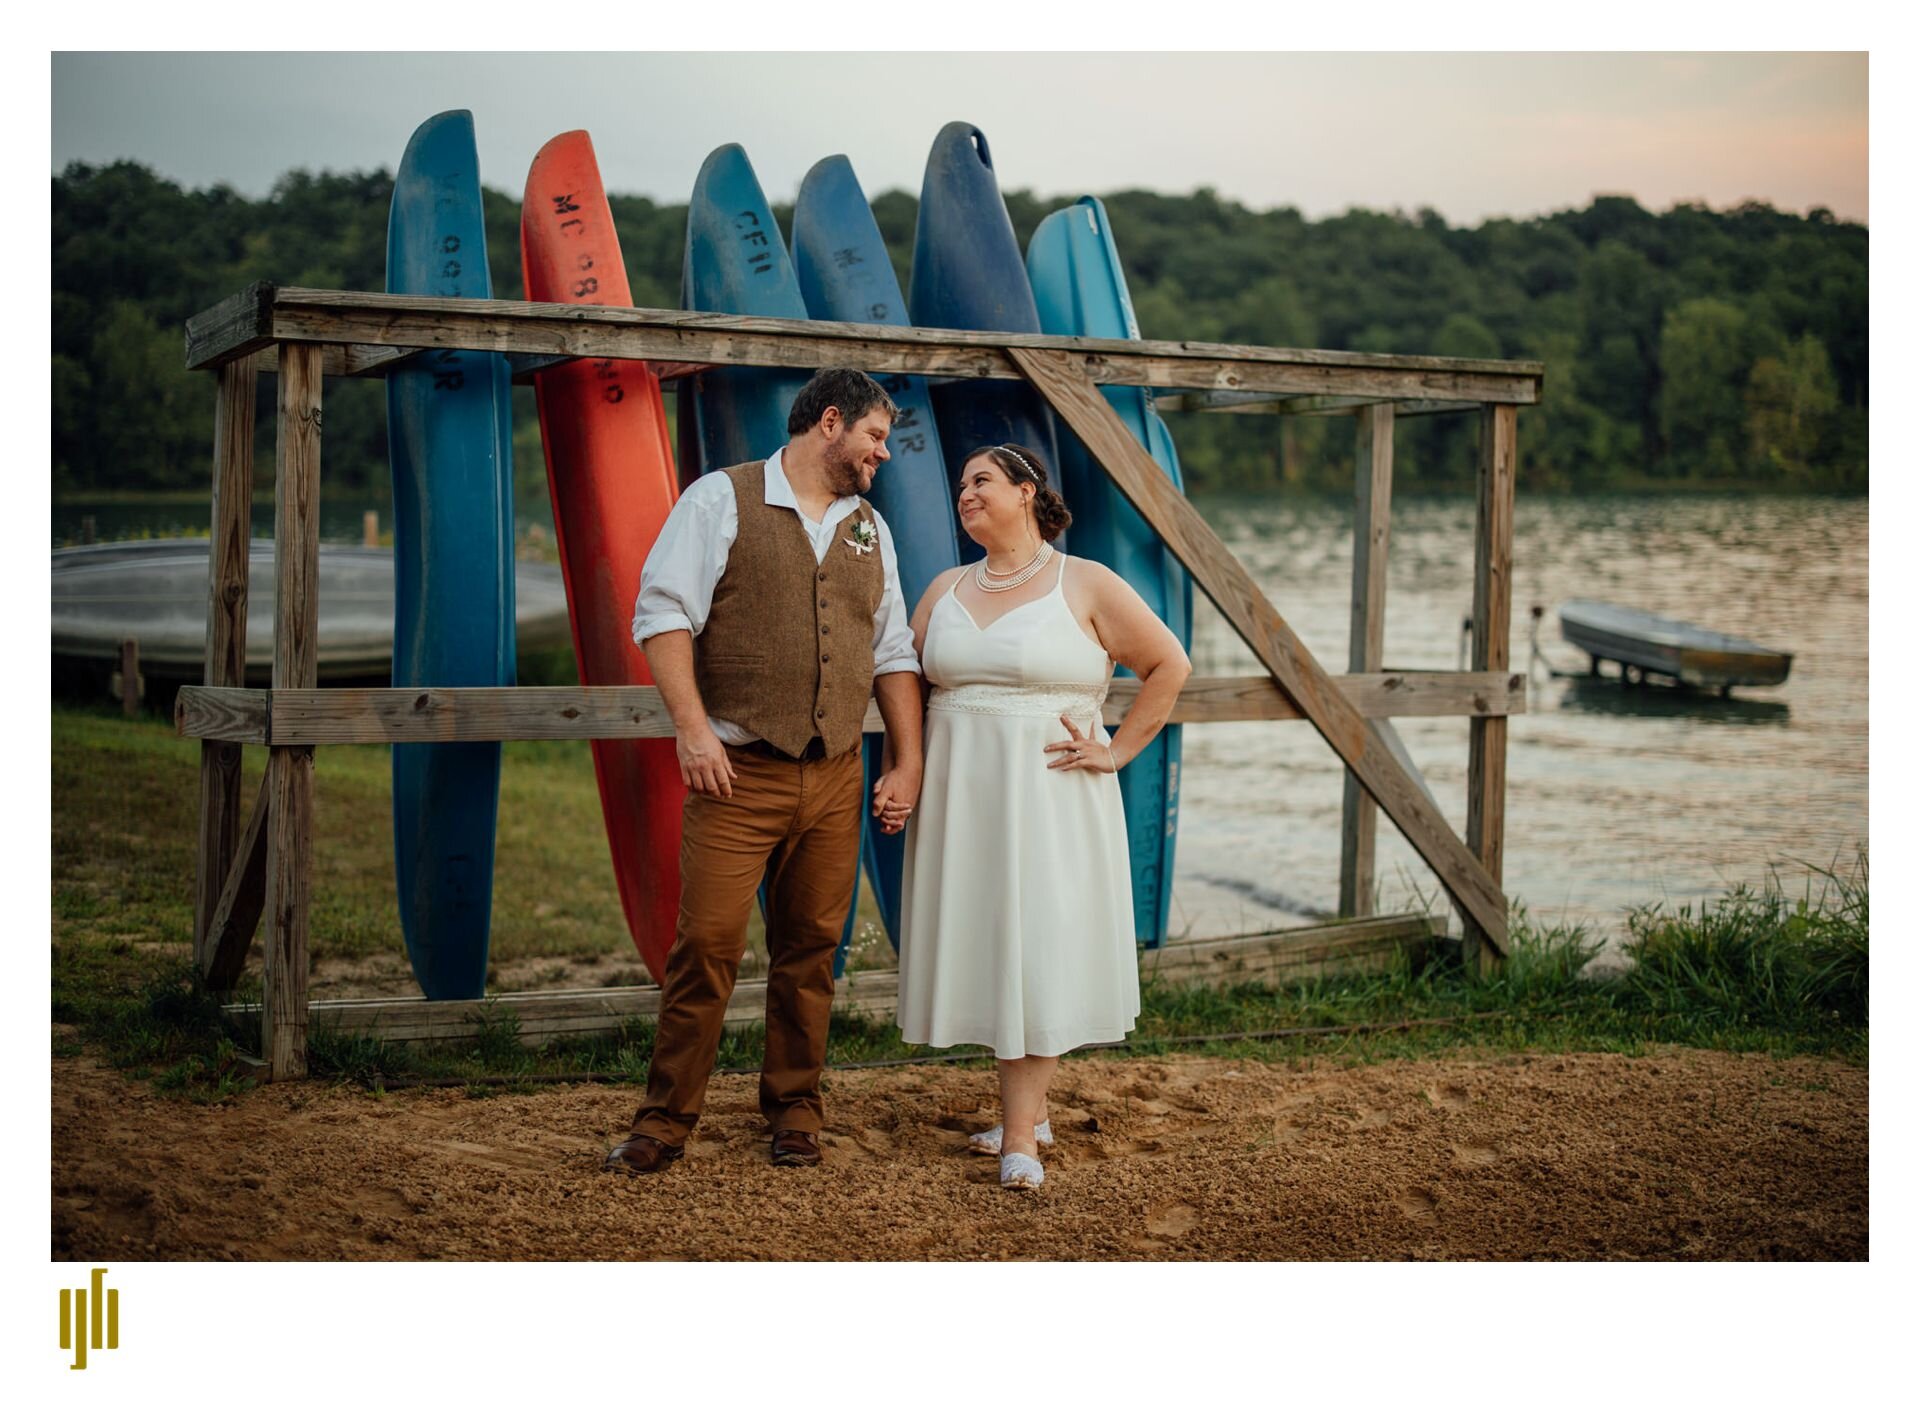
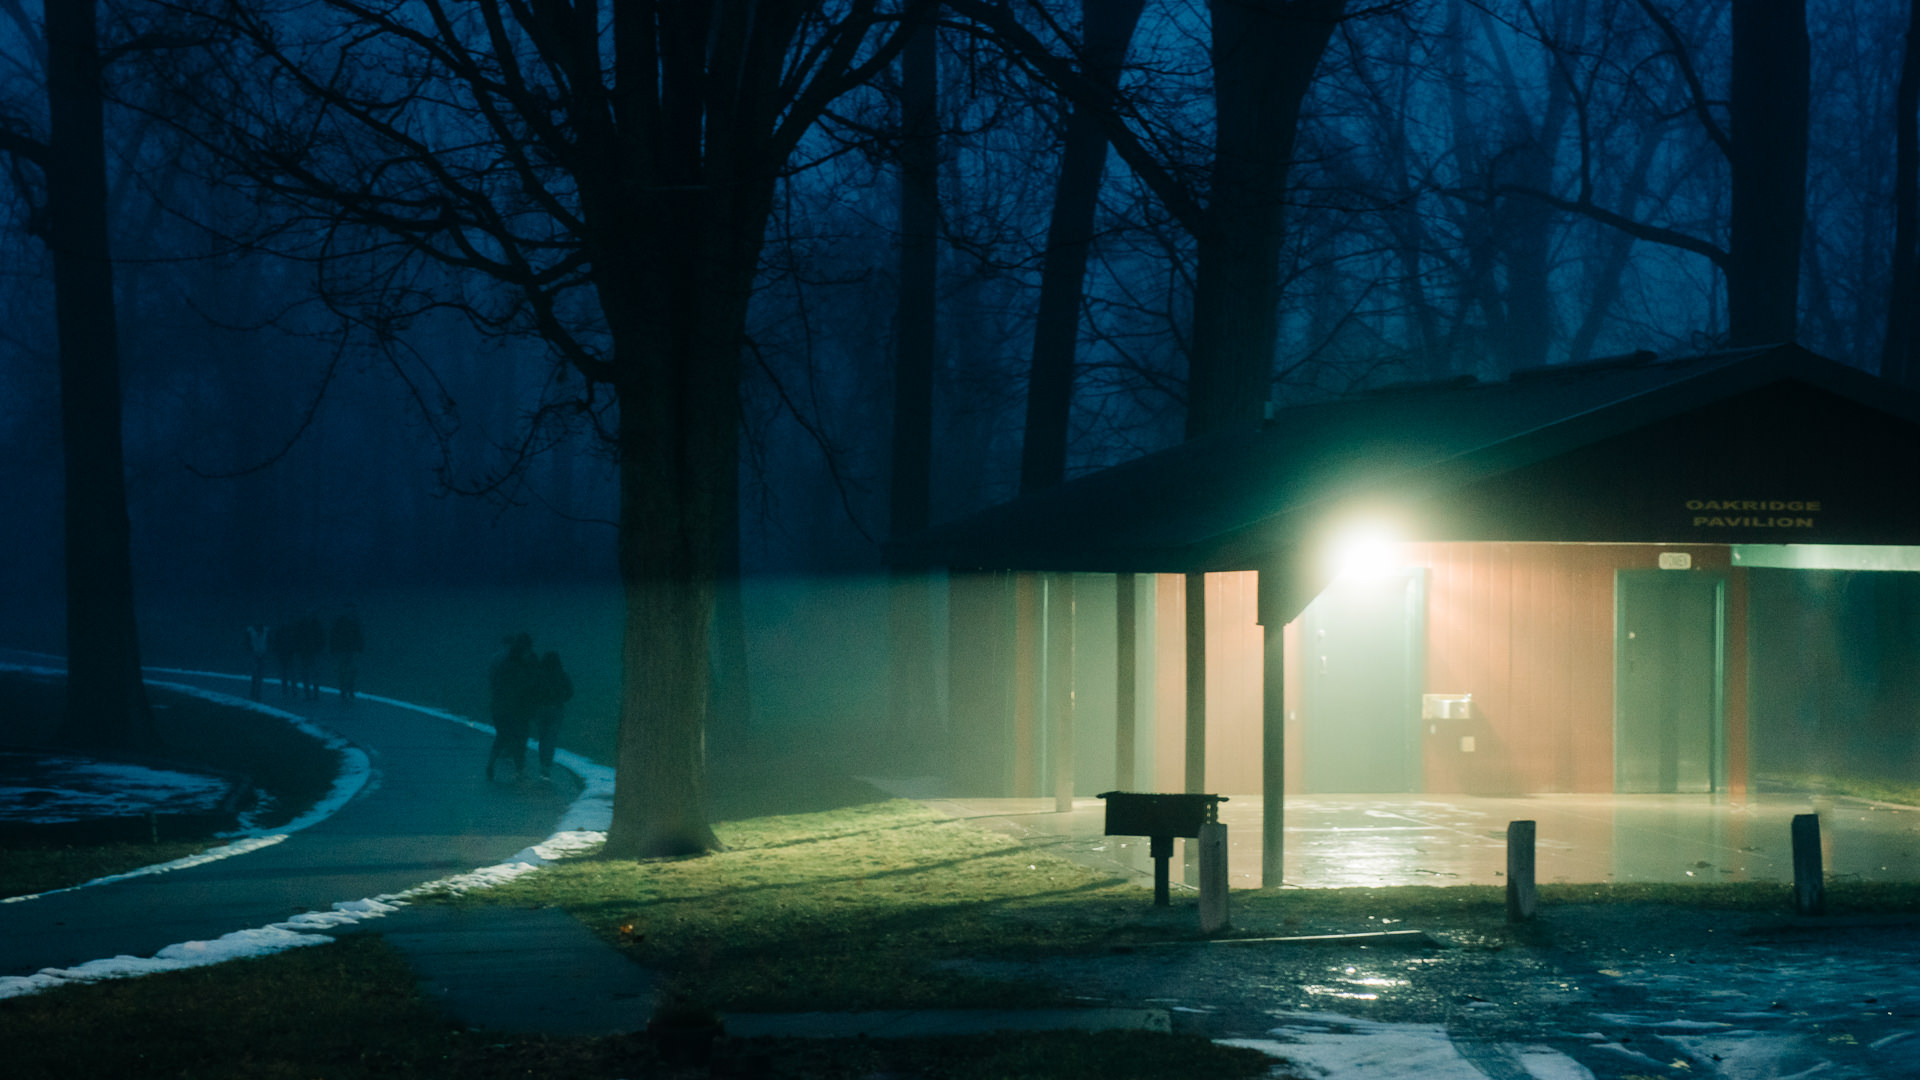
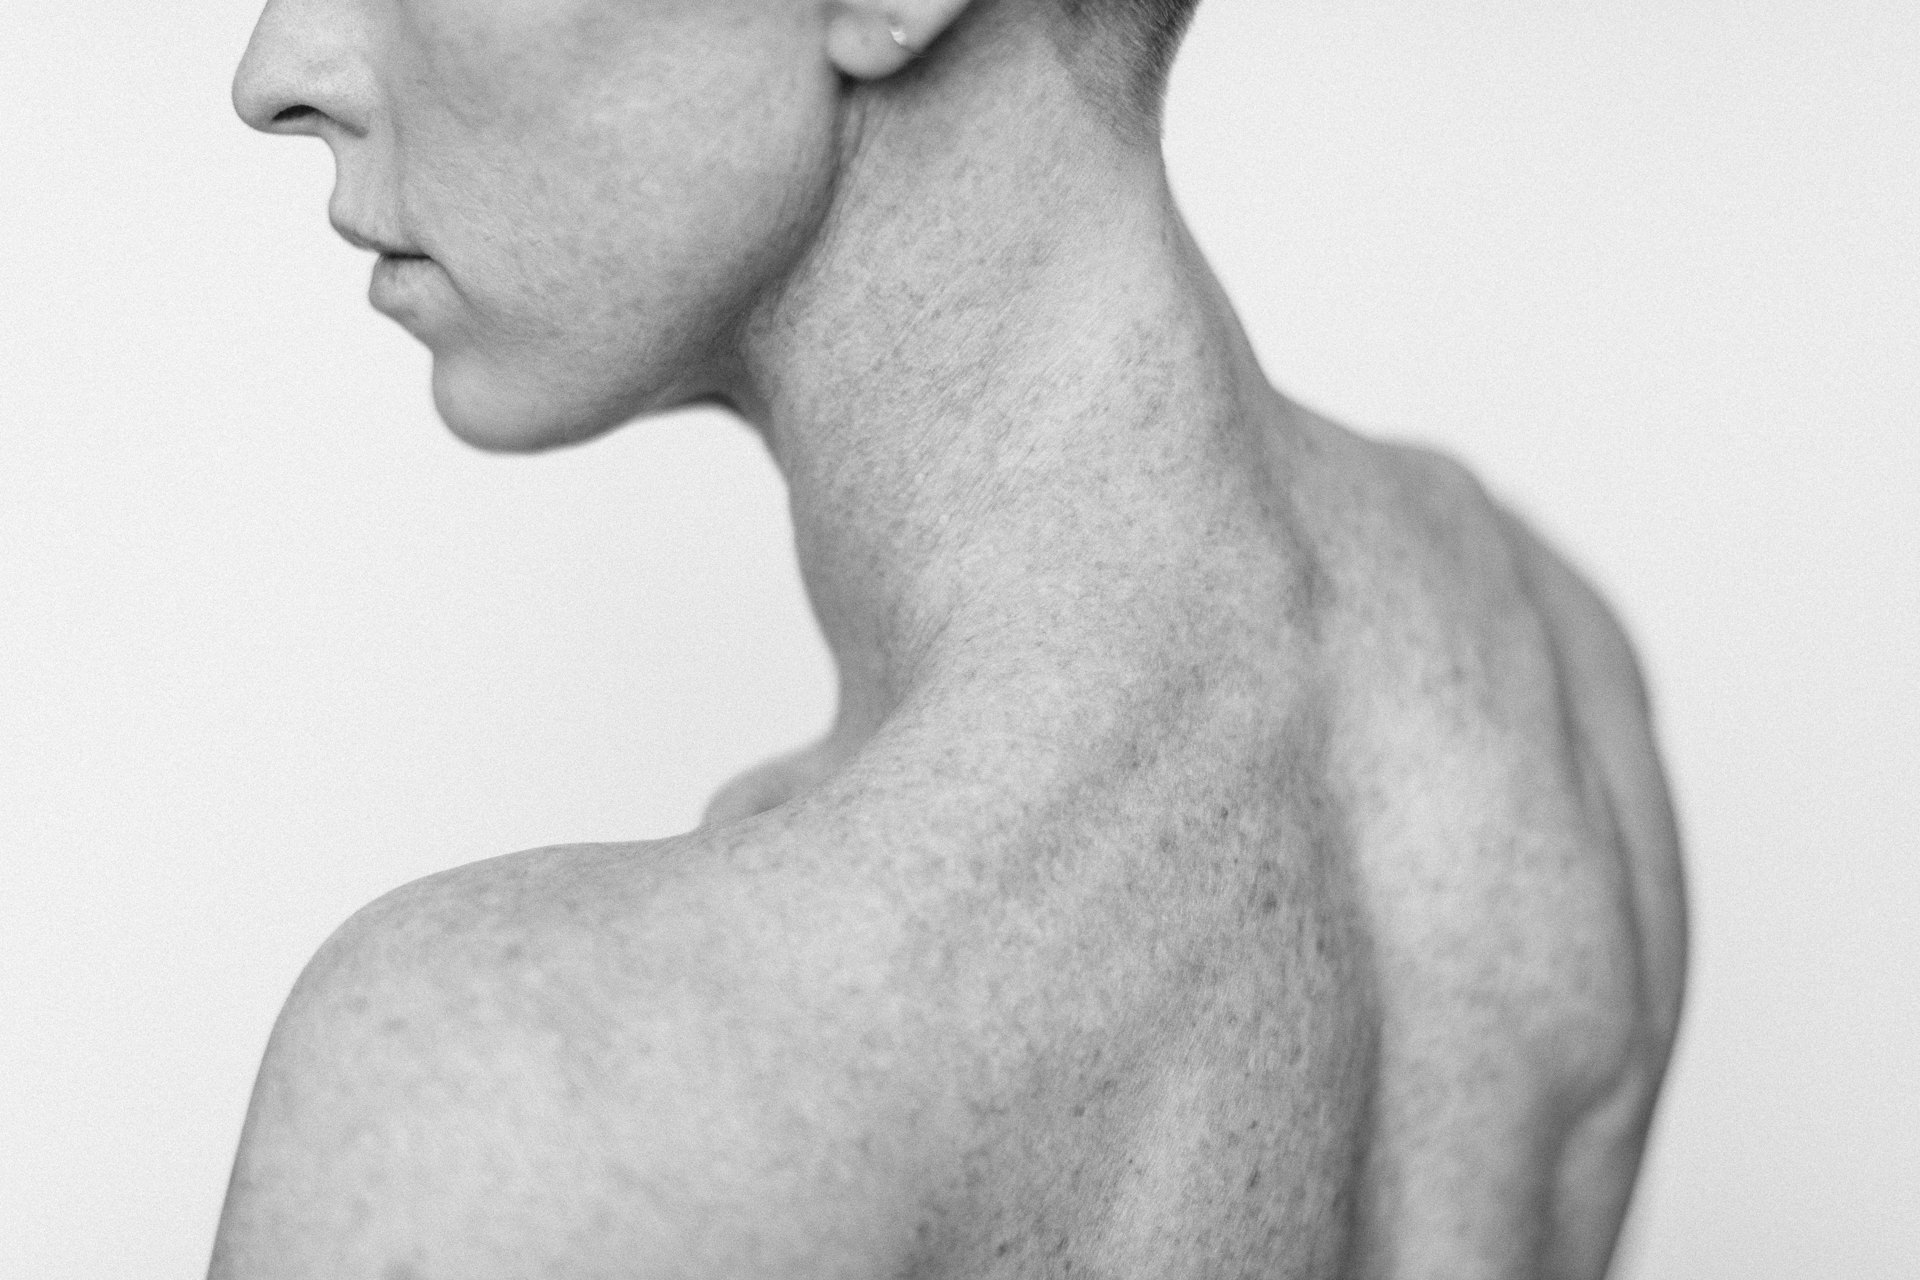
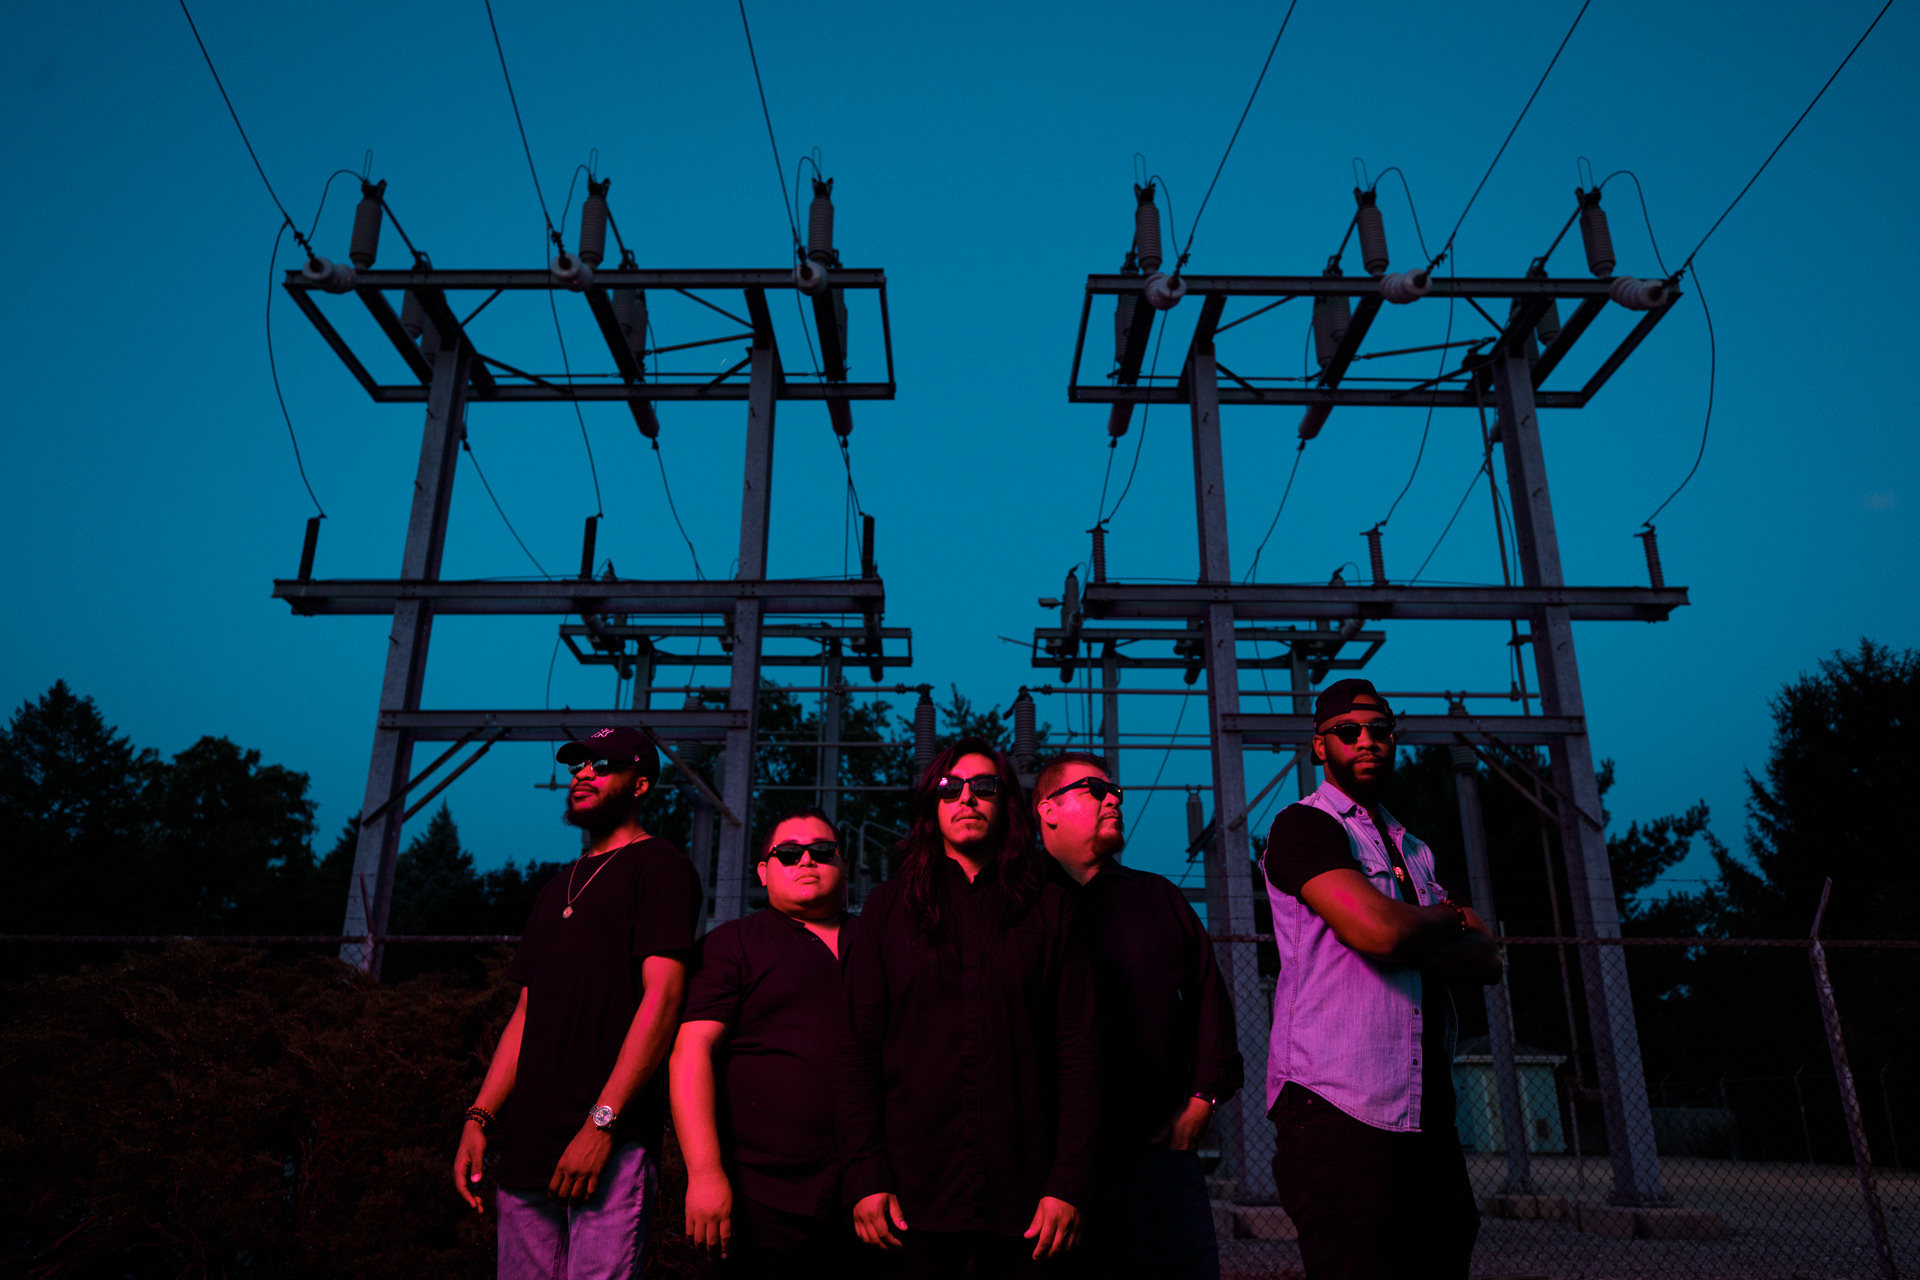
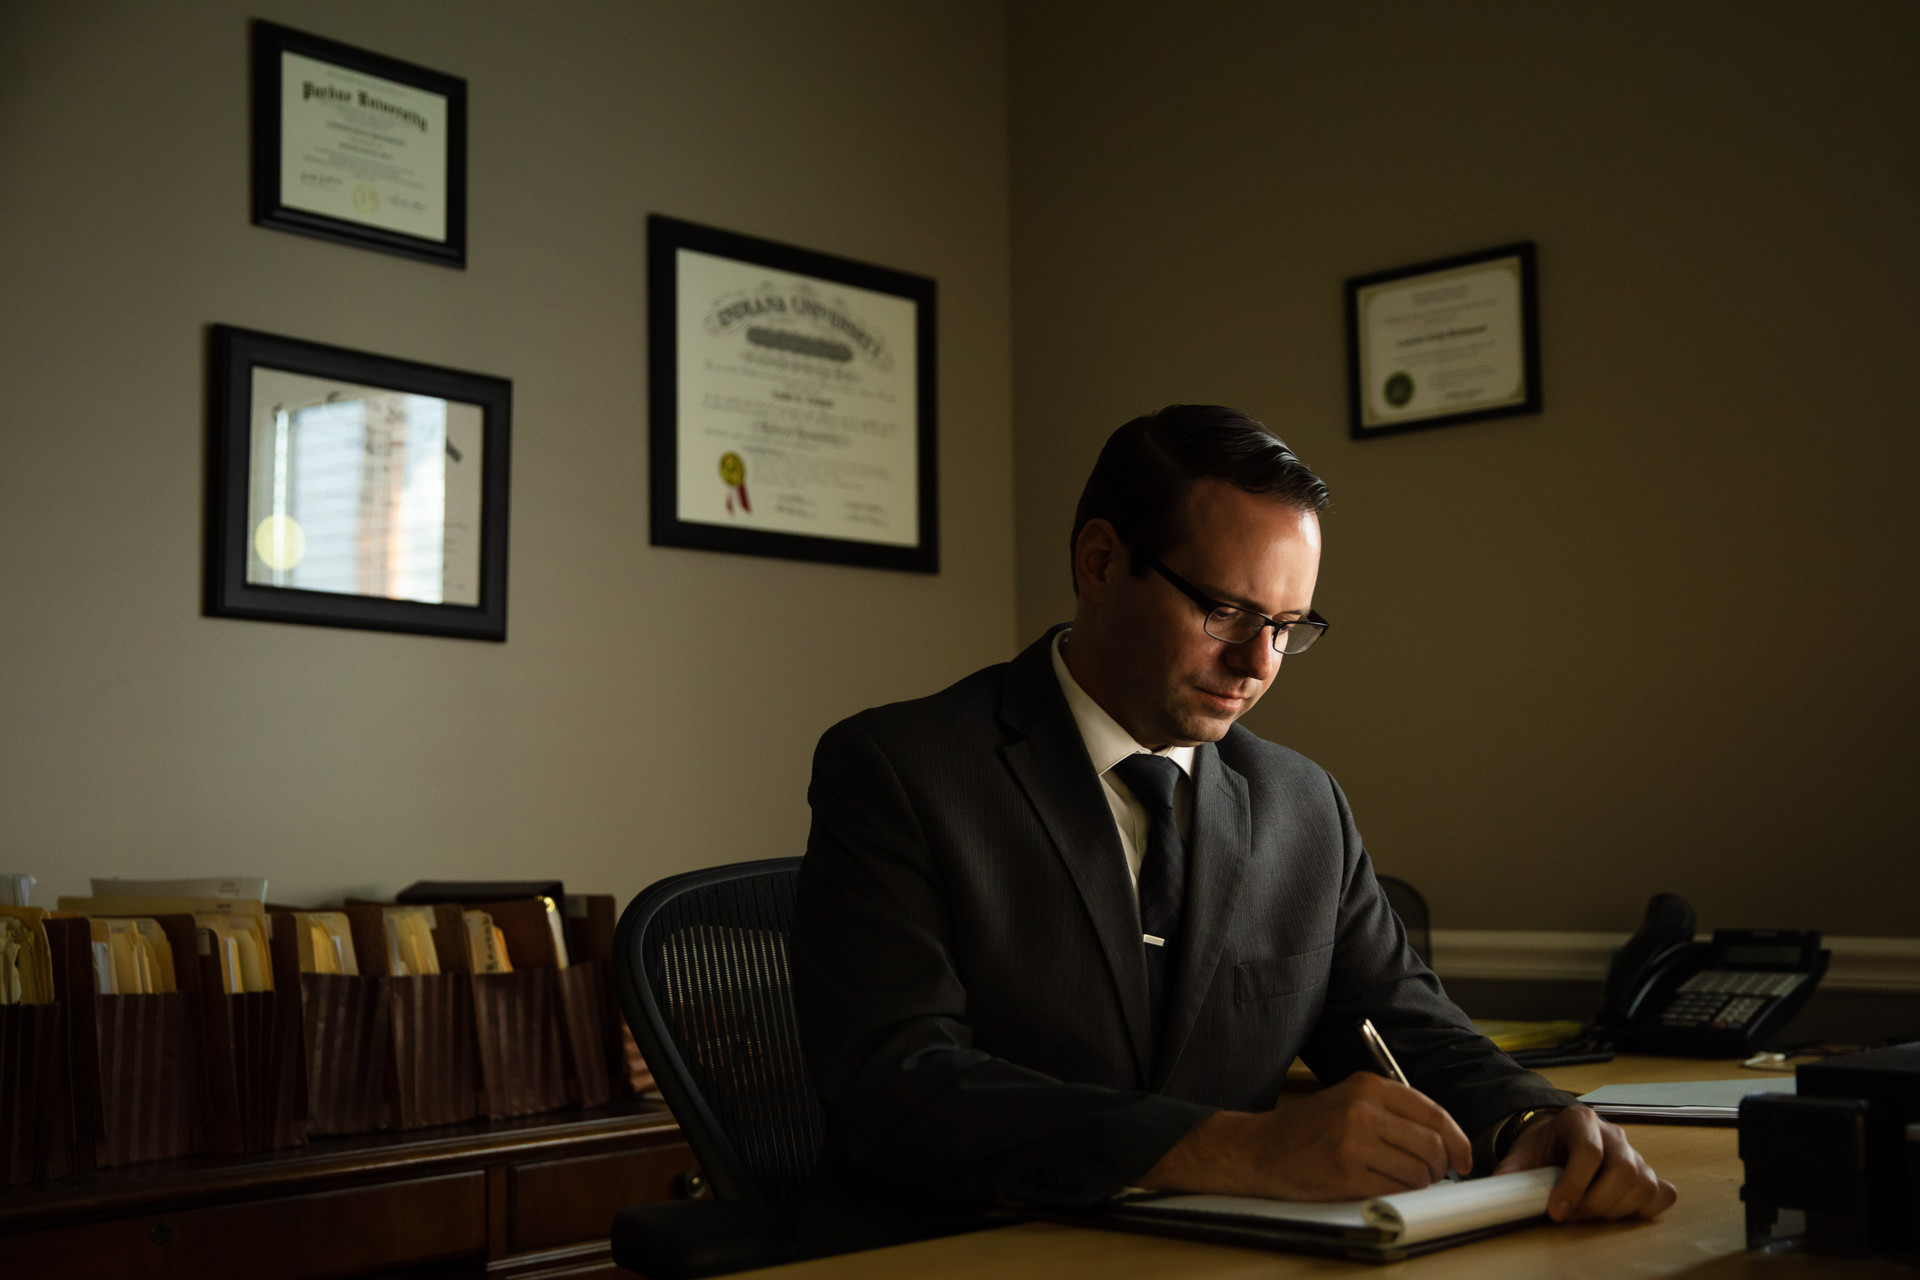
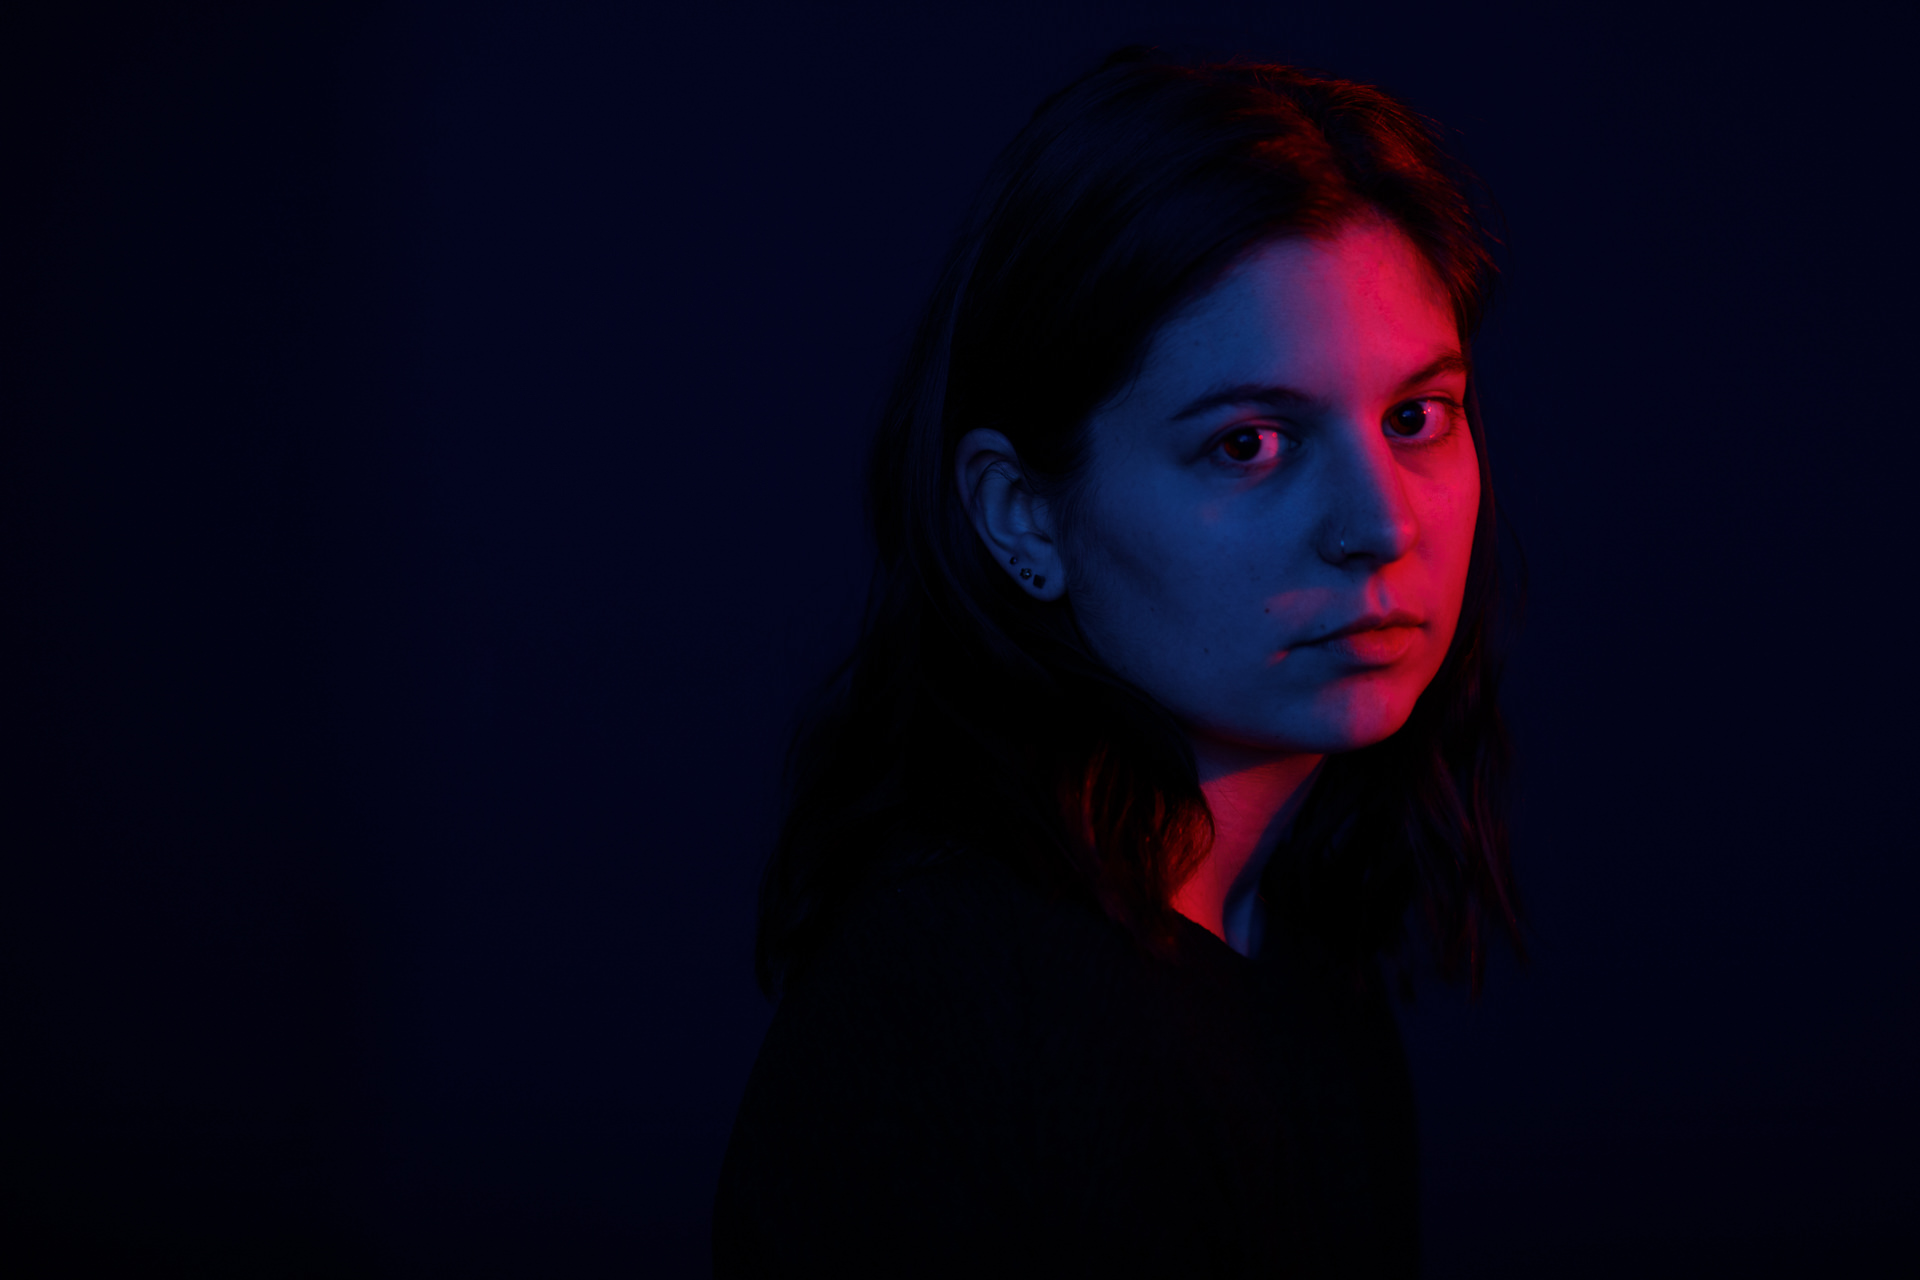
1/4 “The first thing they did when I went in for chemo was weigh me to dose the exact amount of chemo drugs needed to kill all the new cells in my body without stopping my heart. For me it’s about loss of identity and the body, and about the dance I feel like I’m doing crossing over between life and death. Since my chemo was every two weeks, I would have one week barely able to see or move, and one week trying to be normal and deal with mundanity of catching up to life. With the brain fog and memory loss I experienced under chemo, I often felt like just a body being experimented on with needles and drugs. It felt like a lot of time my brain was missing or my cognitive function and mental health was a slave to what my body had to go through.”

lymphoma photo shoot, Toledo Ohio

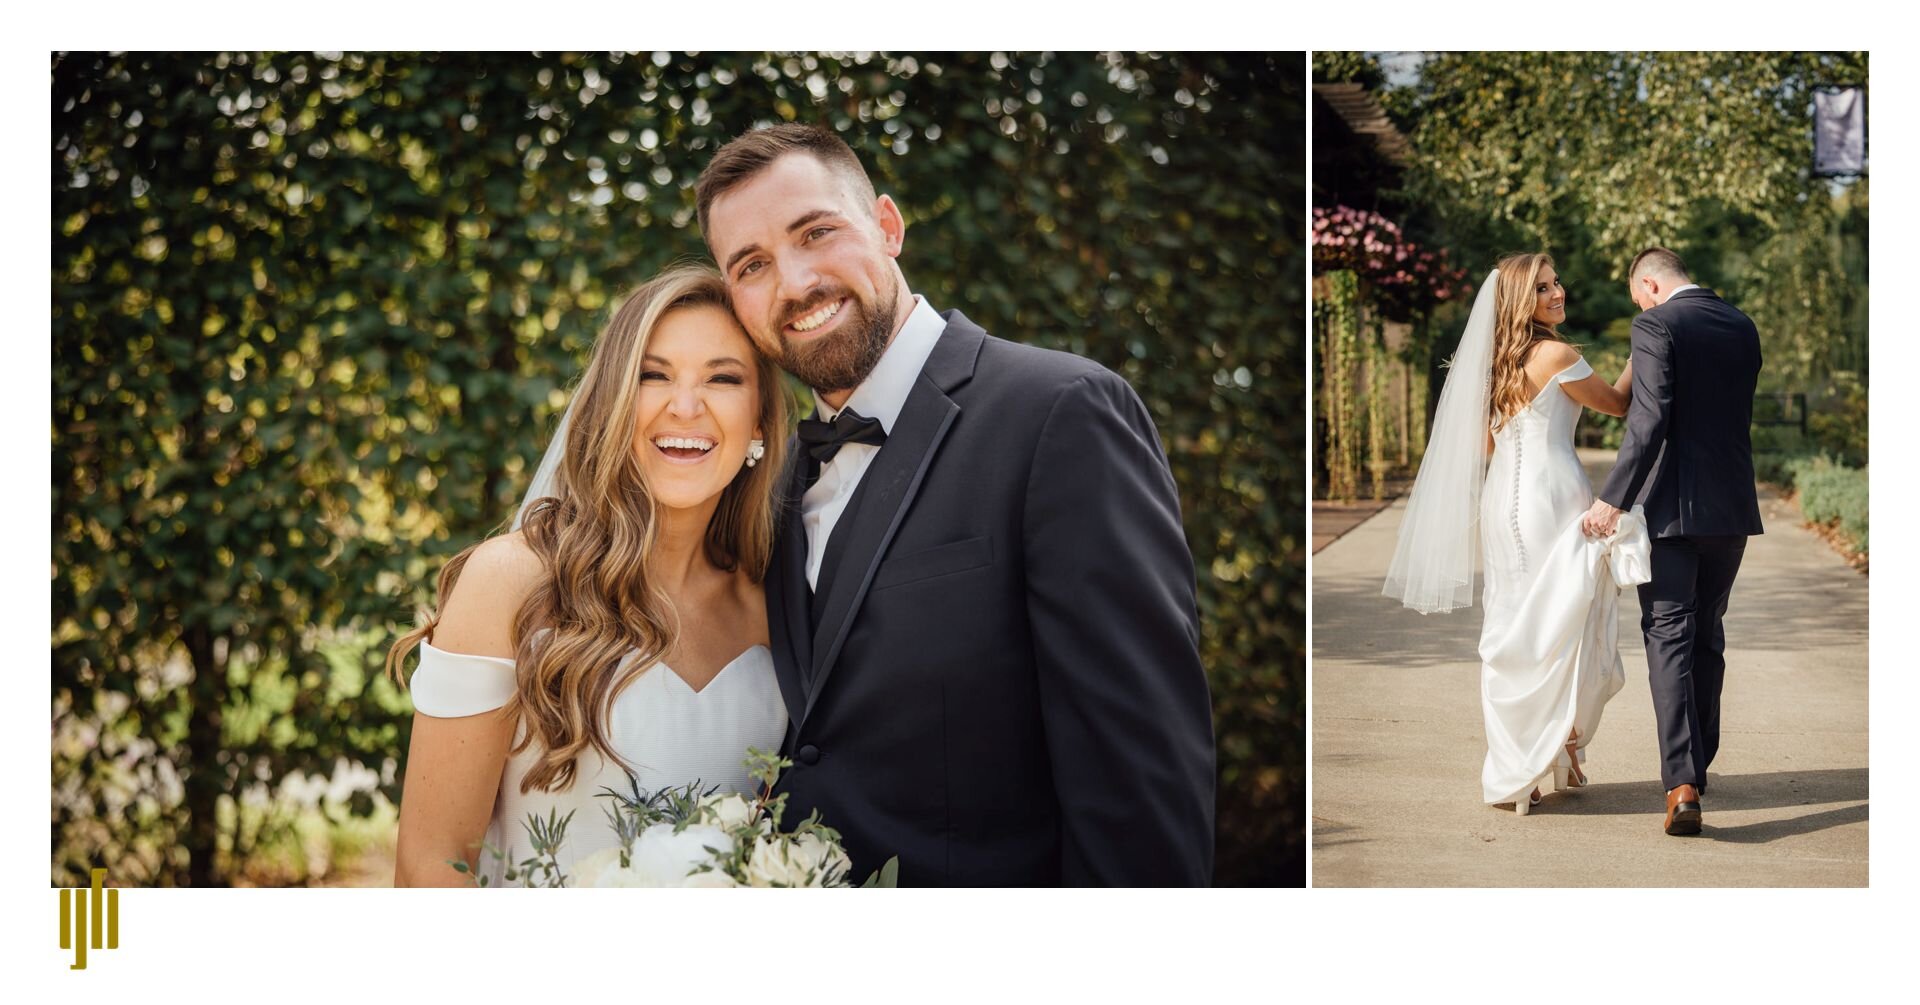
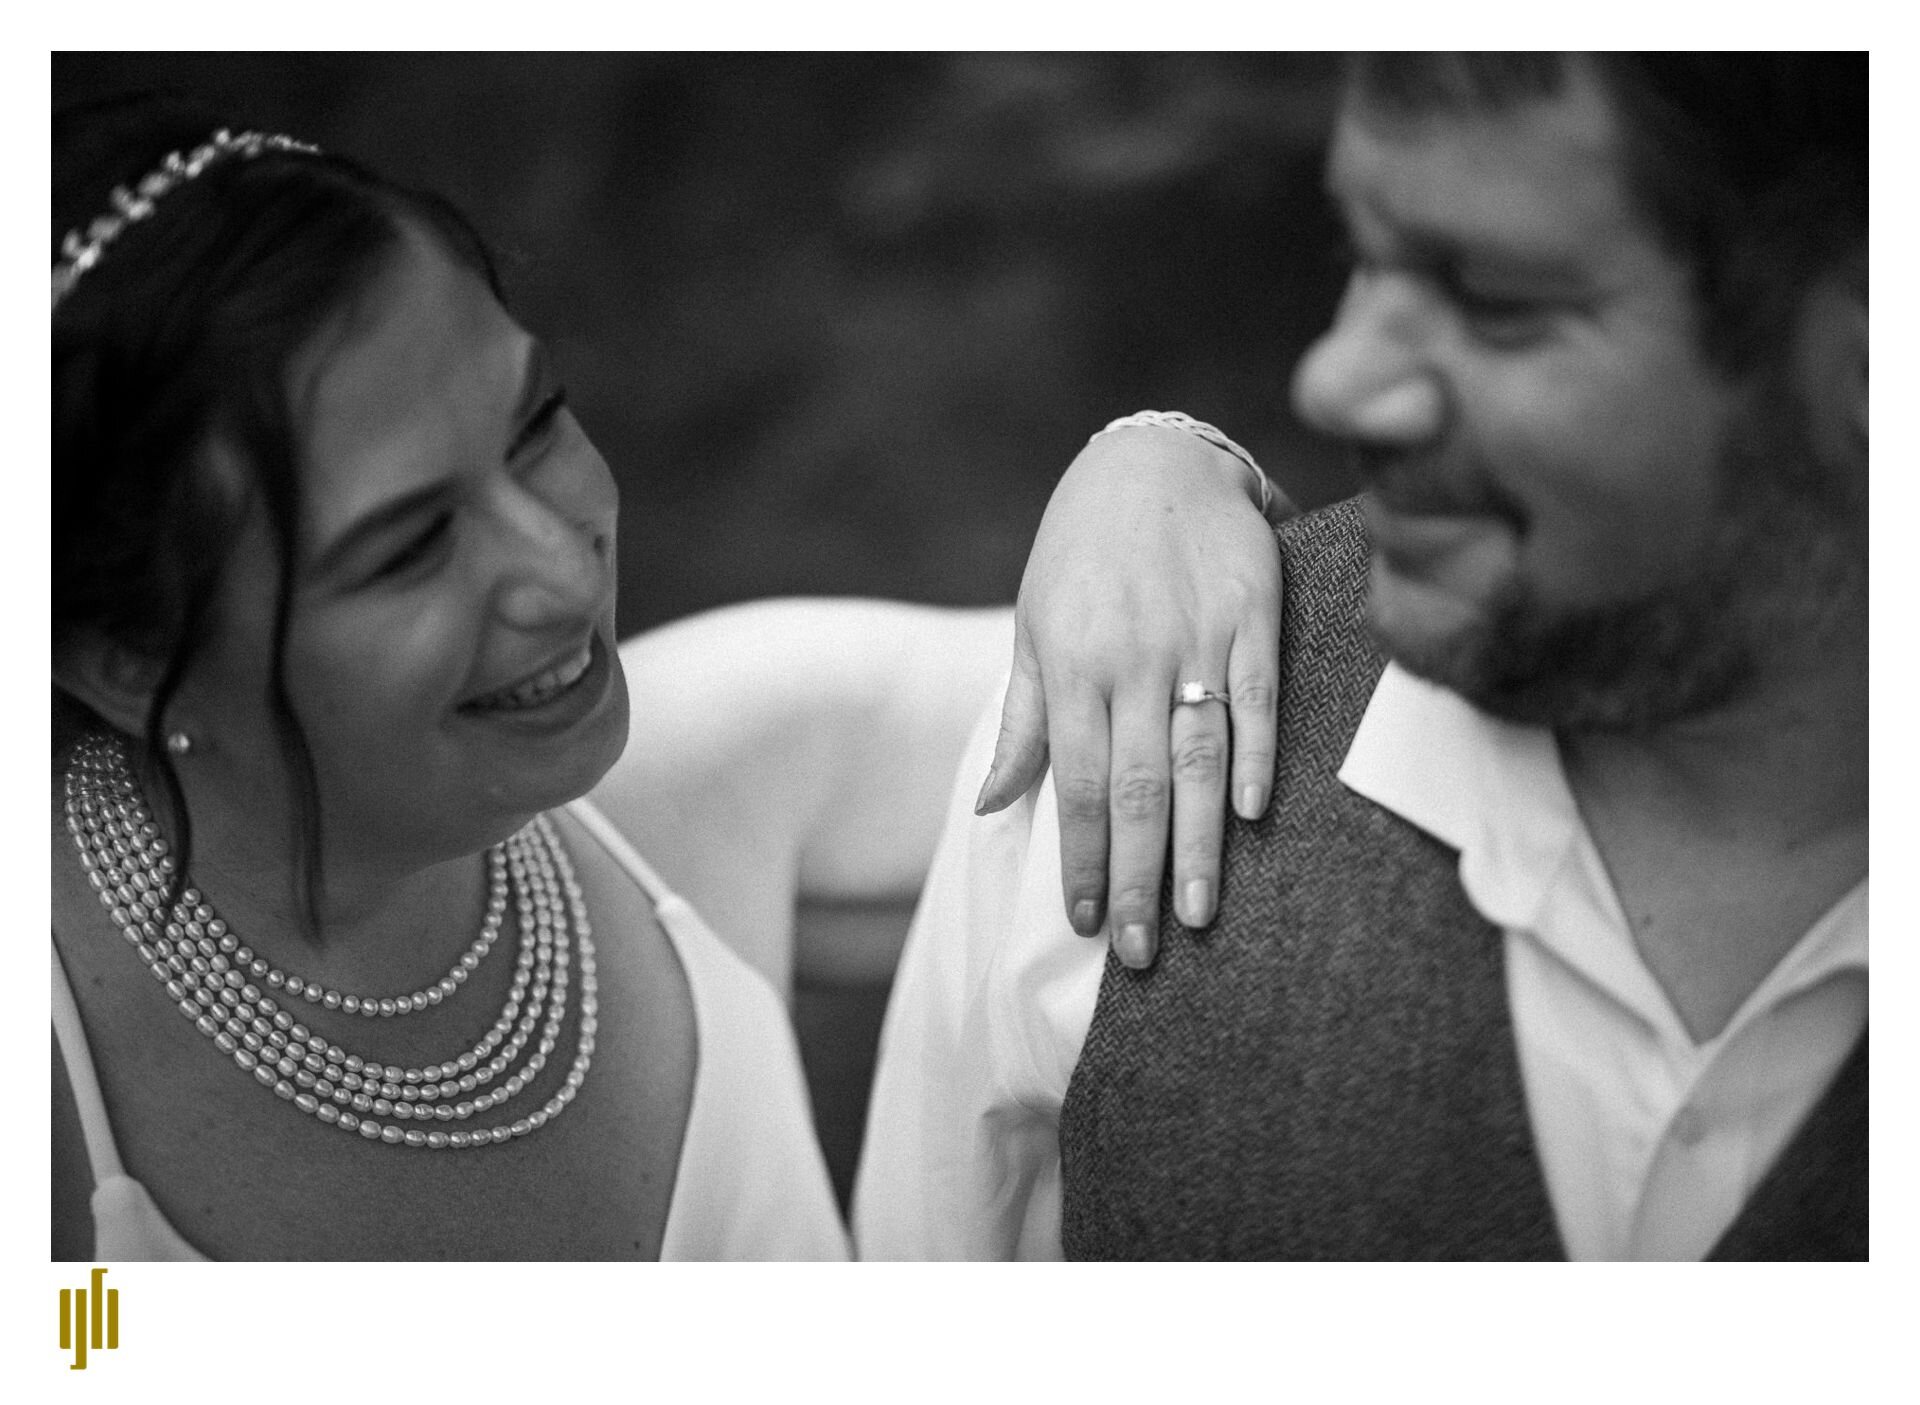
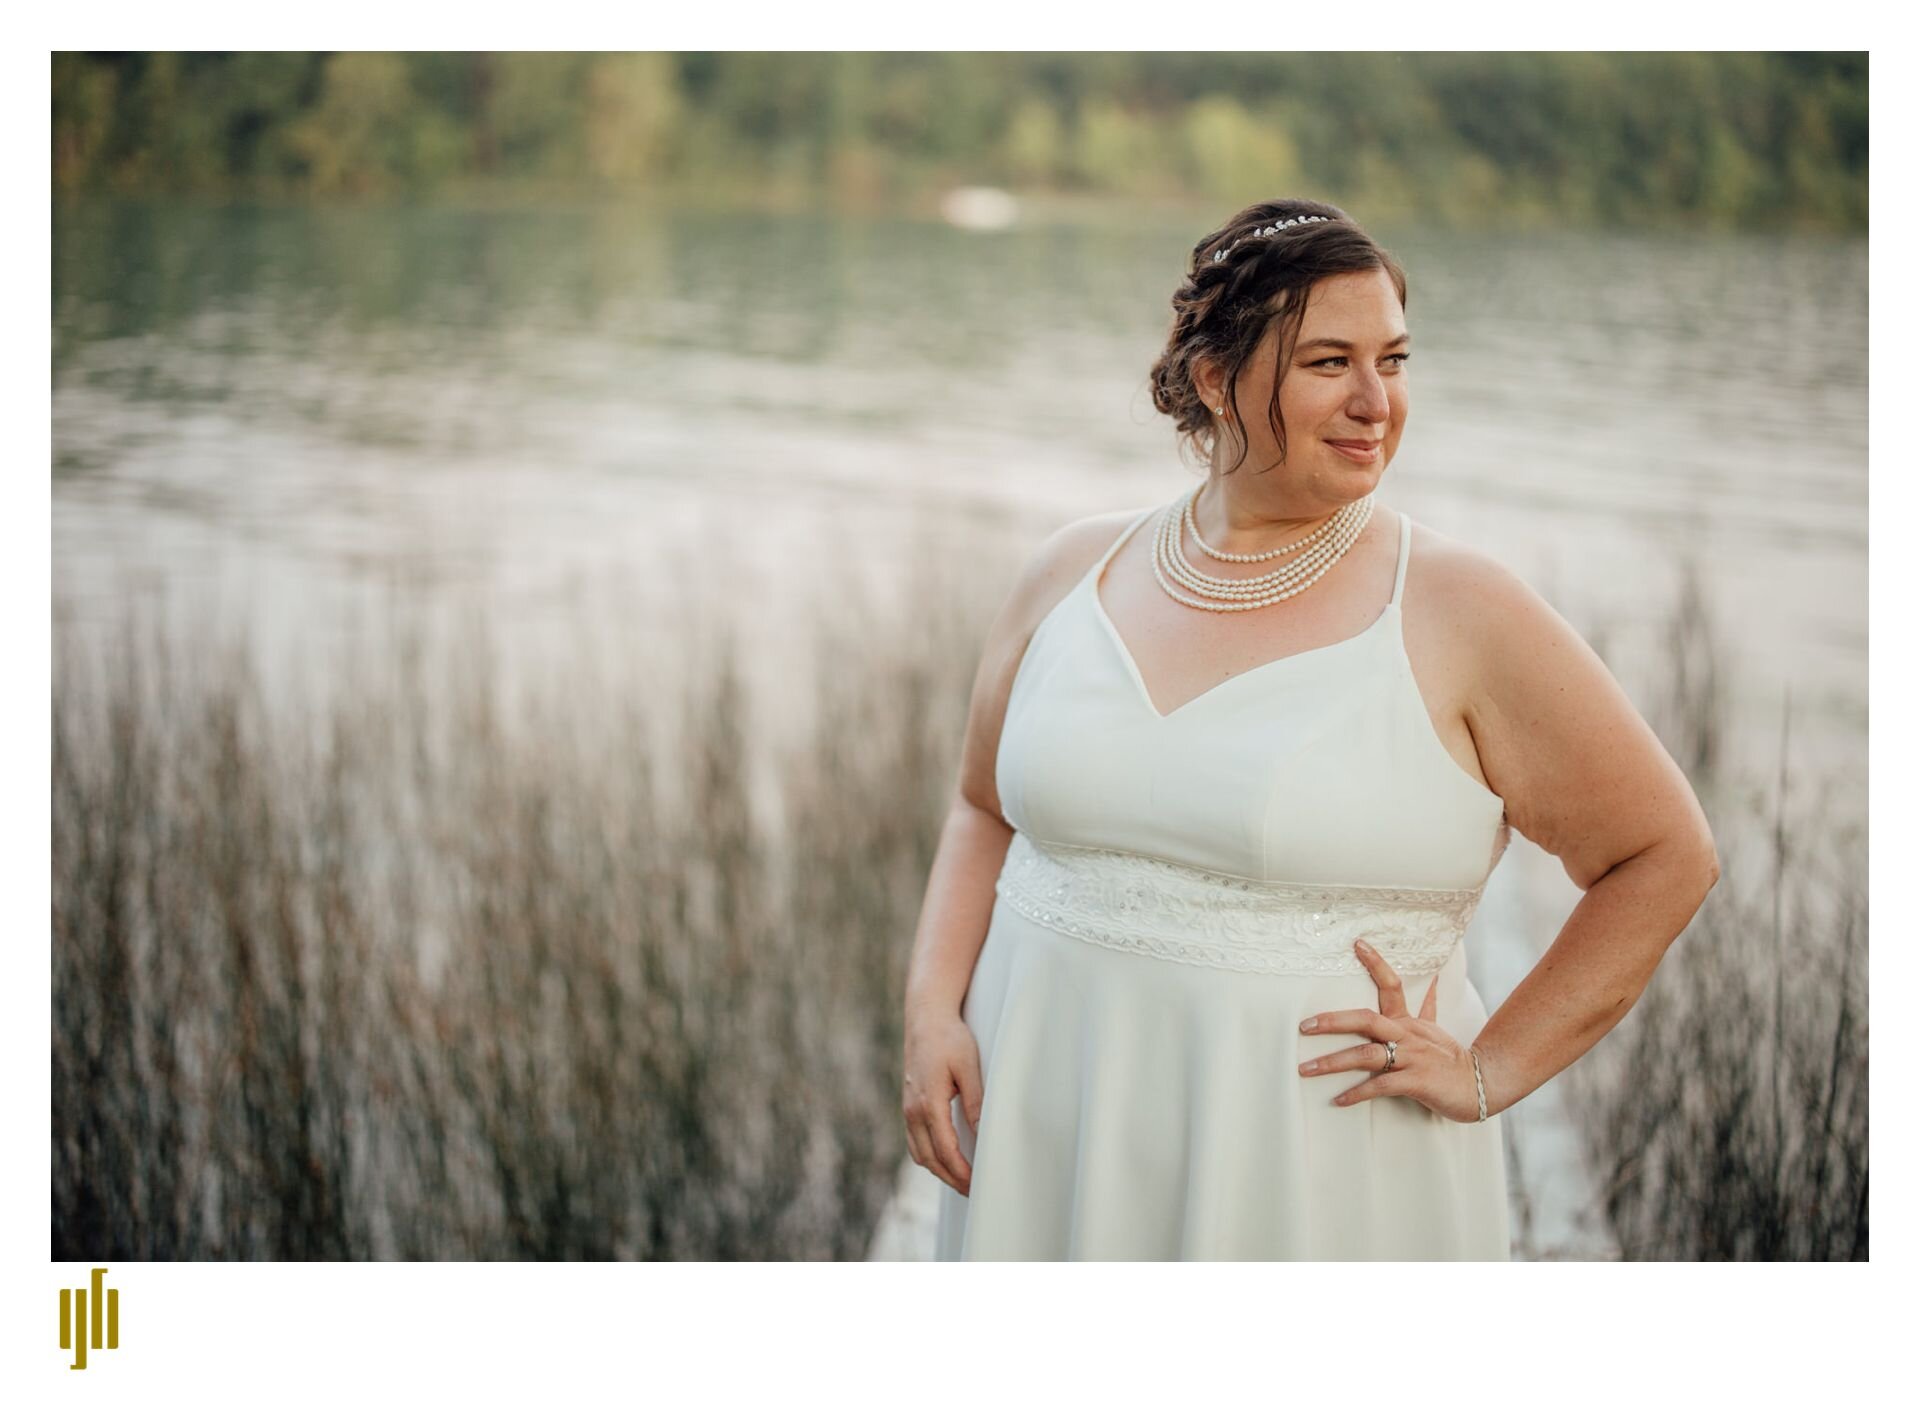
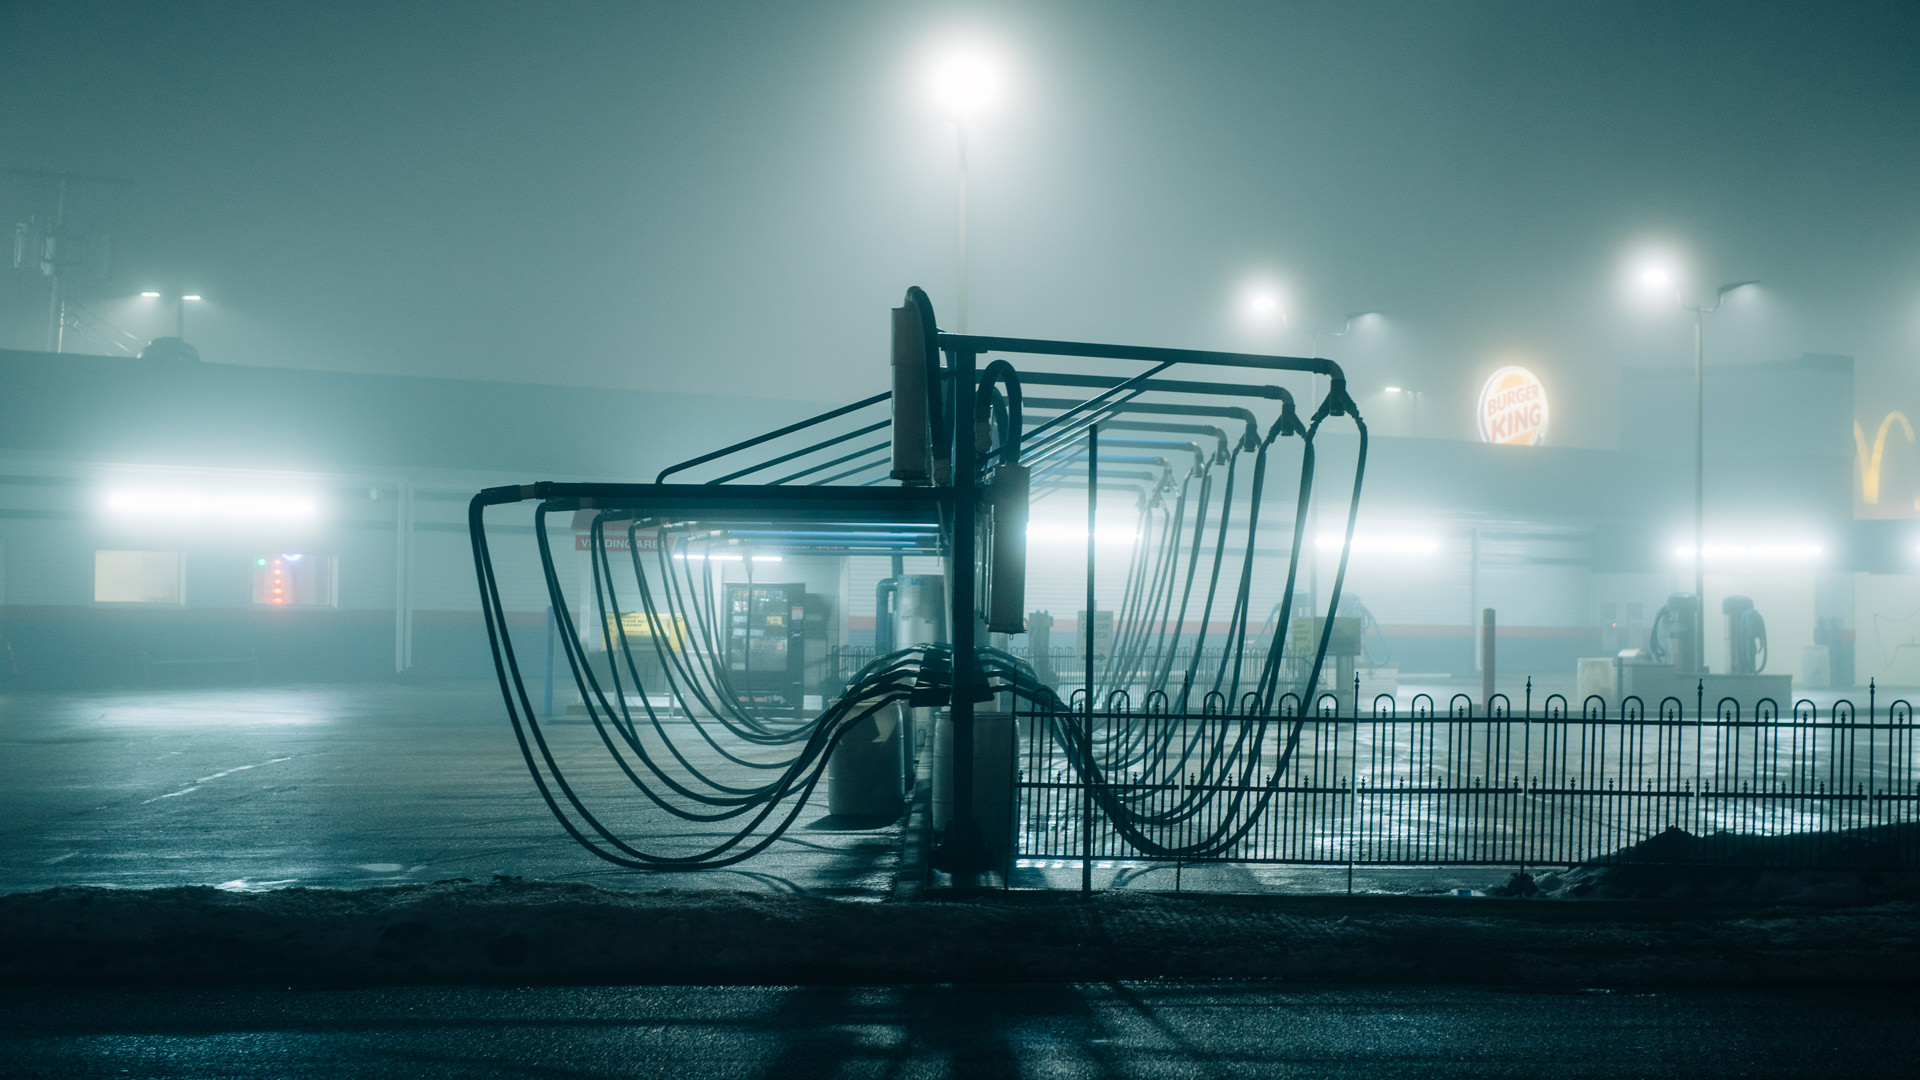
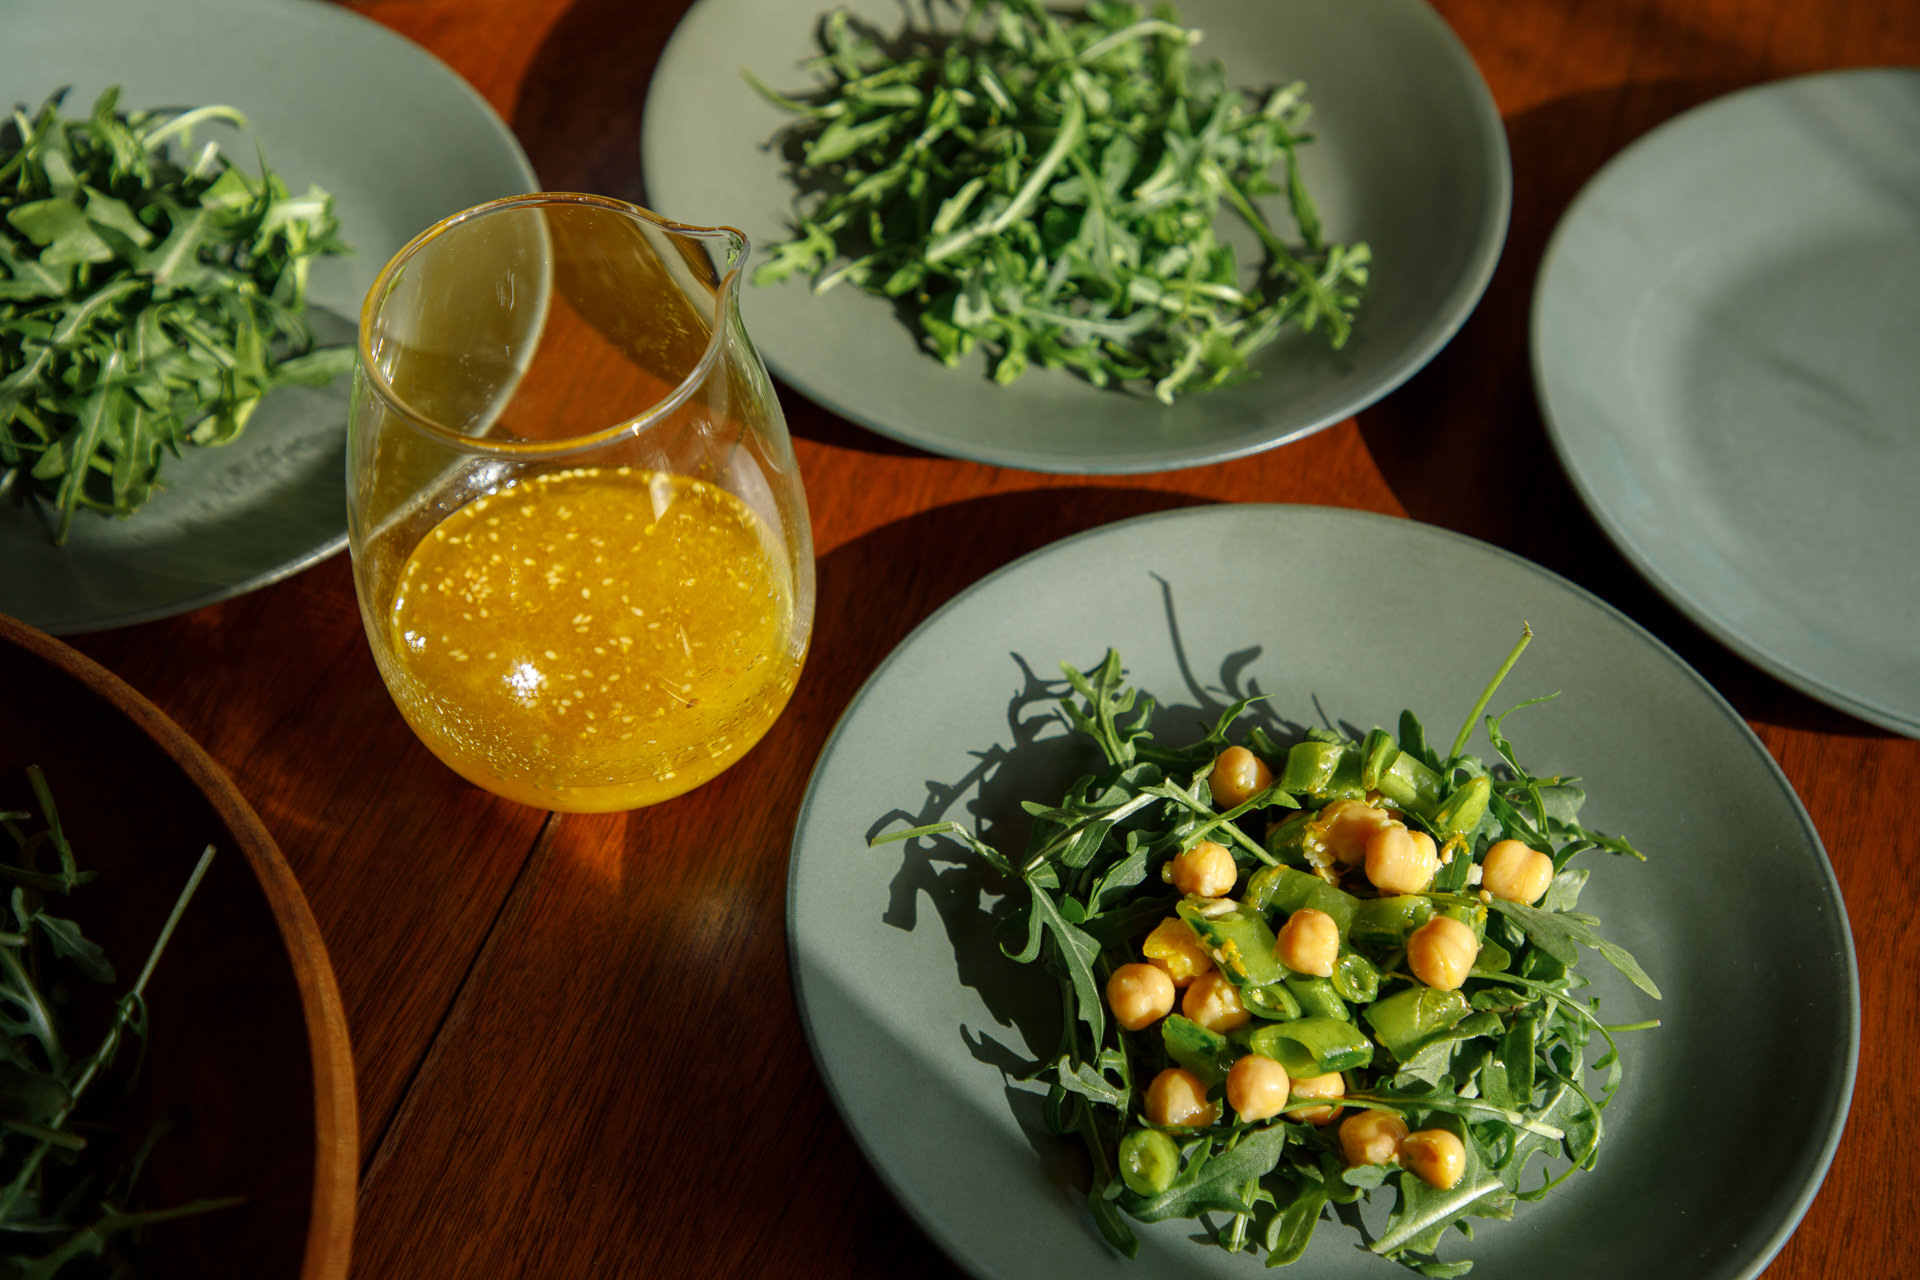
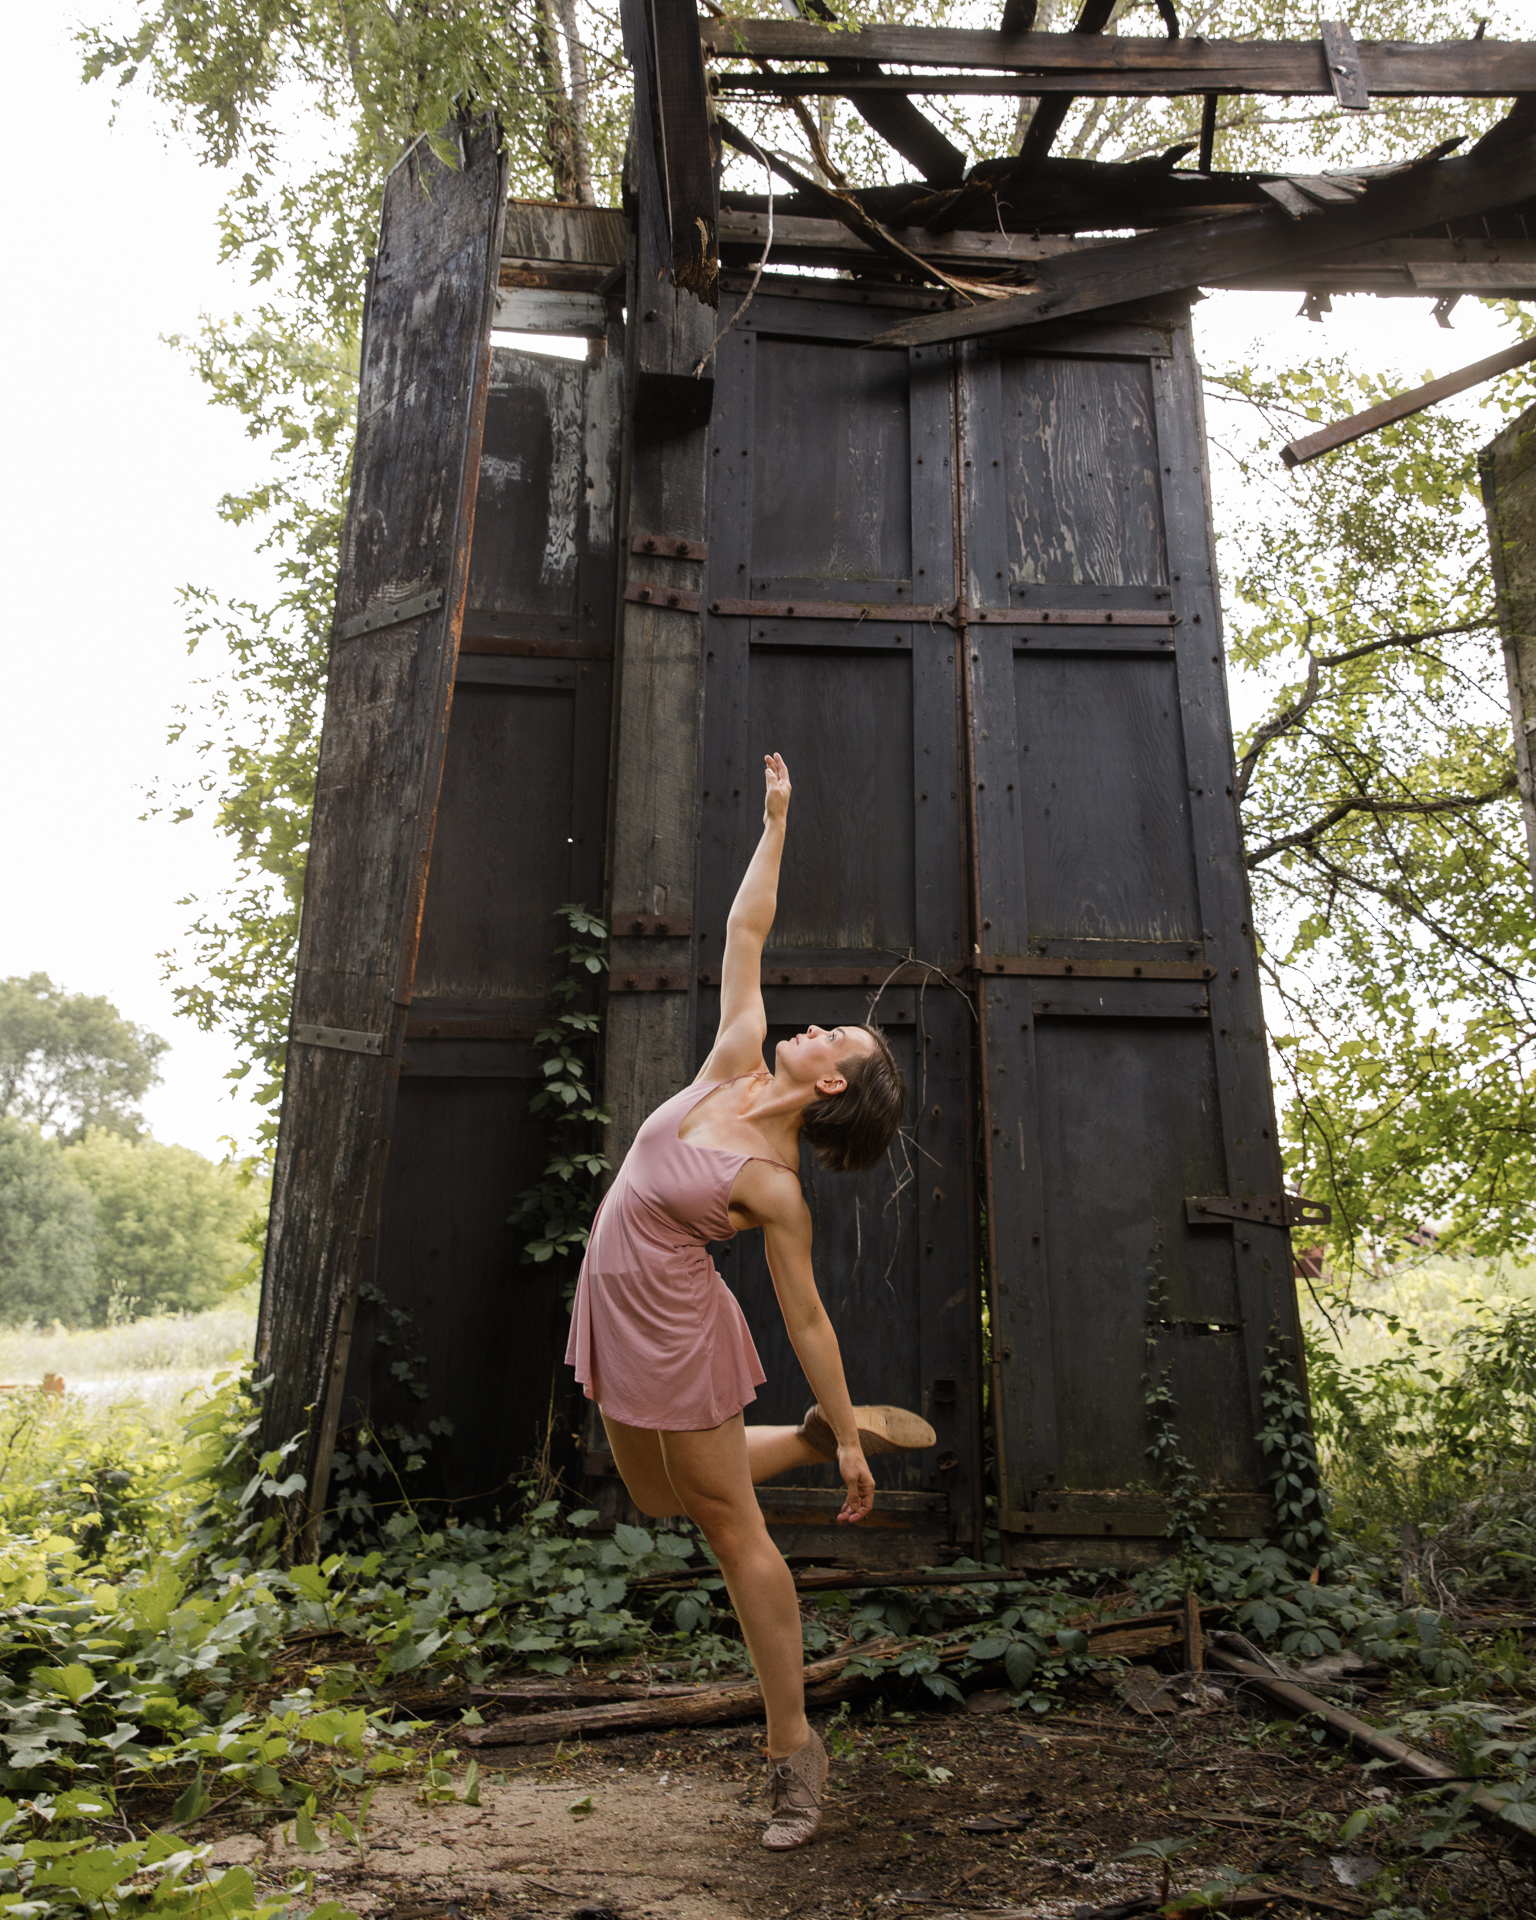
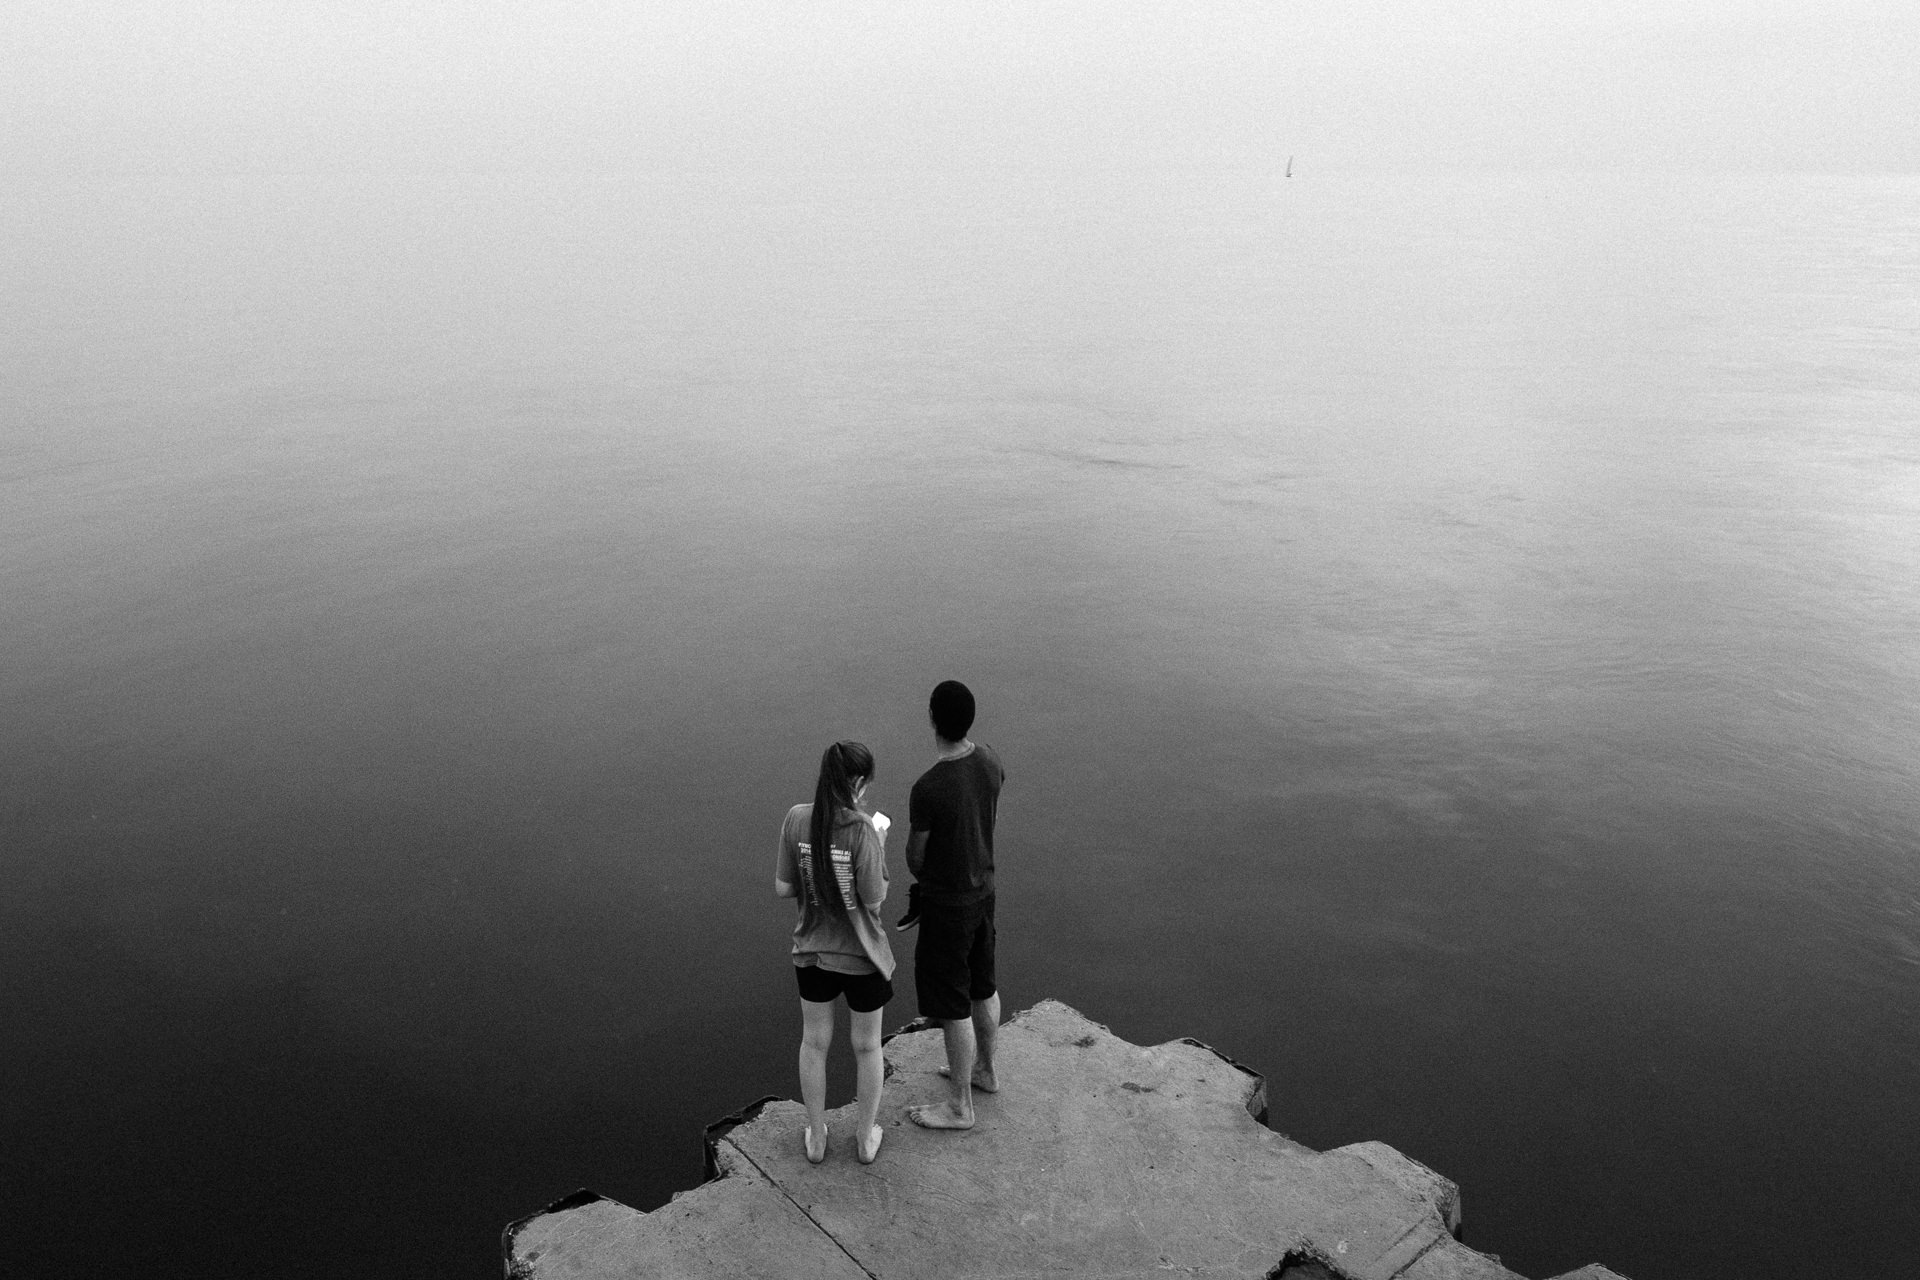
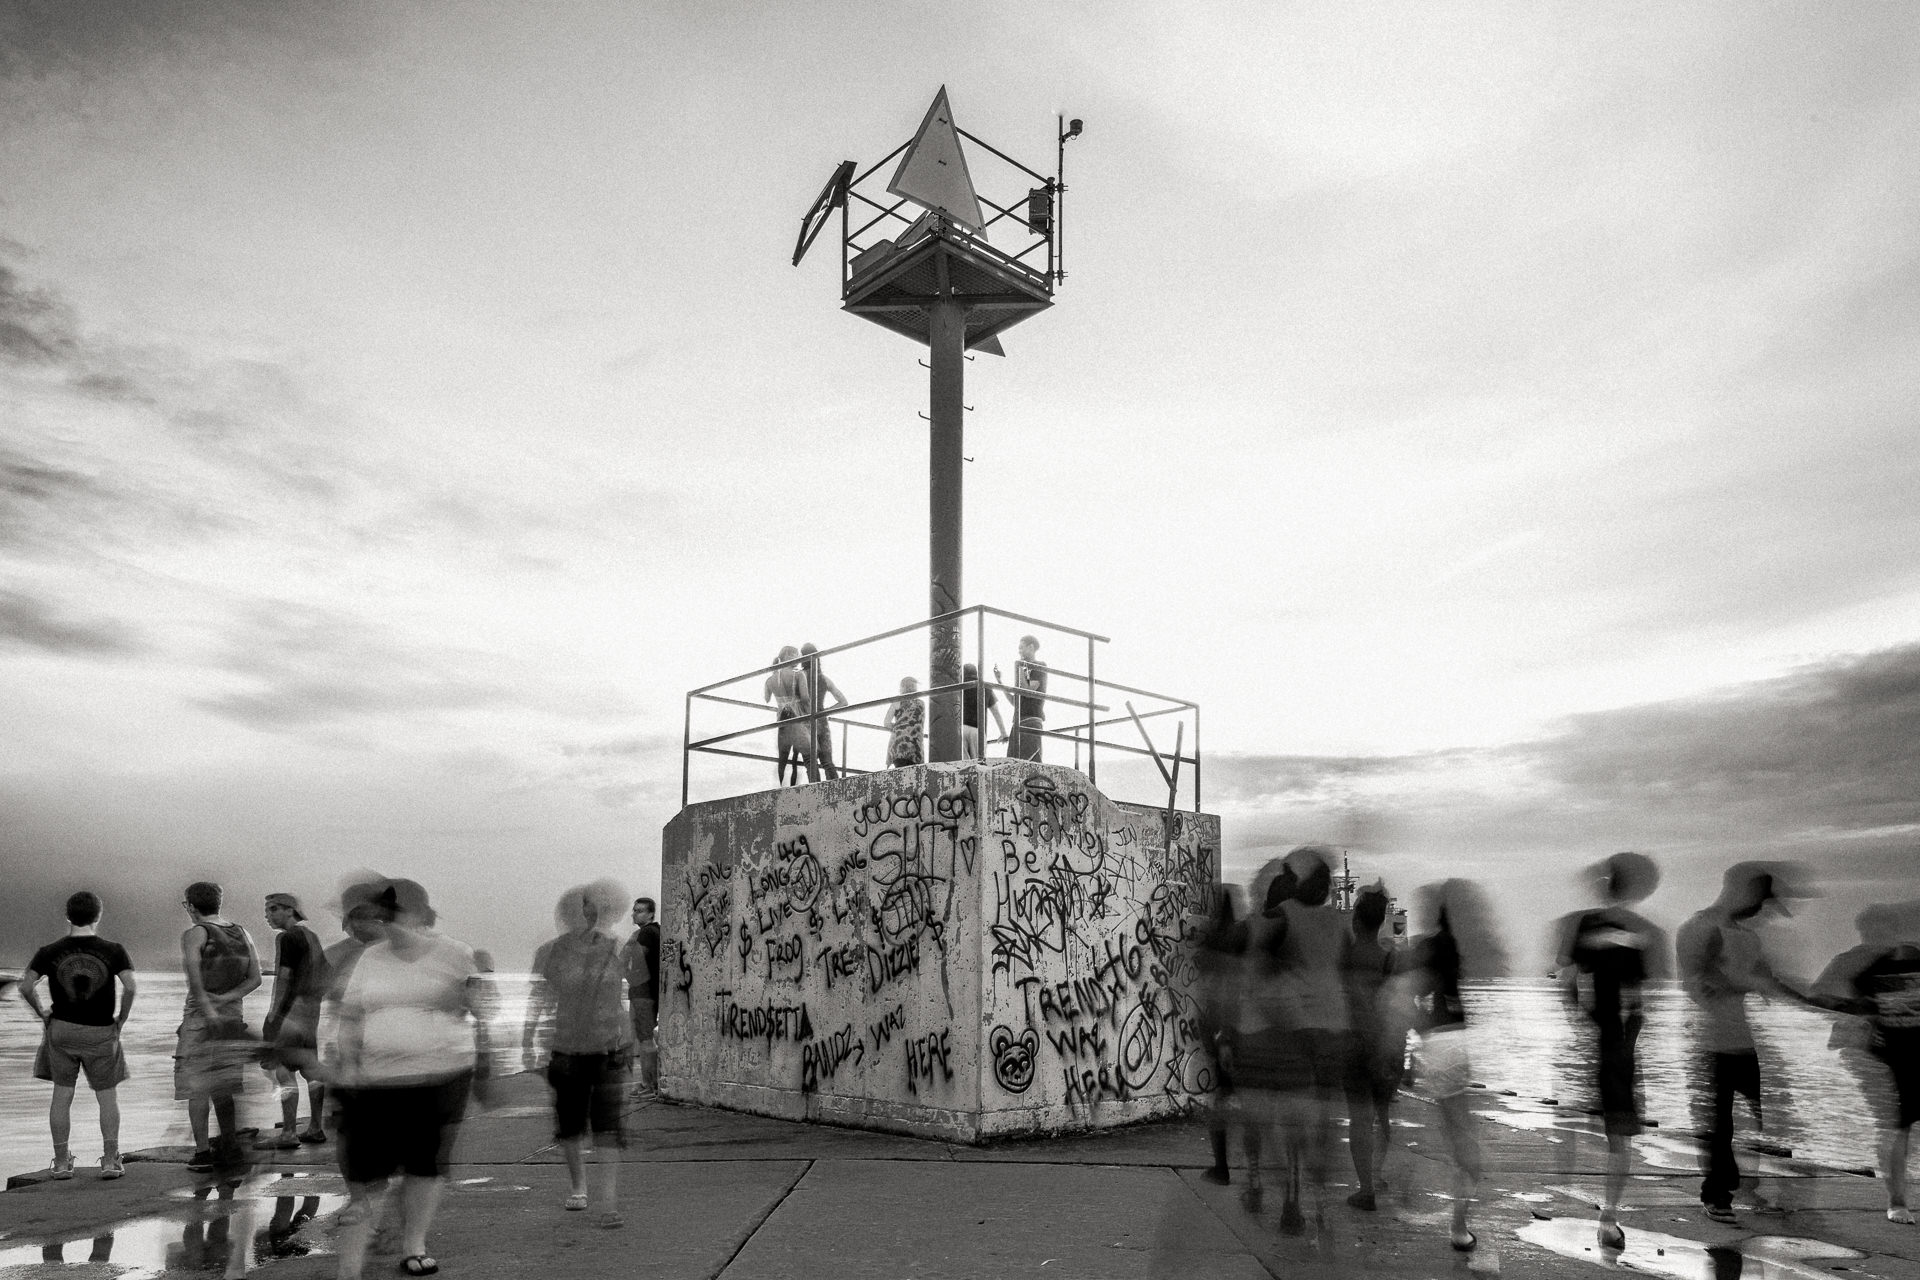
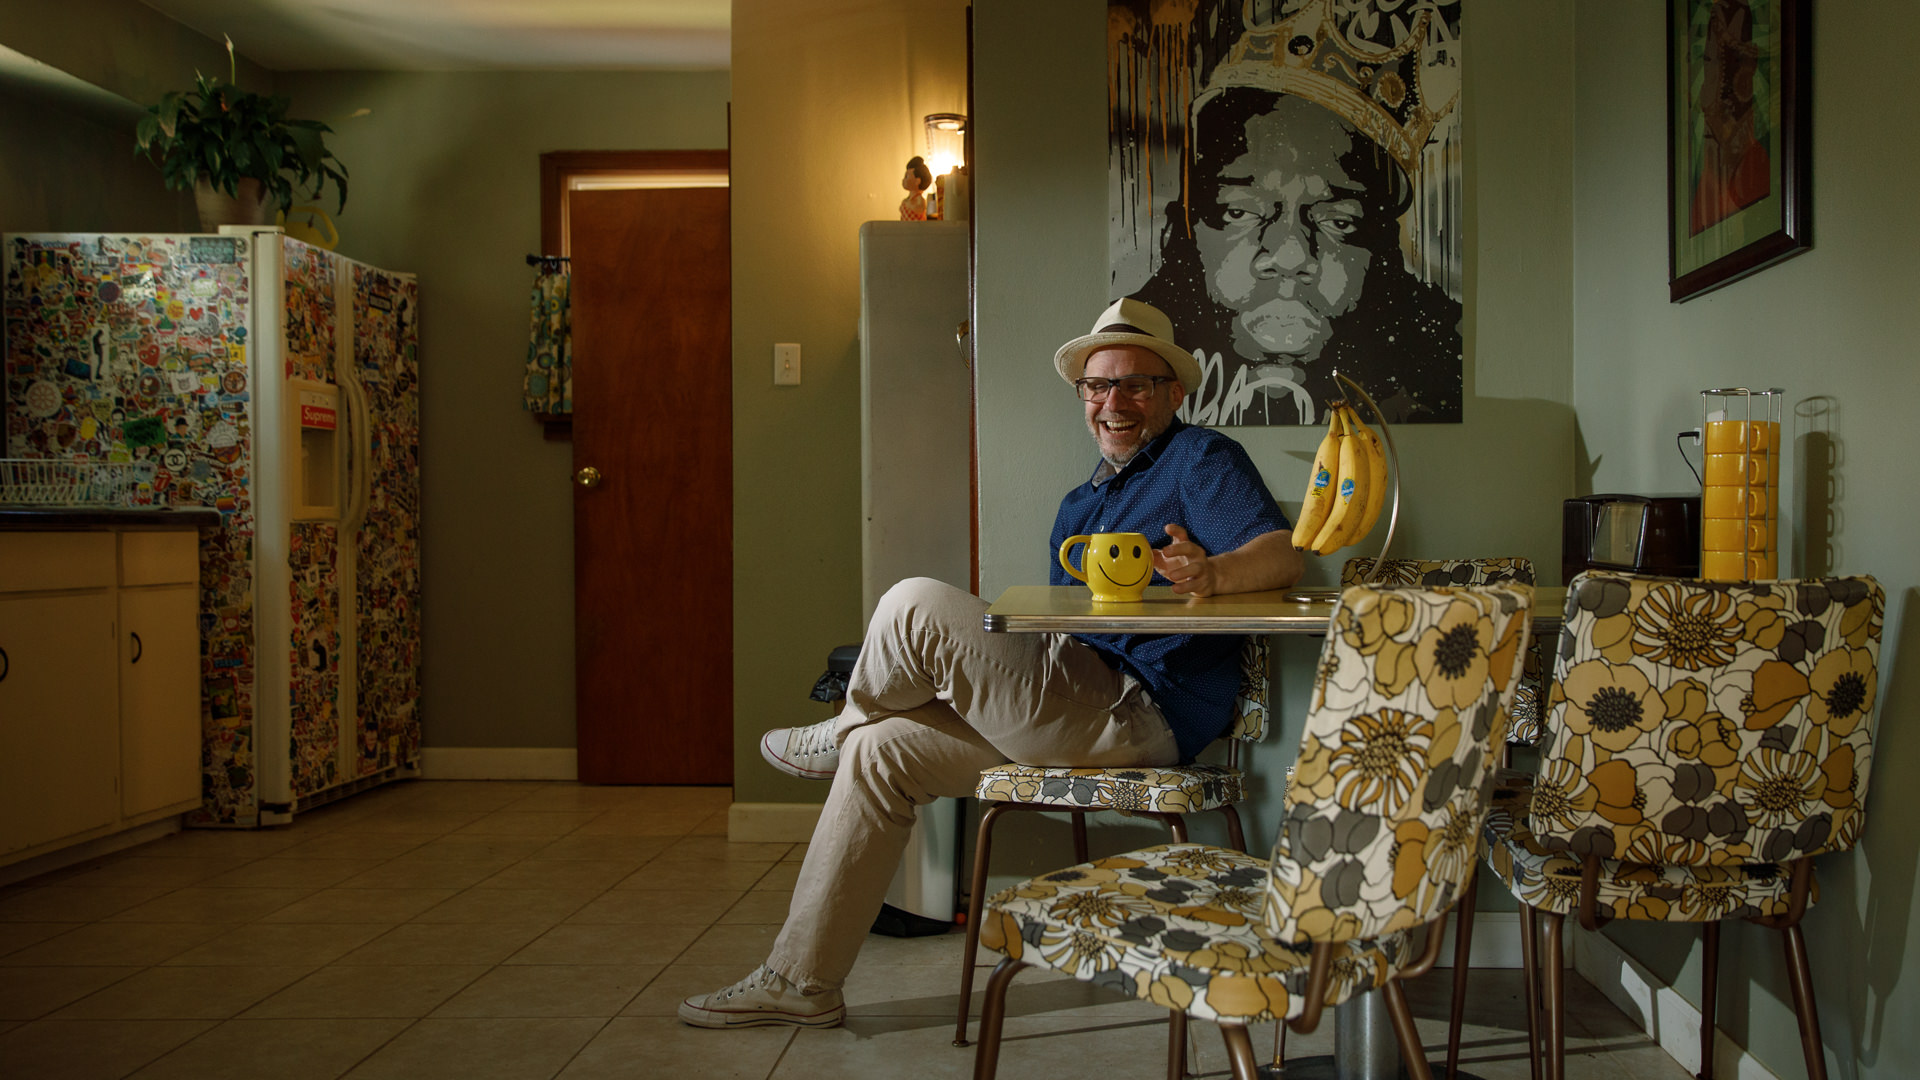
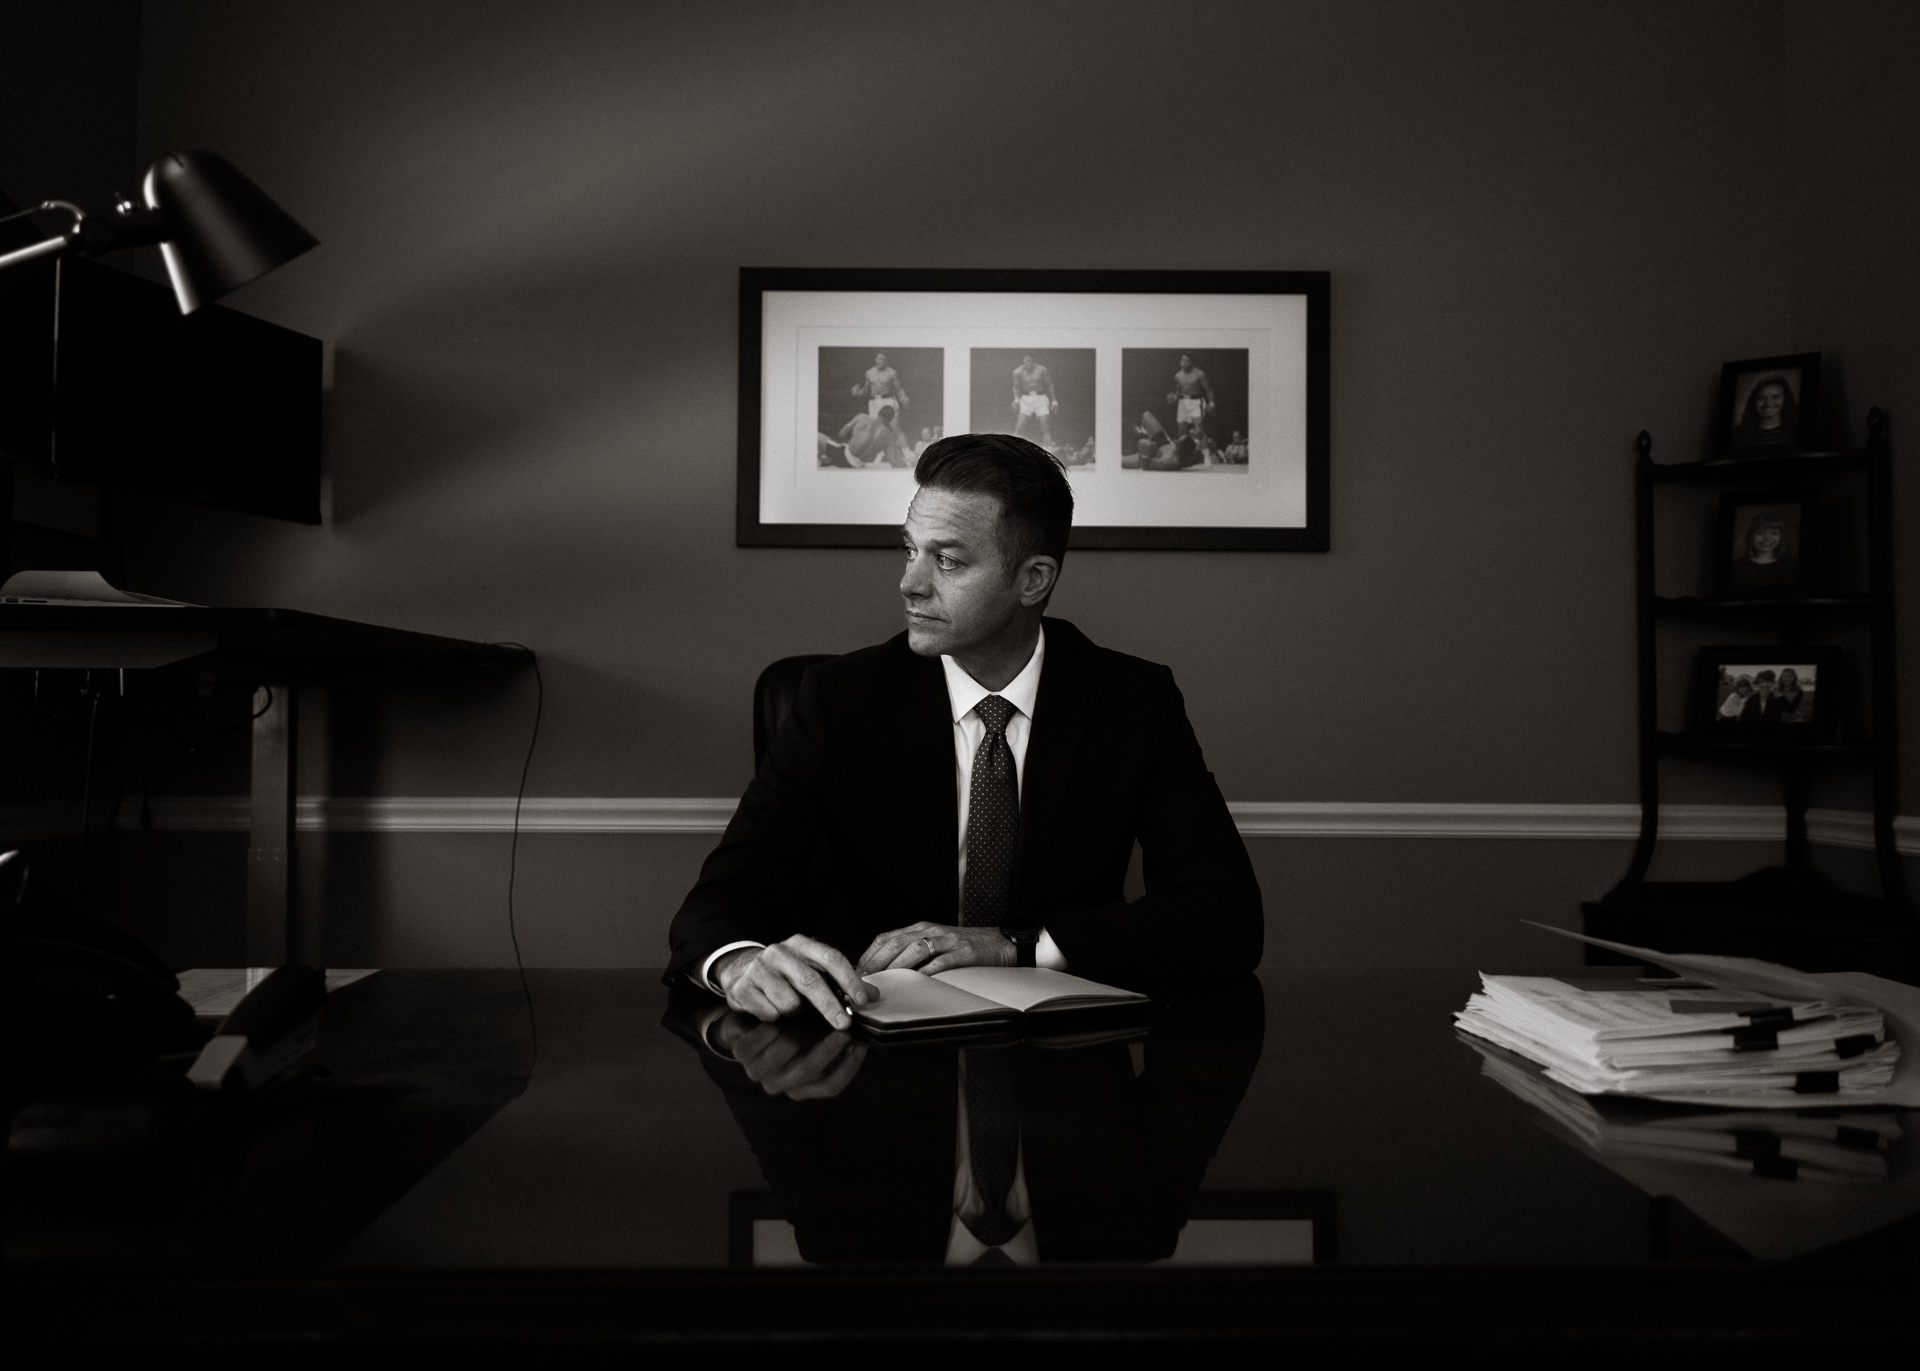
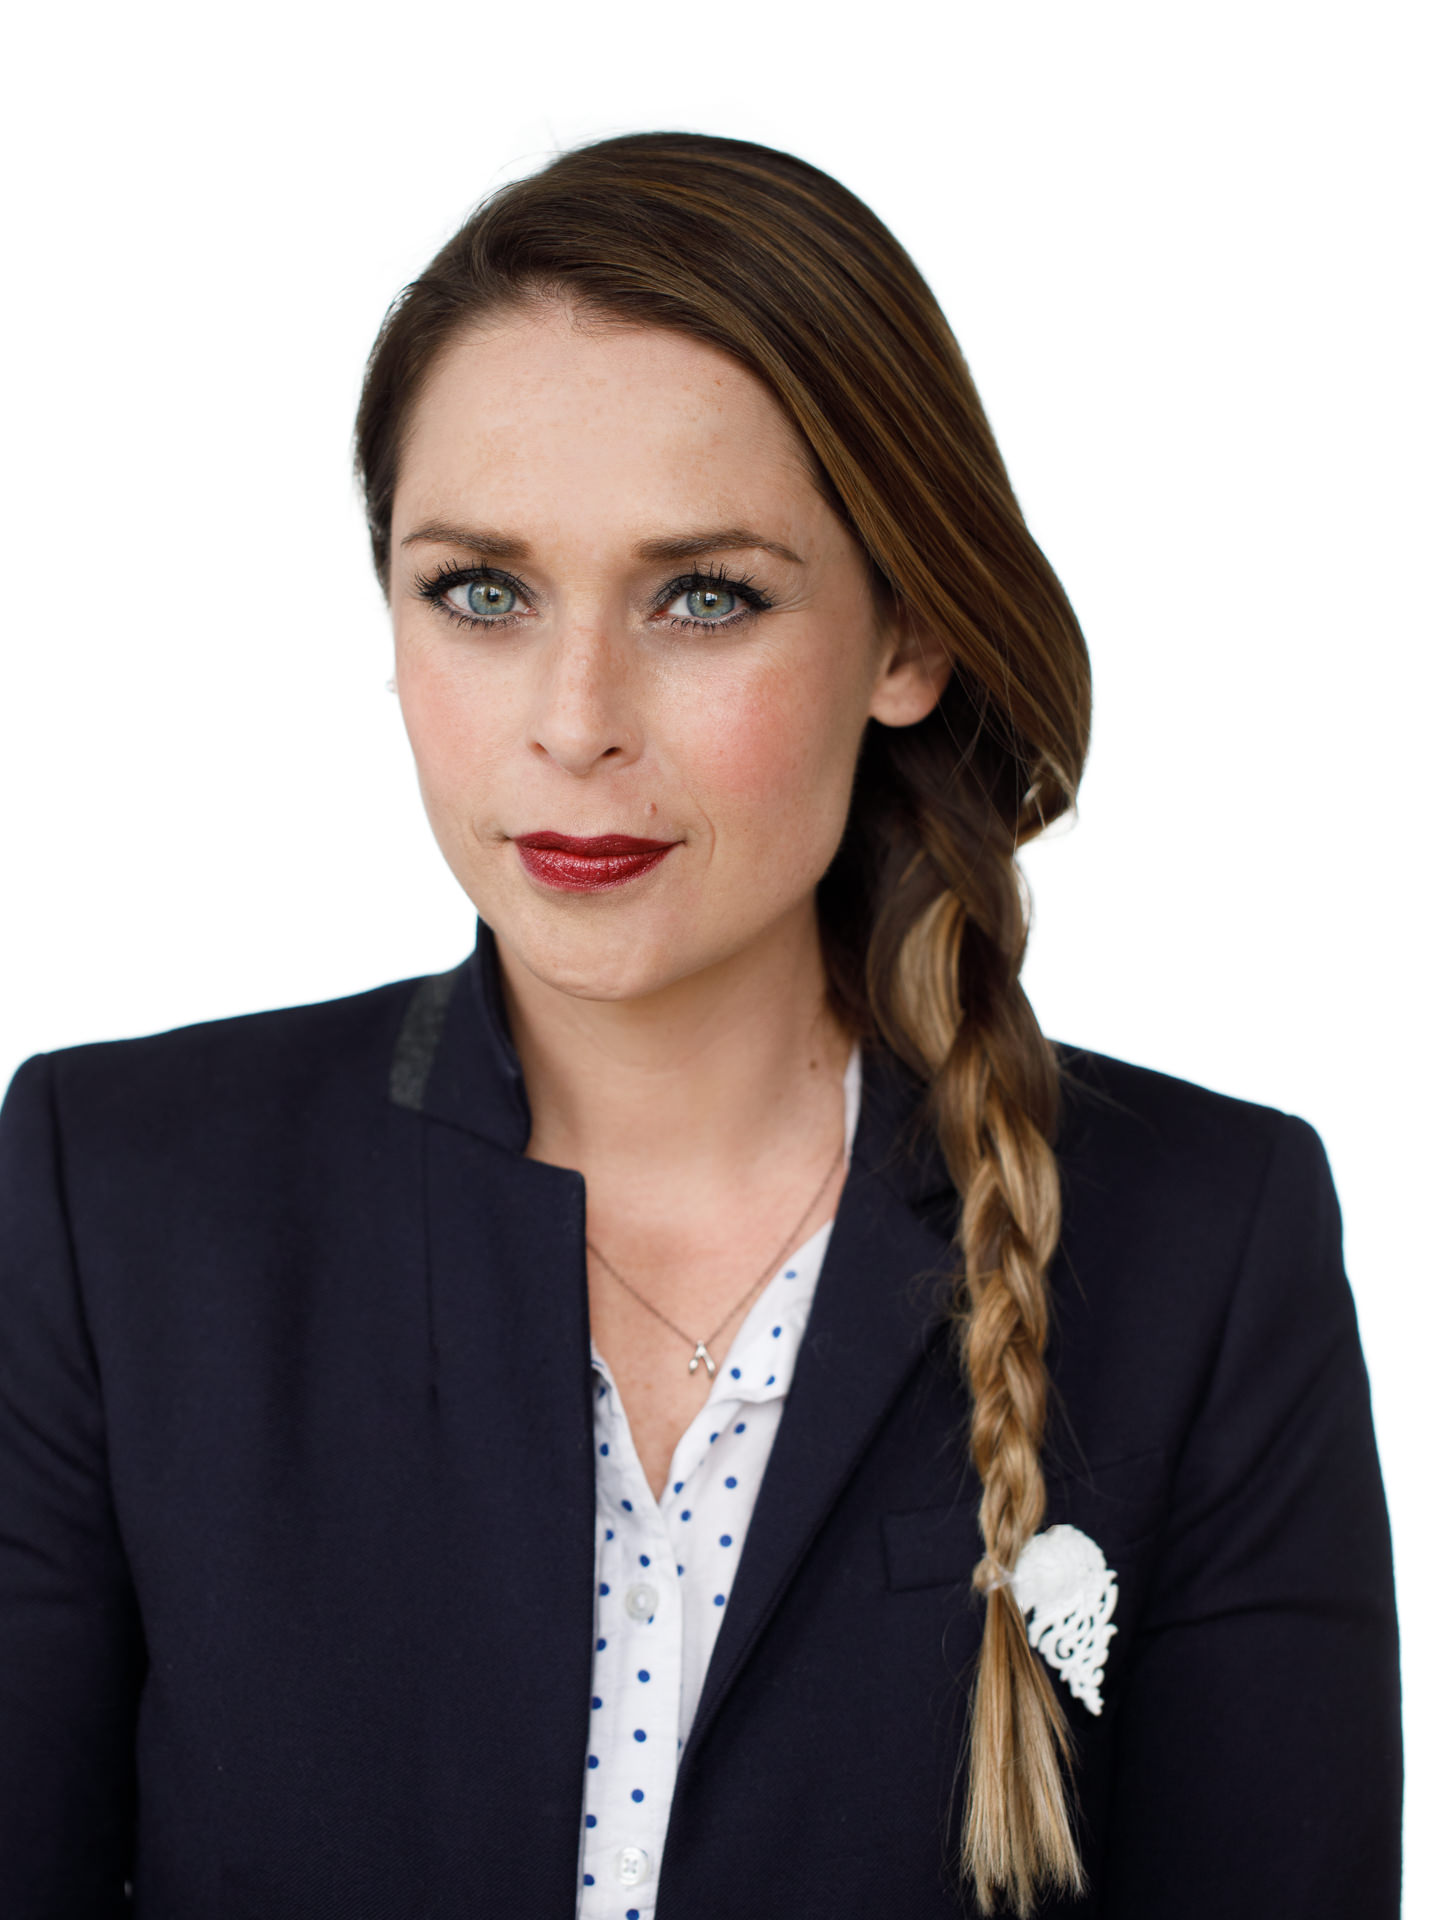
2/4 “There is a progression of cancer taking over your life. It’s all-consuming in the same way that it physically is, starting with just a mutated cell and eventually taking over every organ and killing your body if allowed to run its course. One little seed of doubt or negative experience can feel massive and completely disruptive when you’re trying so hard just to make it through the day.”

Hodgkins lymphoma photo shoot, Toledo, Ohio

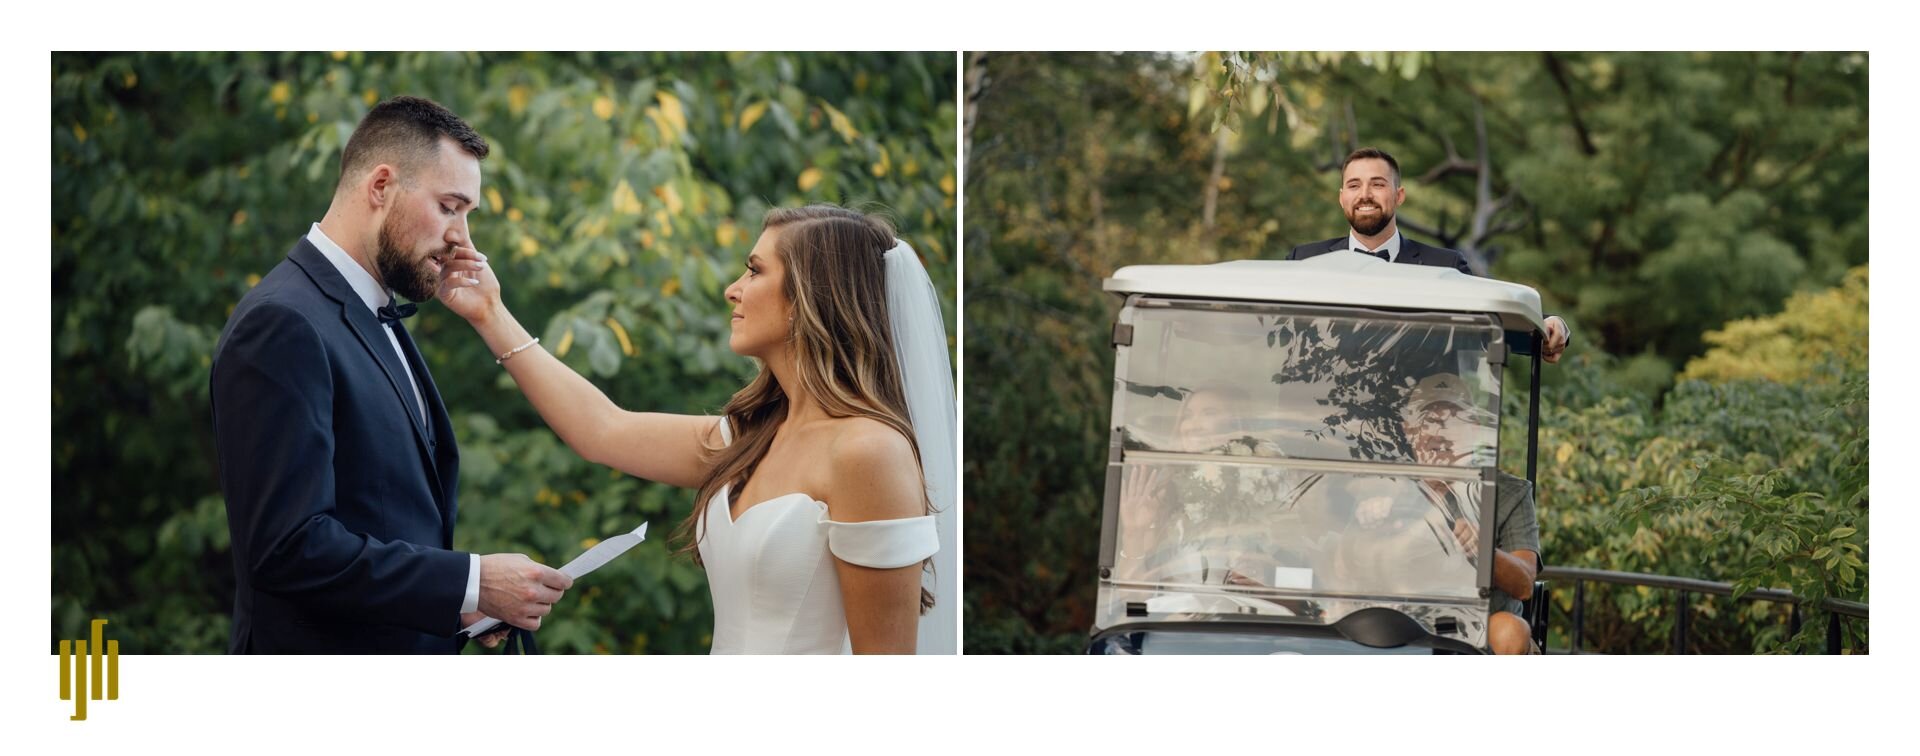
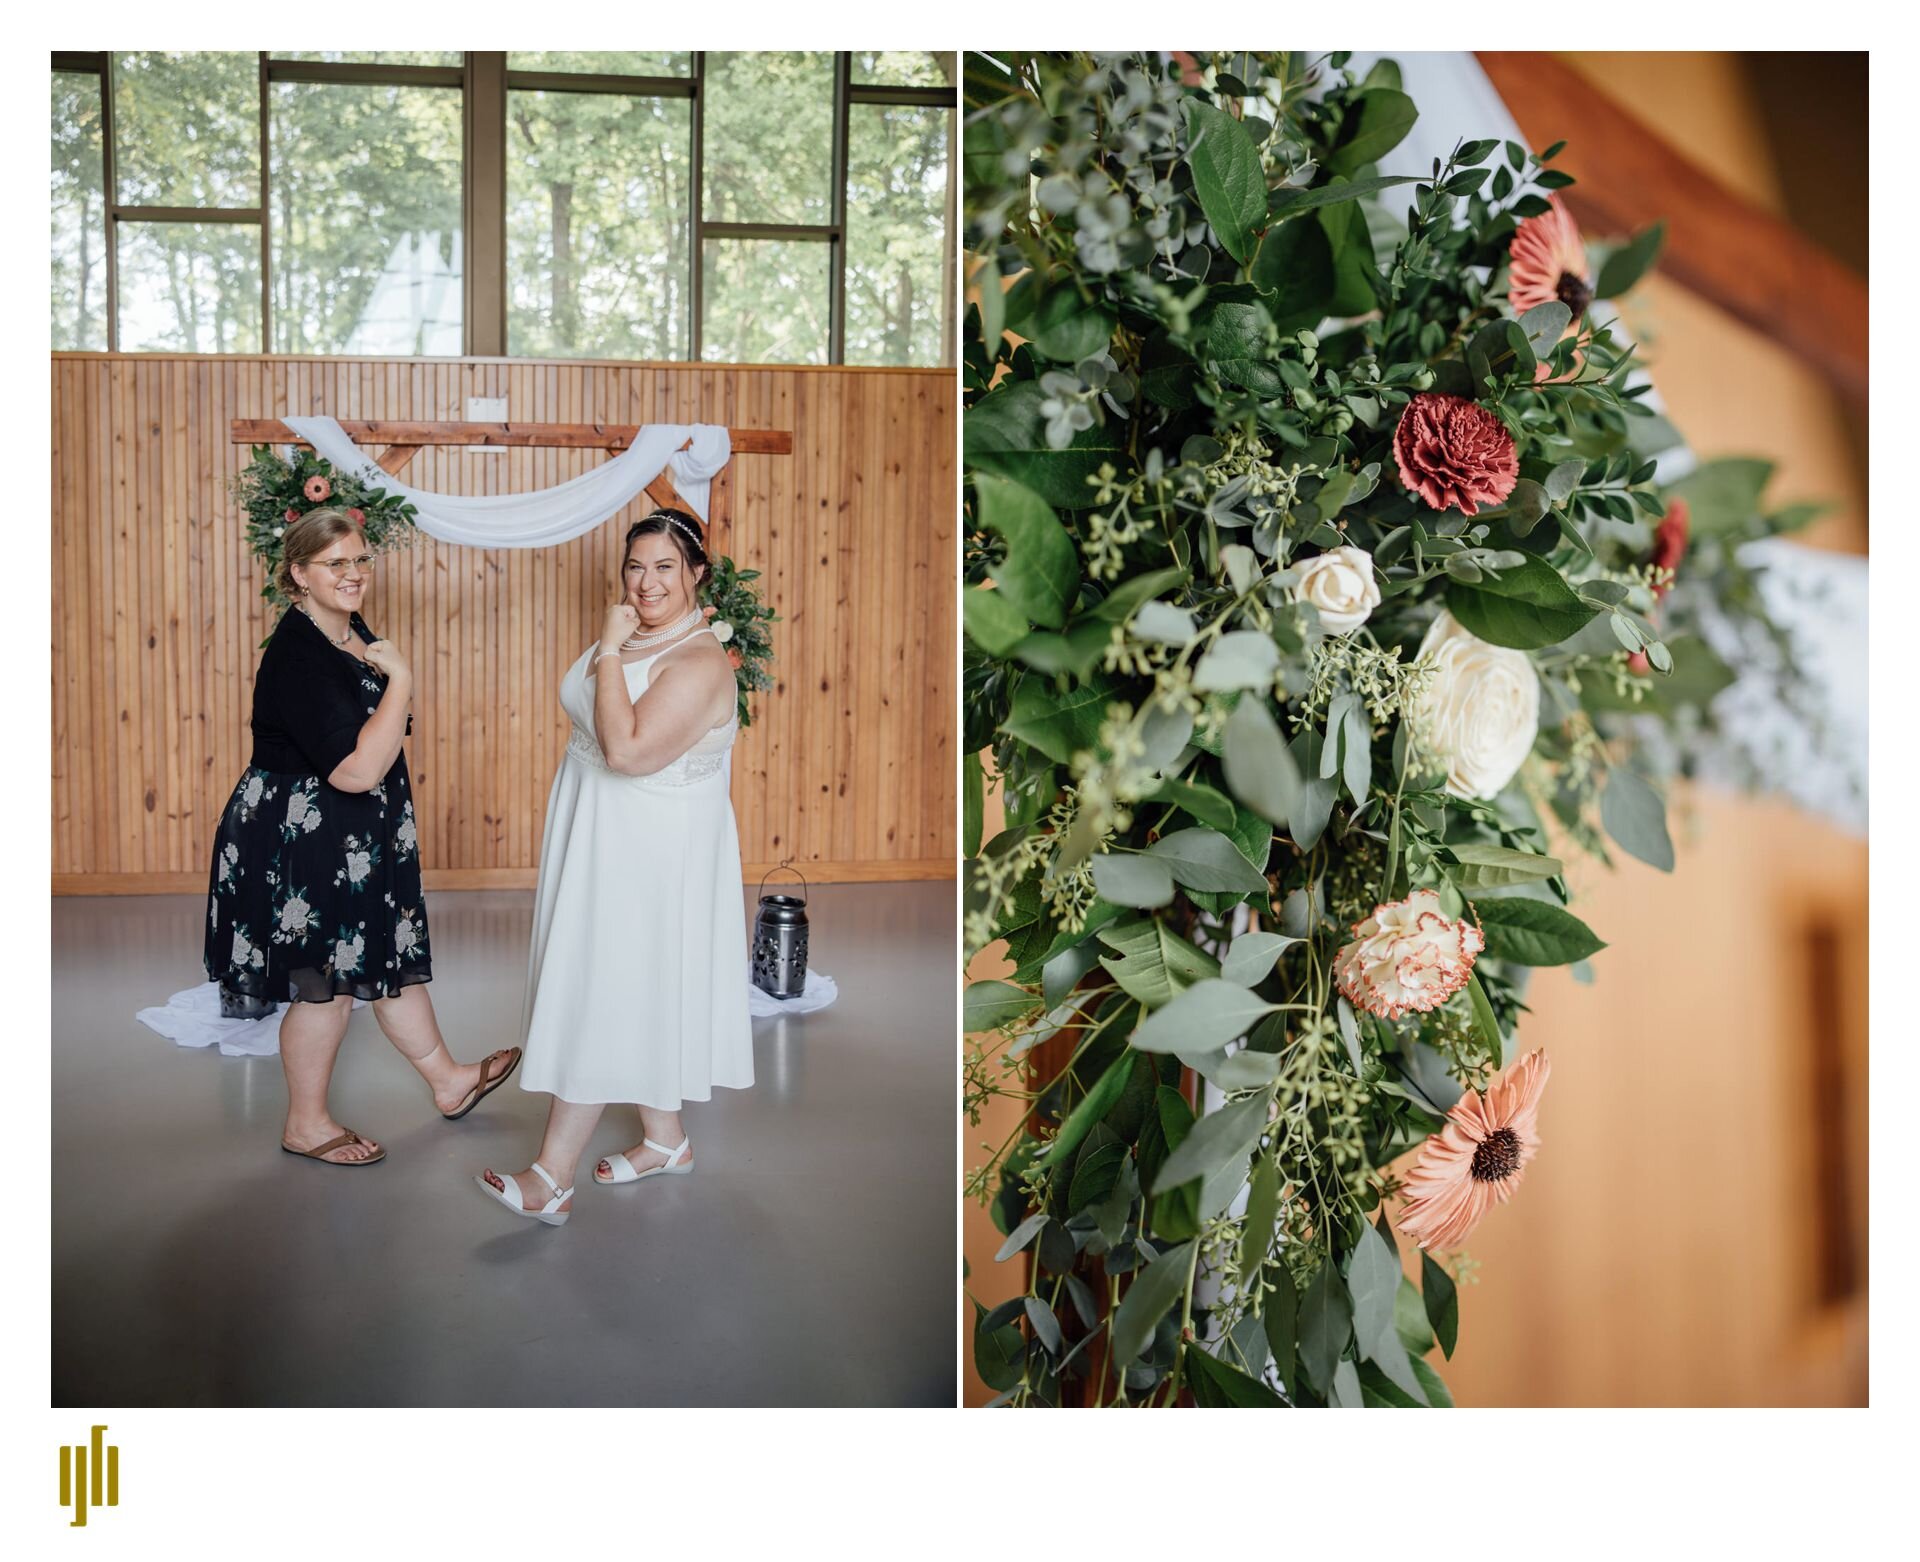
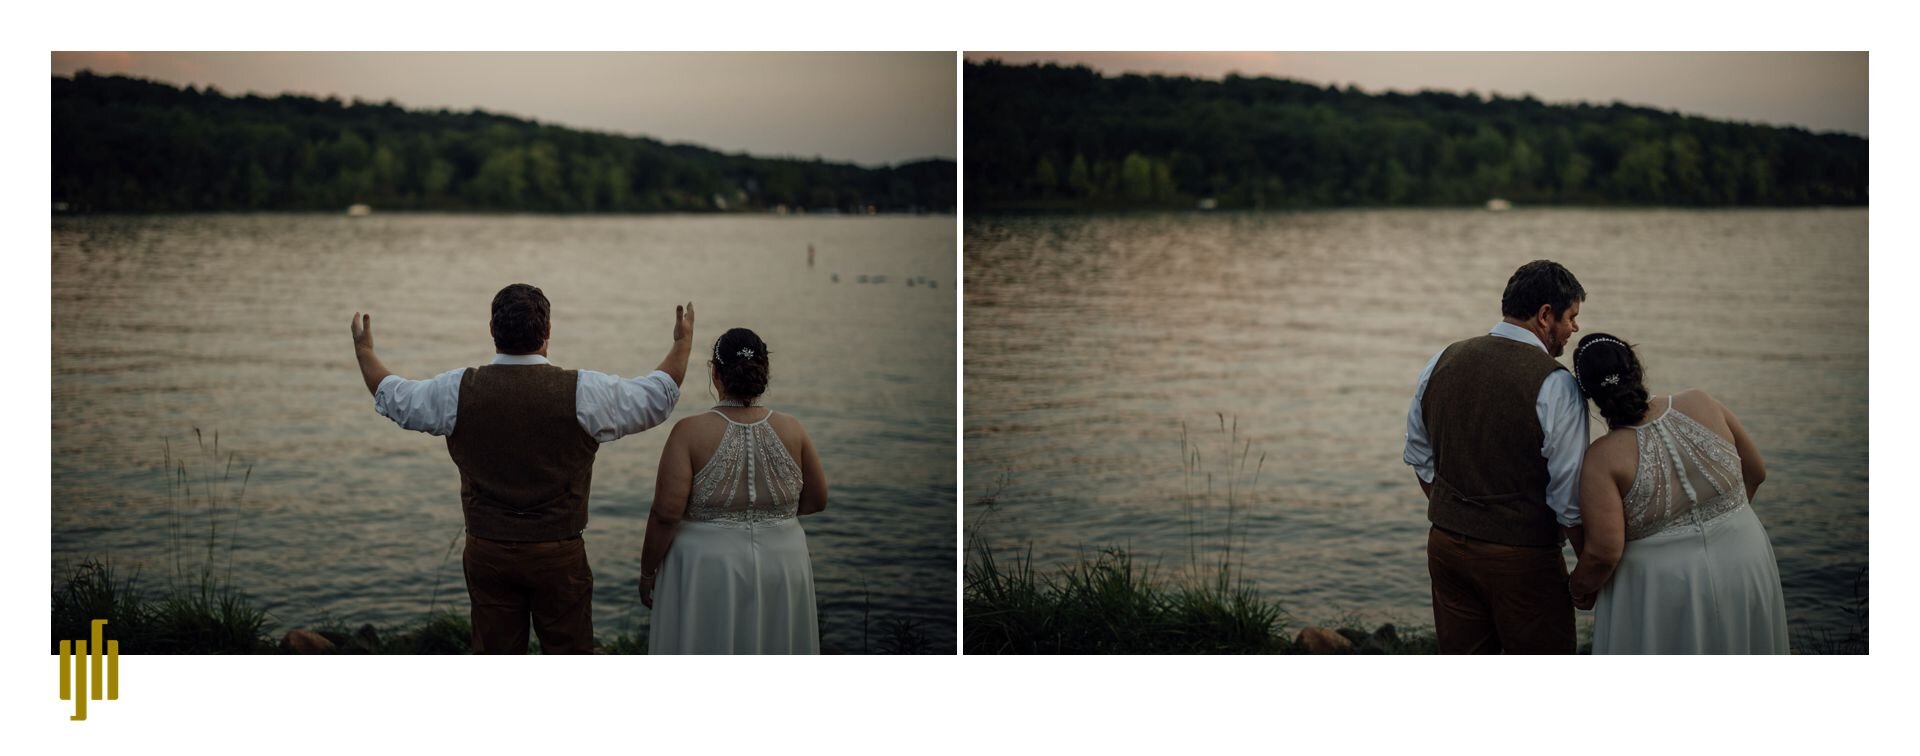
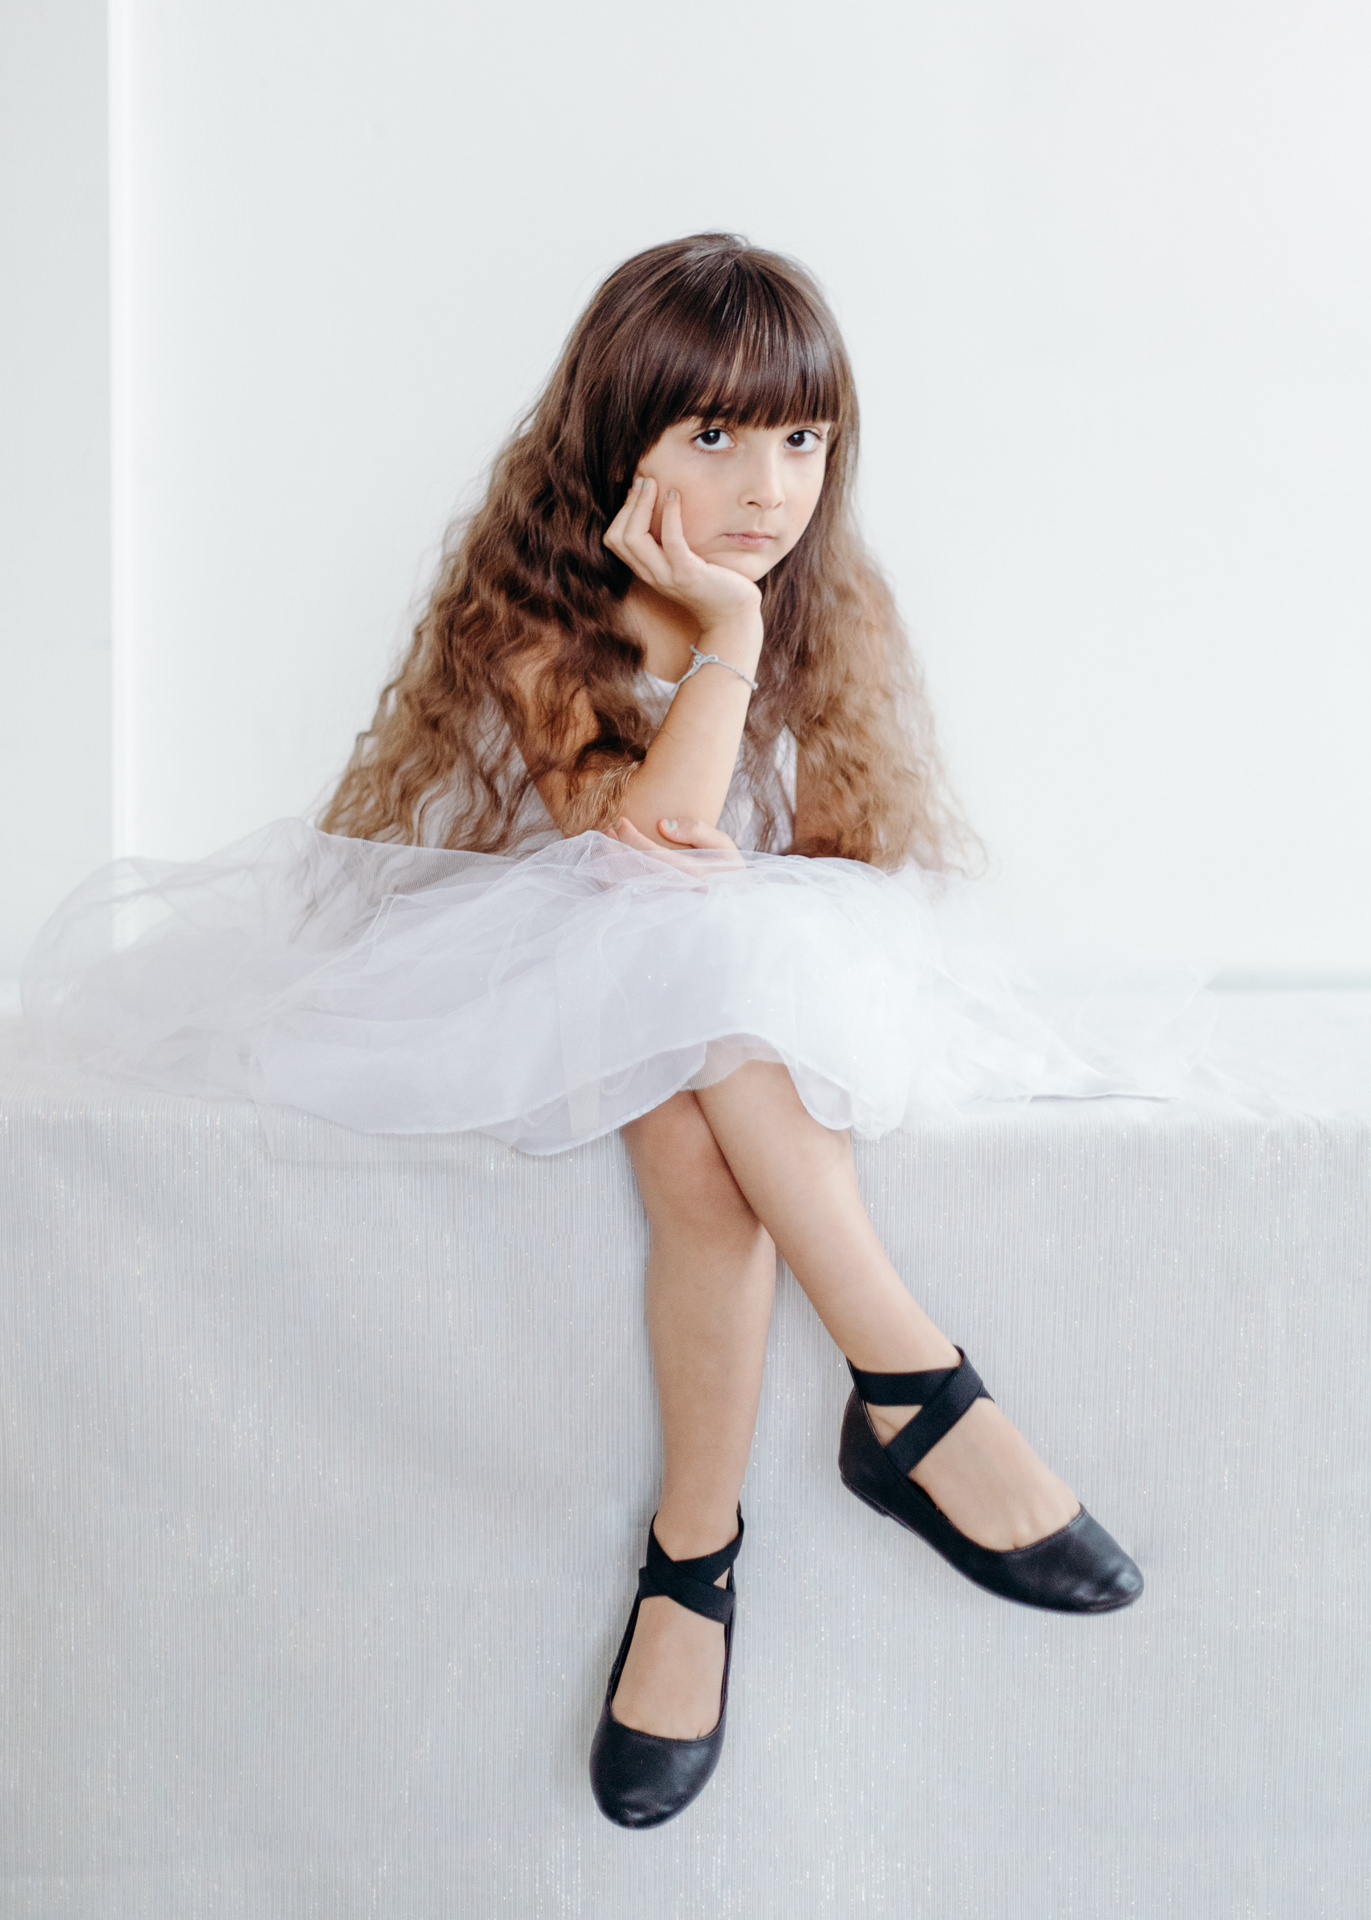
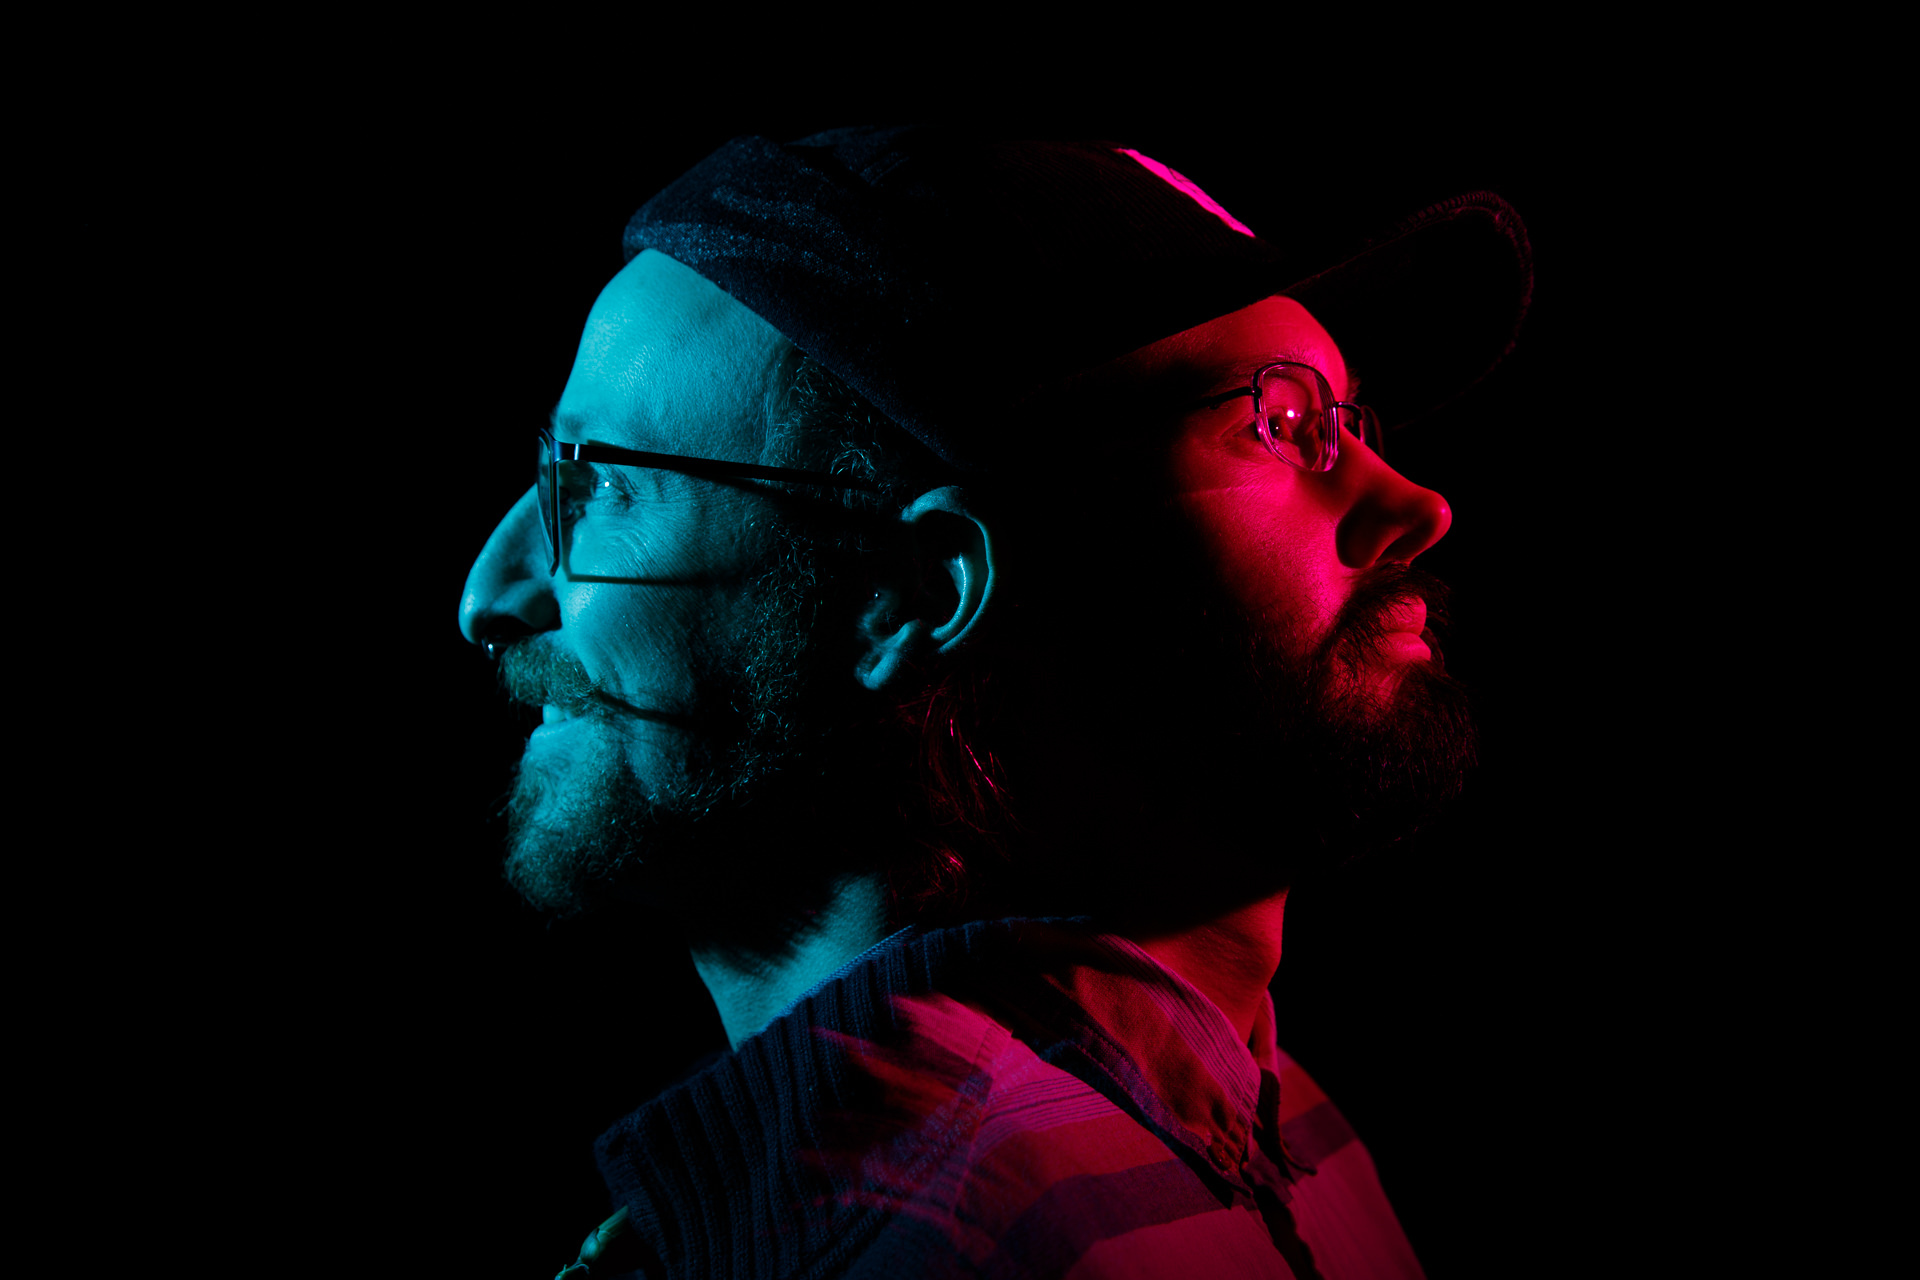
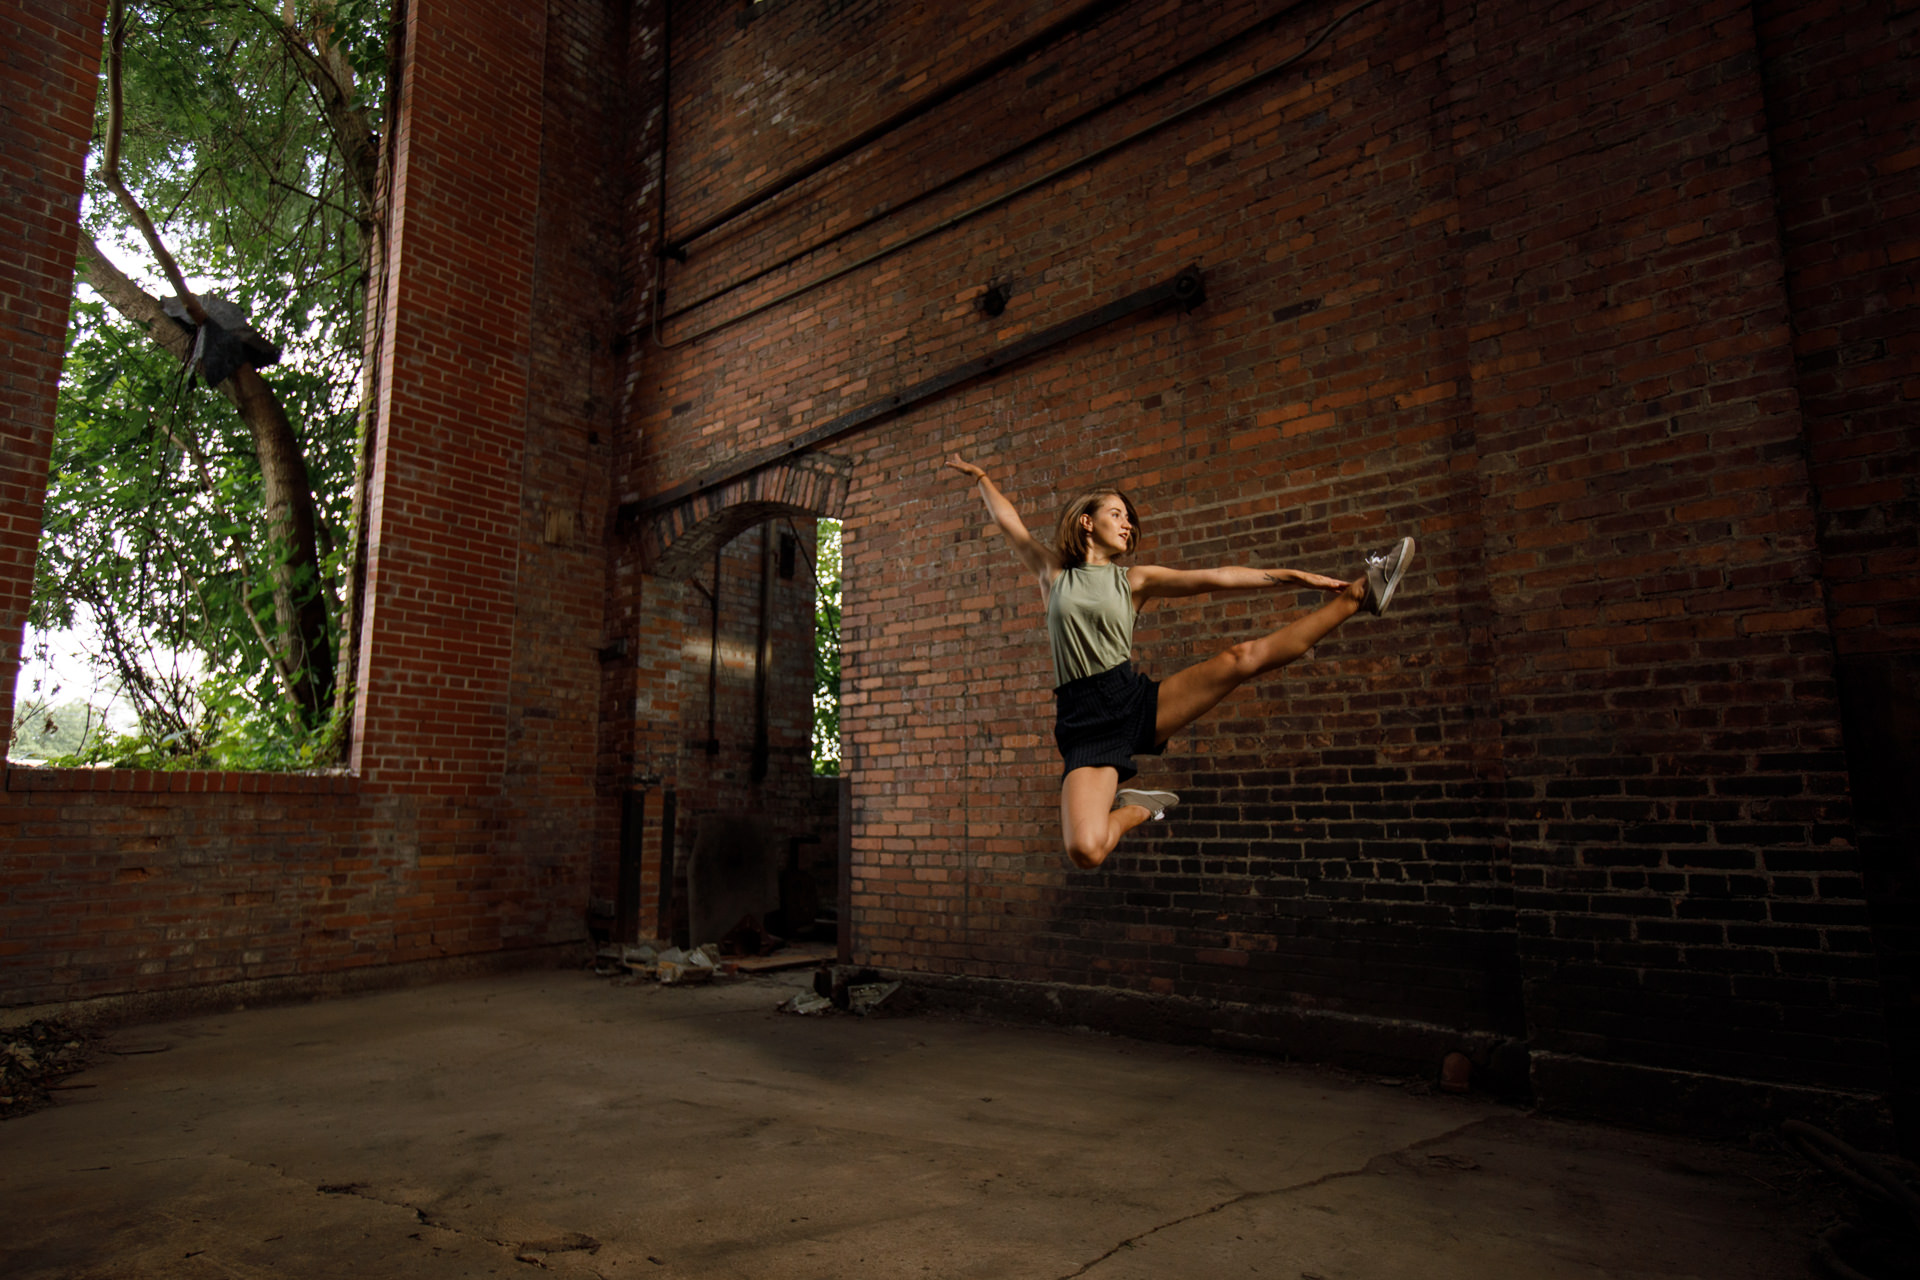
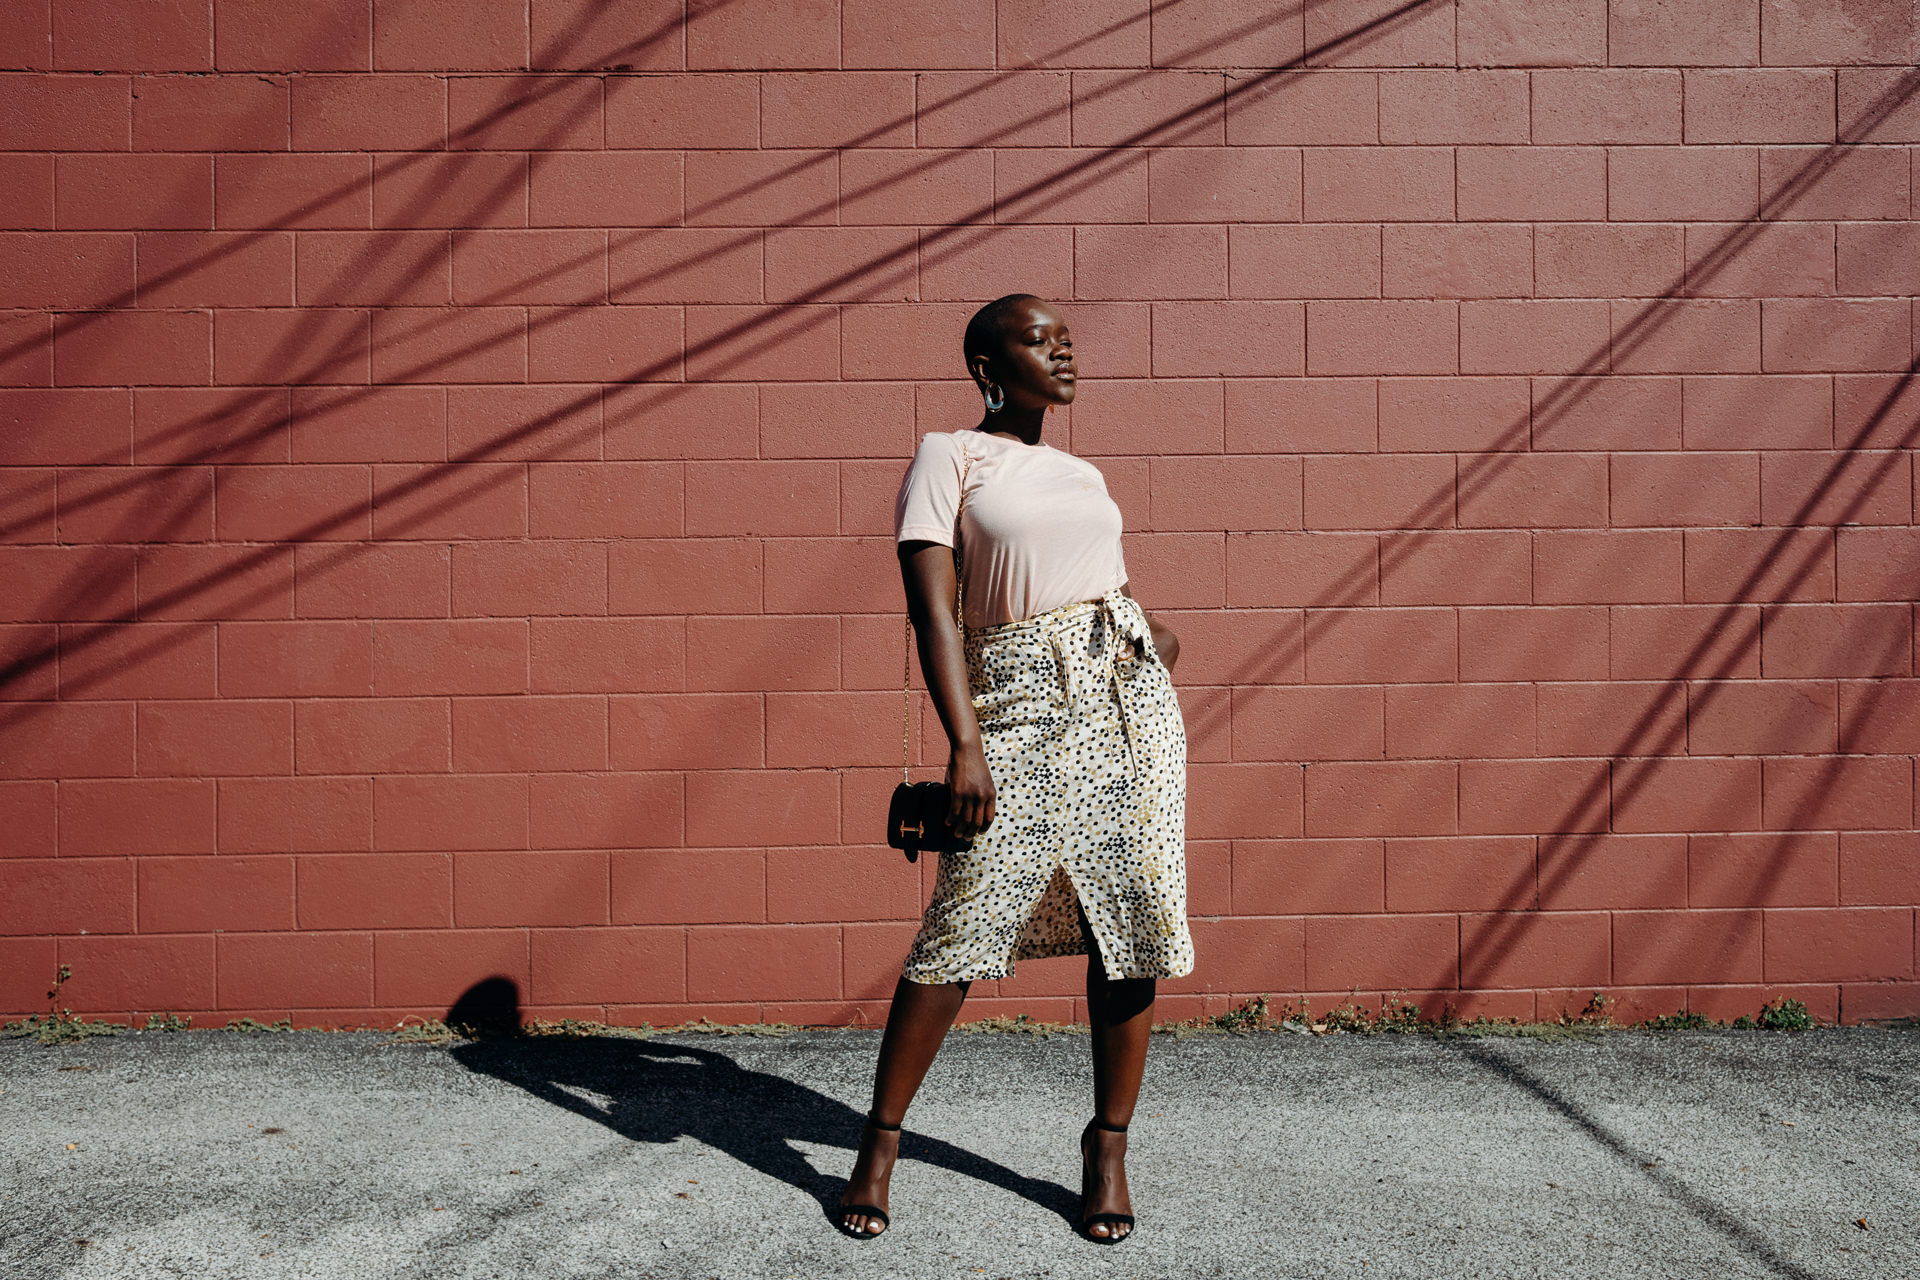
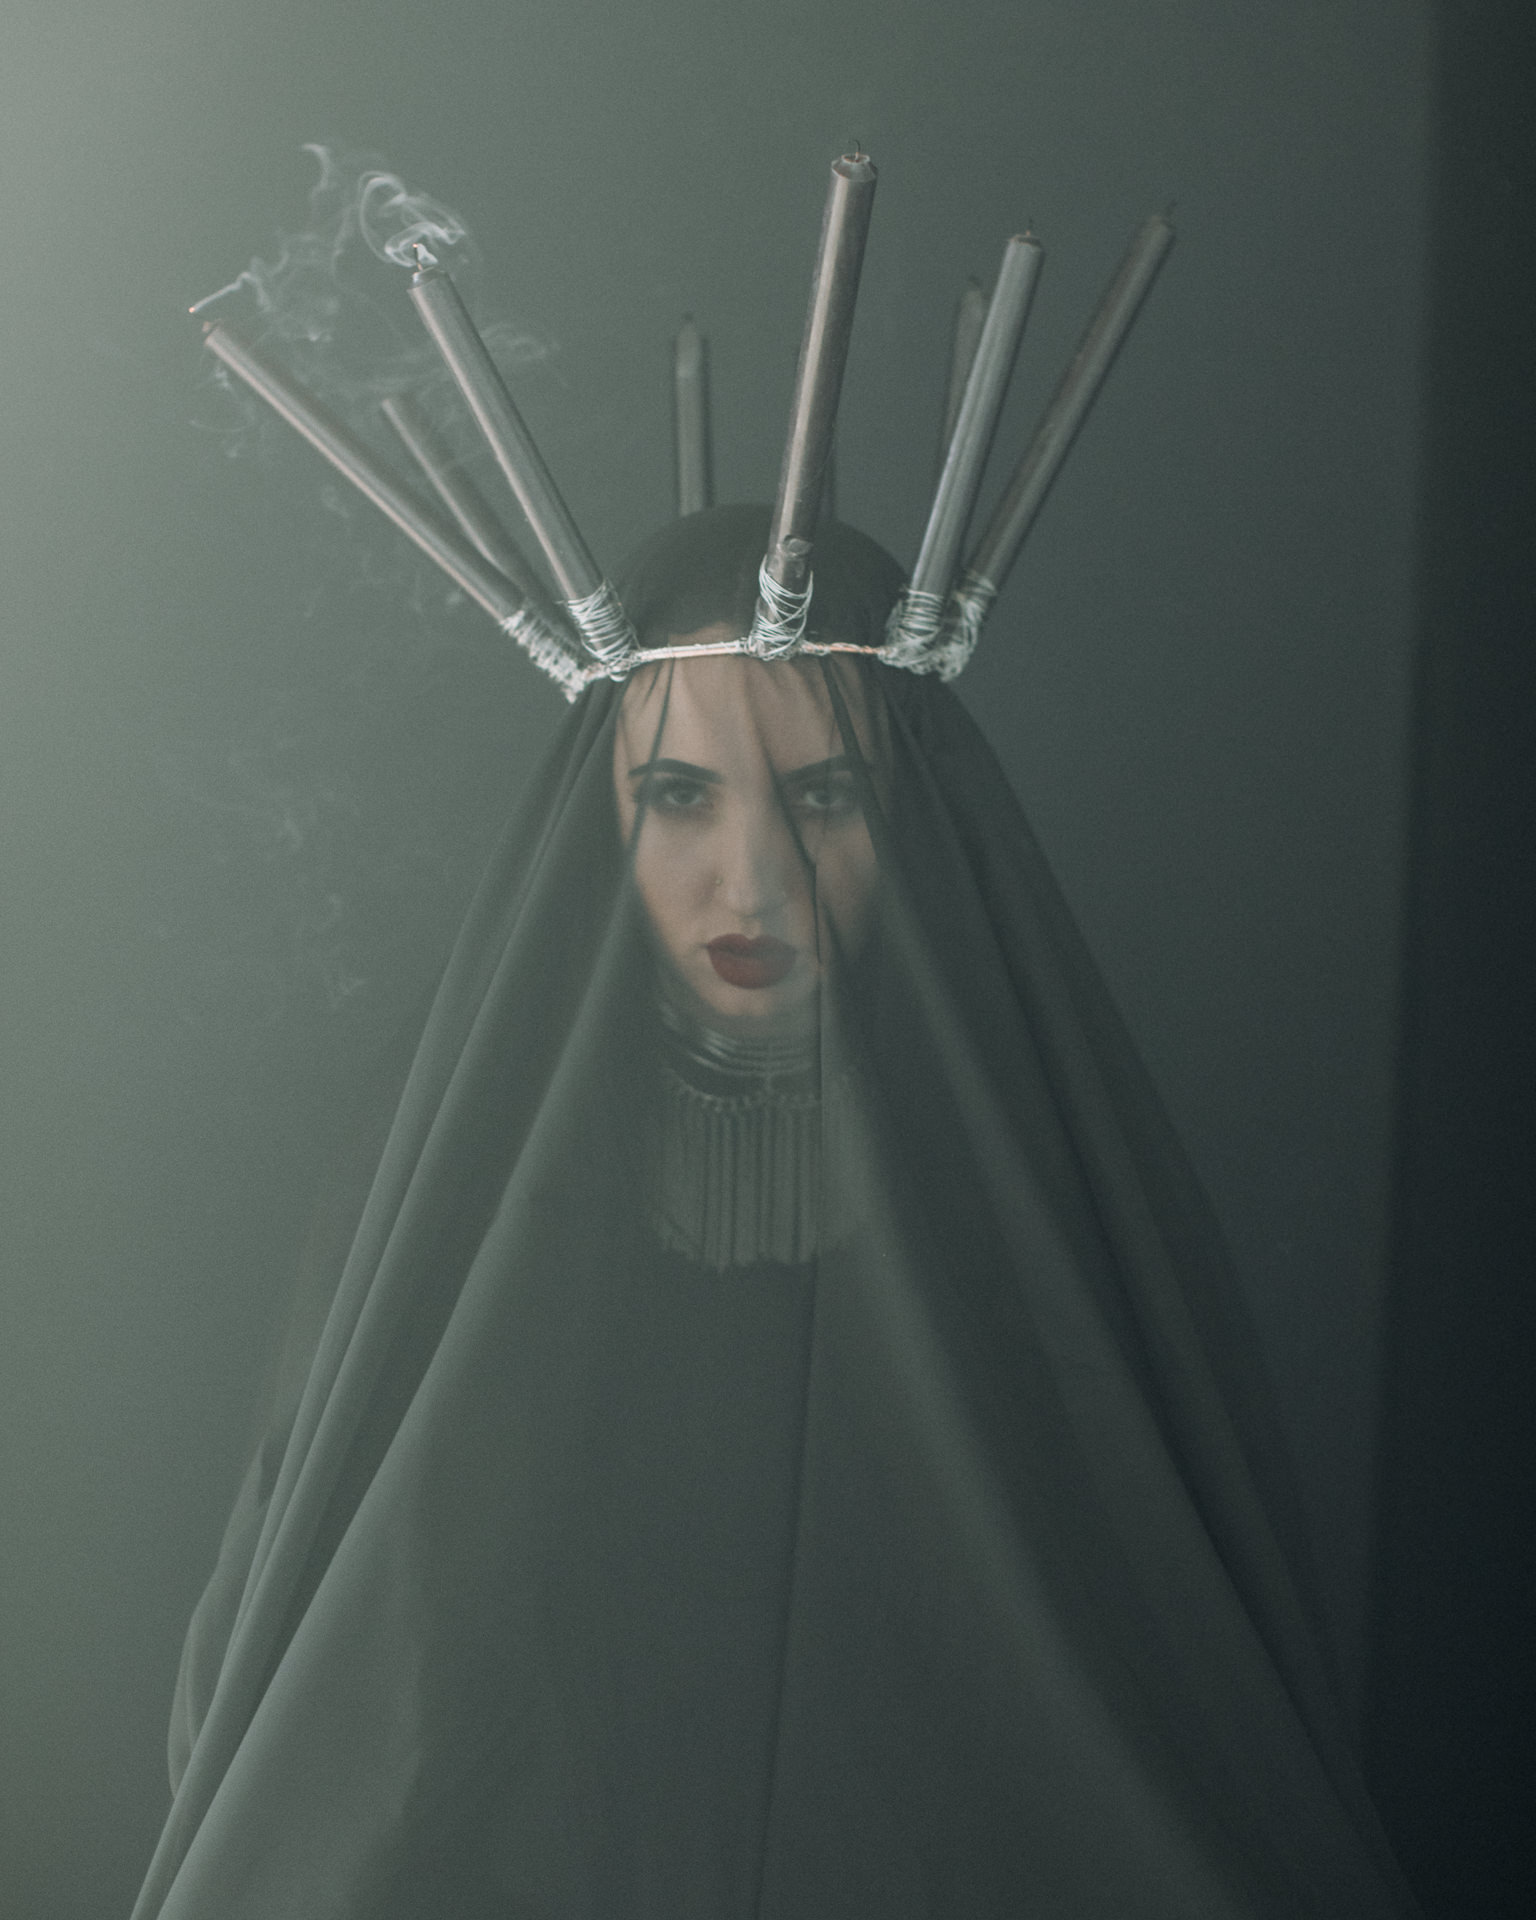
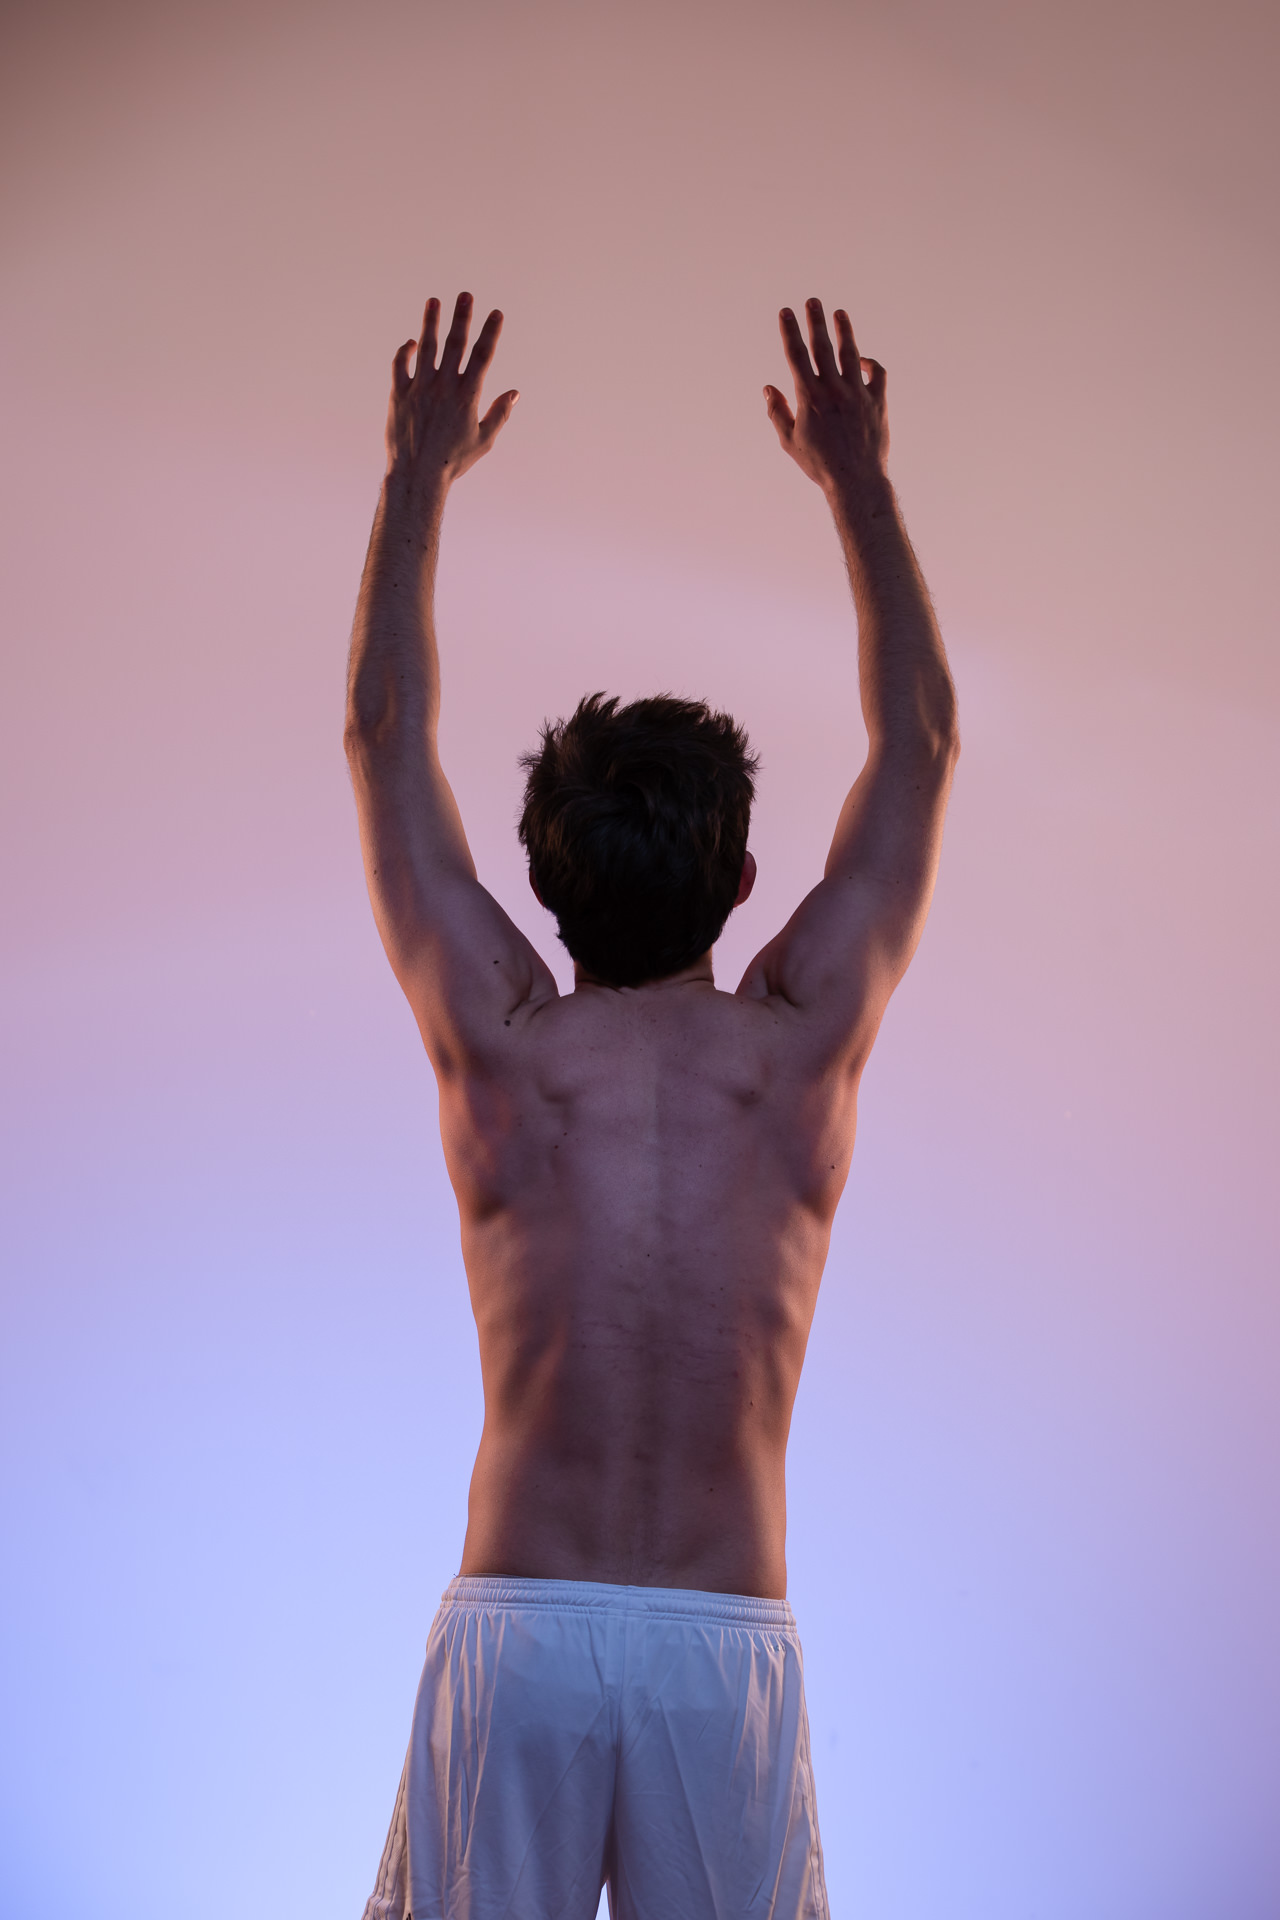
3/4 “There is a light I’m trying to not only see but create where everything feels overwhelmingly dark. For me this journey has been lonely and I have felt often that if I didn’t create or work towards creating my own light, laughter, happiness, etc it was easy to succumb to the darkness.”

Hodgkins lymphoma photo shoot, Toledo, Ohio

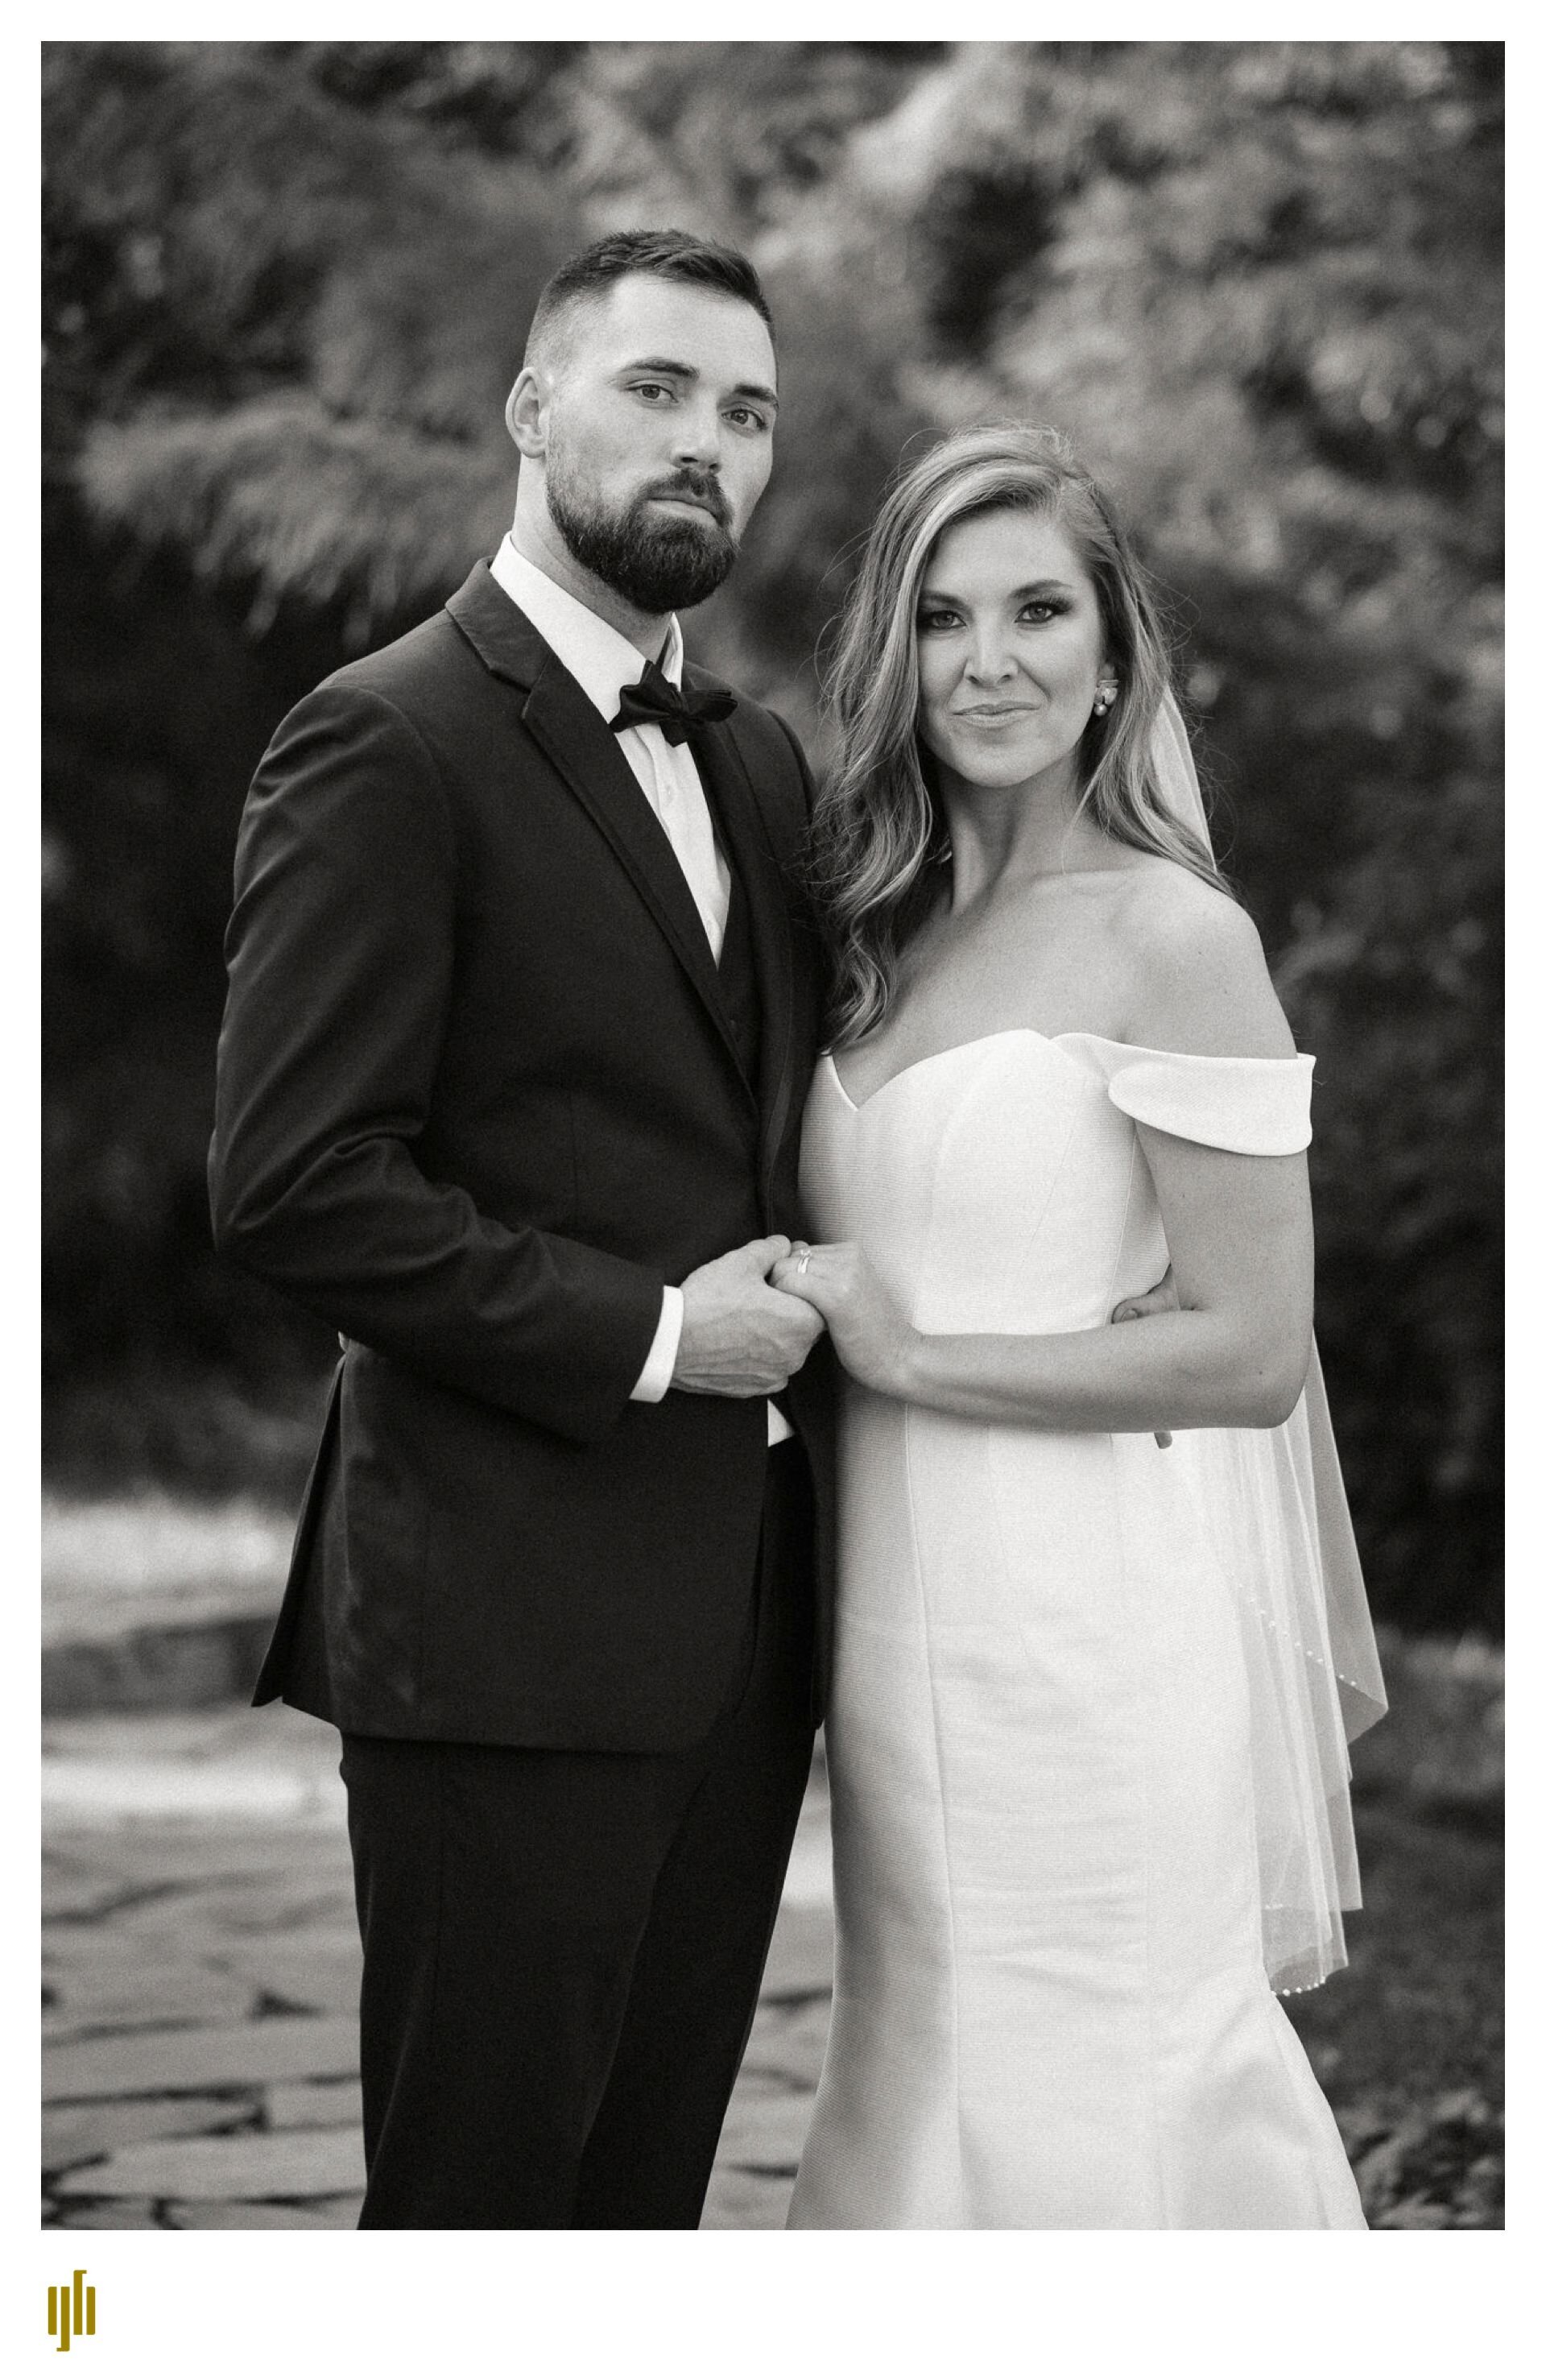
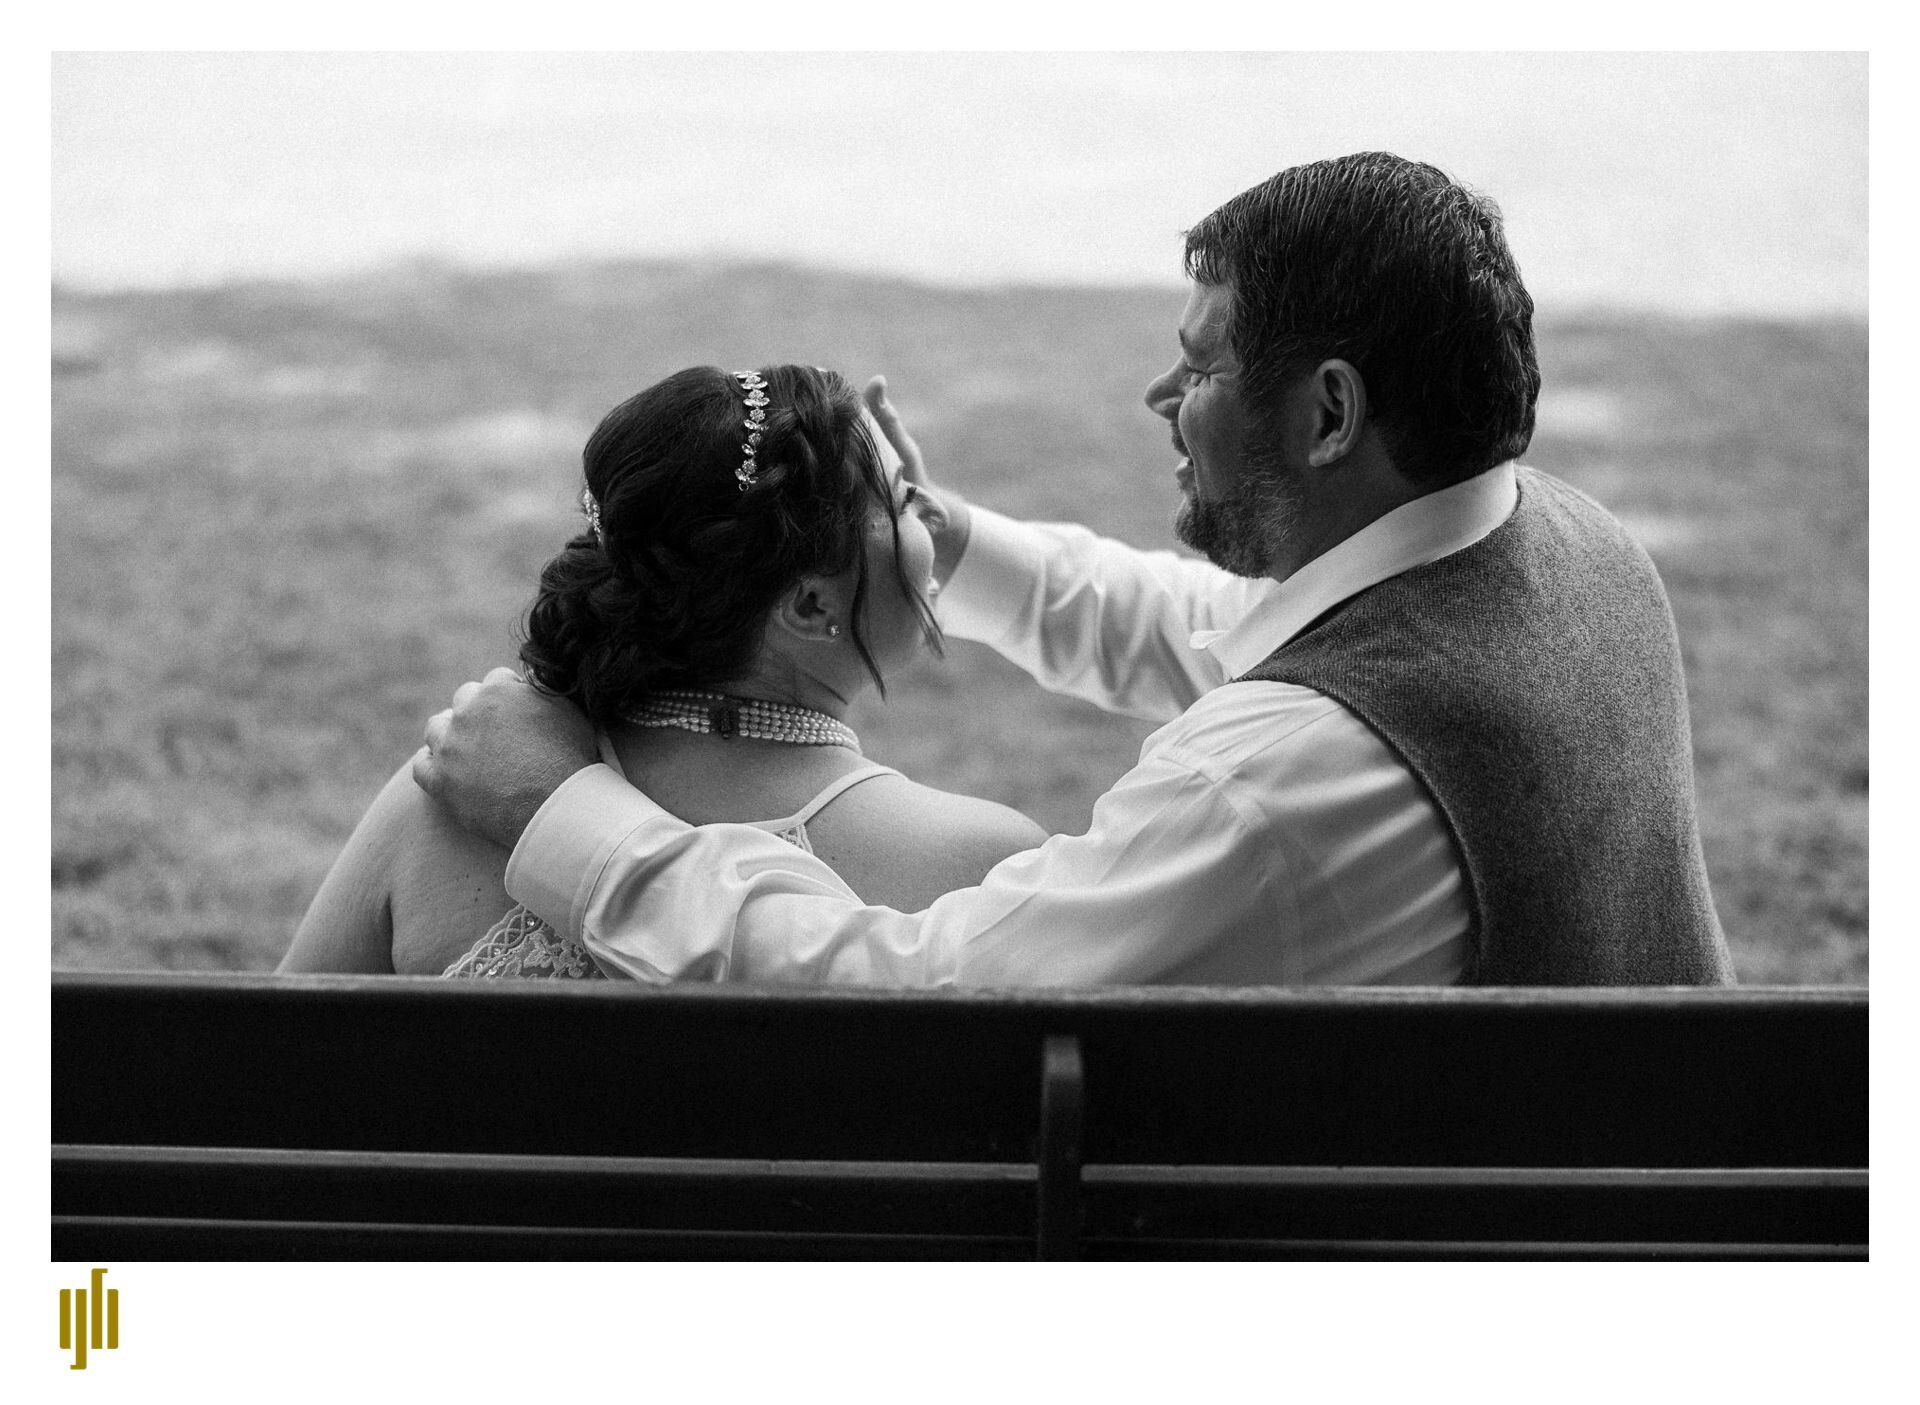
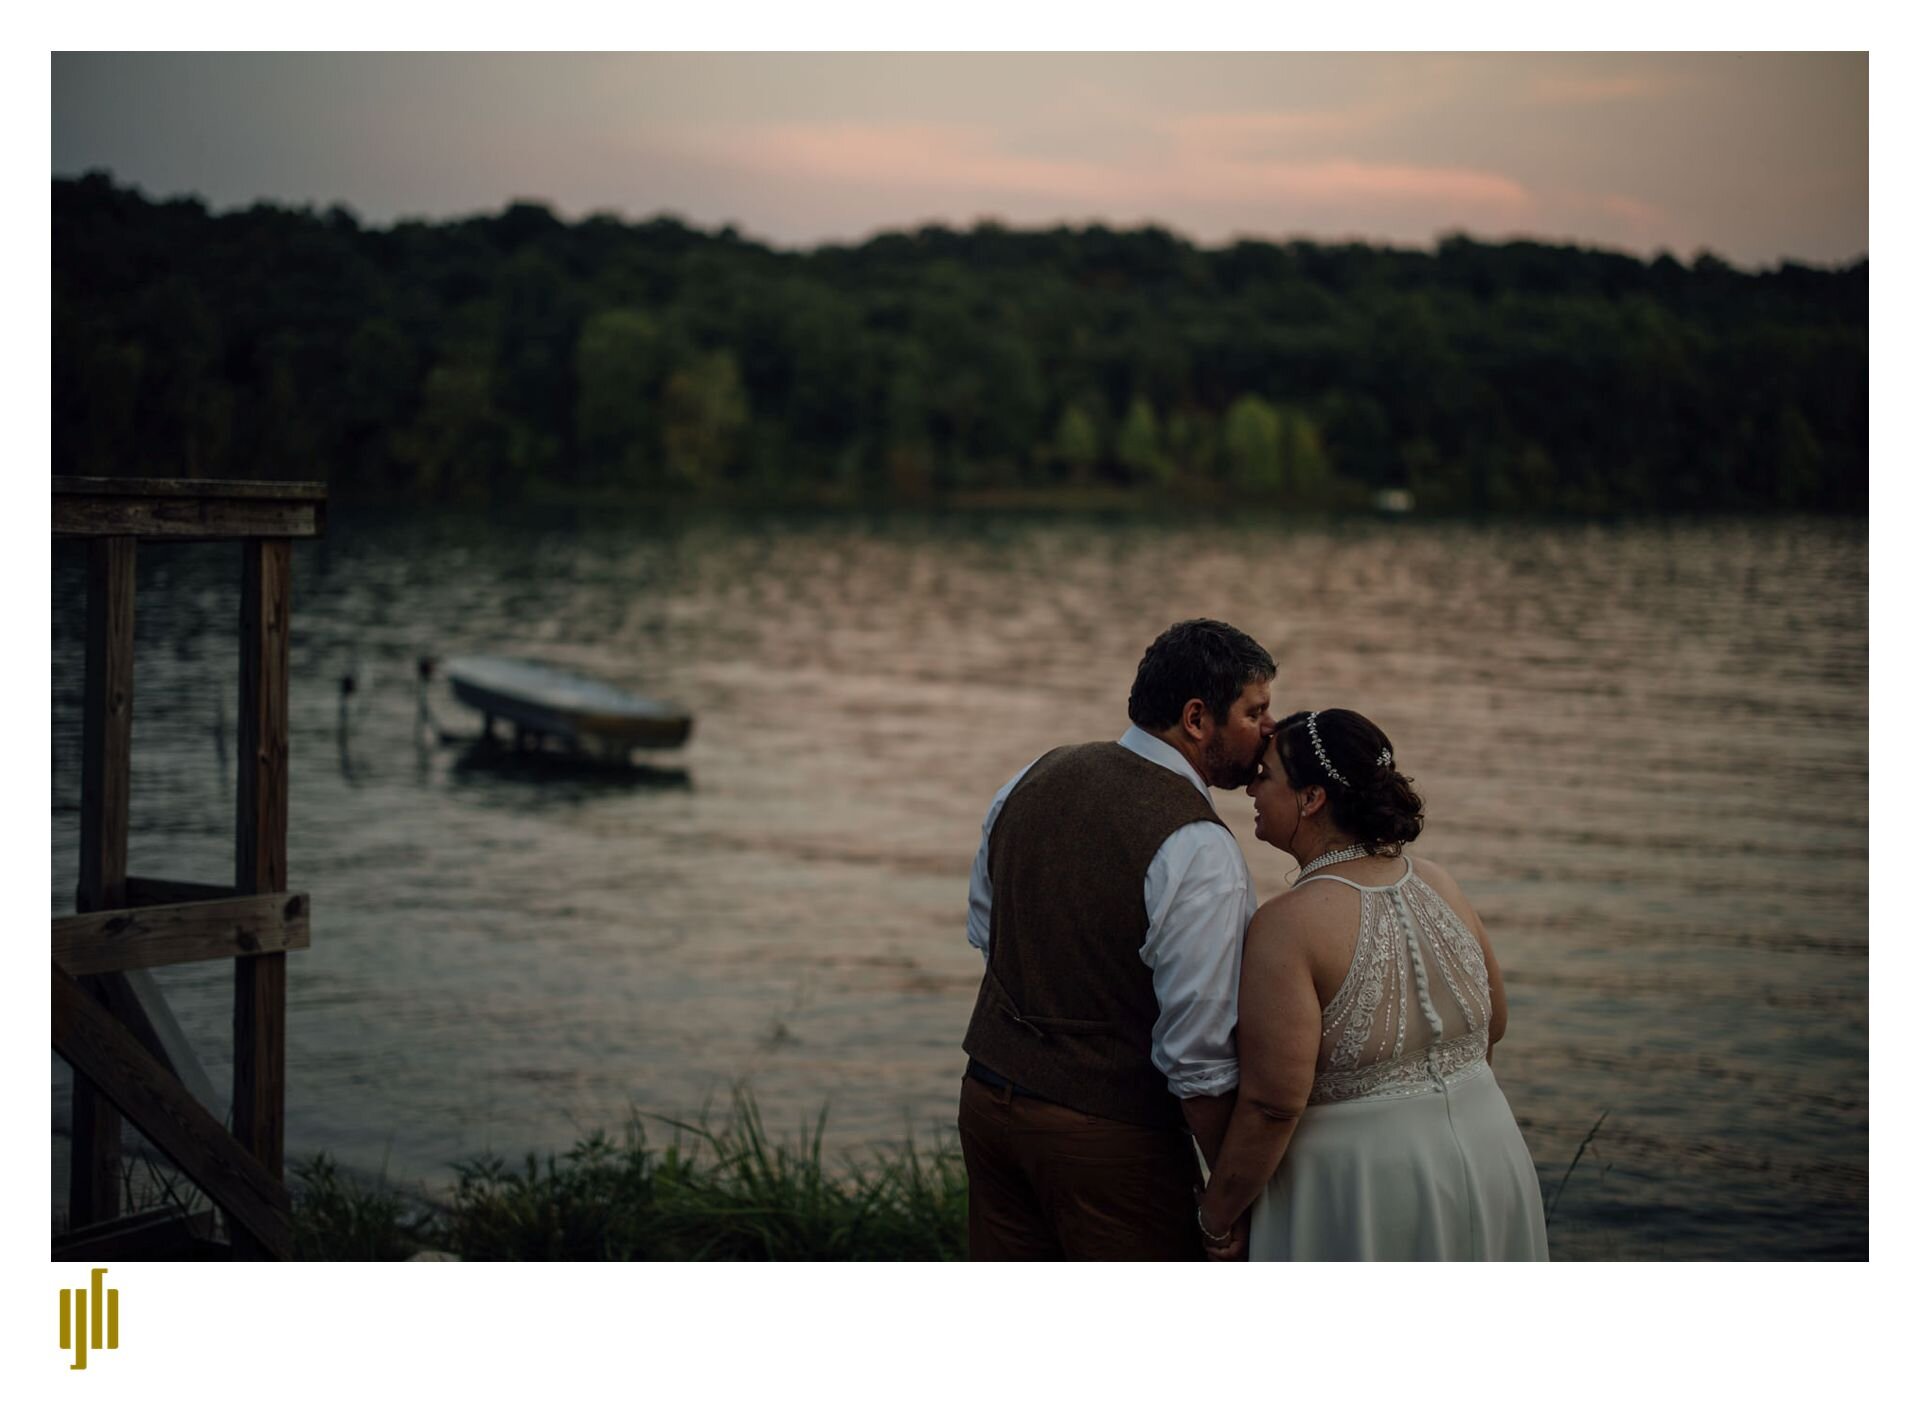
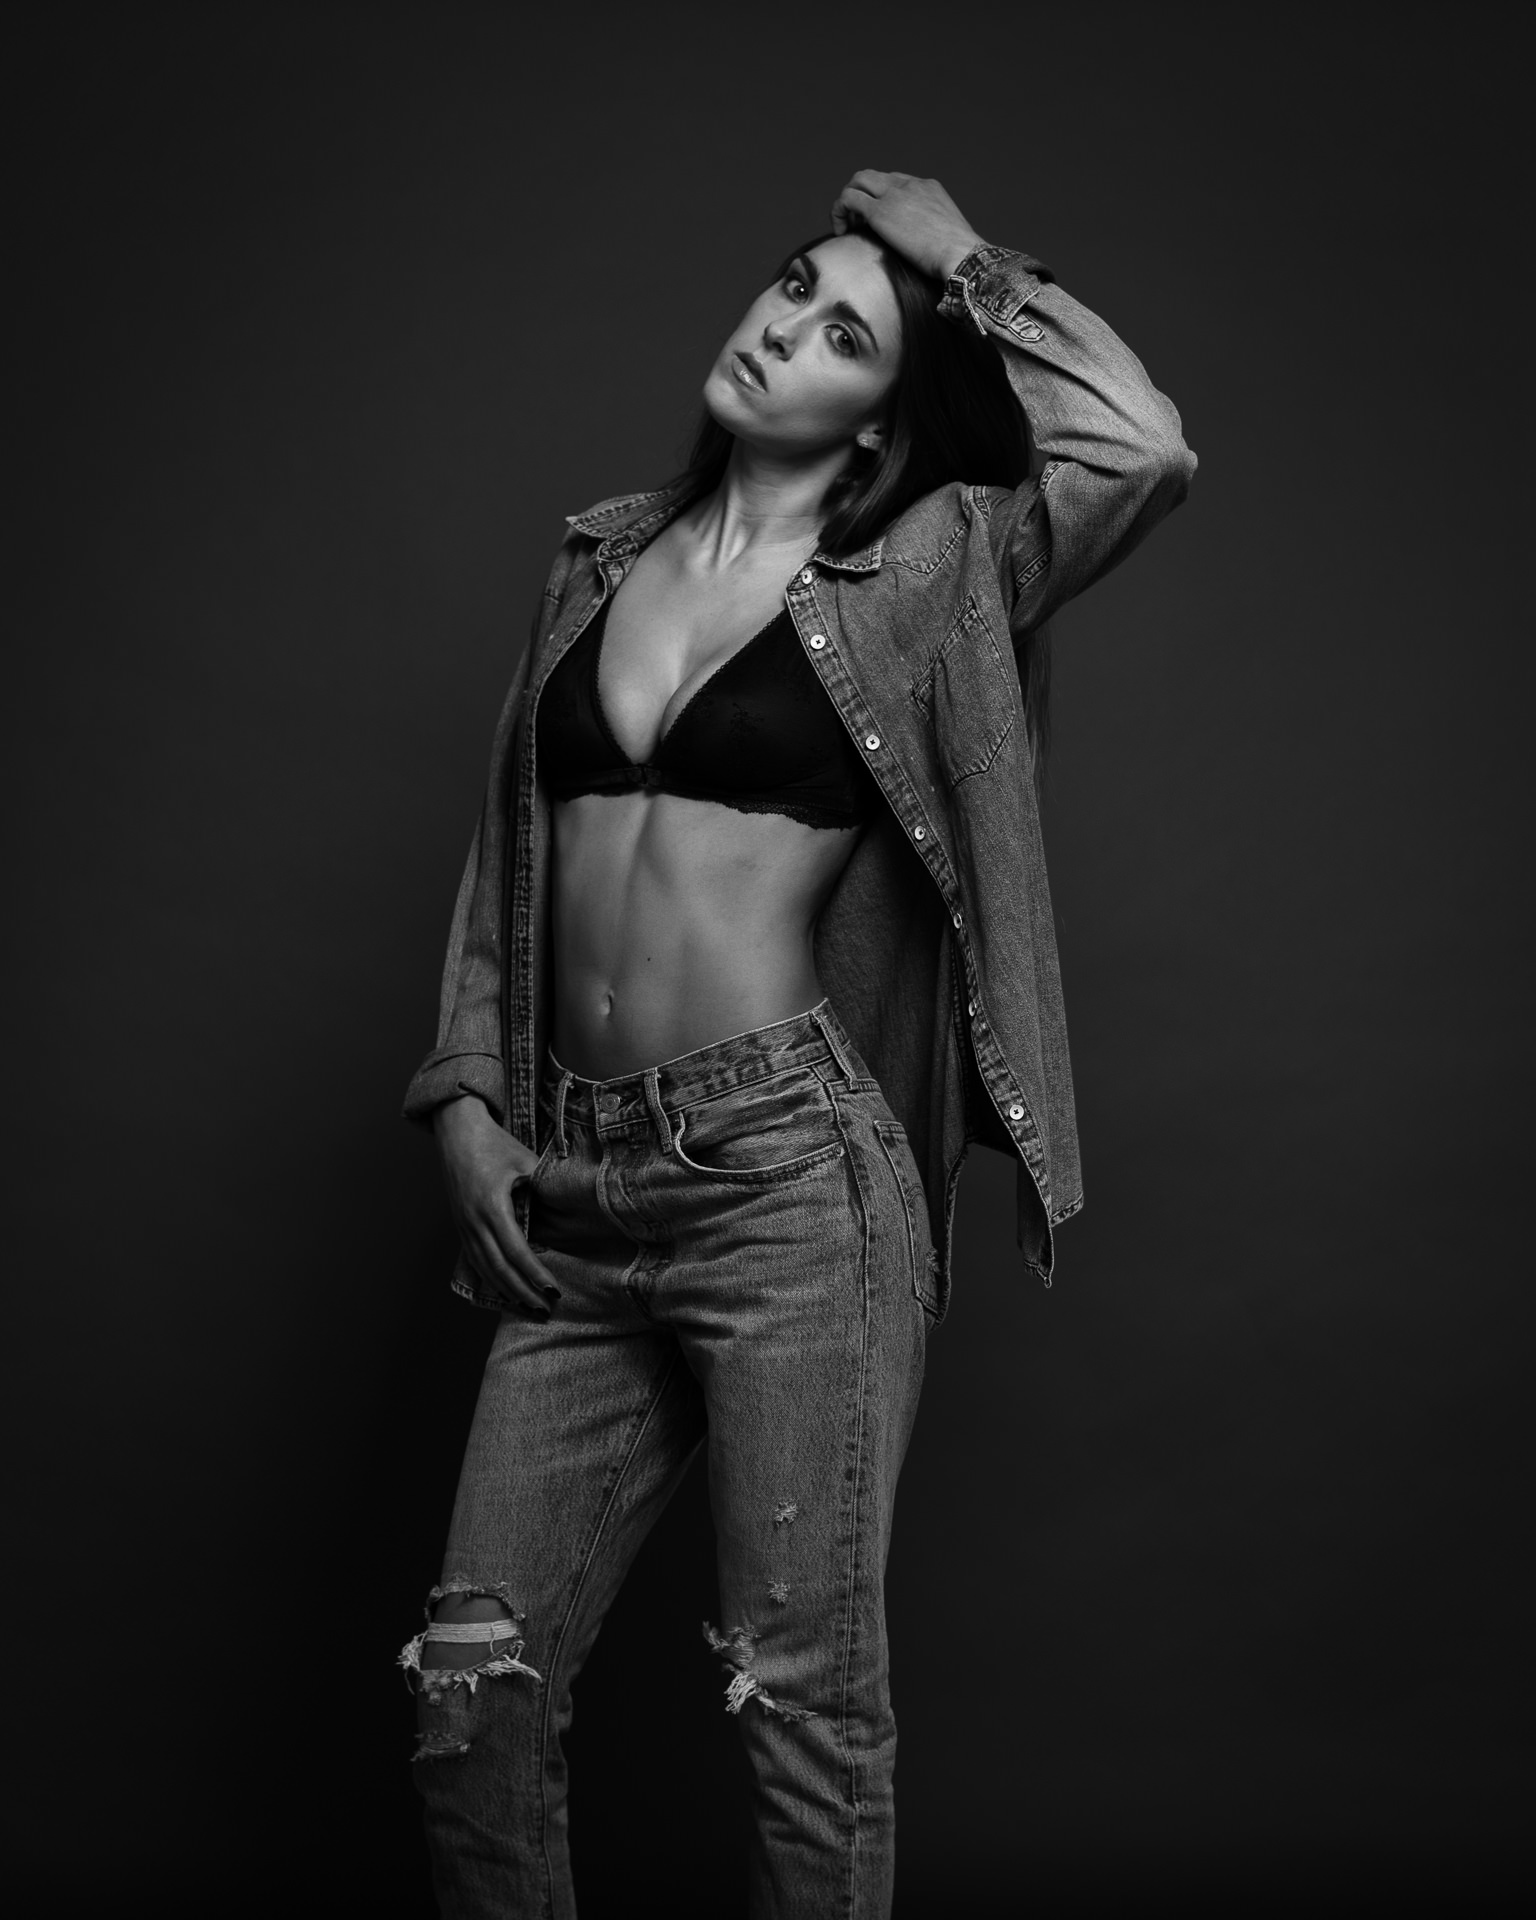
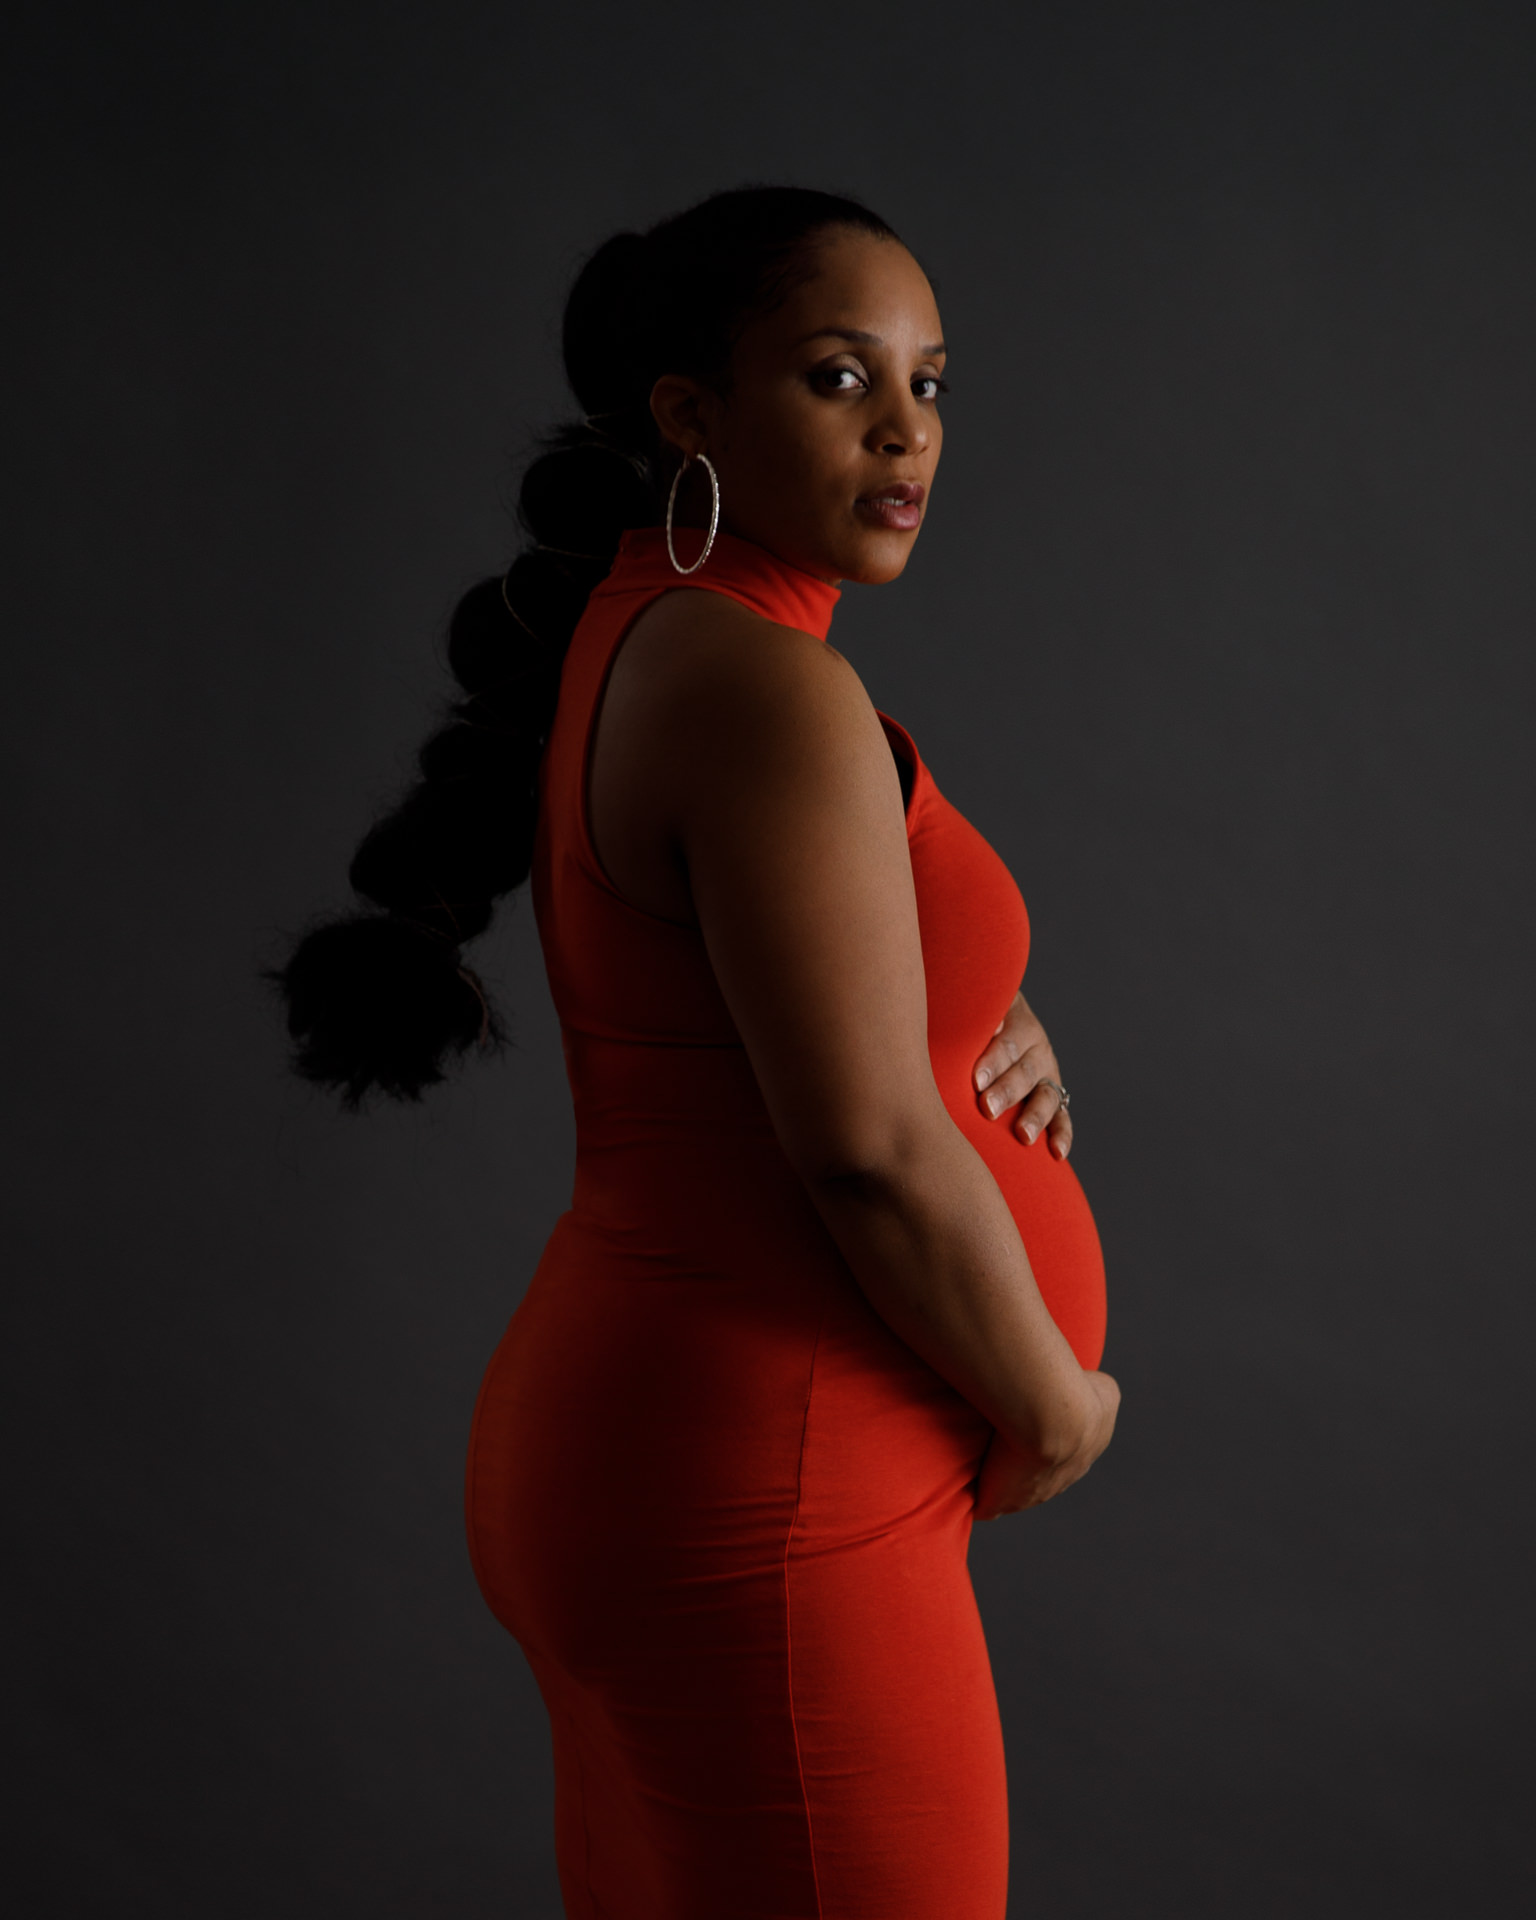
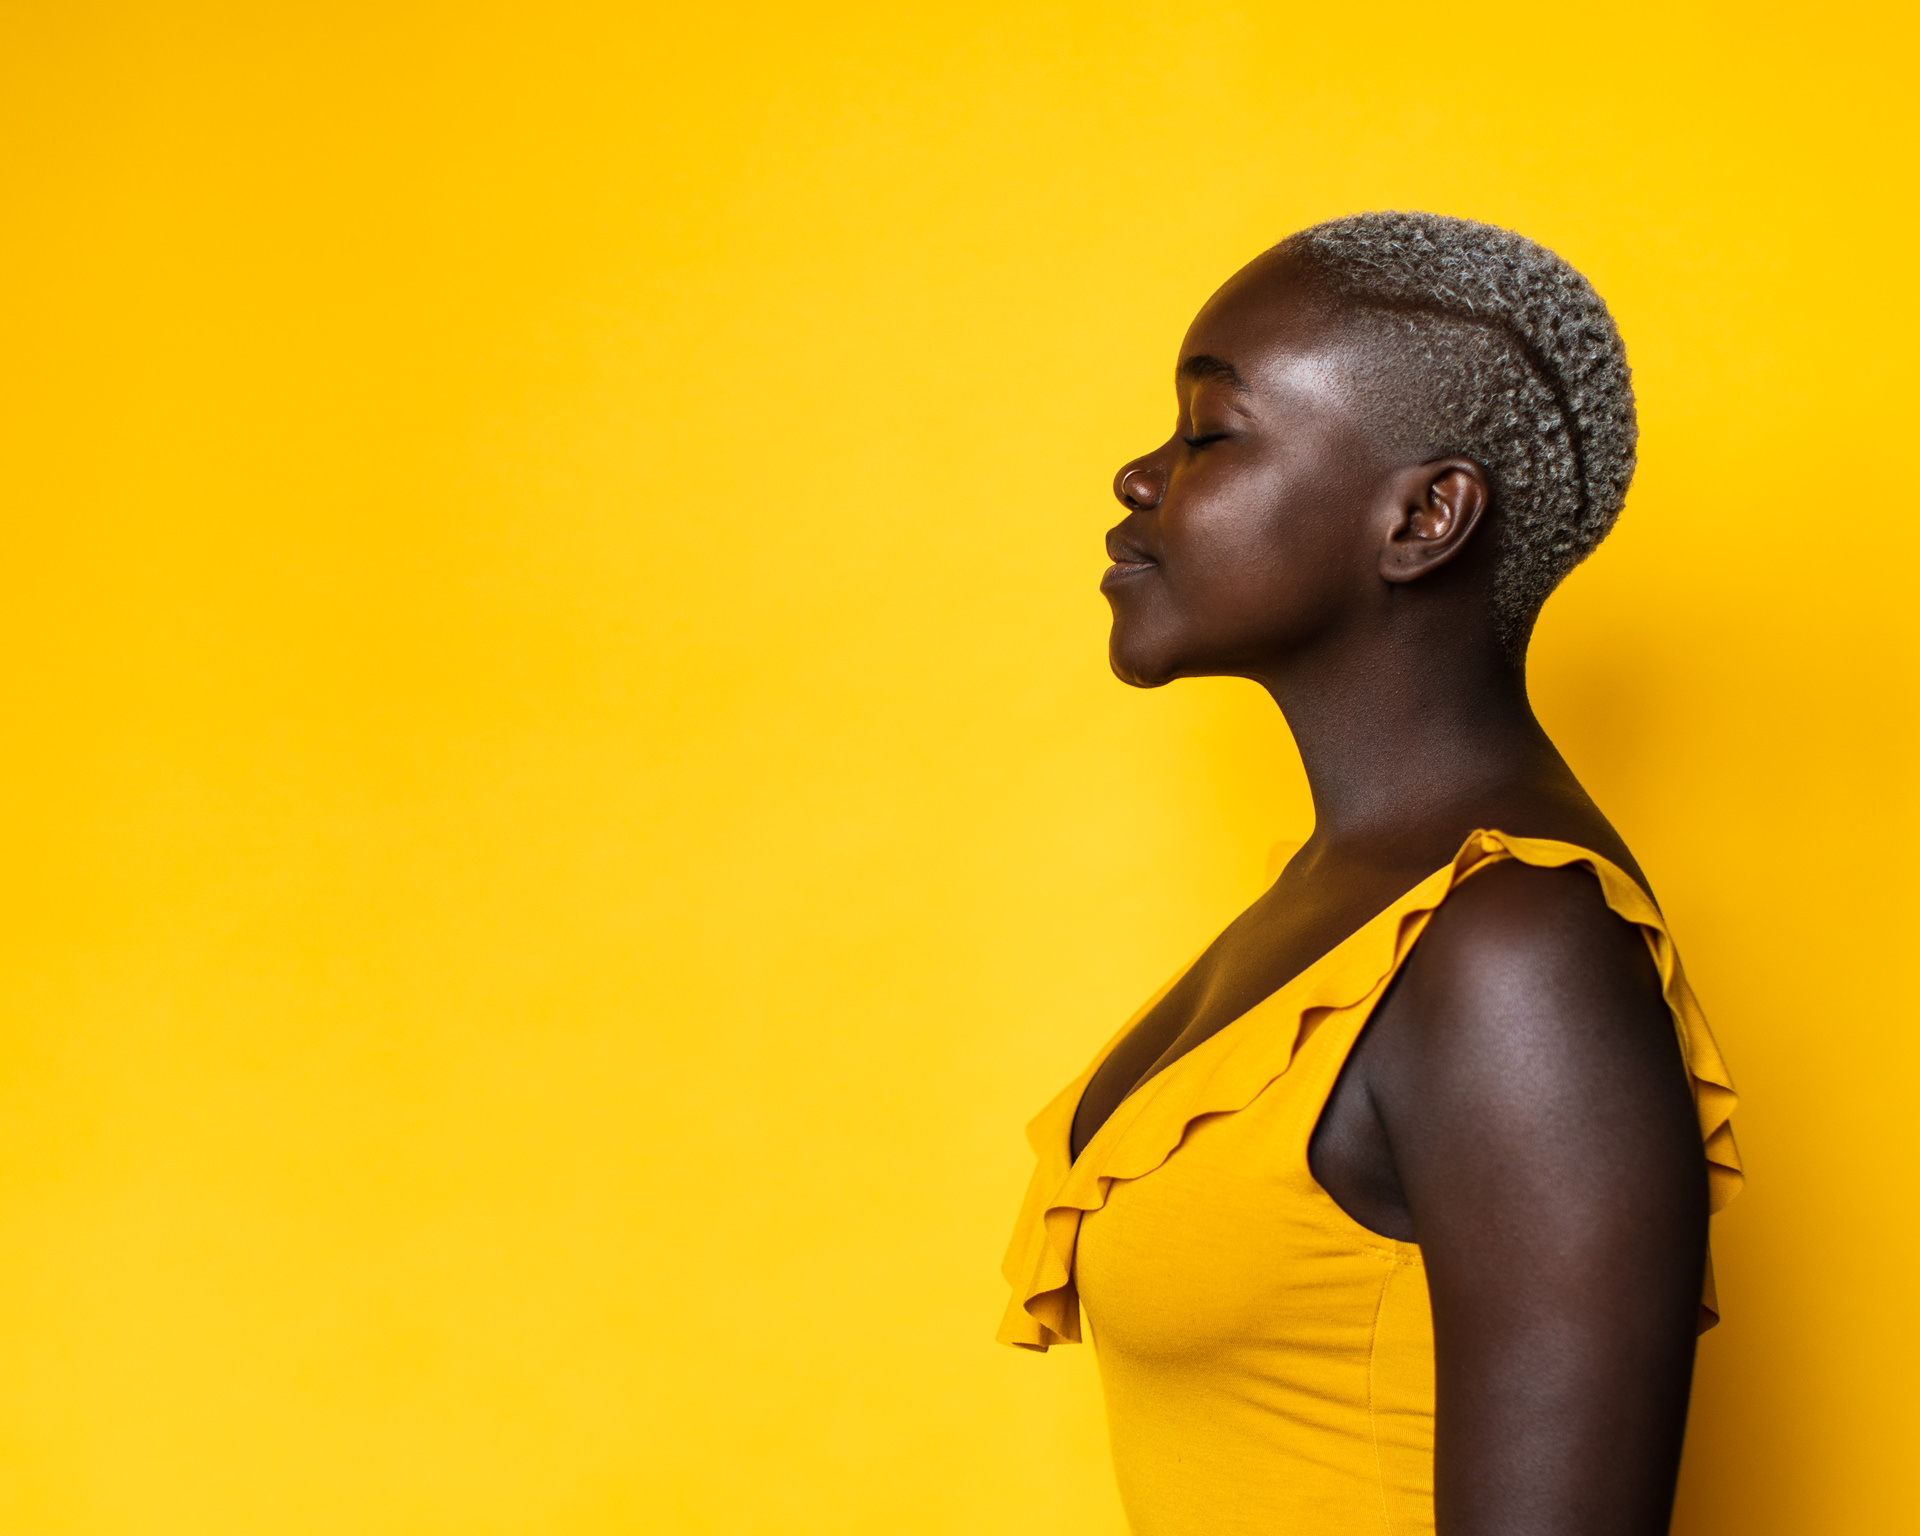
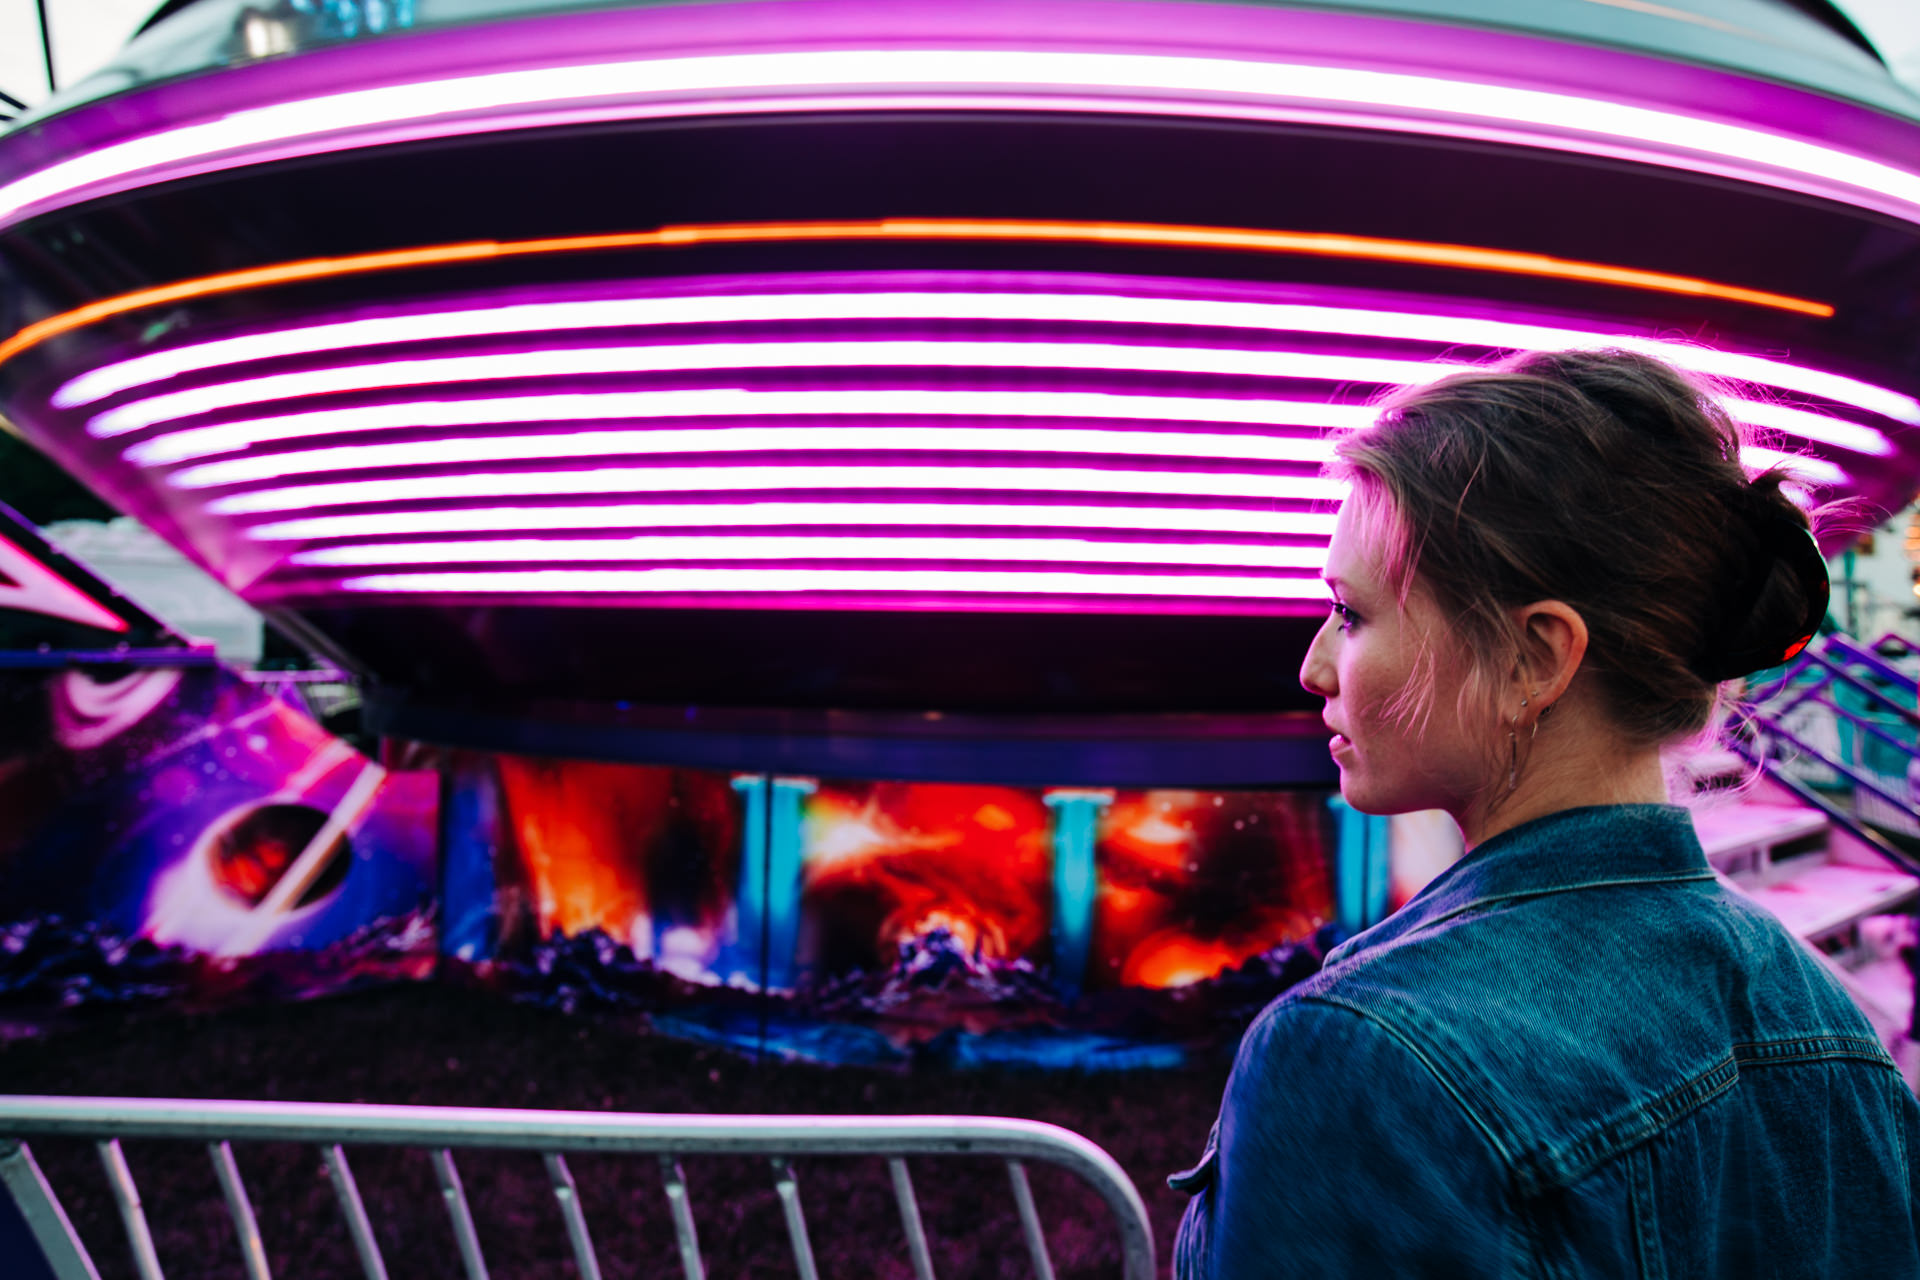
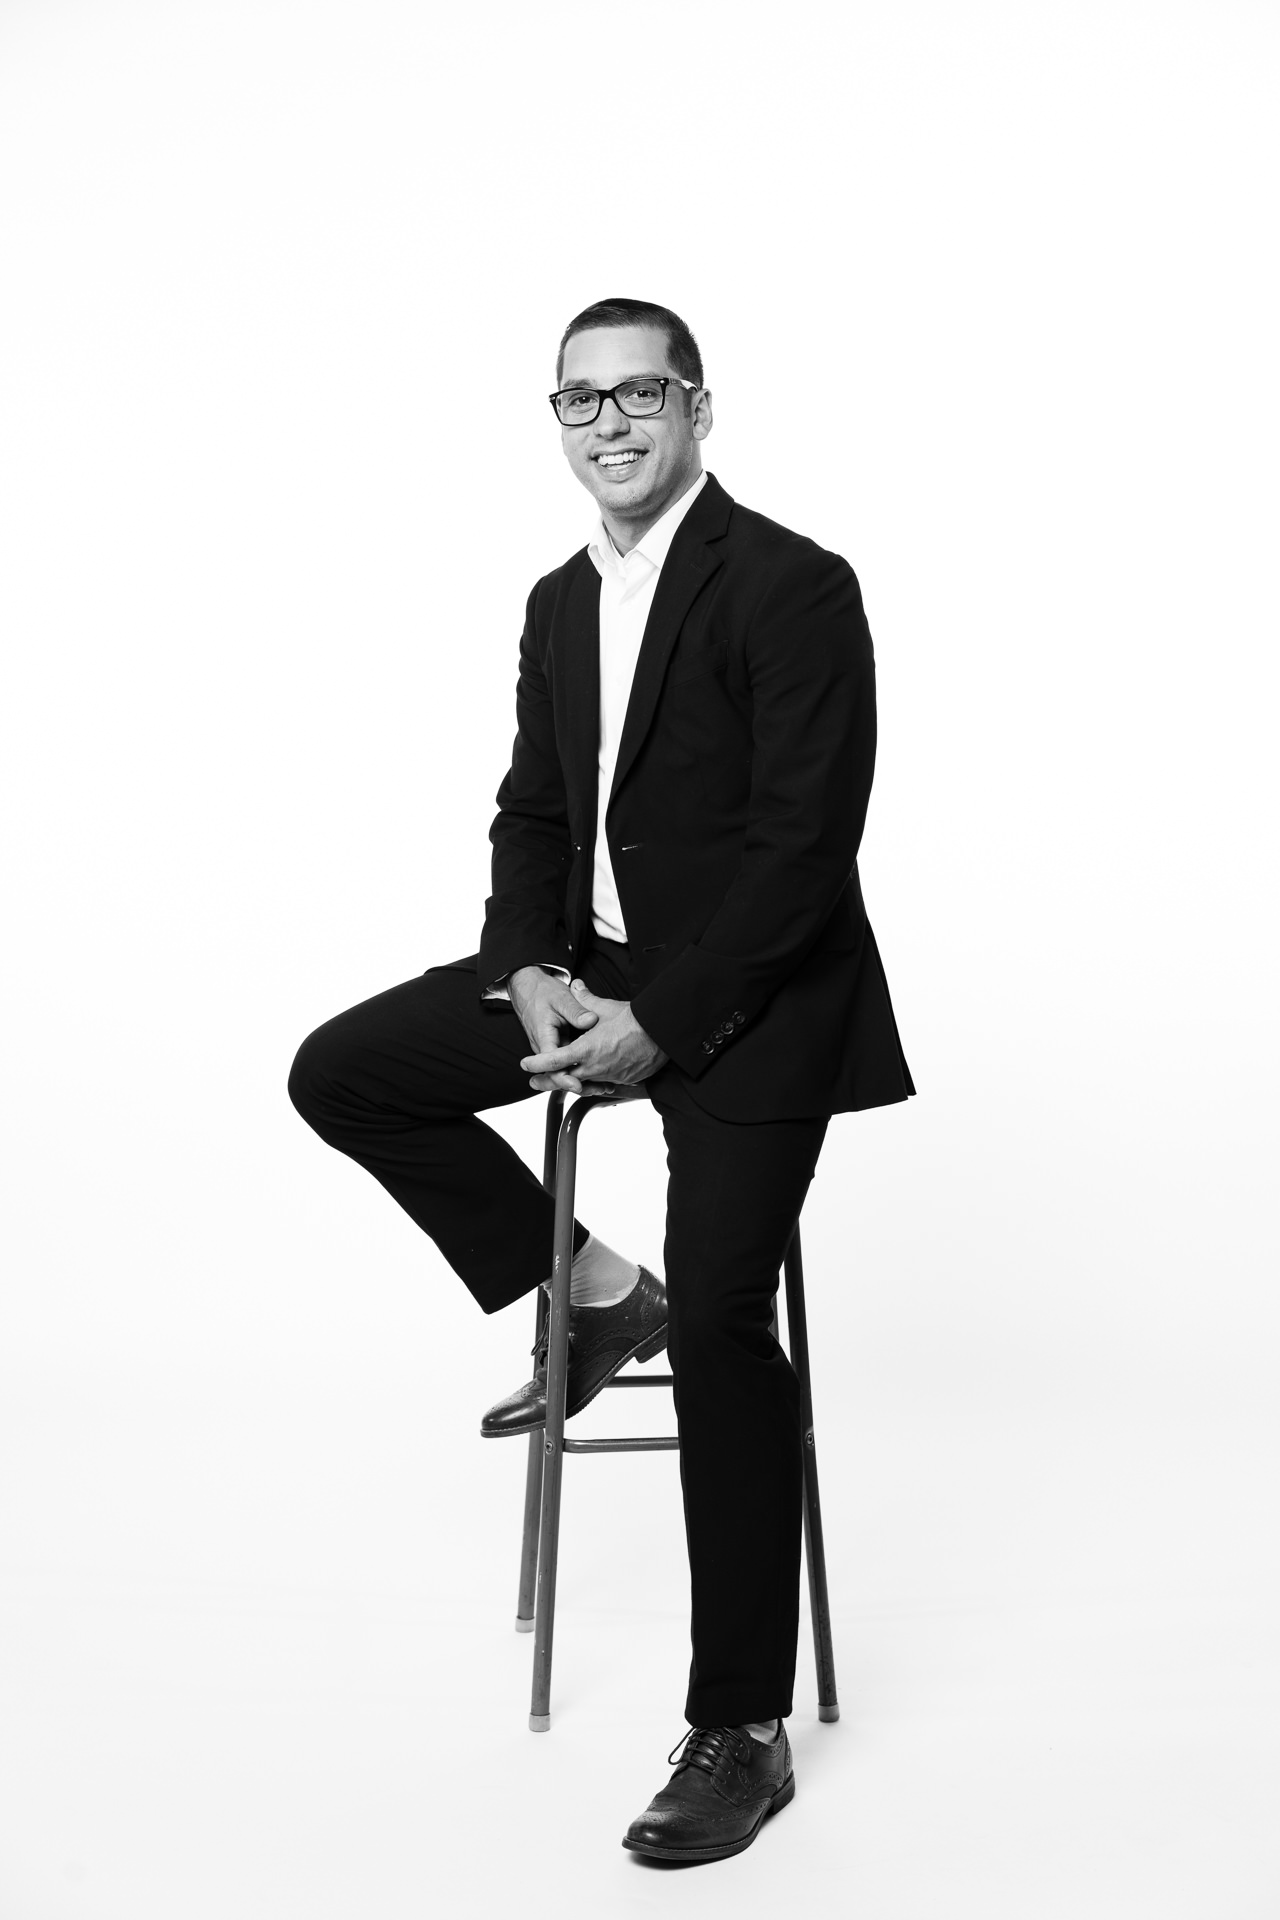
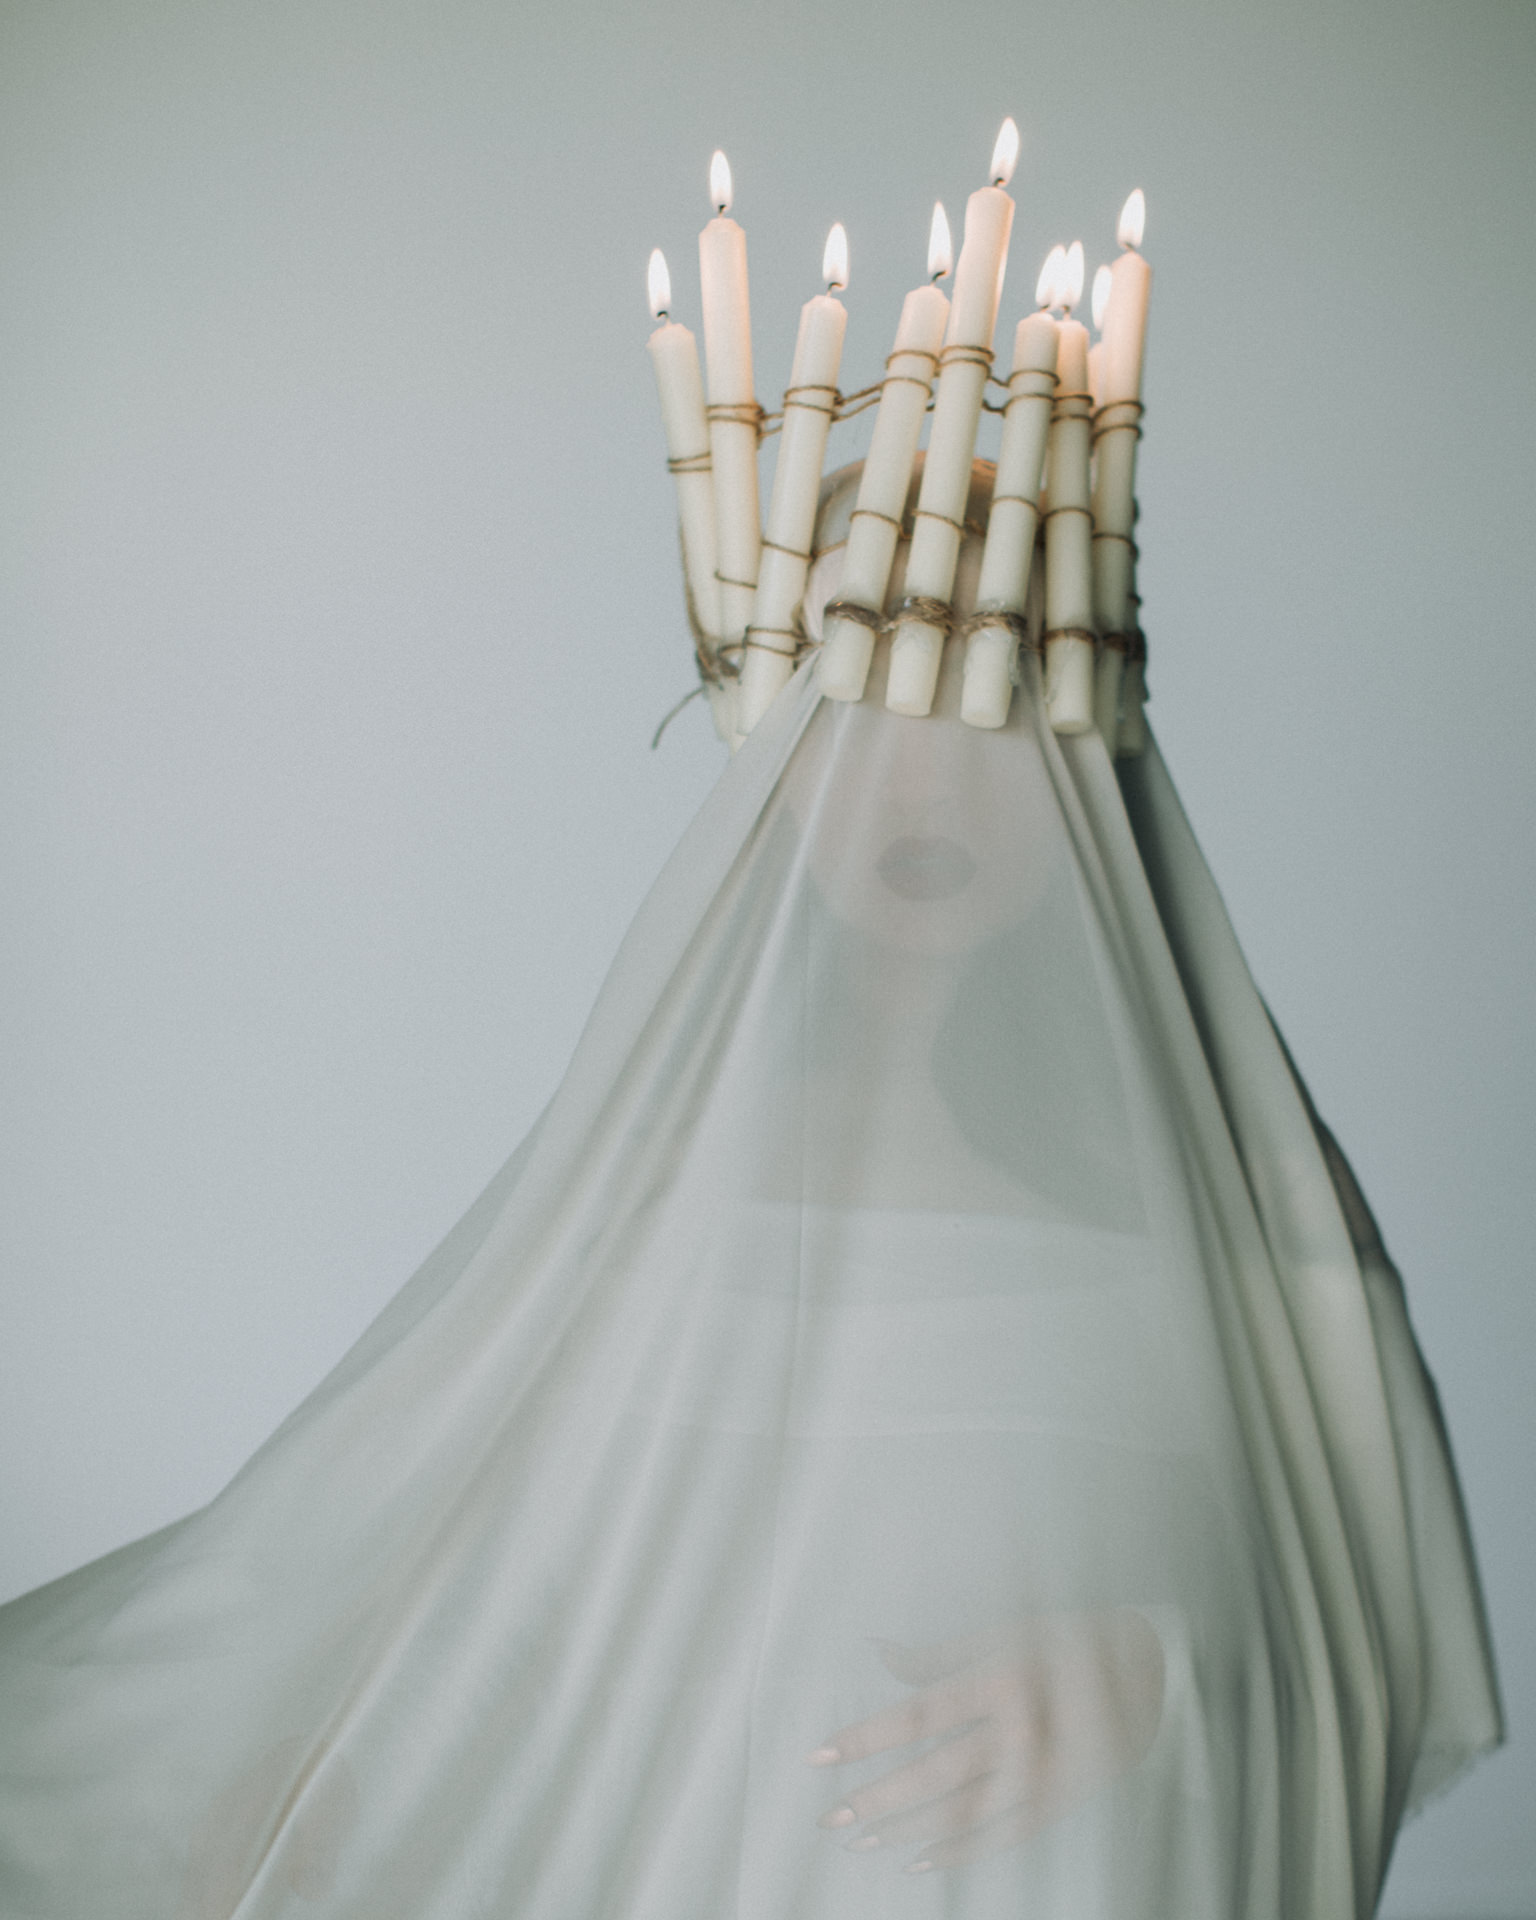
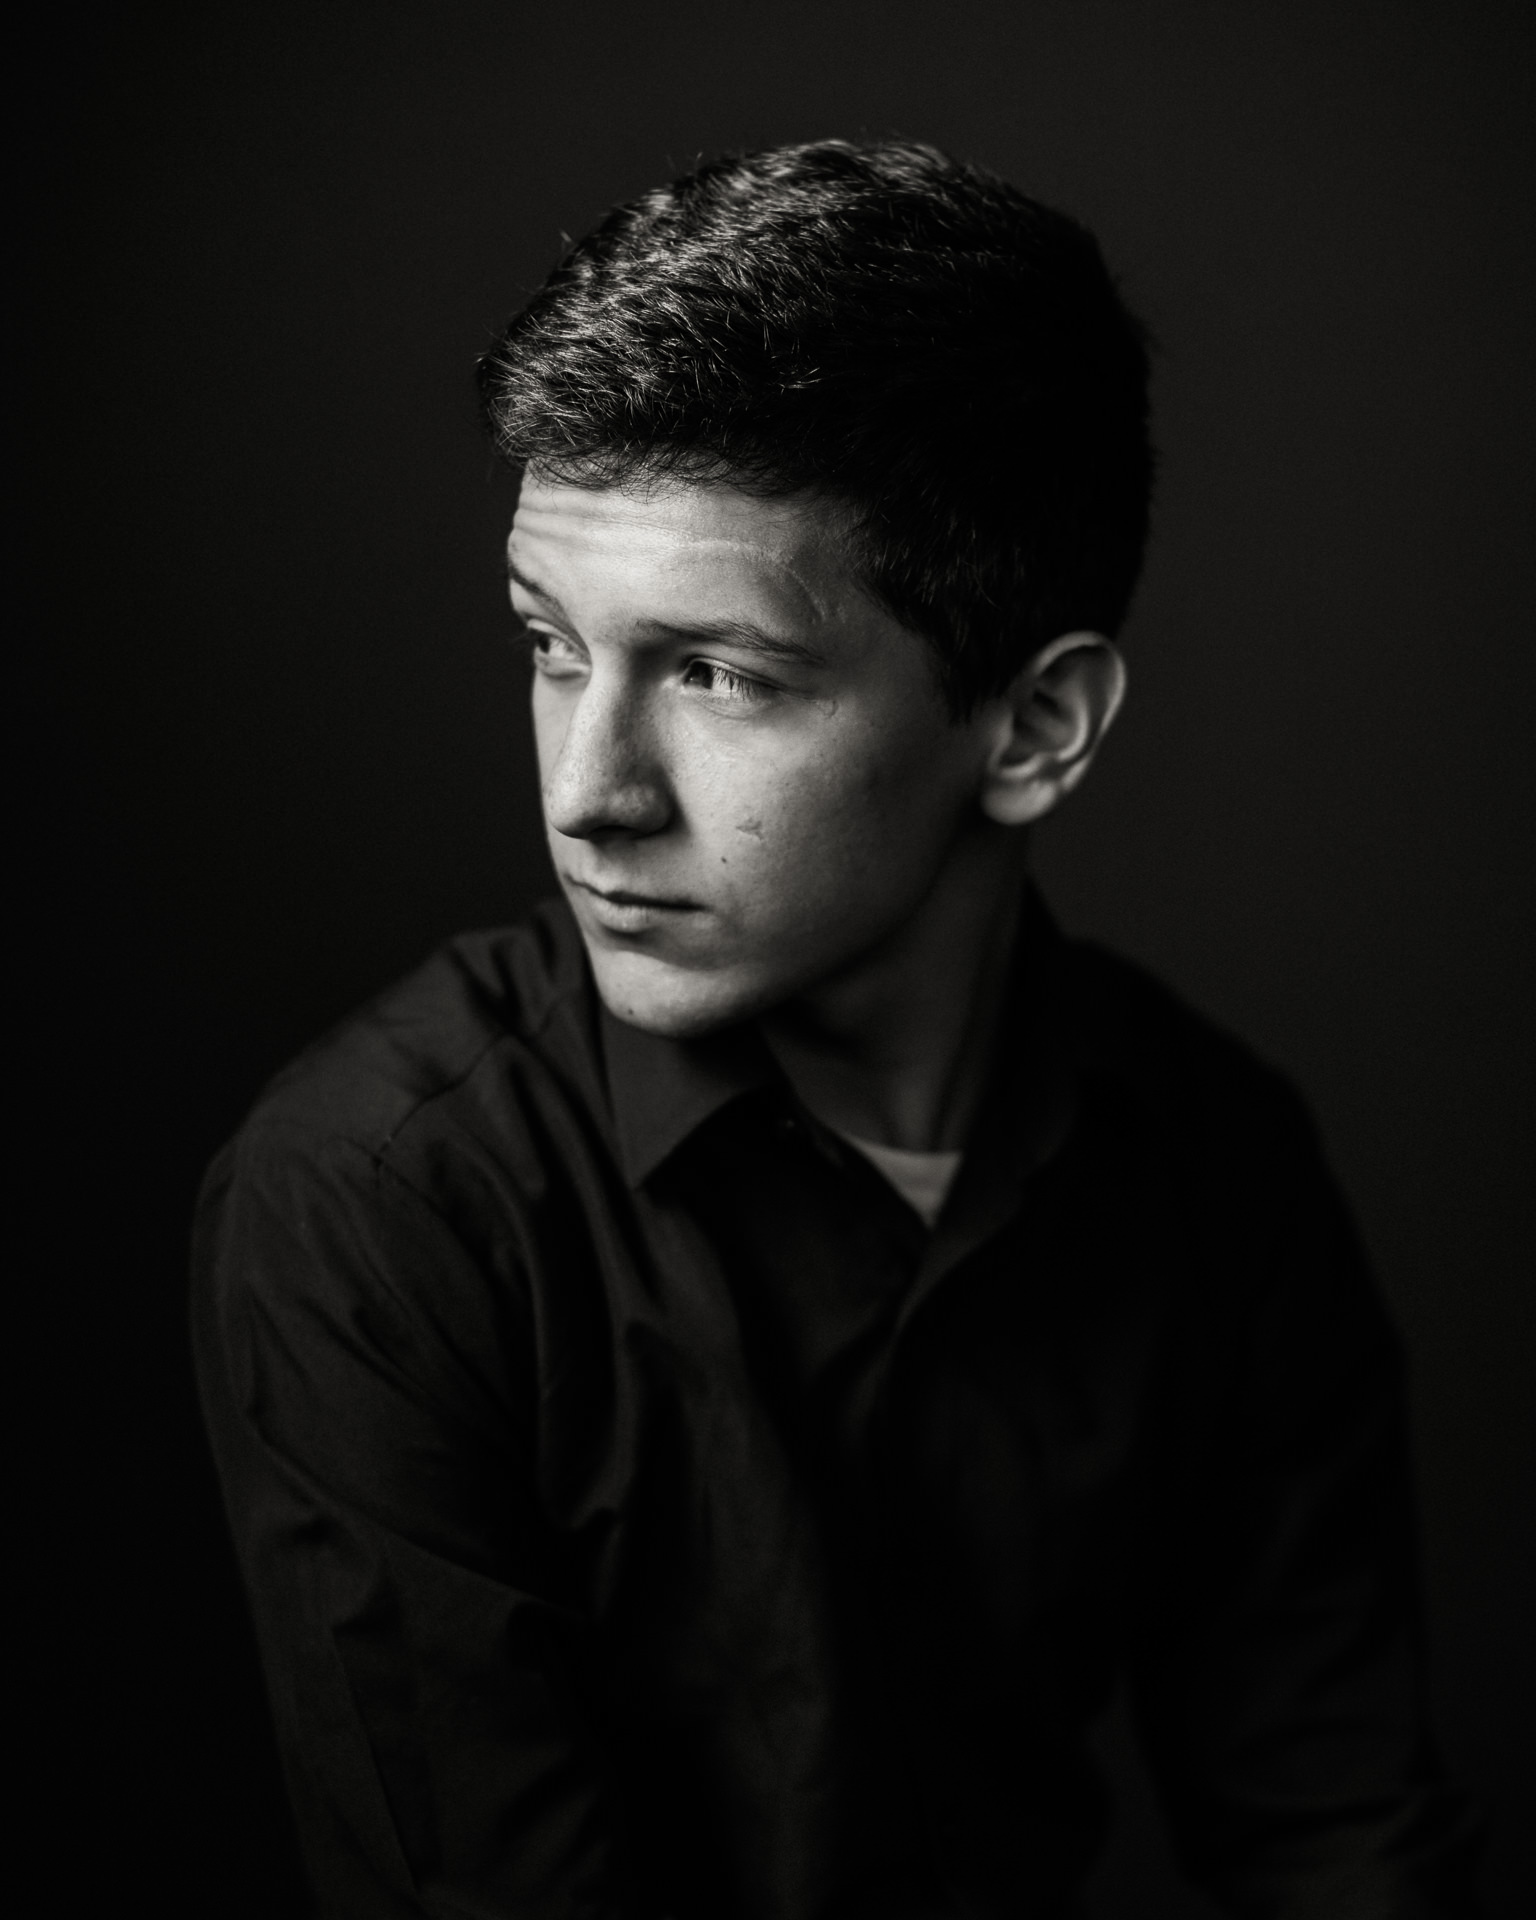
4/4 “Maybe our lives weren’t meant to become monuments. Maybe we are here only to make this experience slightly better for those around us. Maybe we are here to understand pure suffering and pure joy, and to find peace in just that. Pain will always endure. But so will laughter. So will the spark of human touch, and the cycle of nature. If I am just passing through, I will find the most beautiful ugly way to do so.”

Hodgkins lymphoma - Toledo Ohio black and white portrait

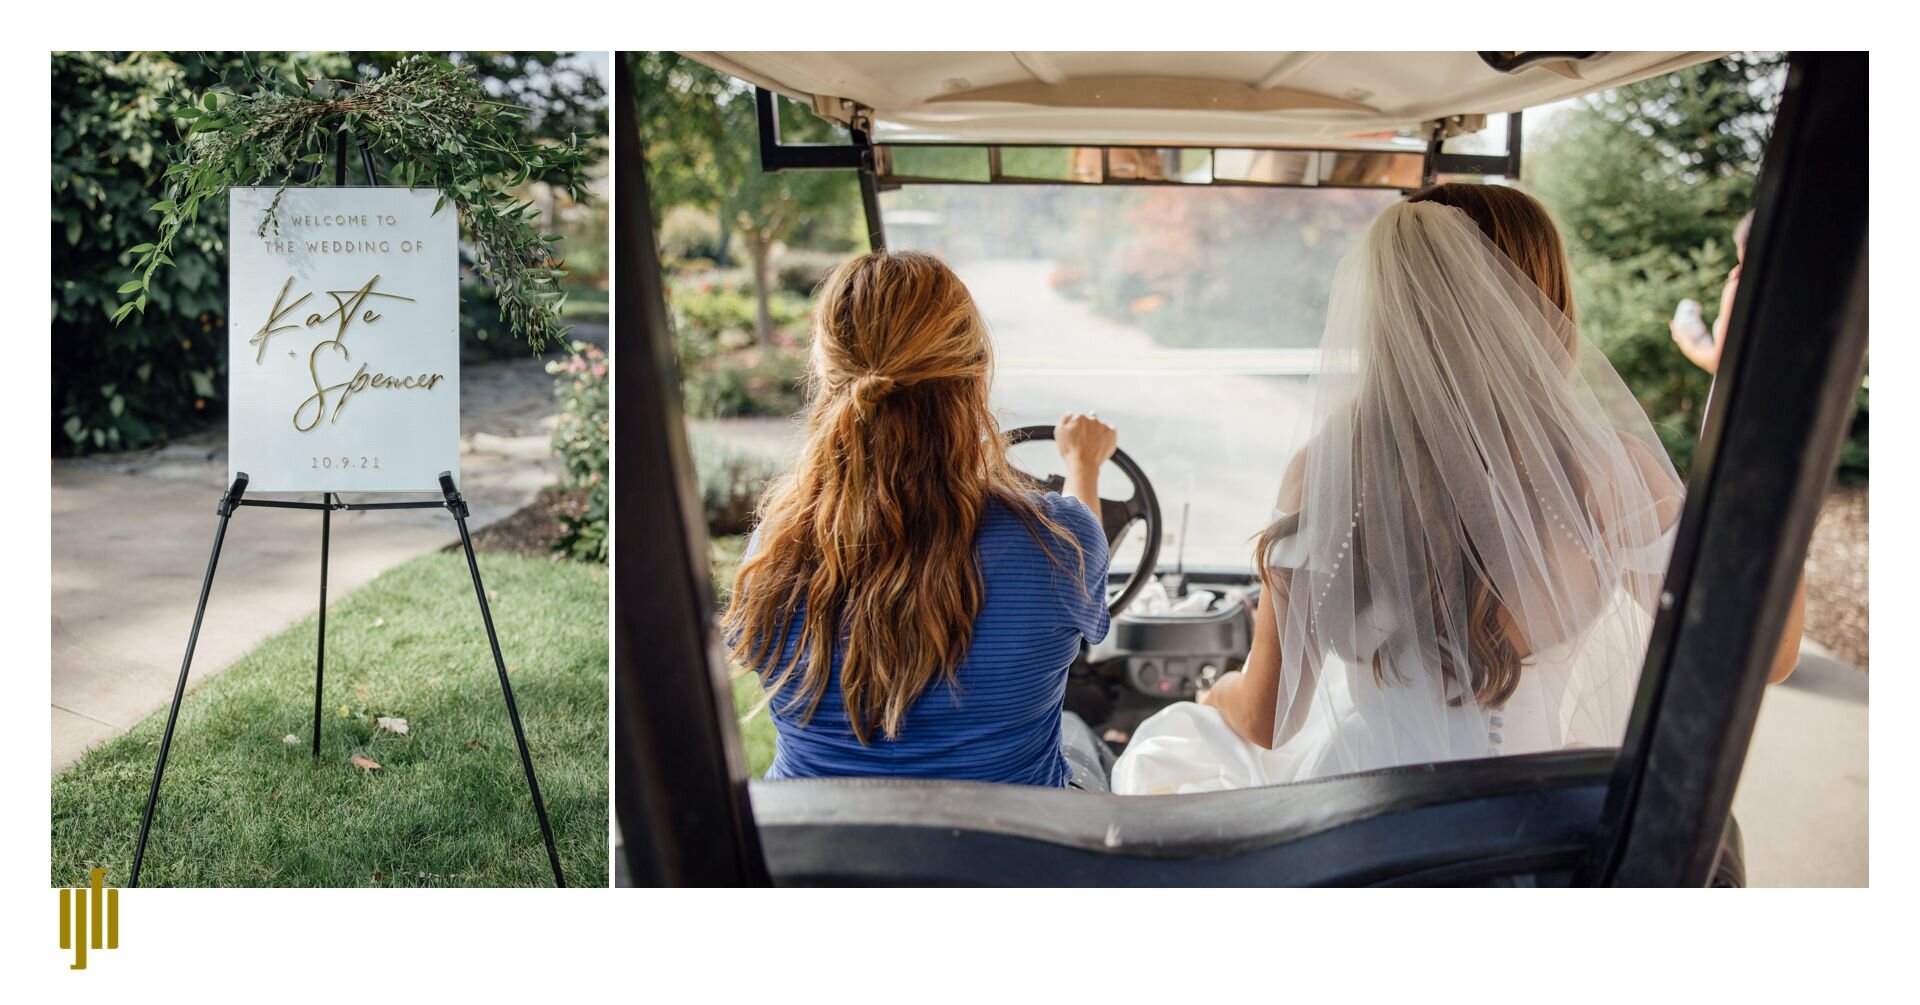
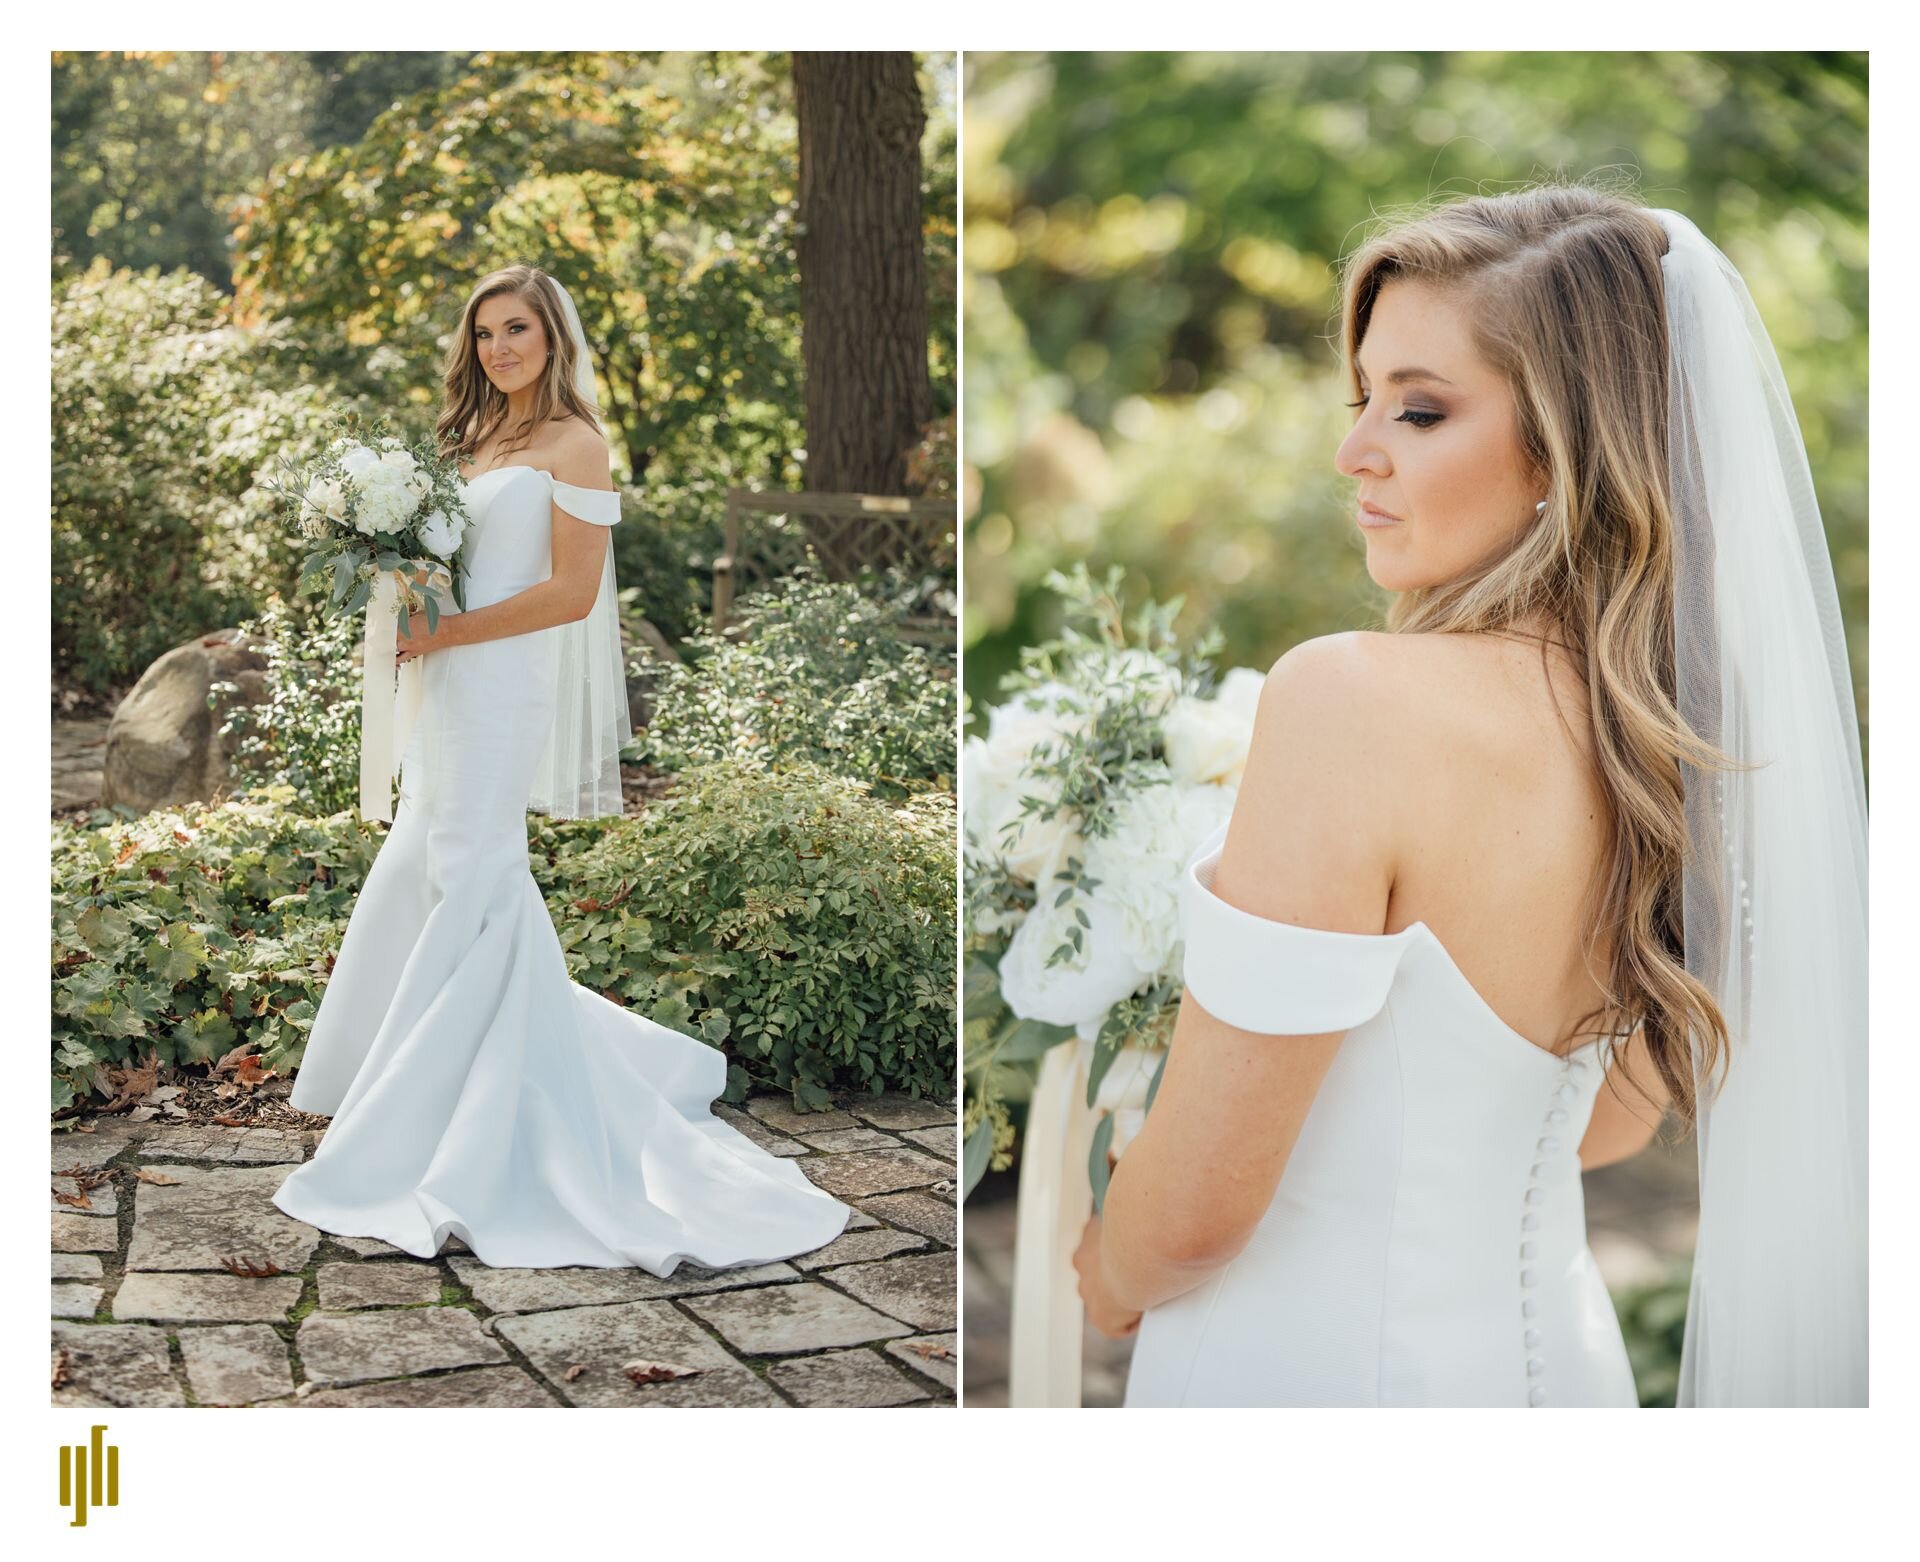
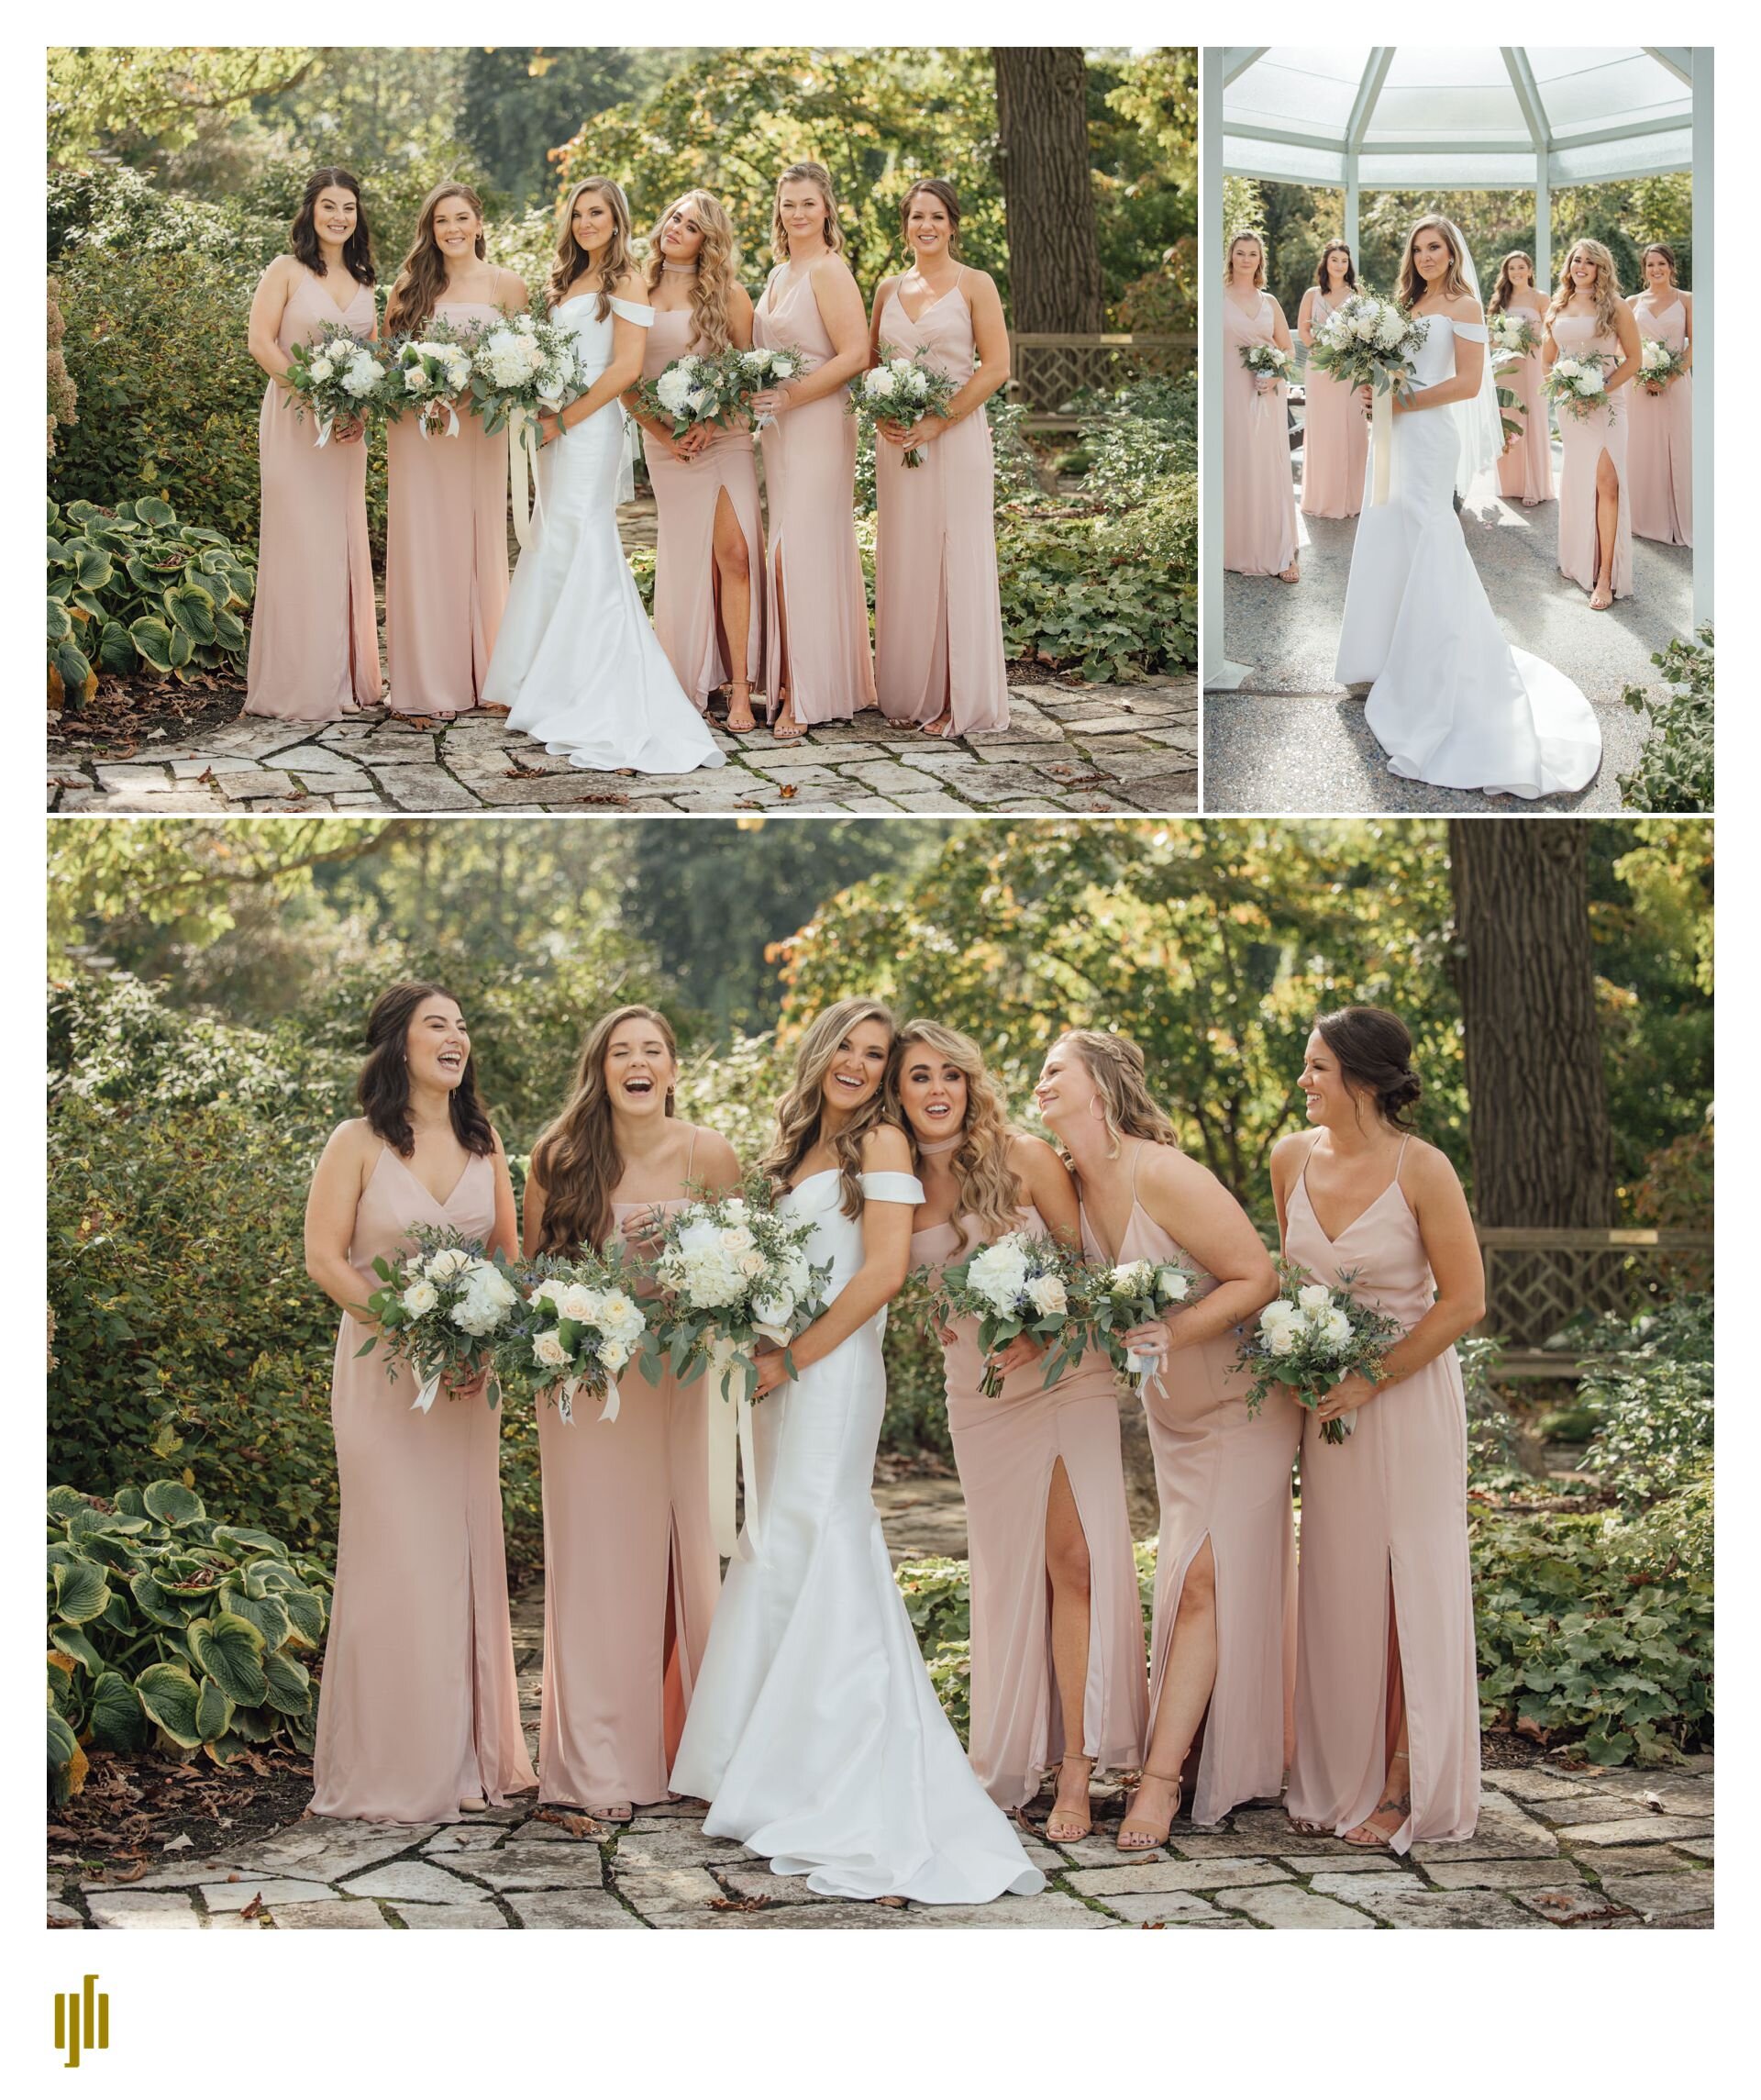
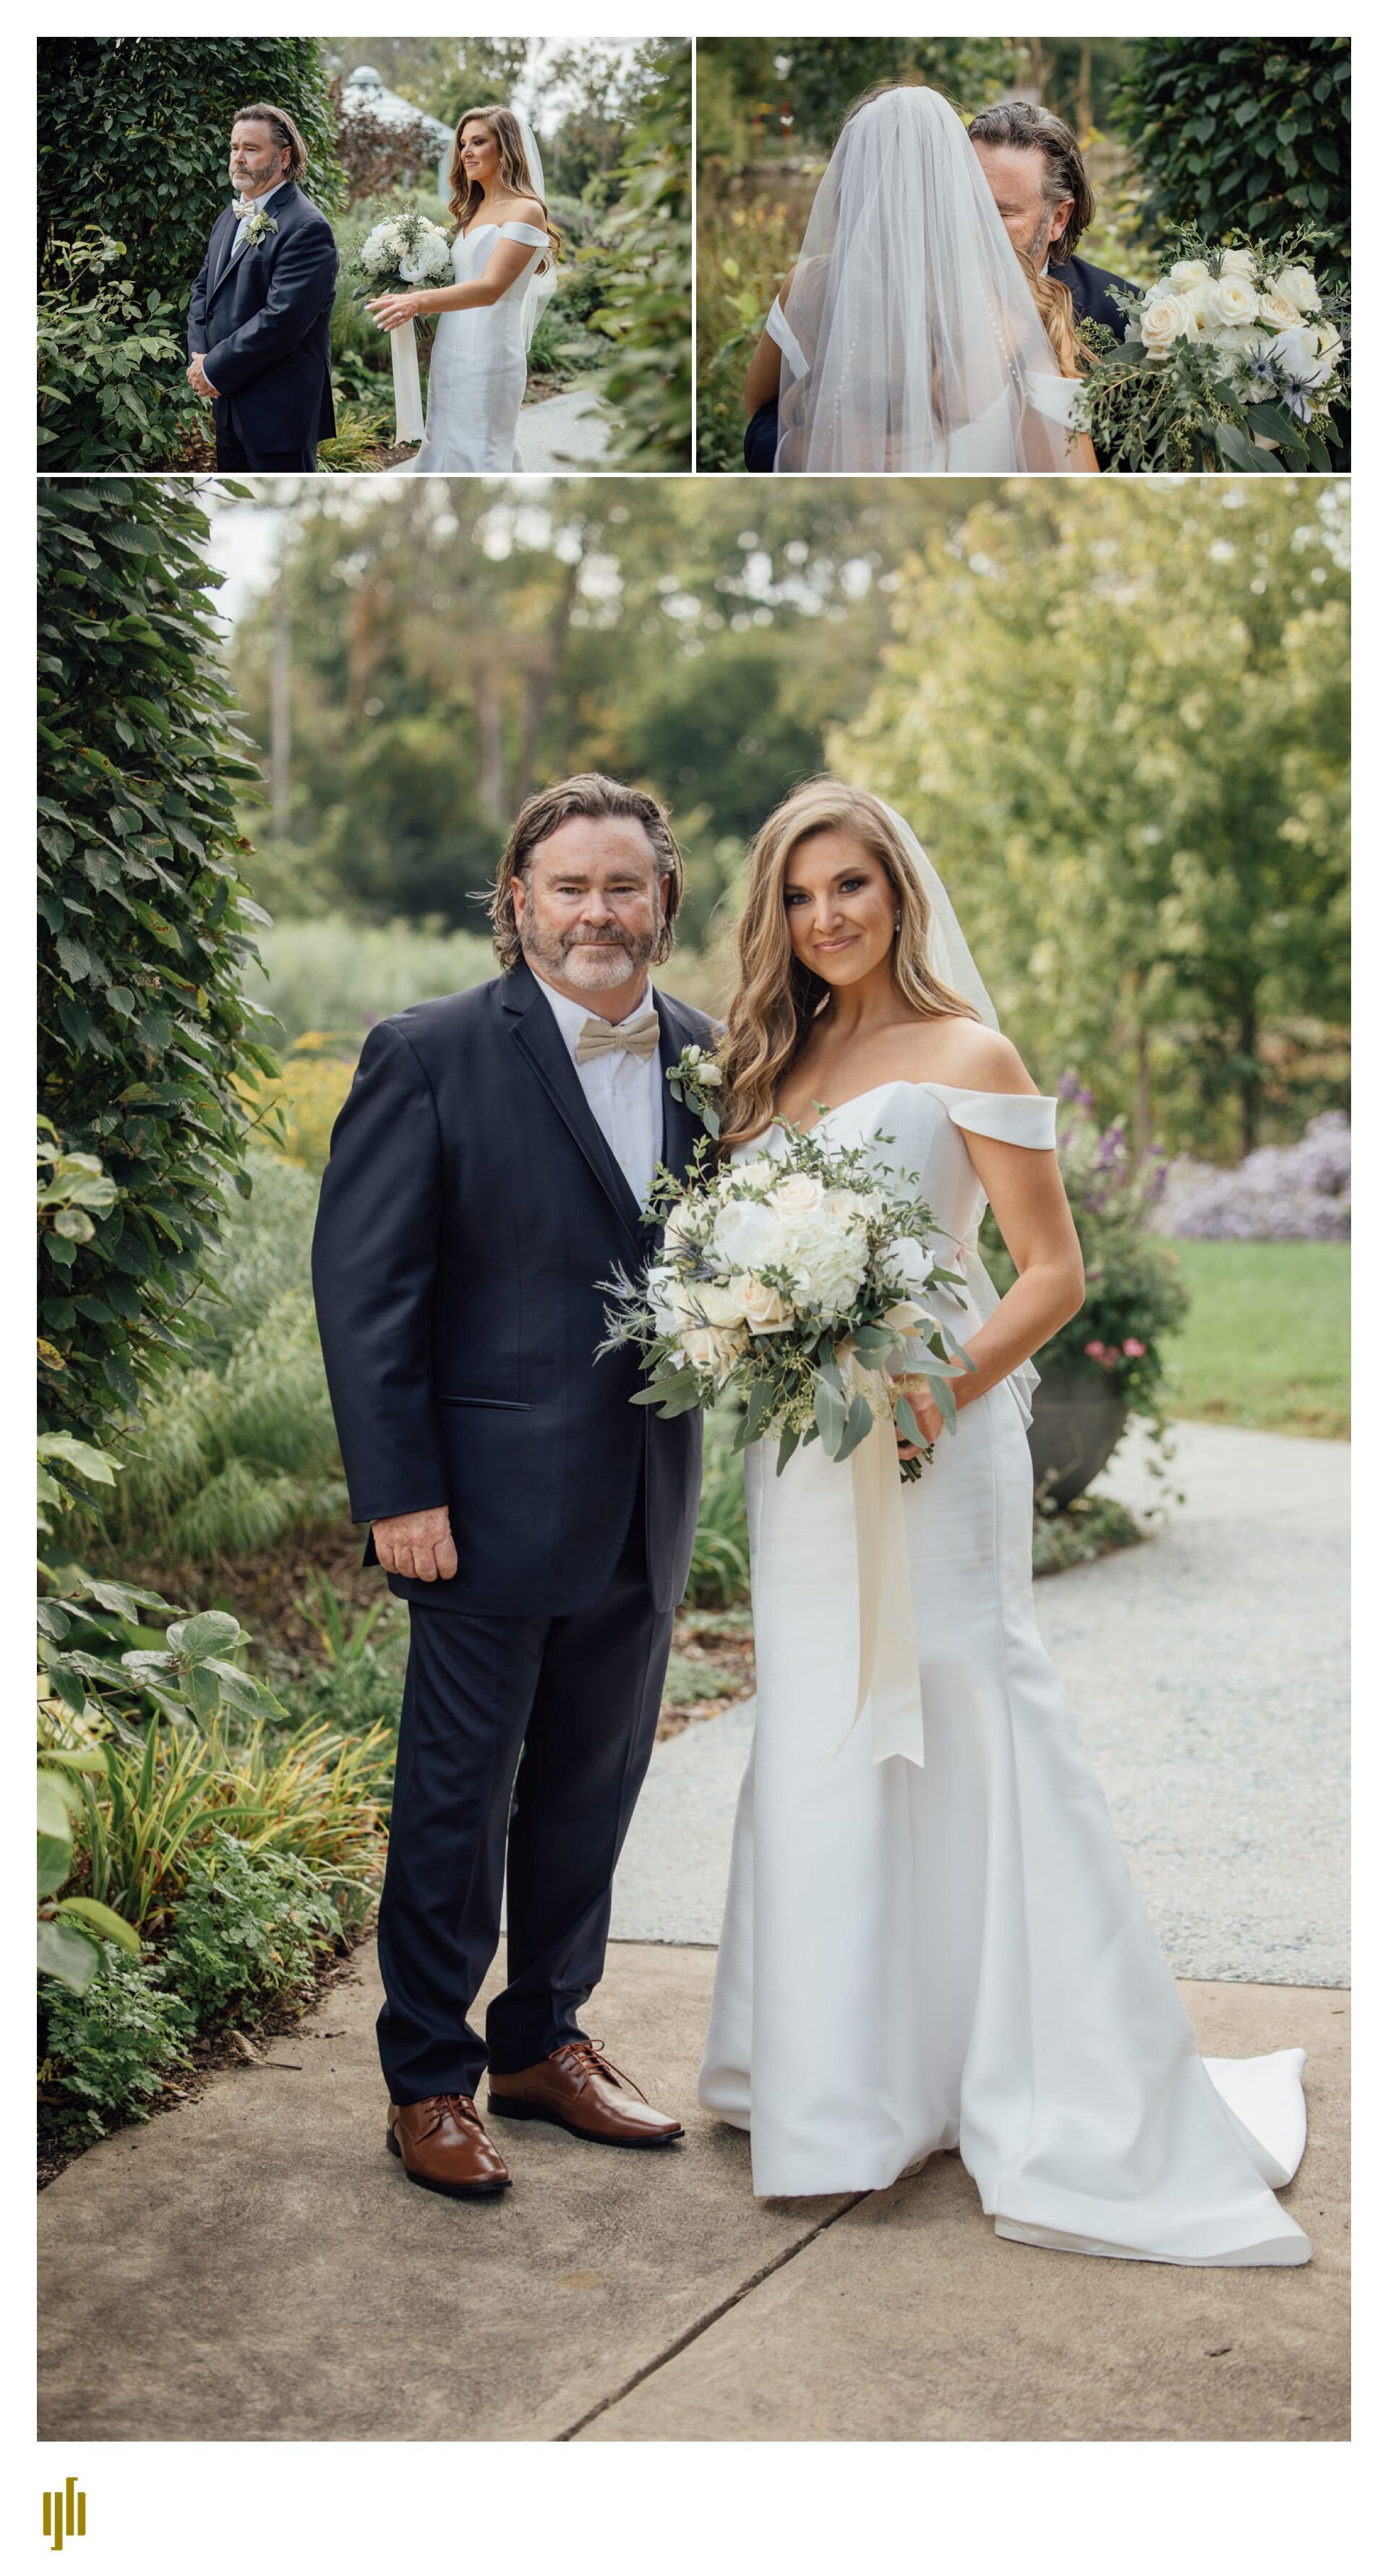
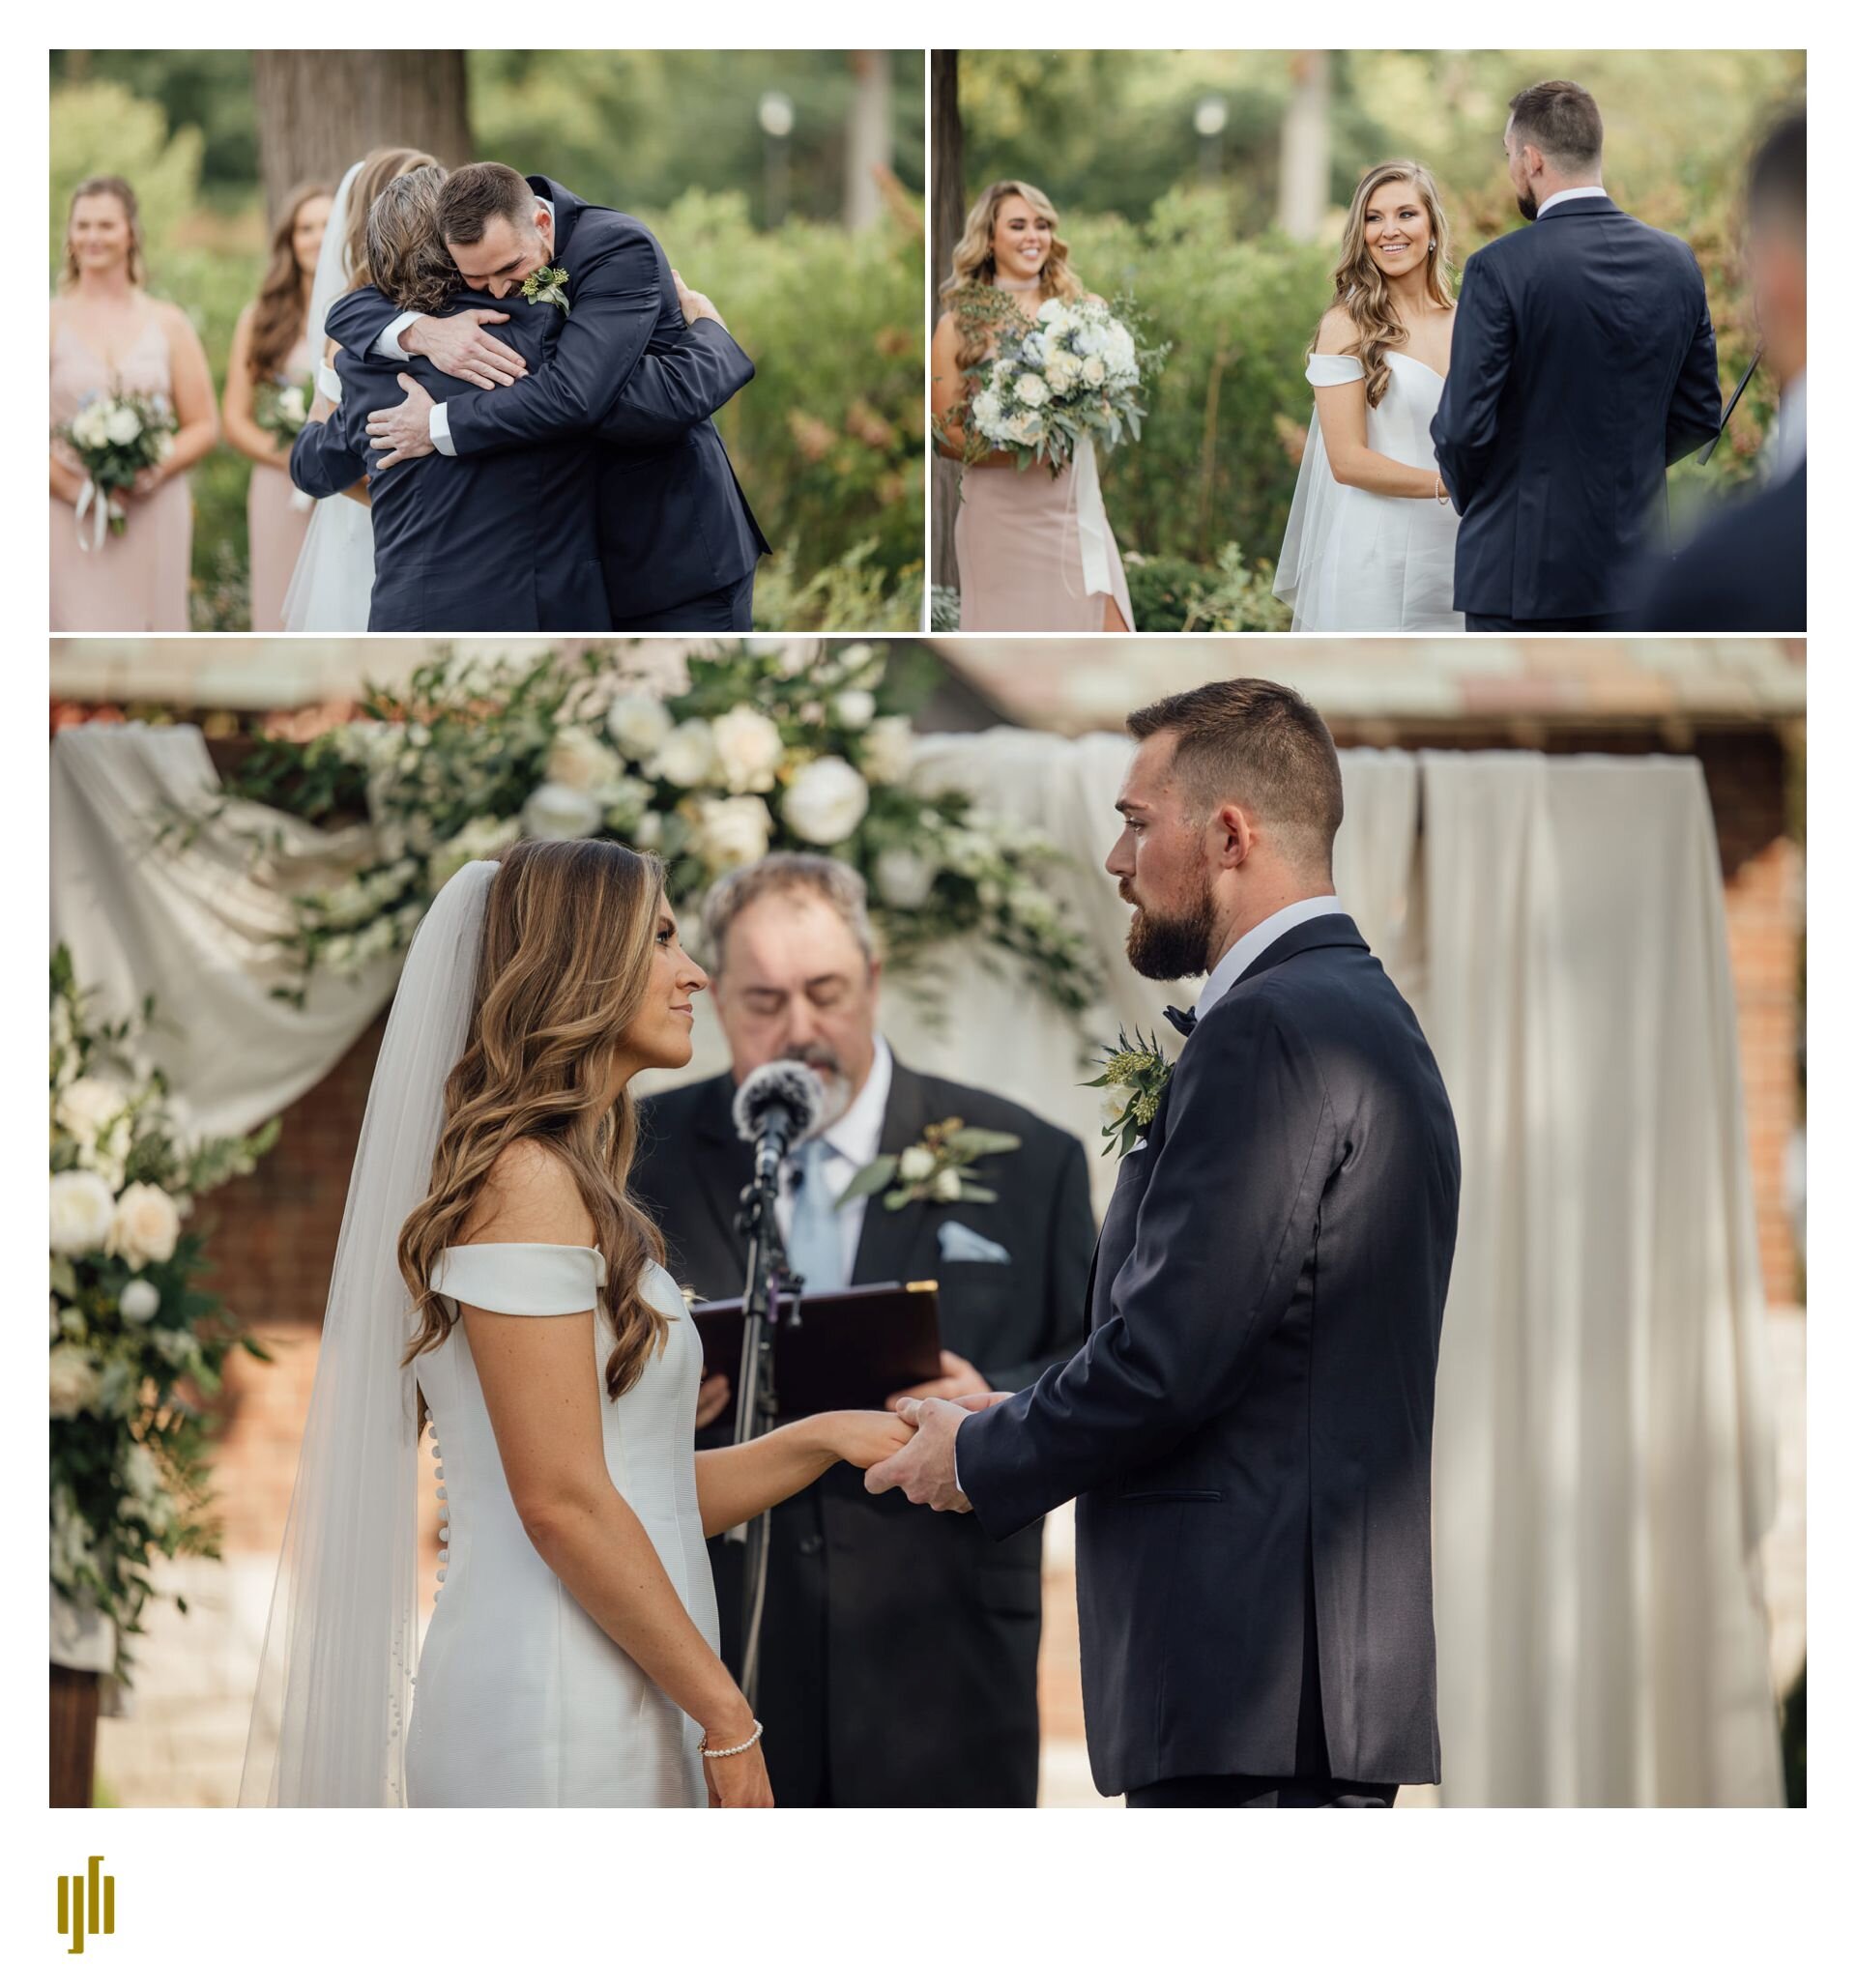
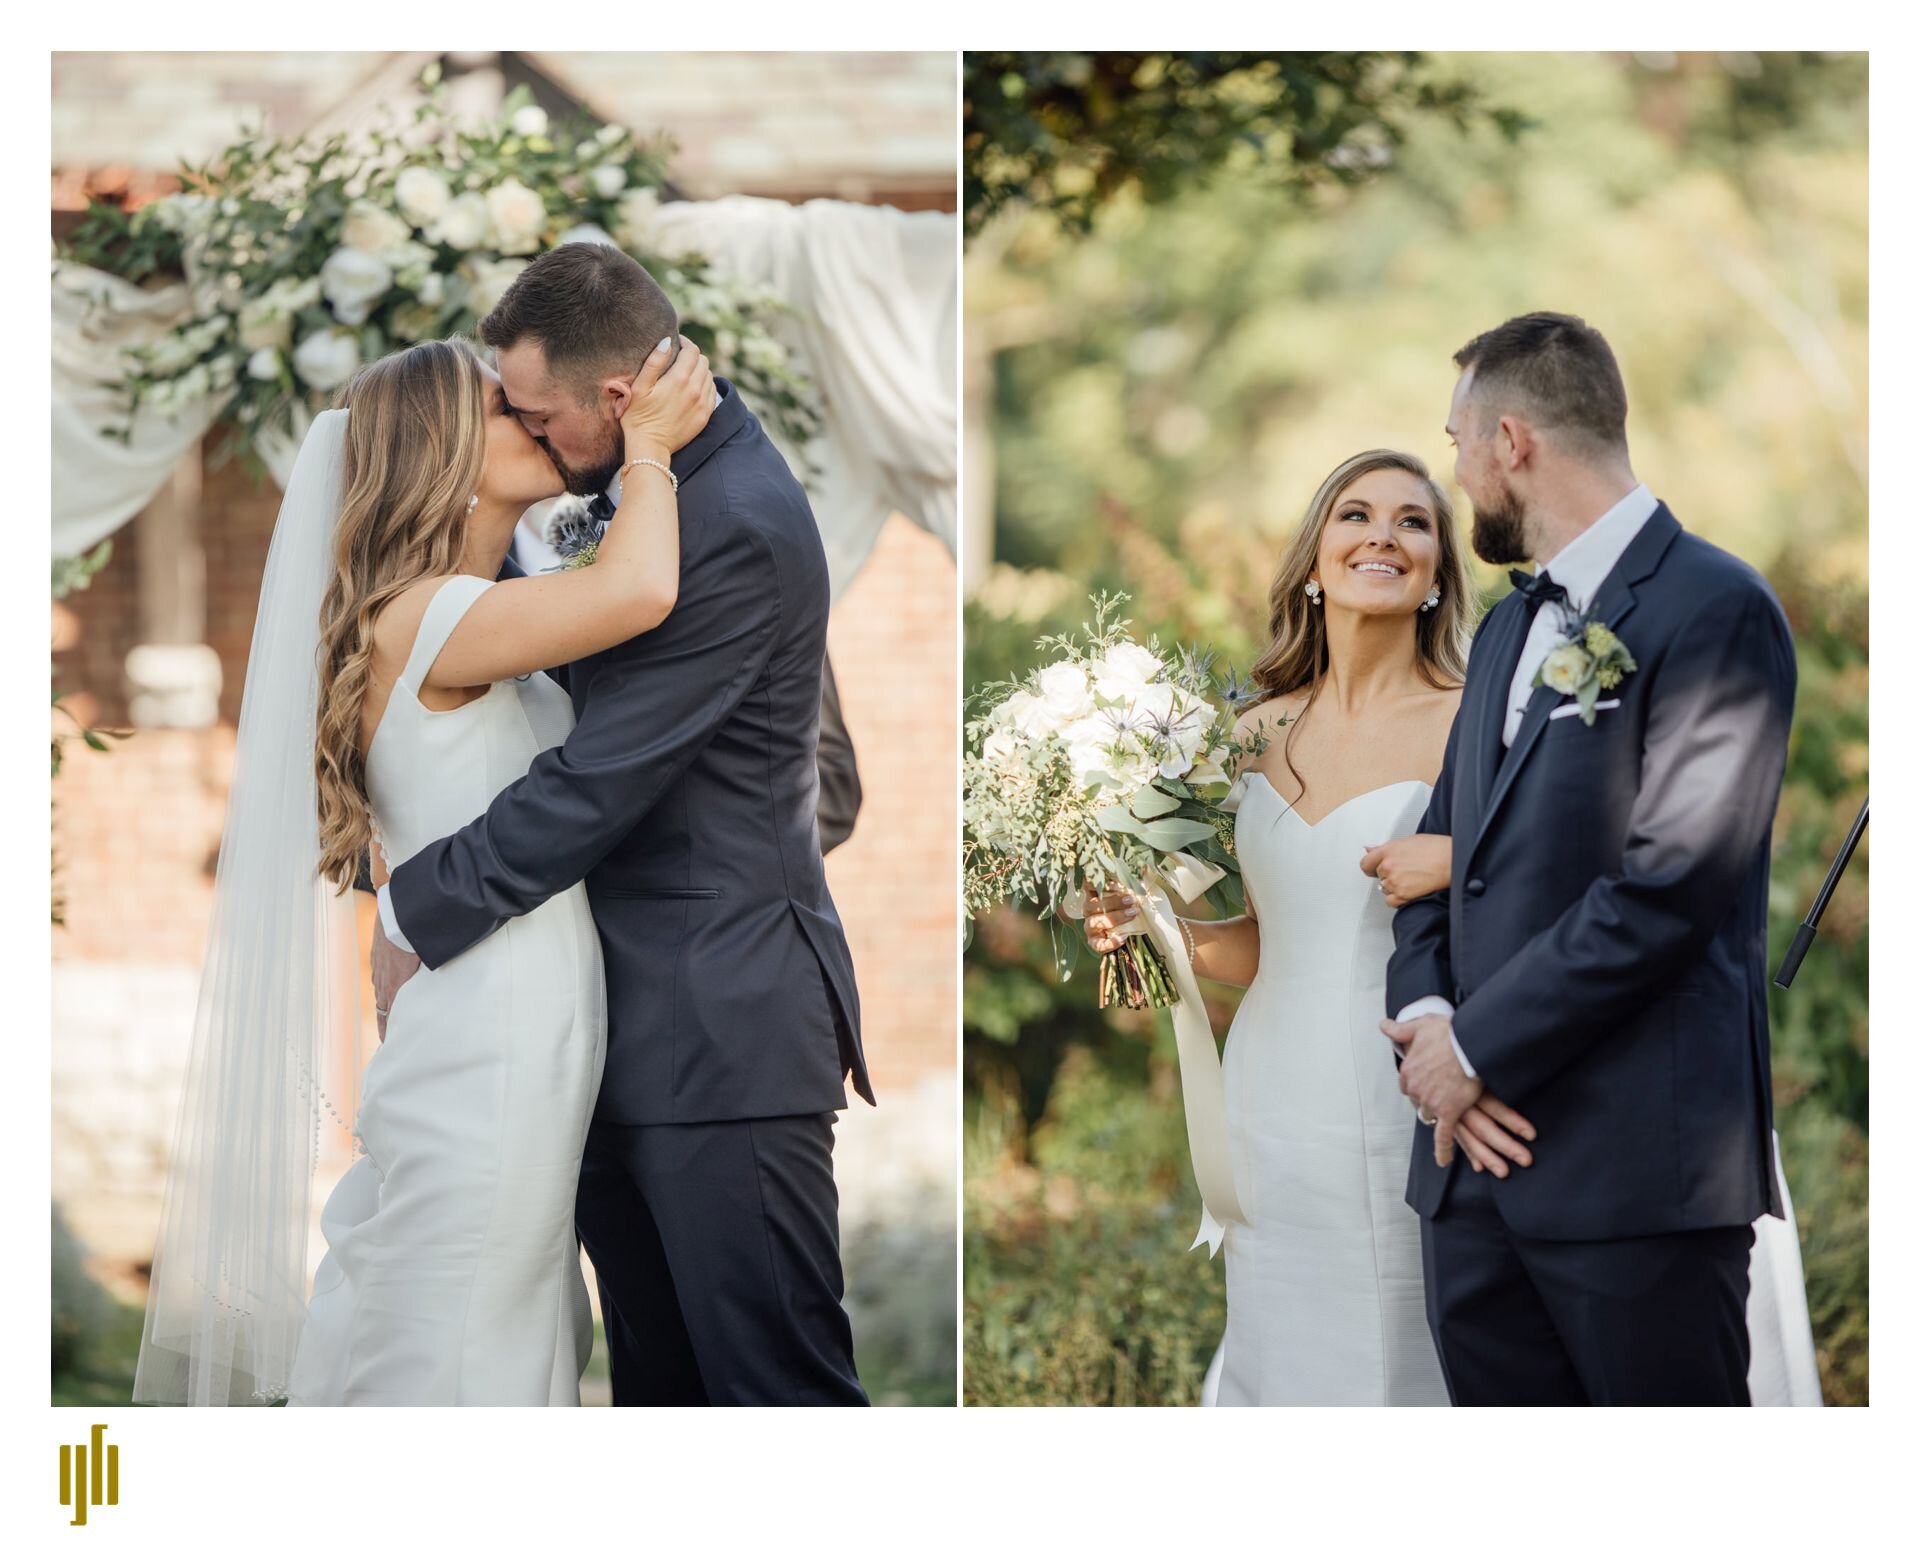
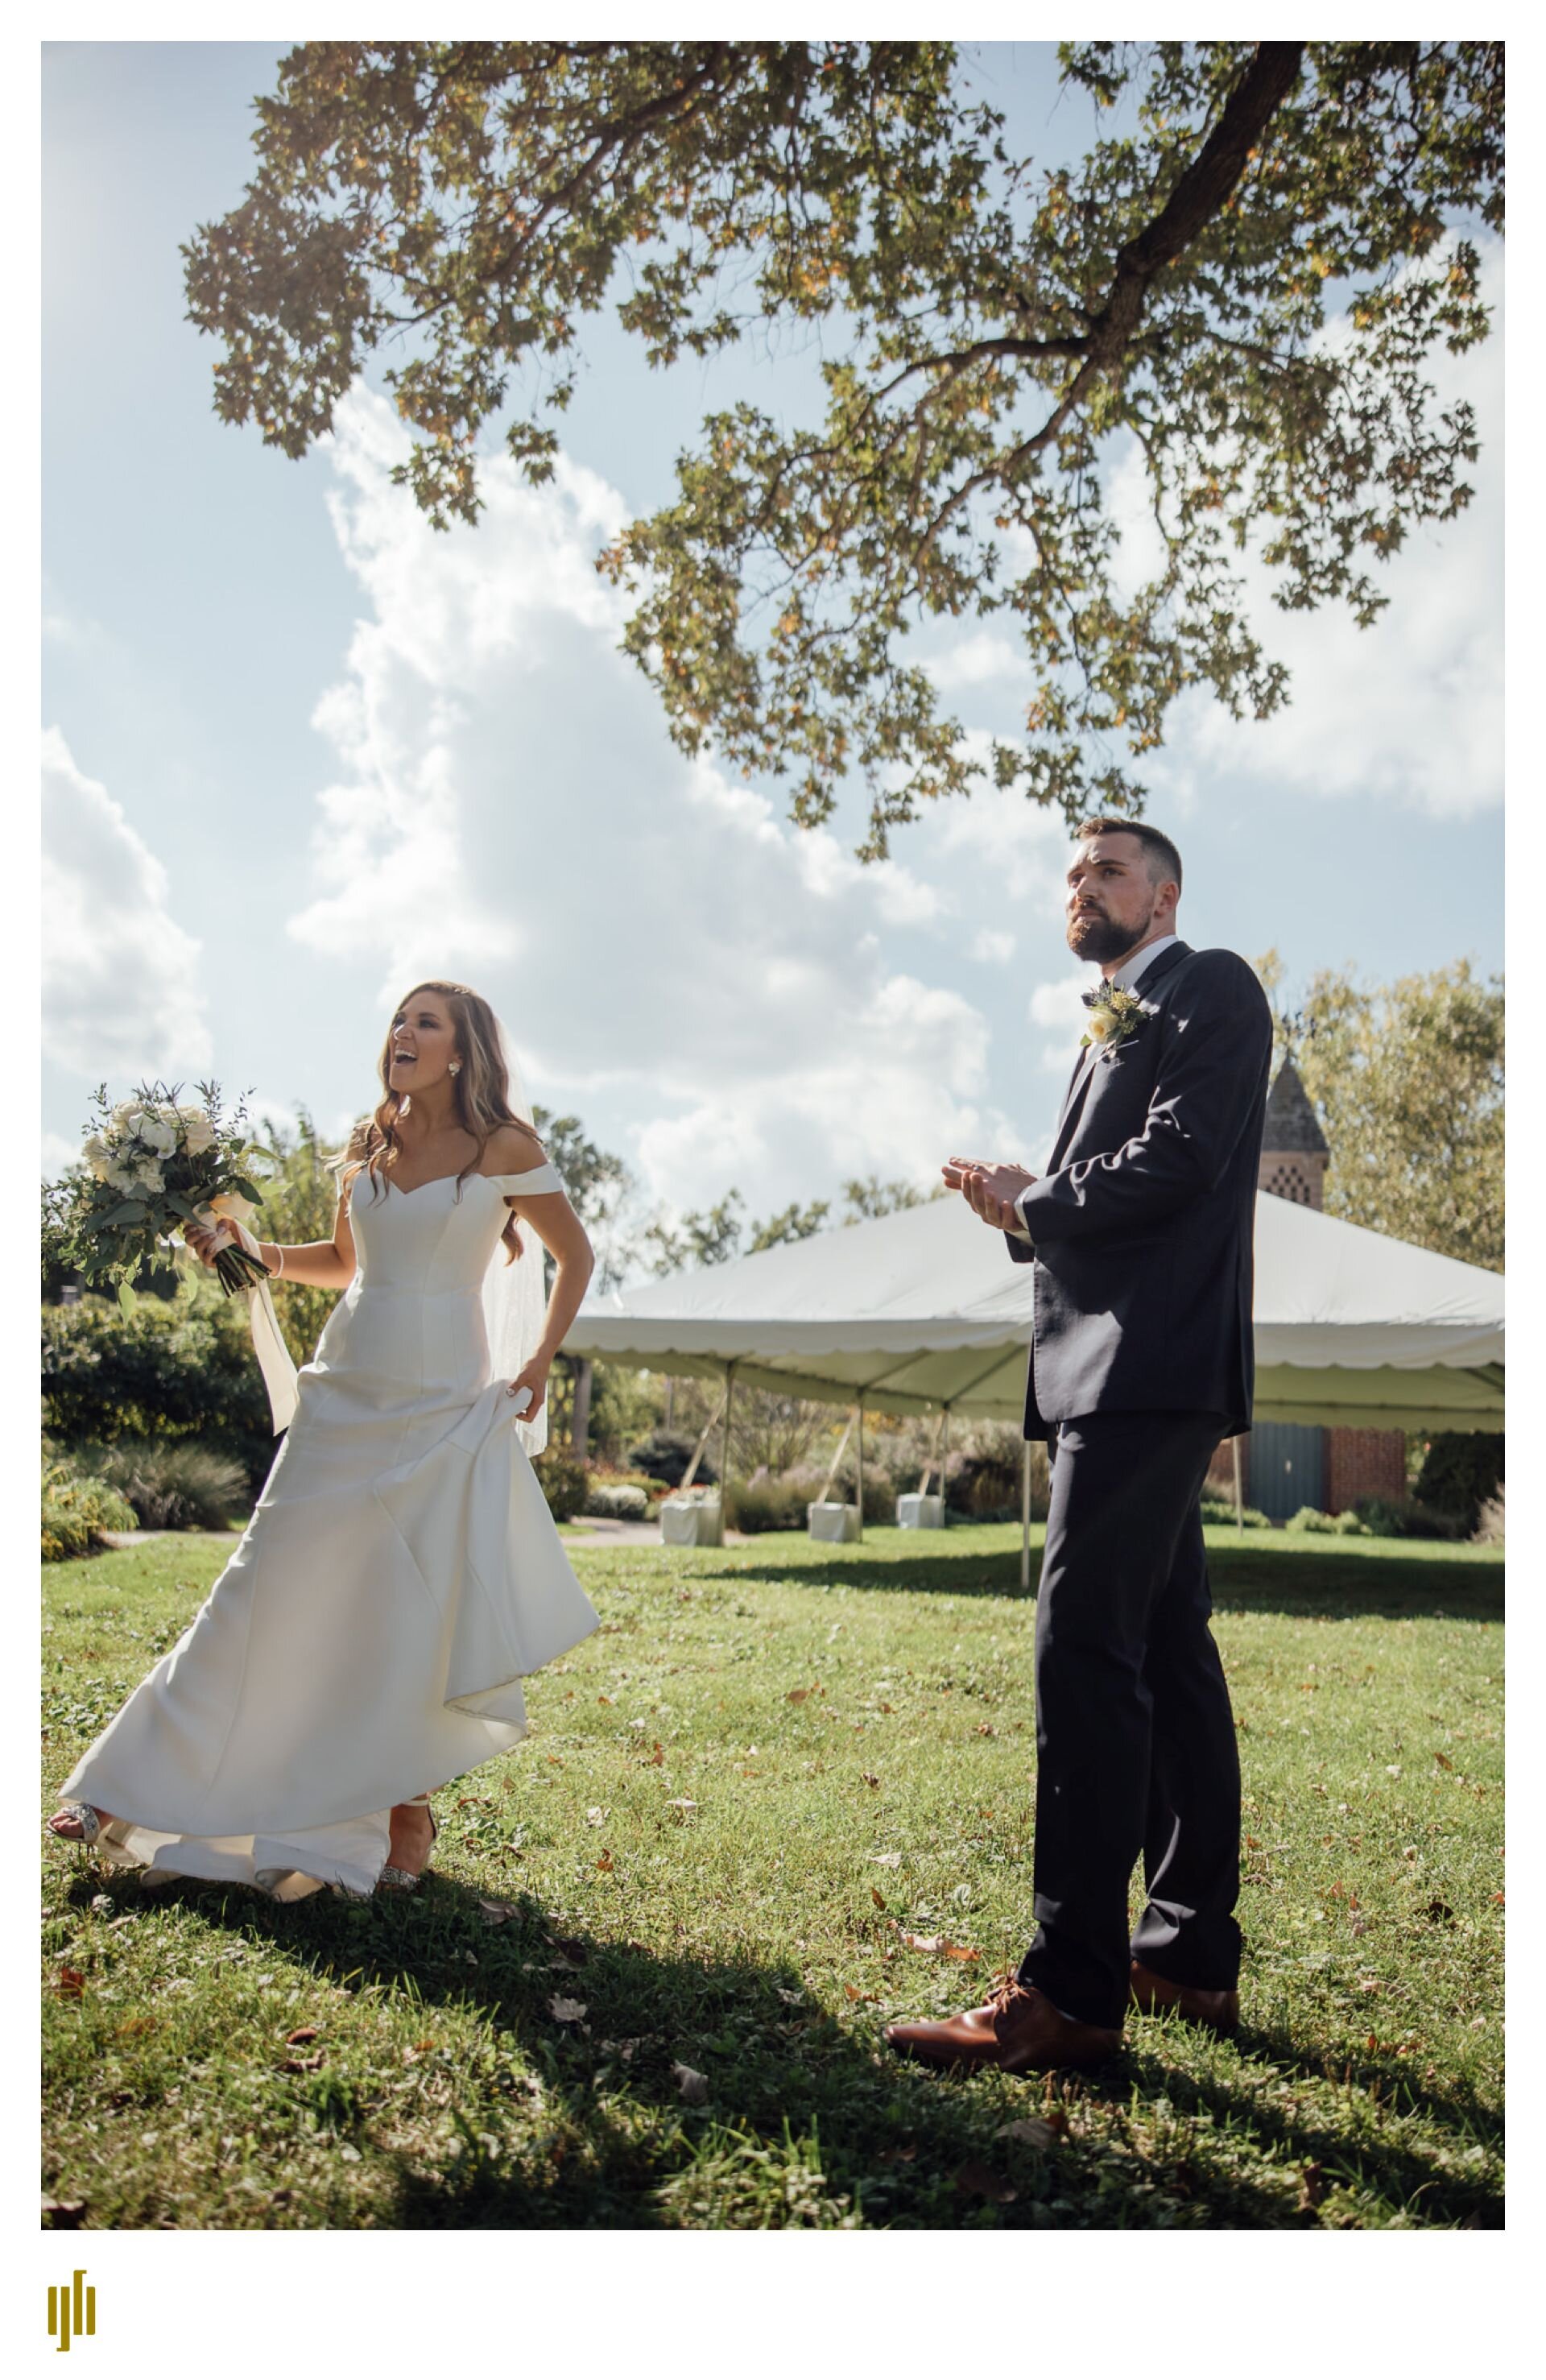
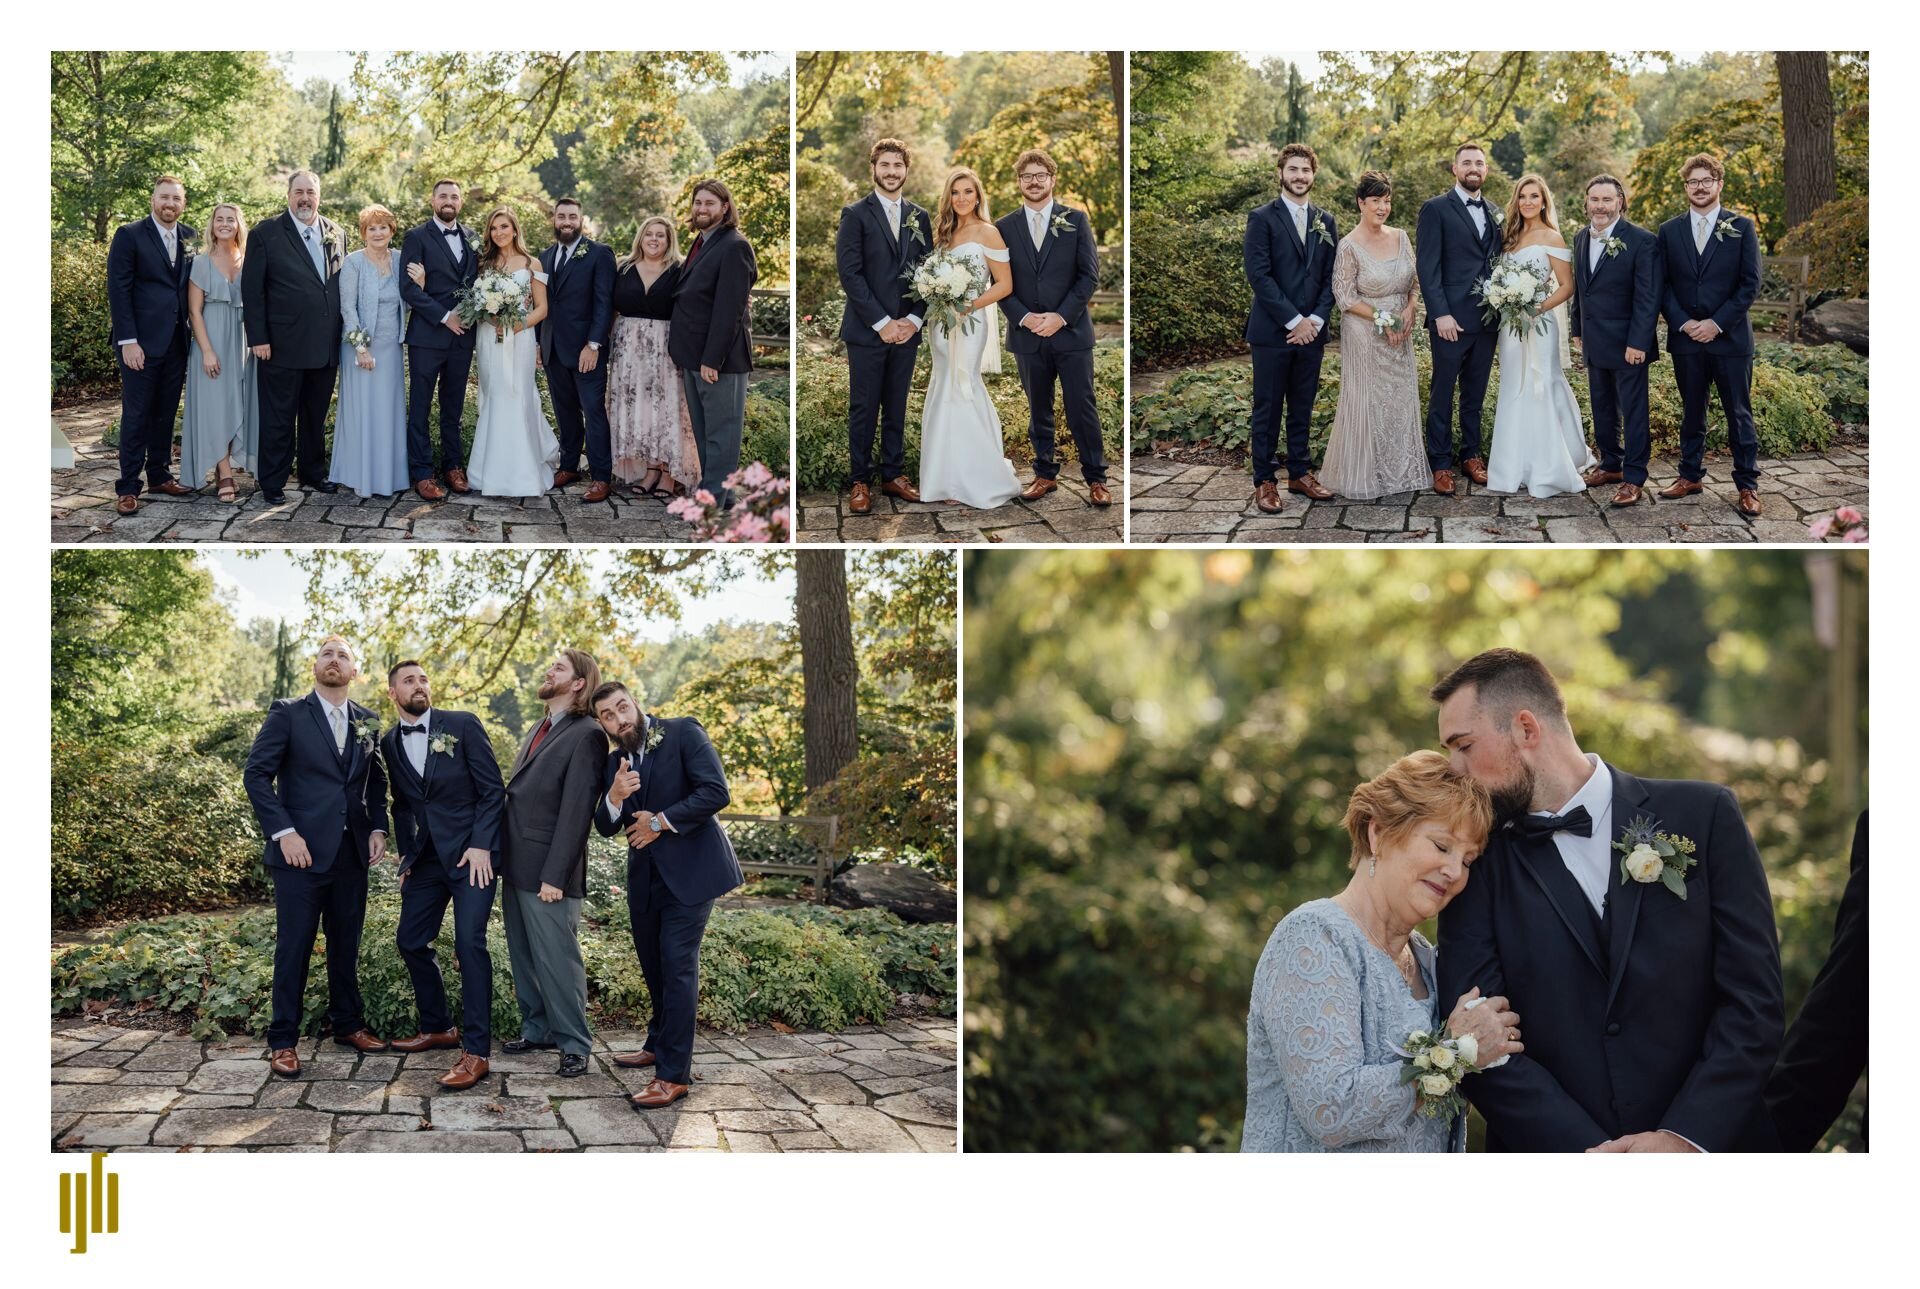
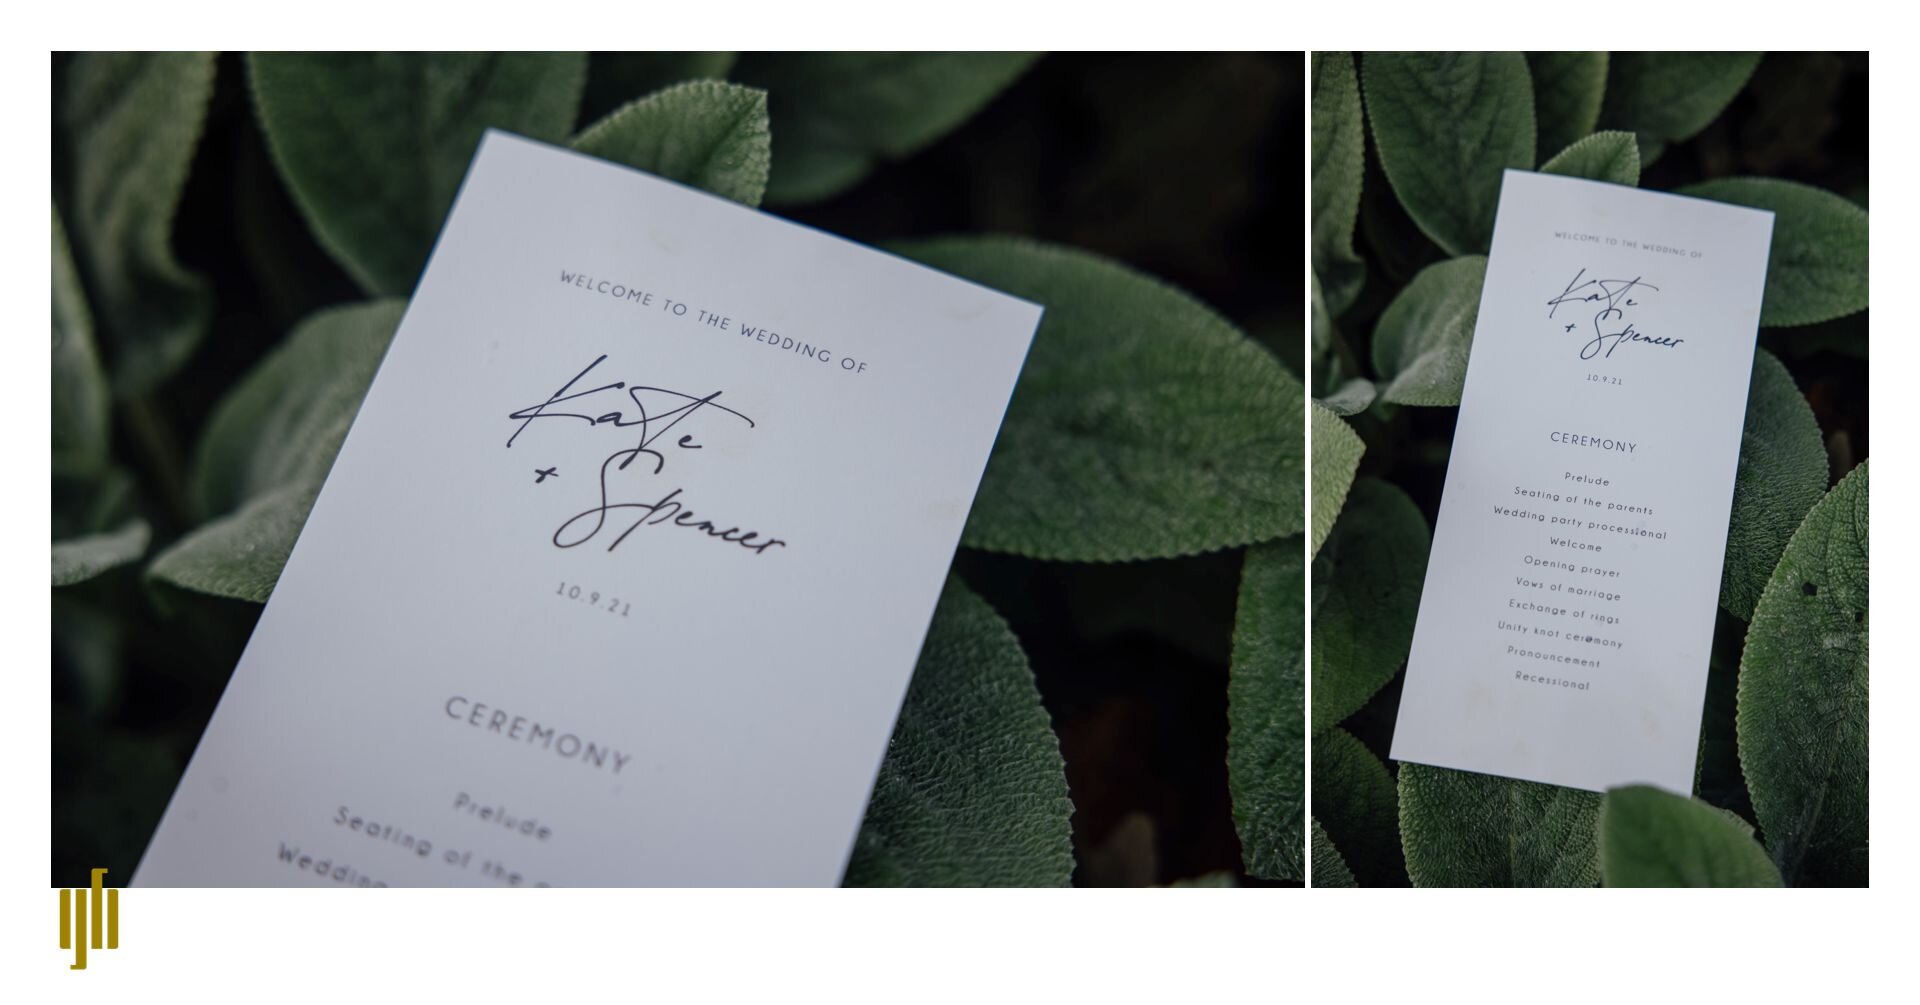
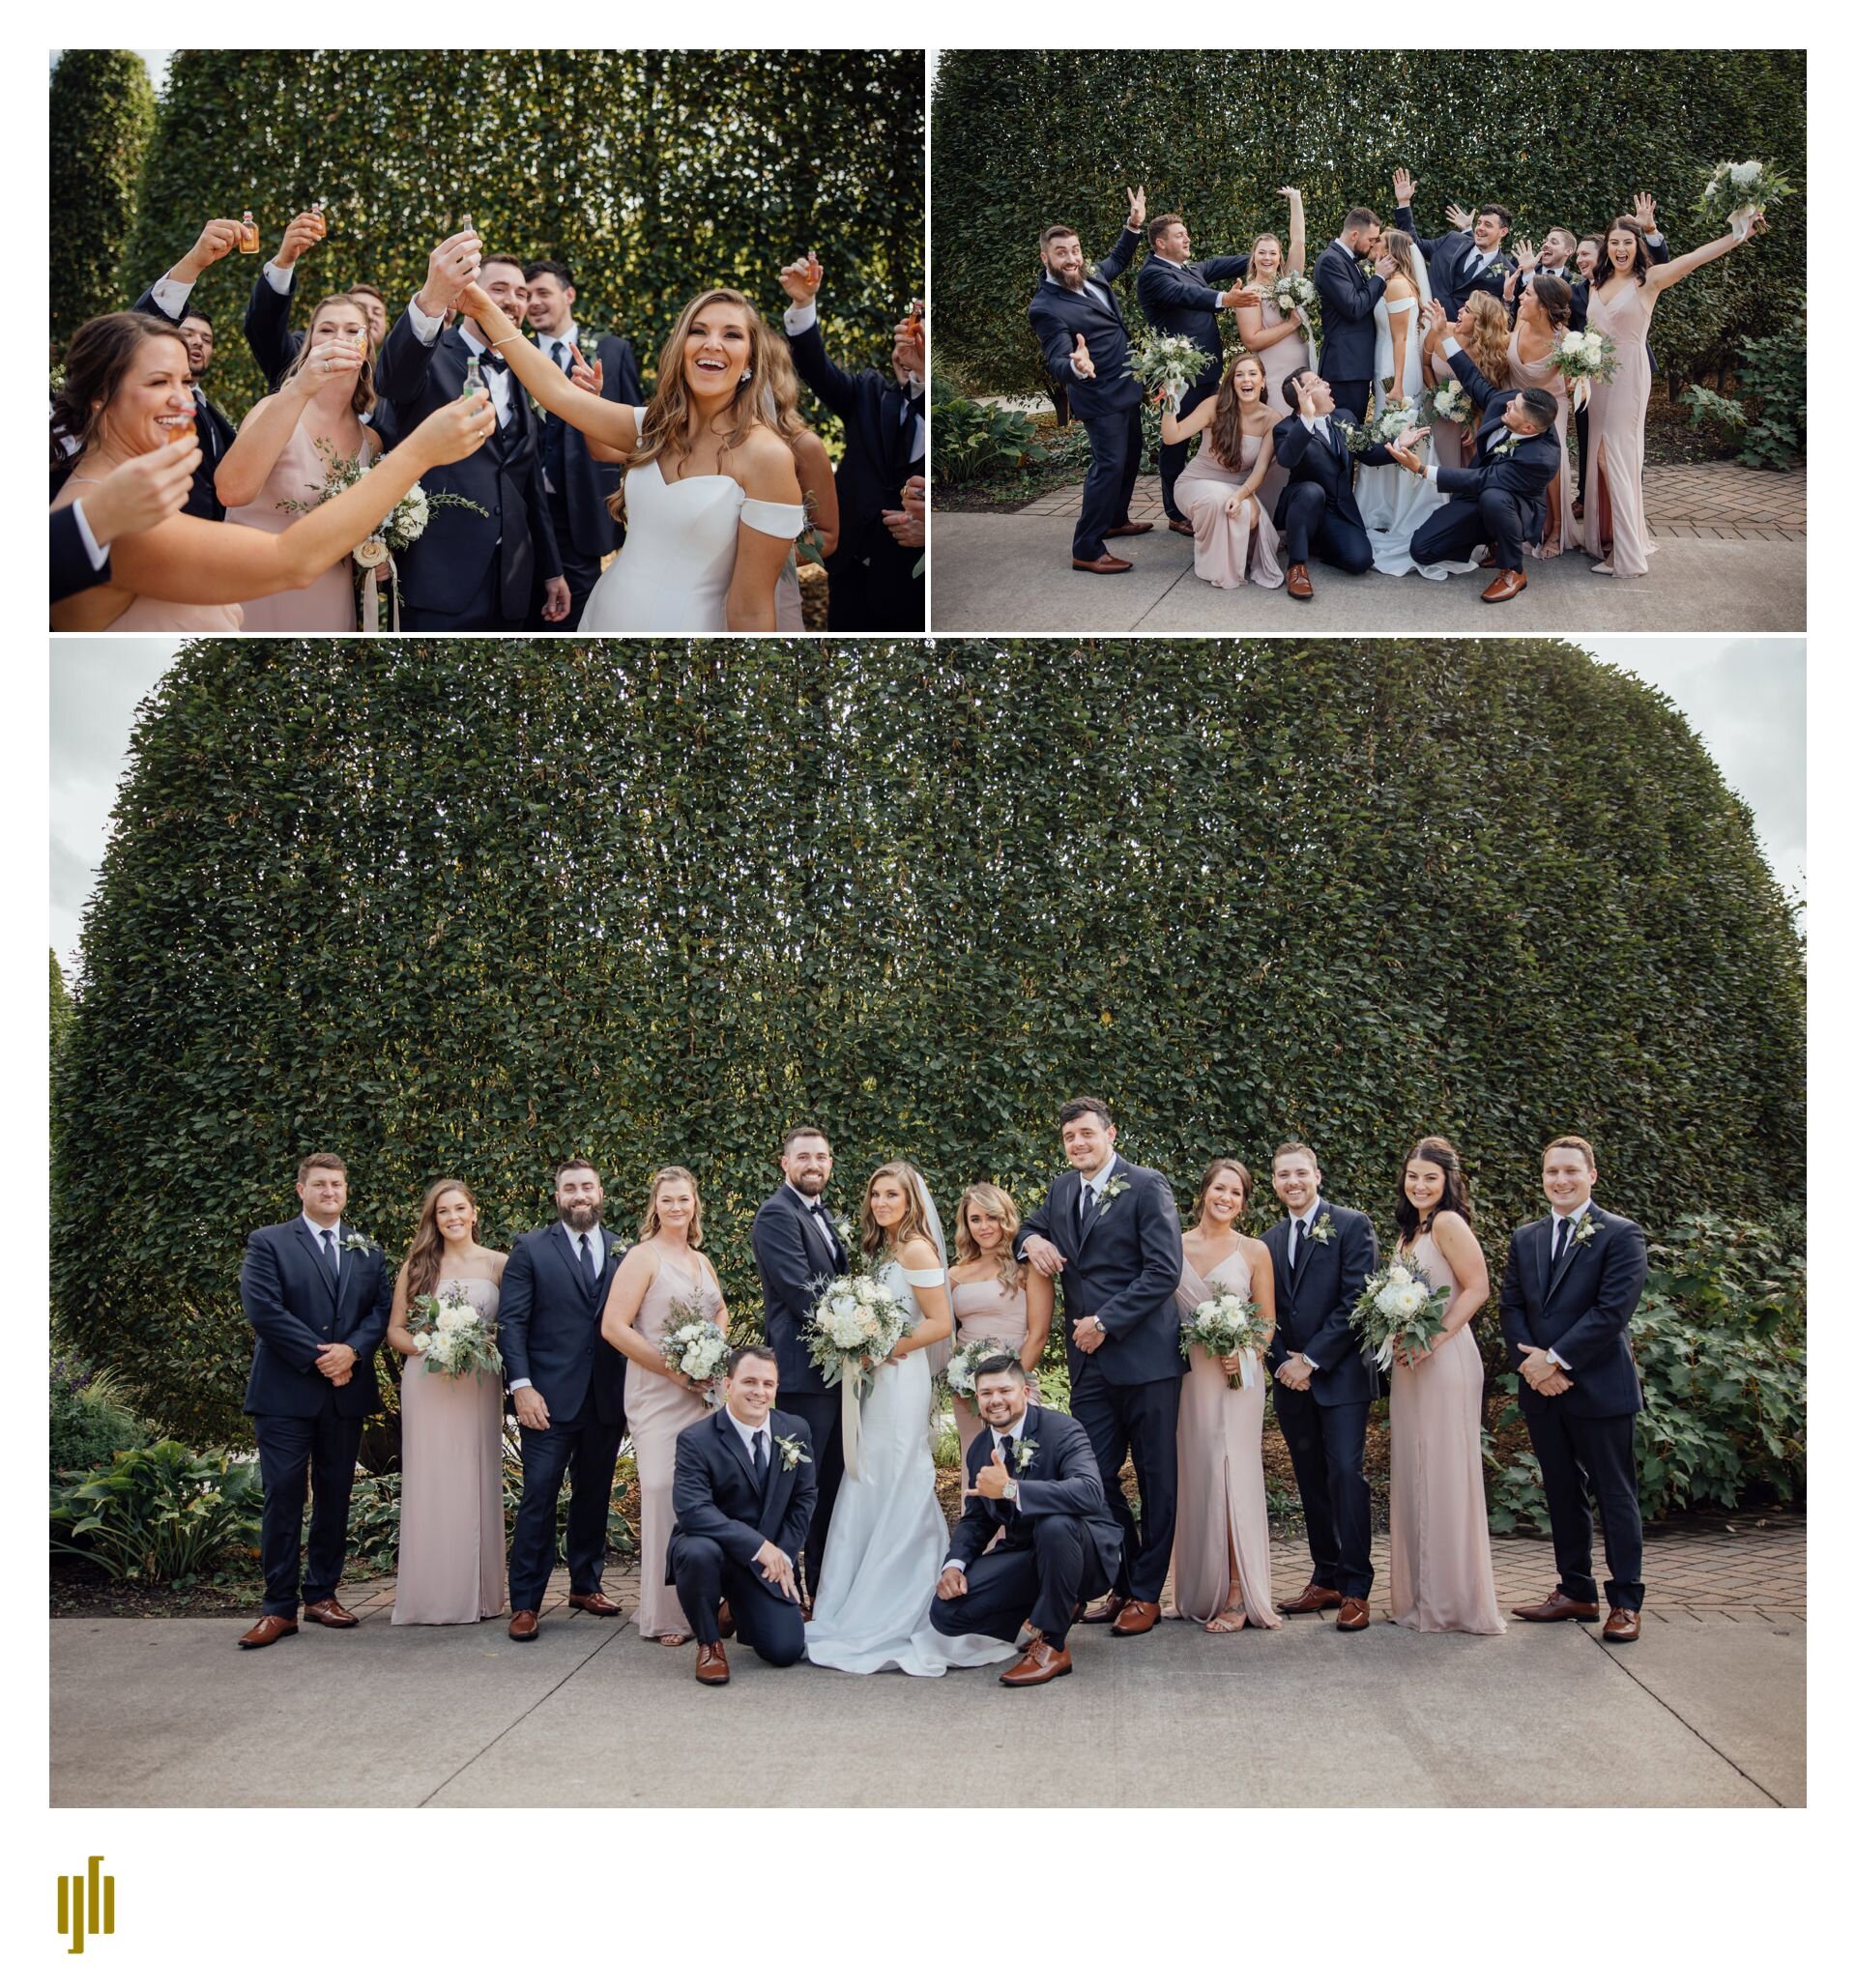
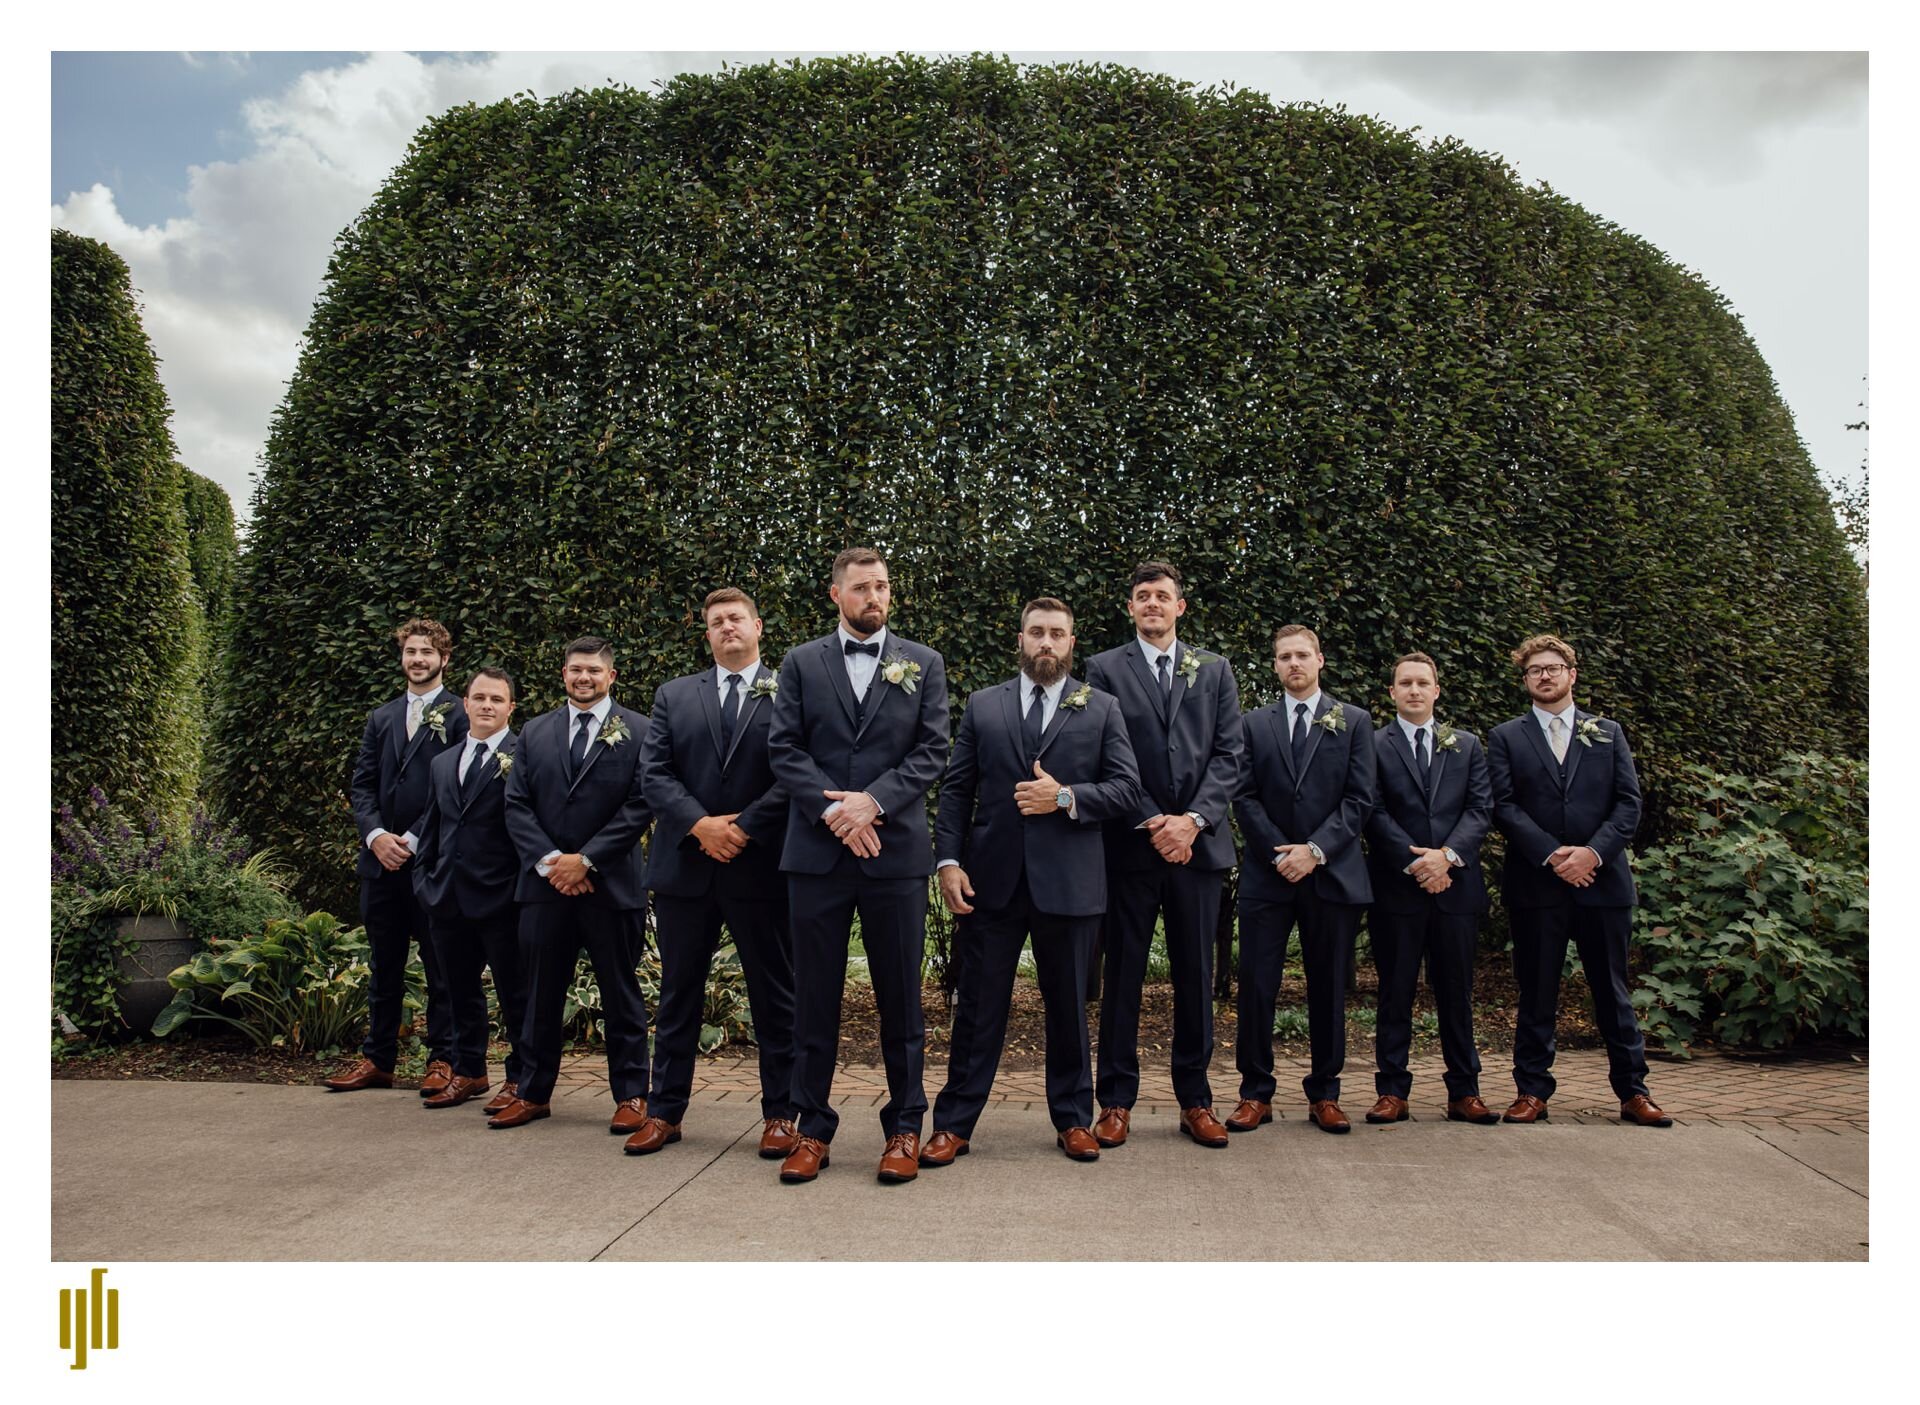
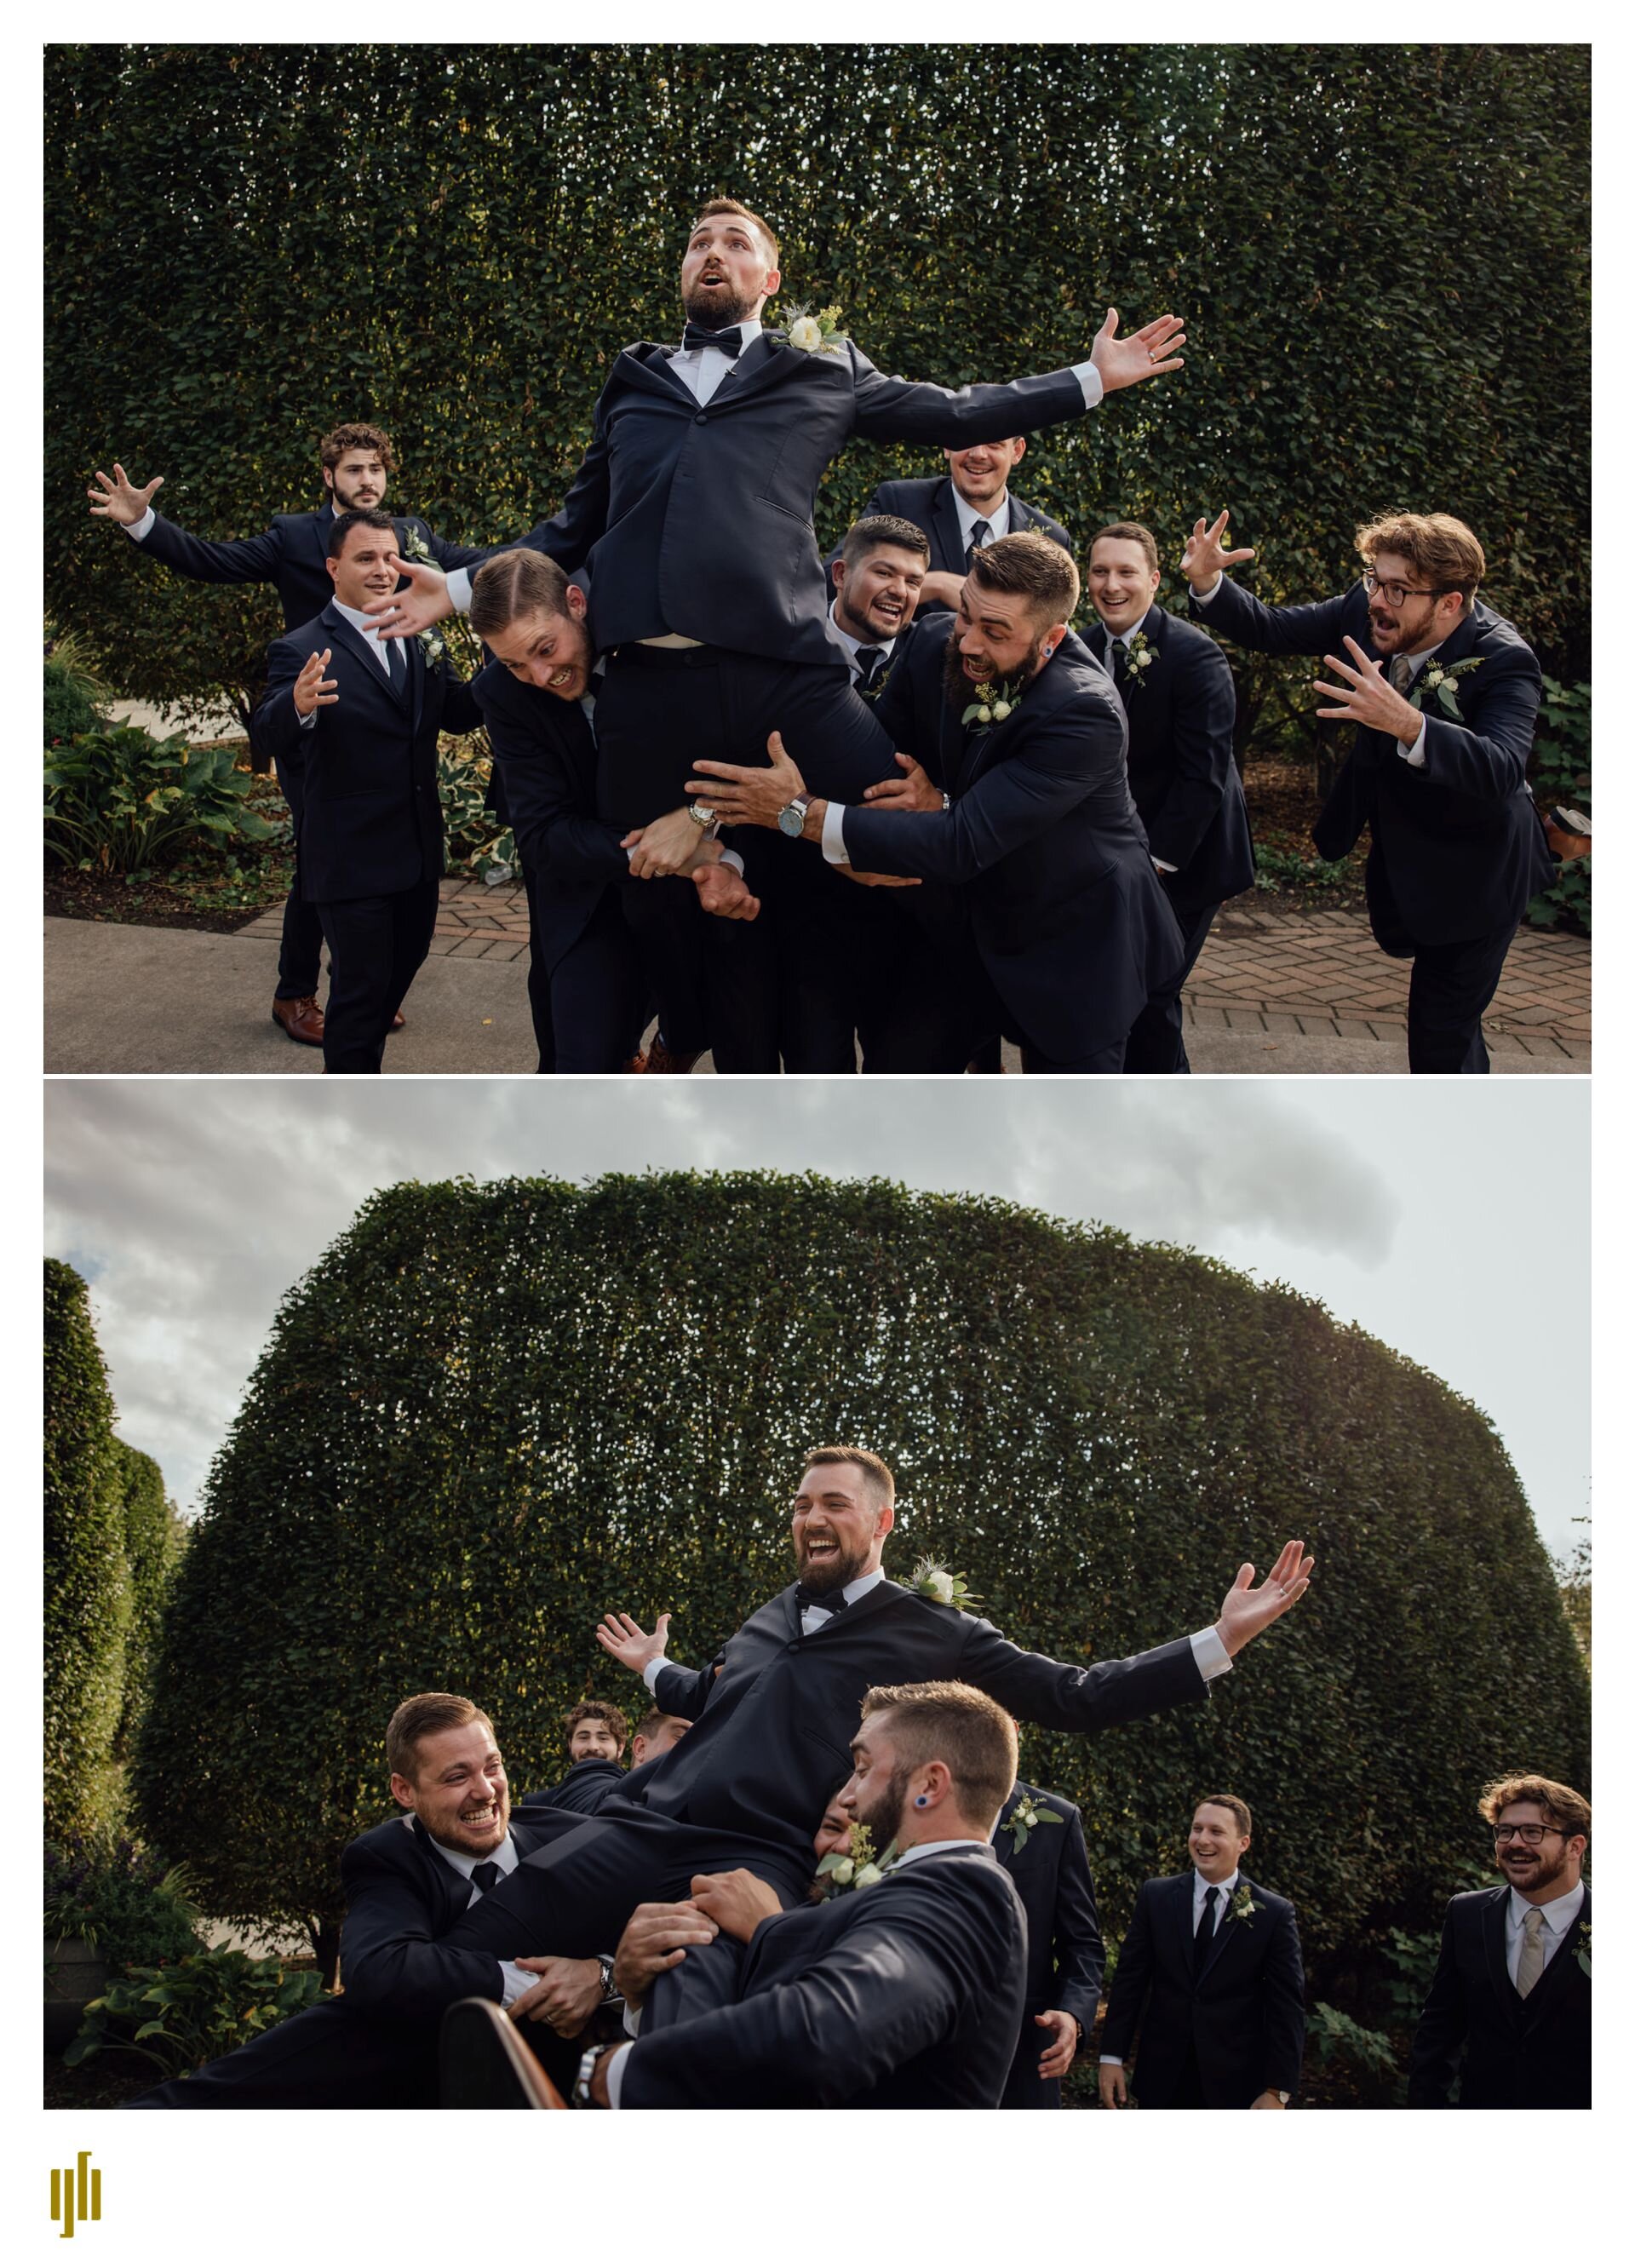
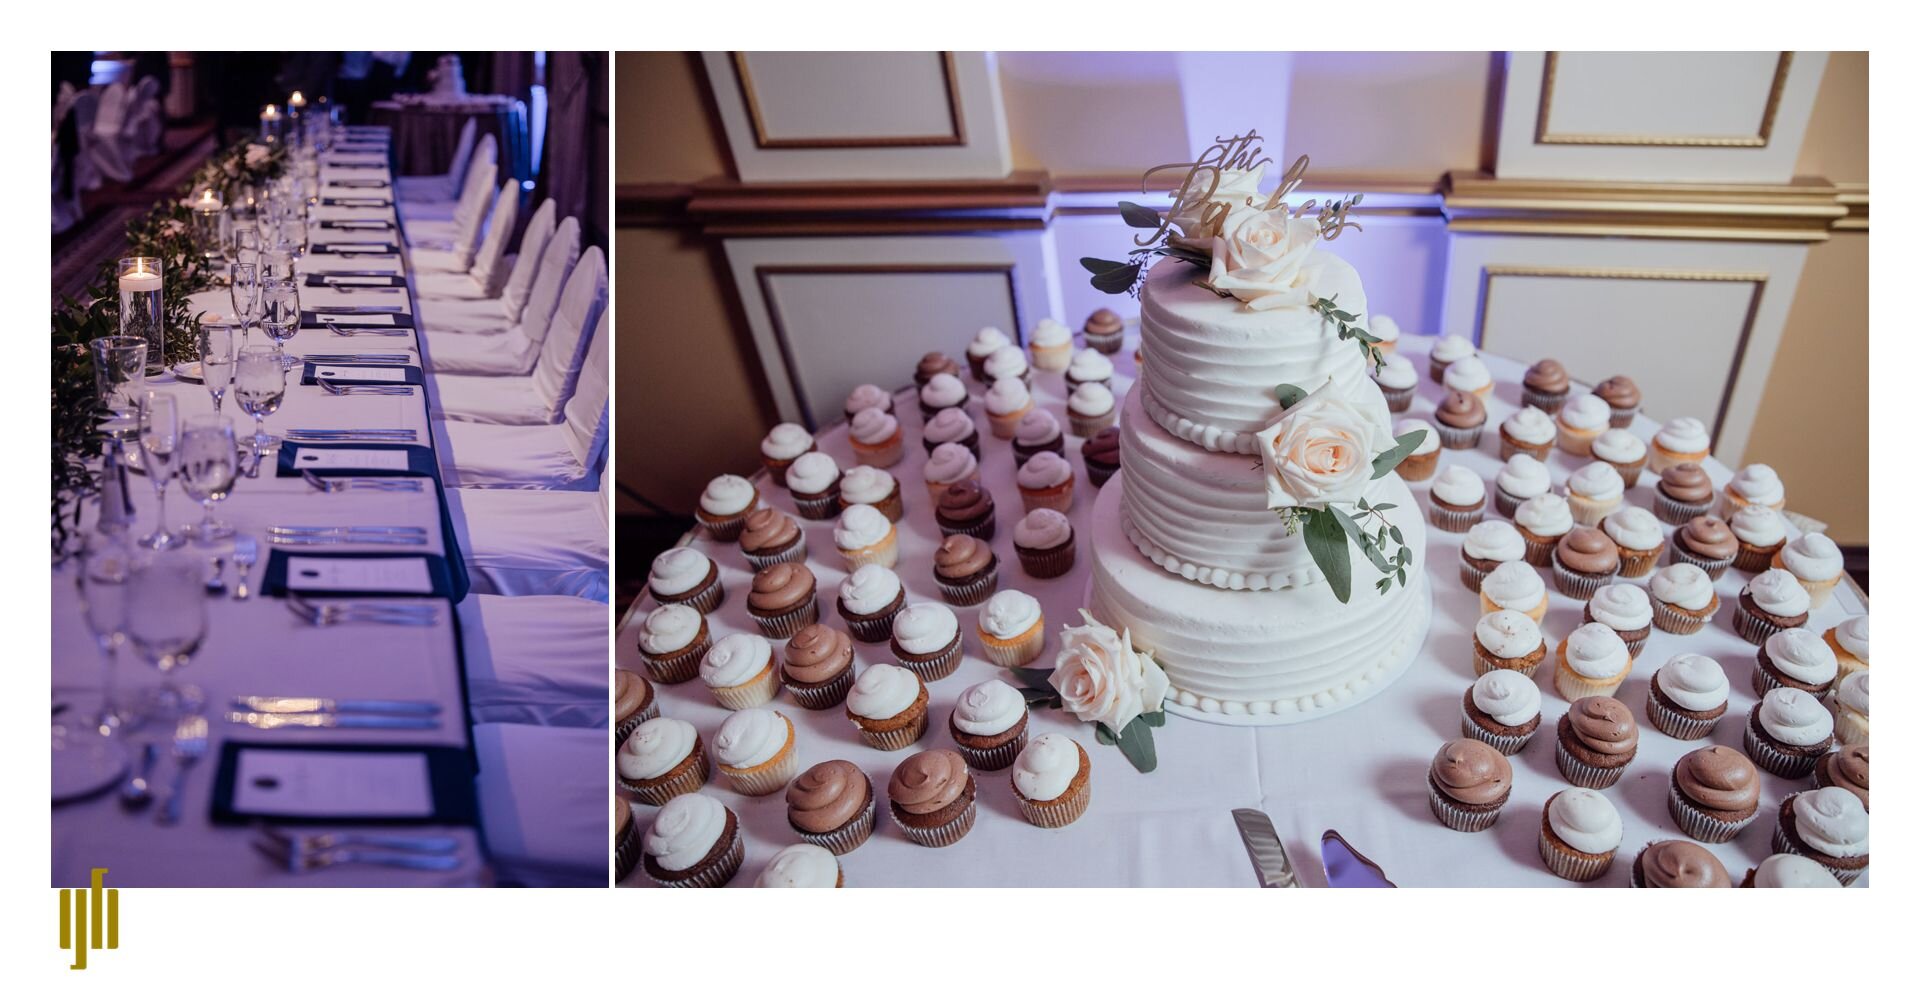
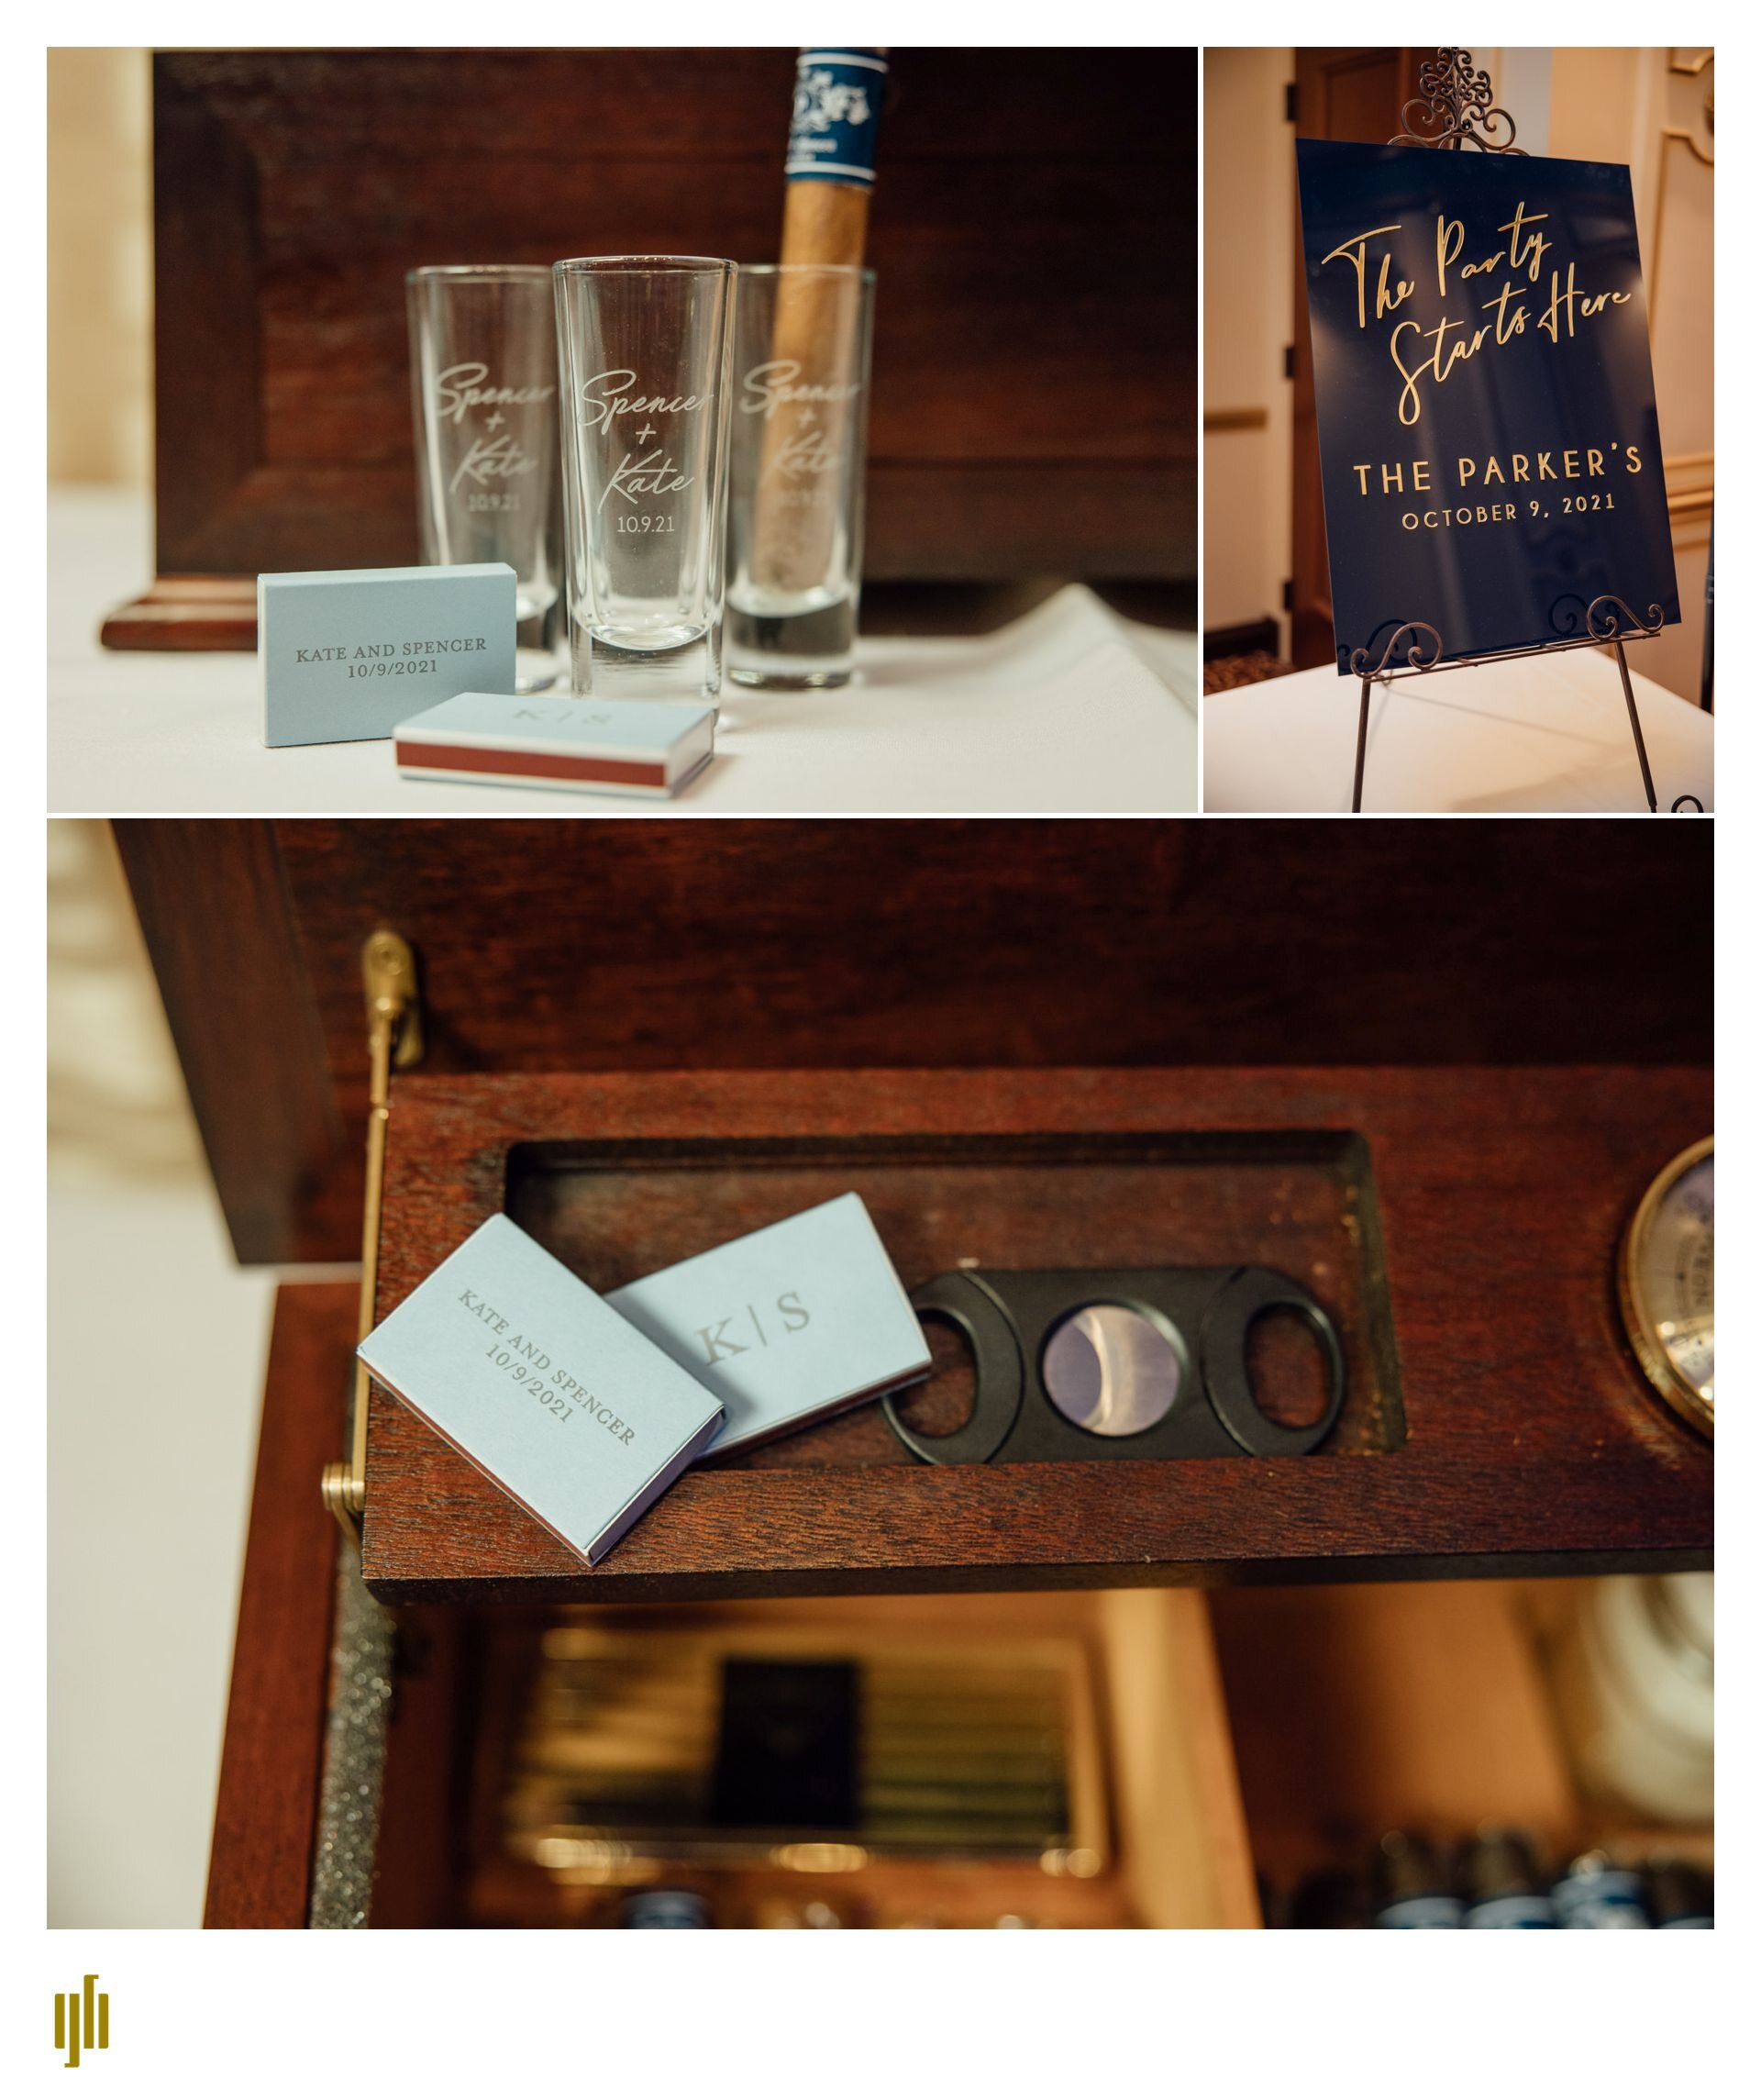
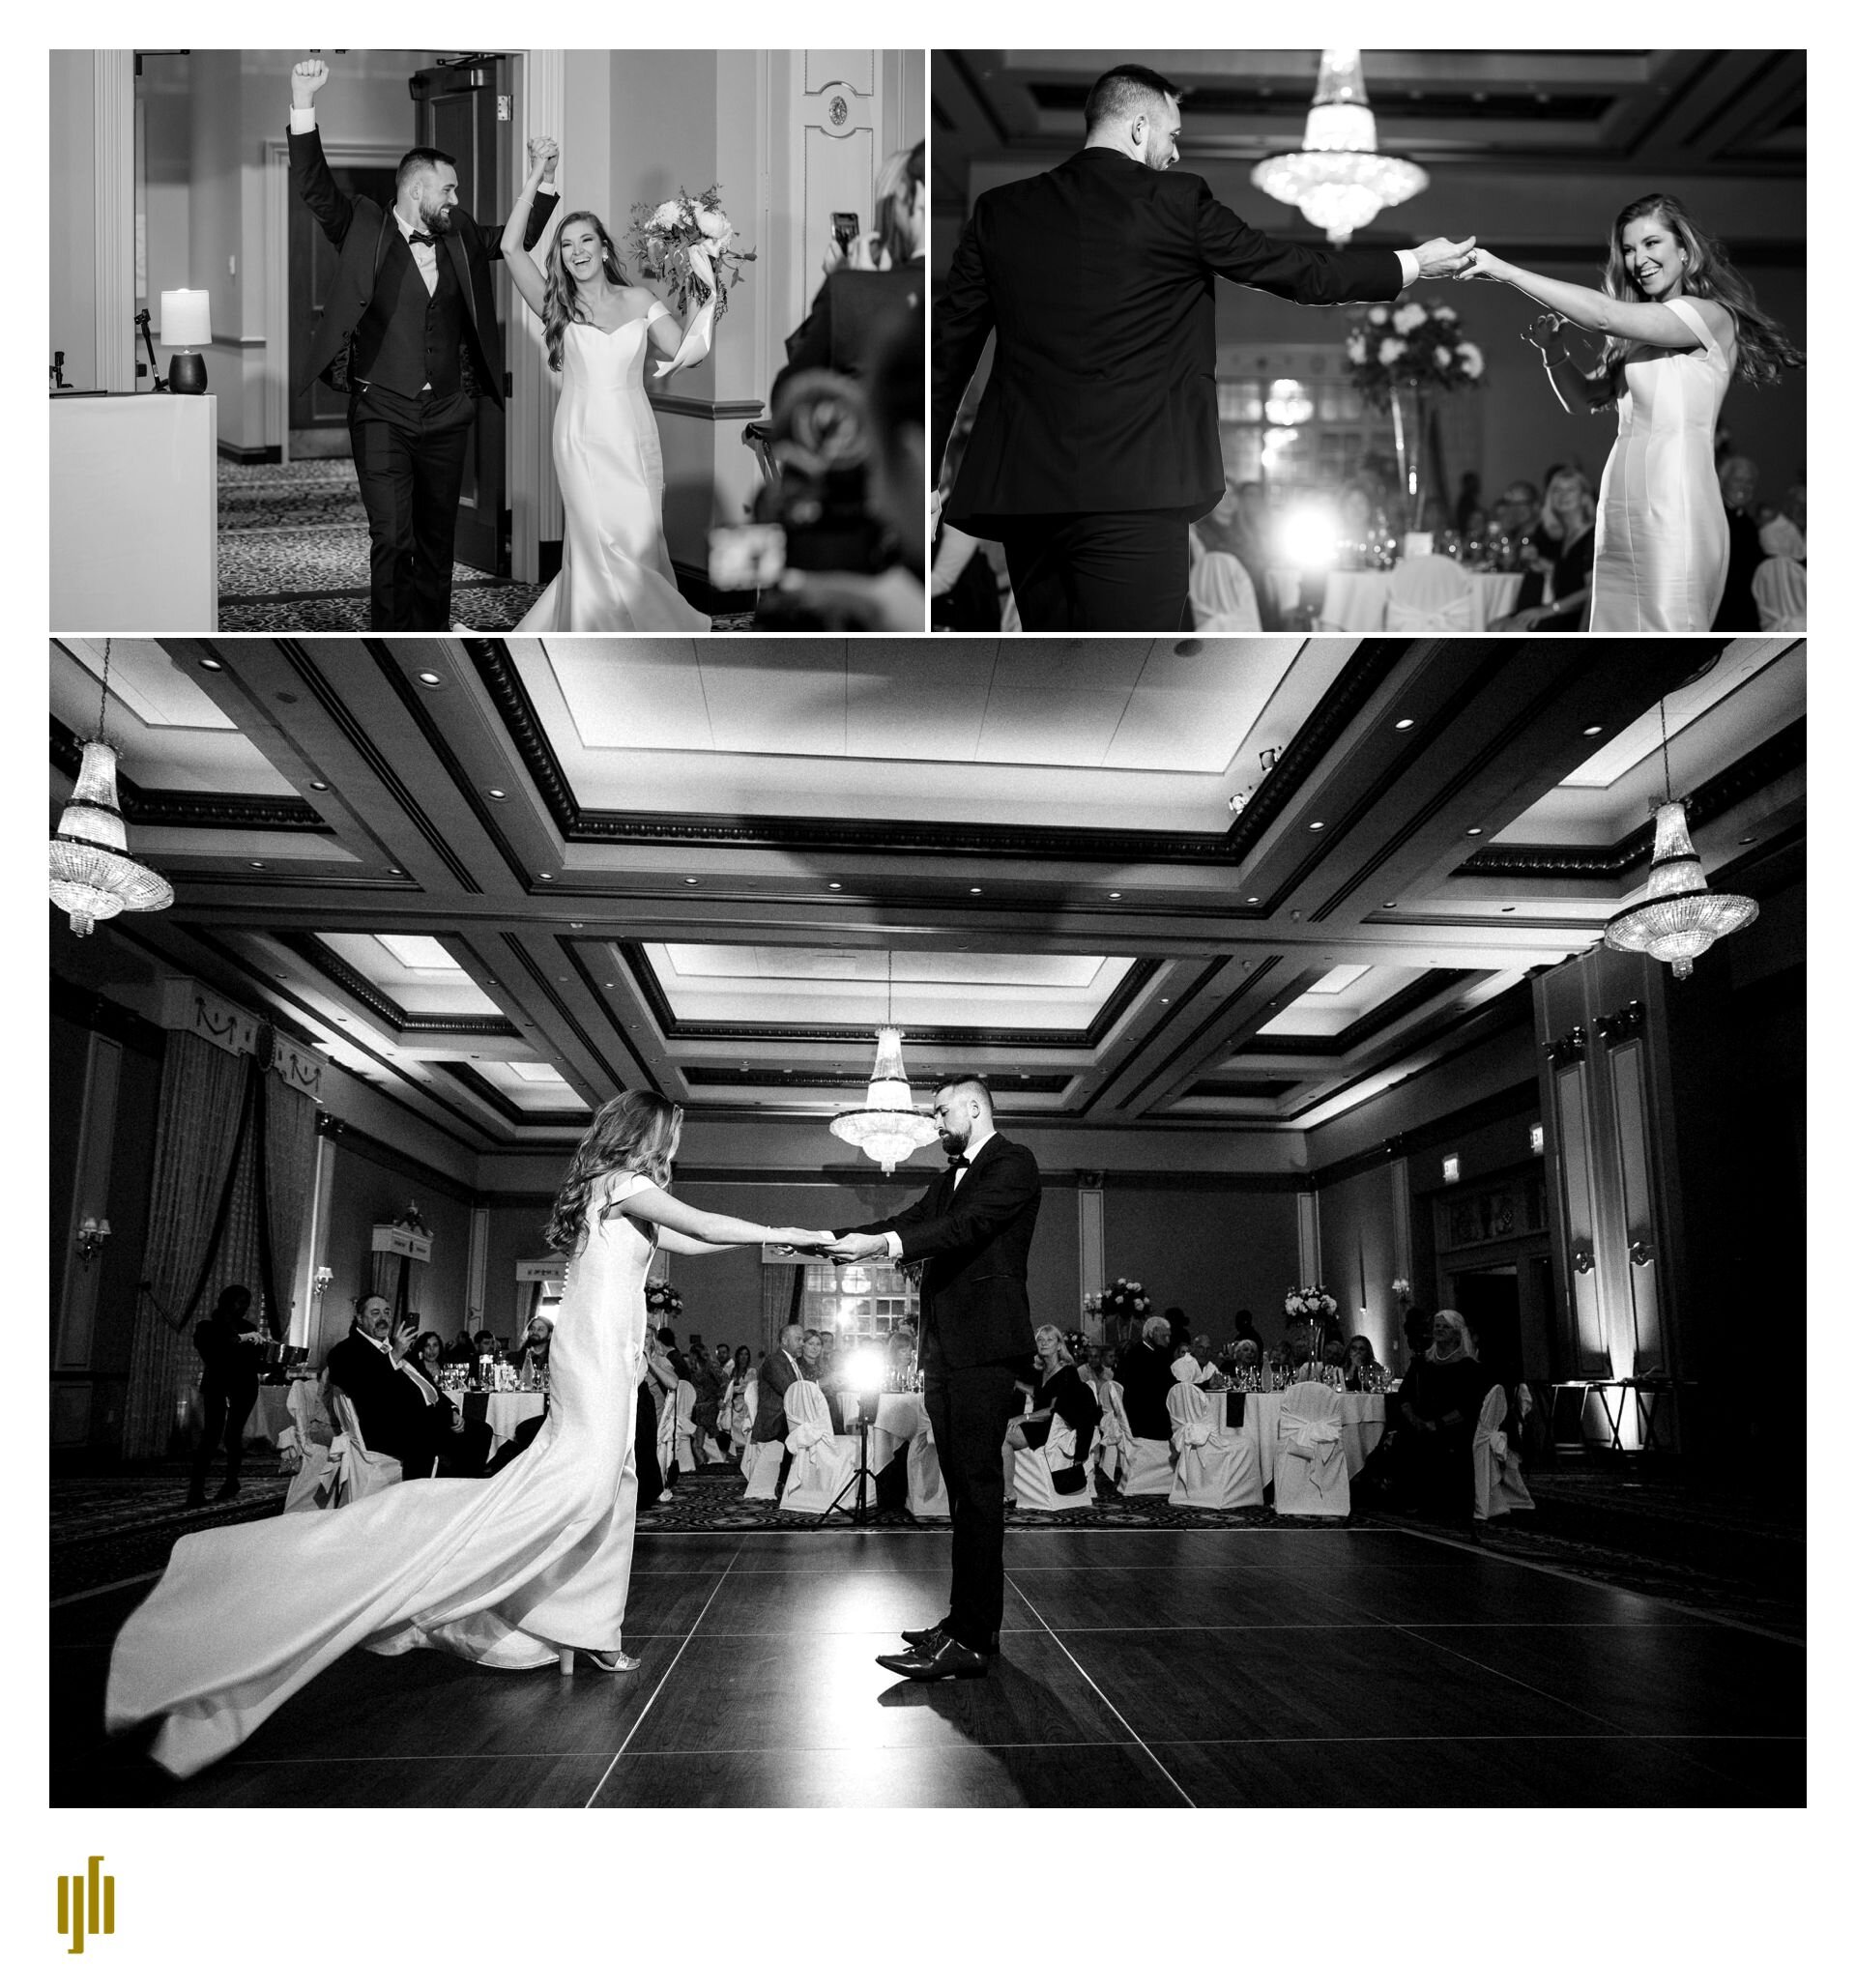
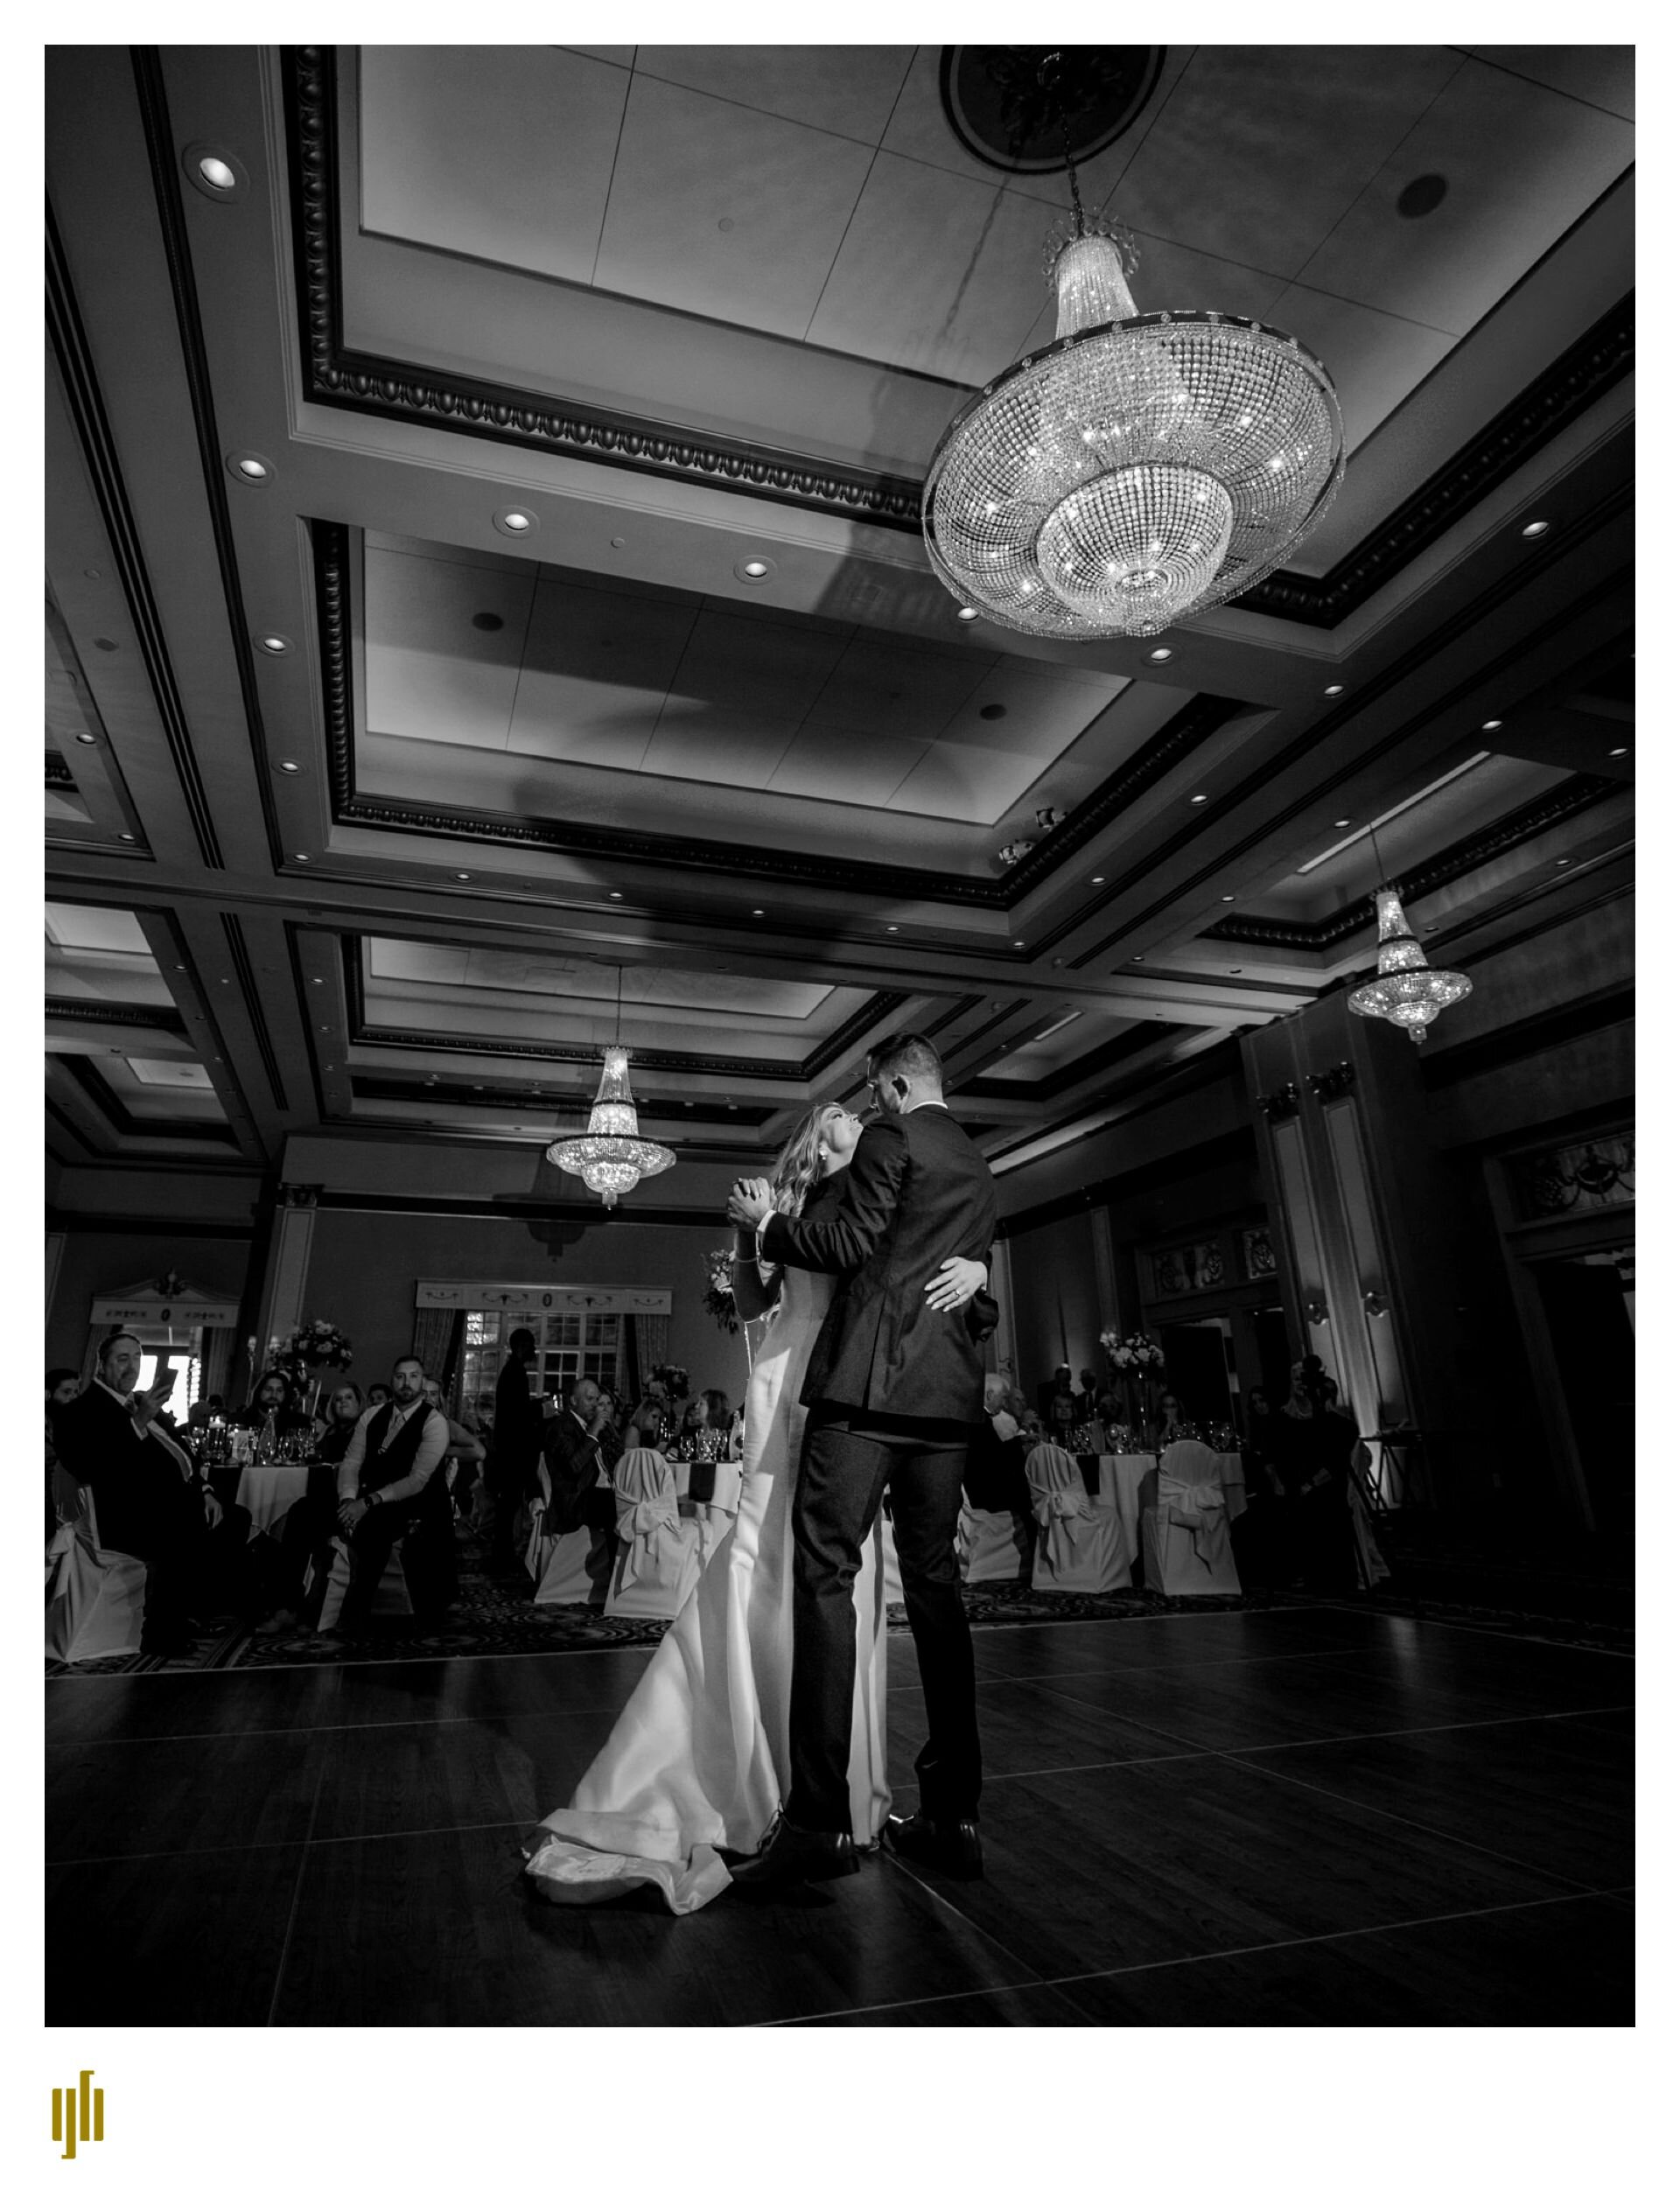
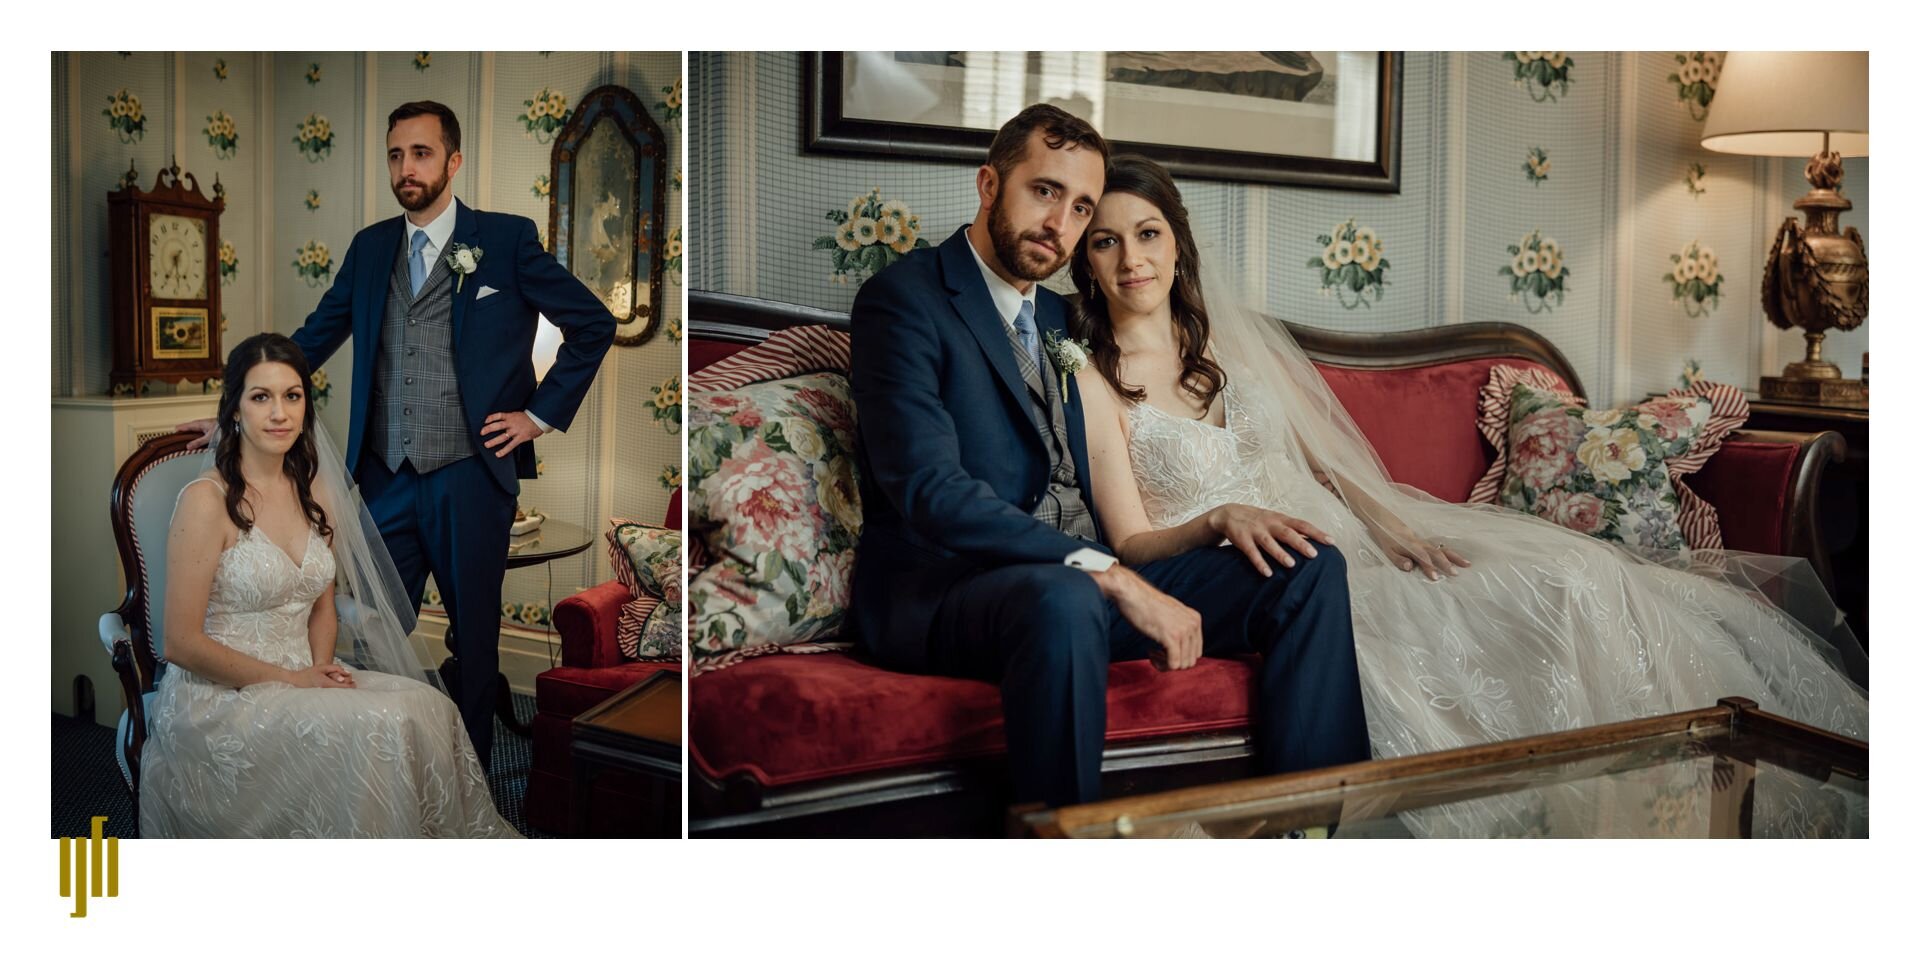
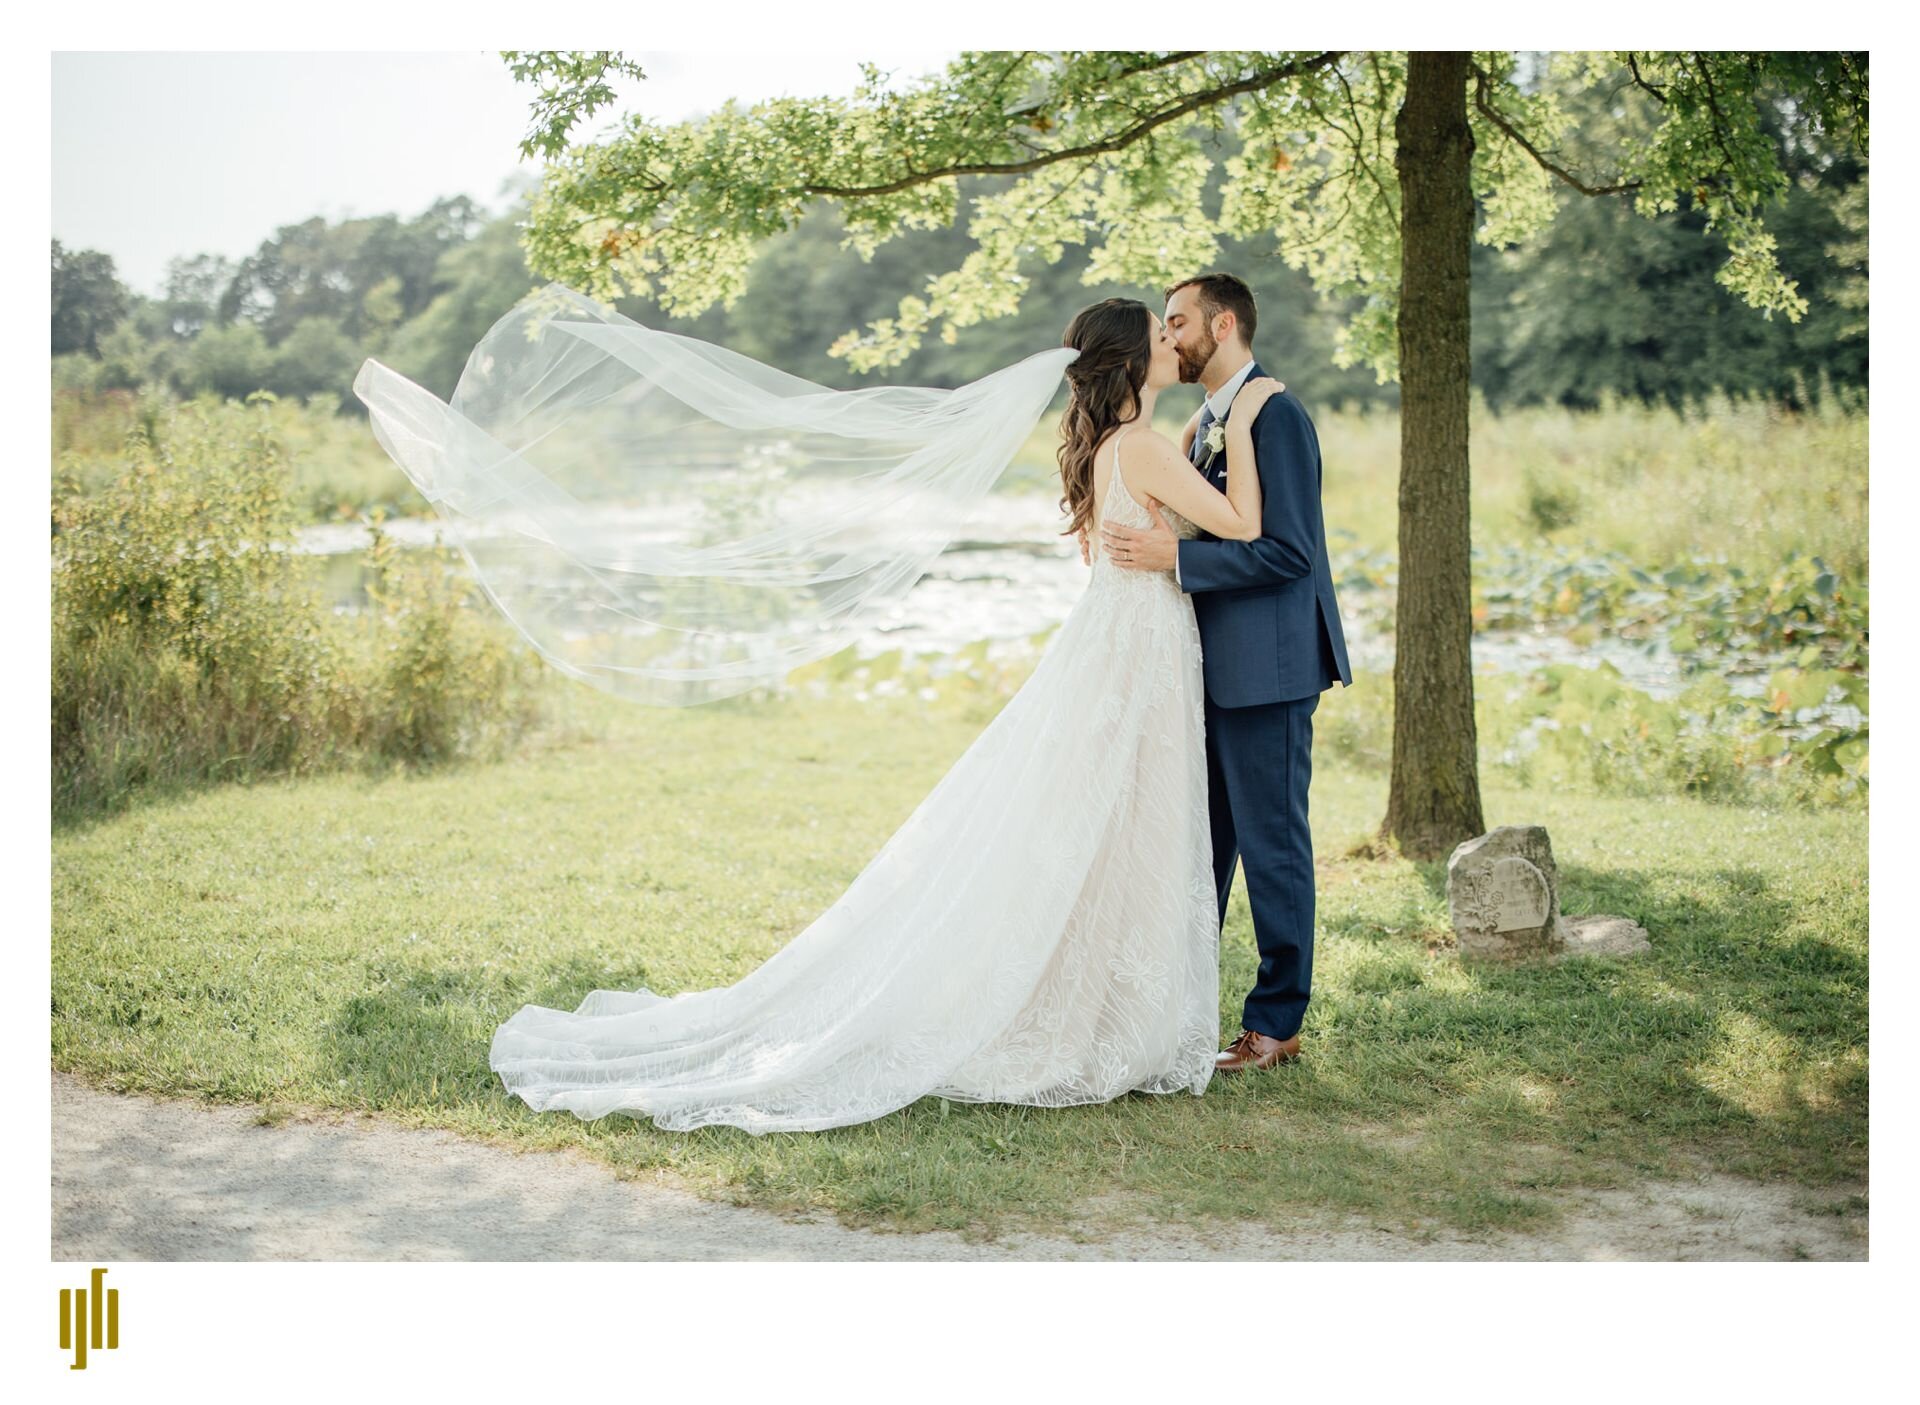
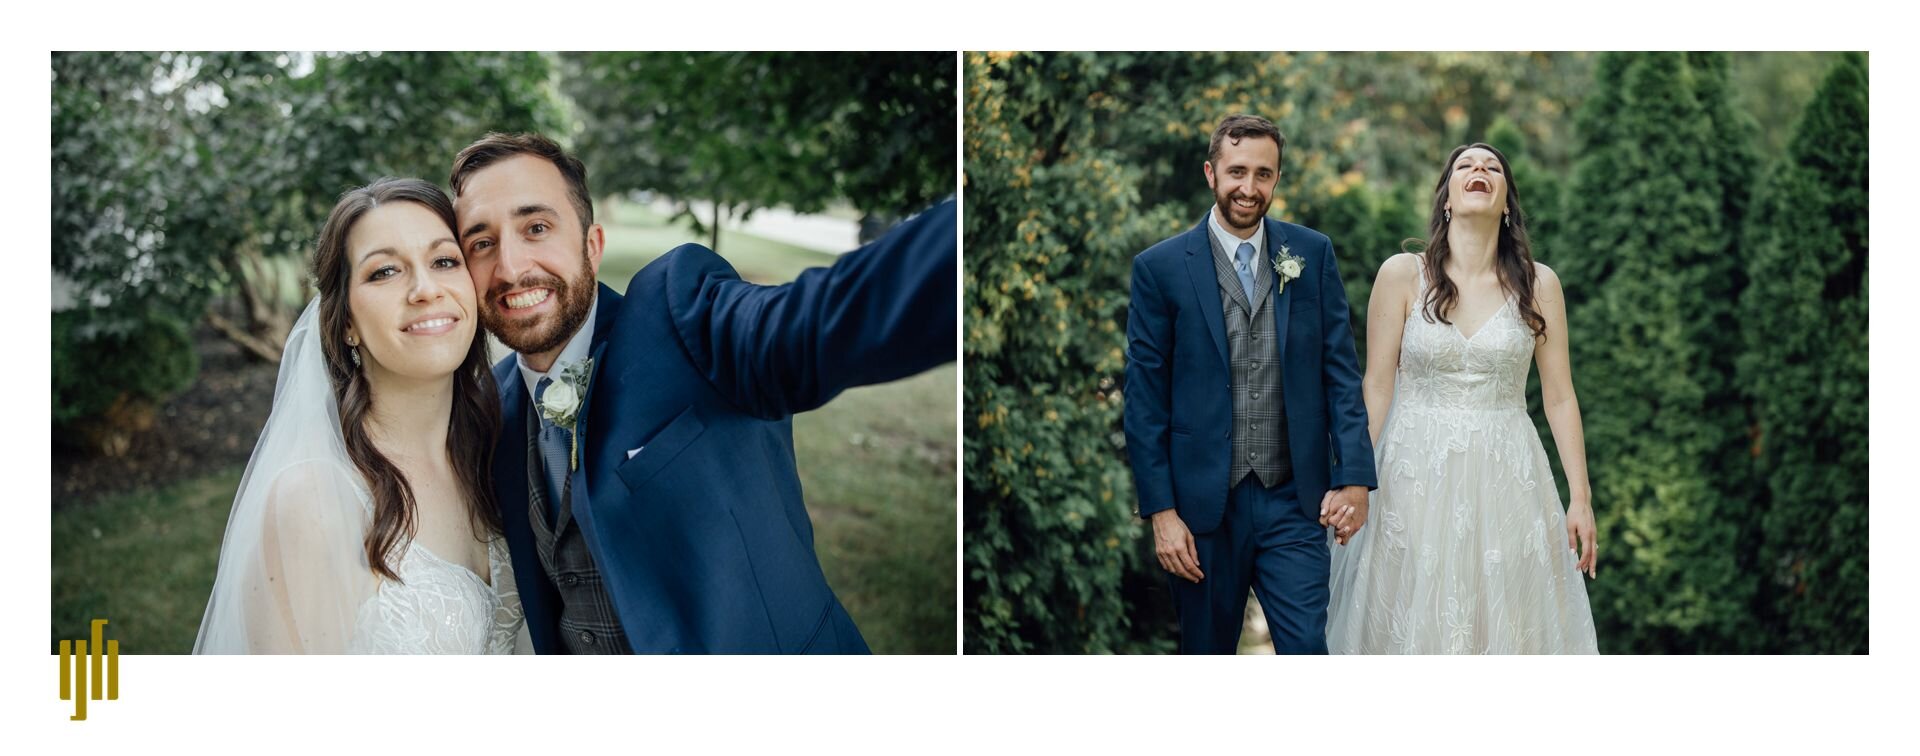
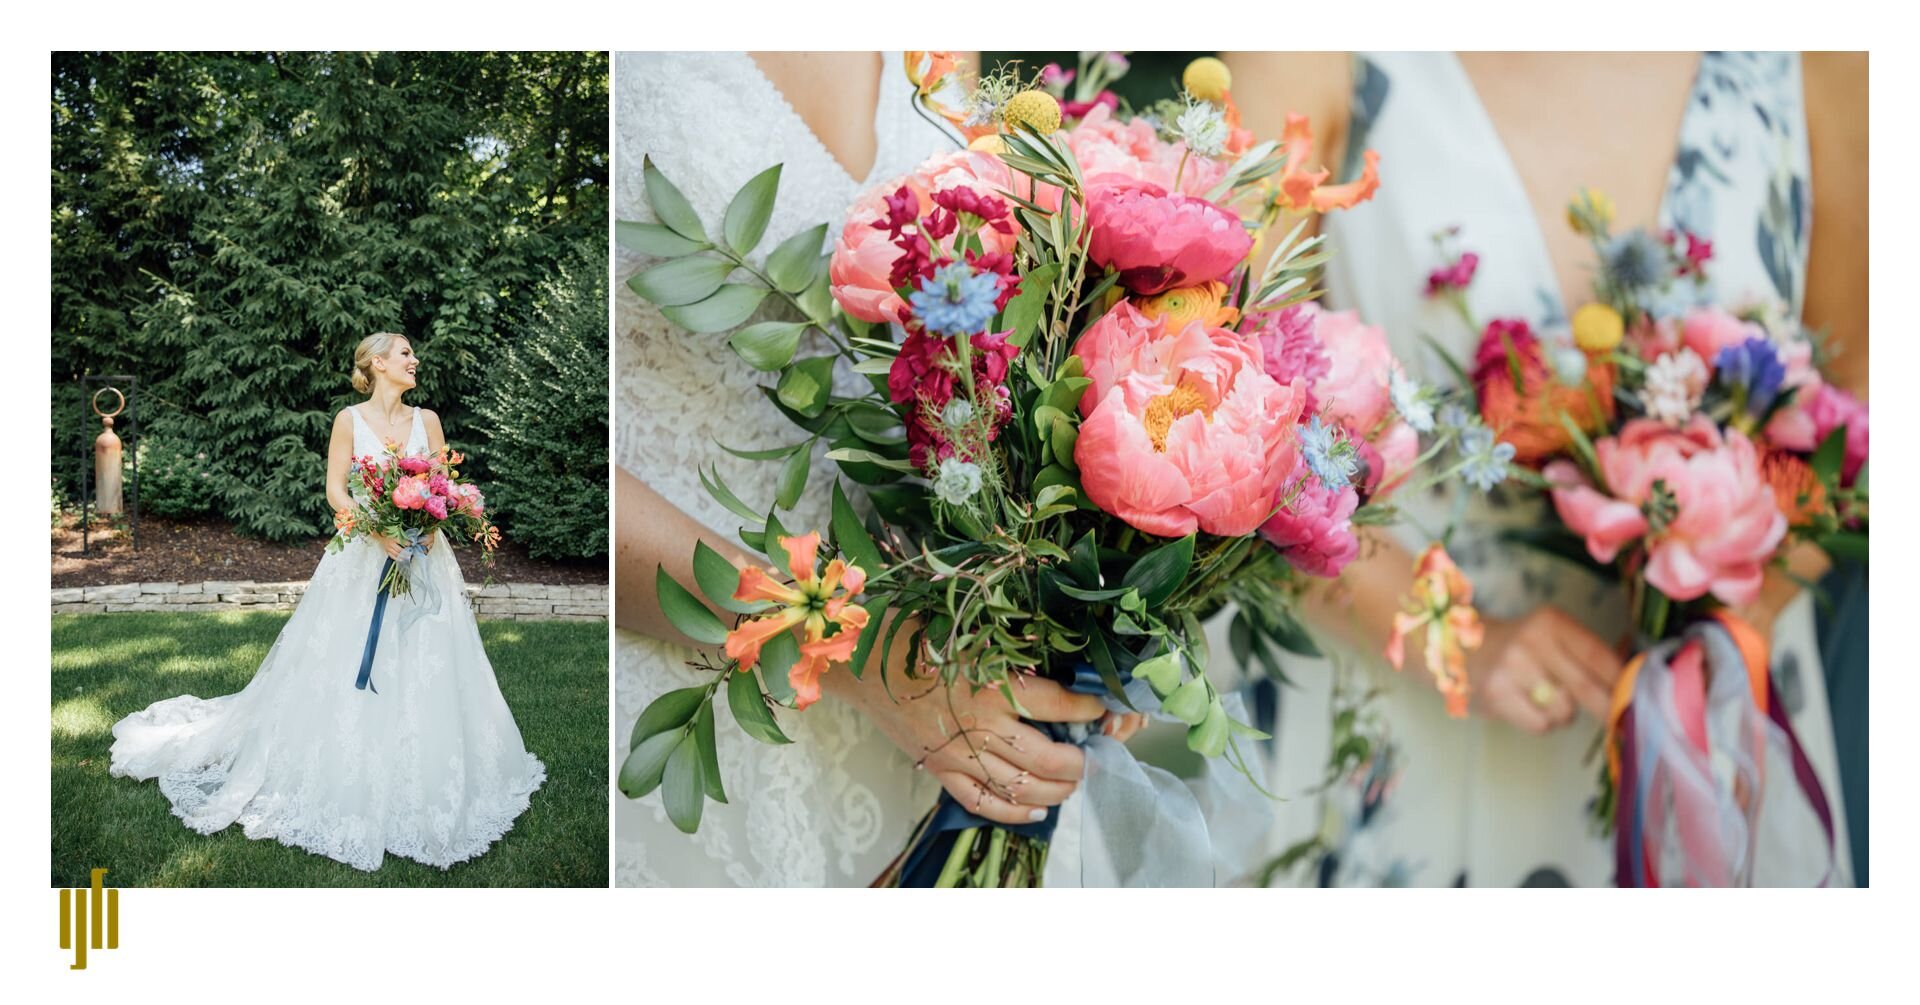
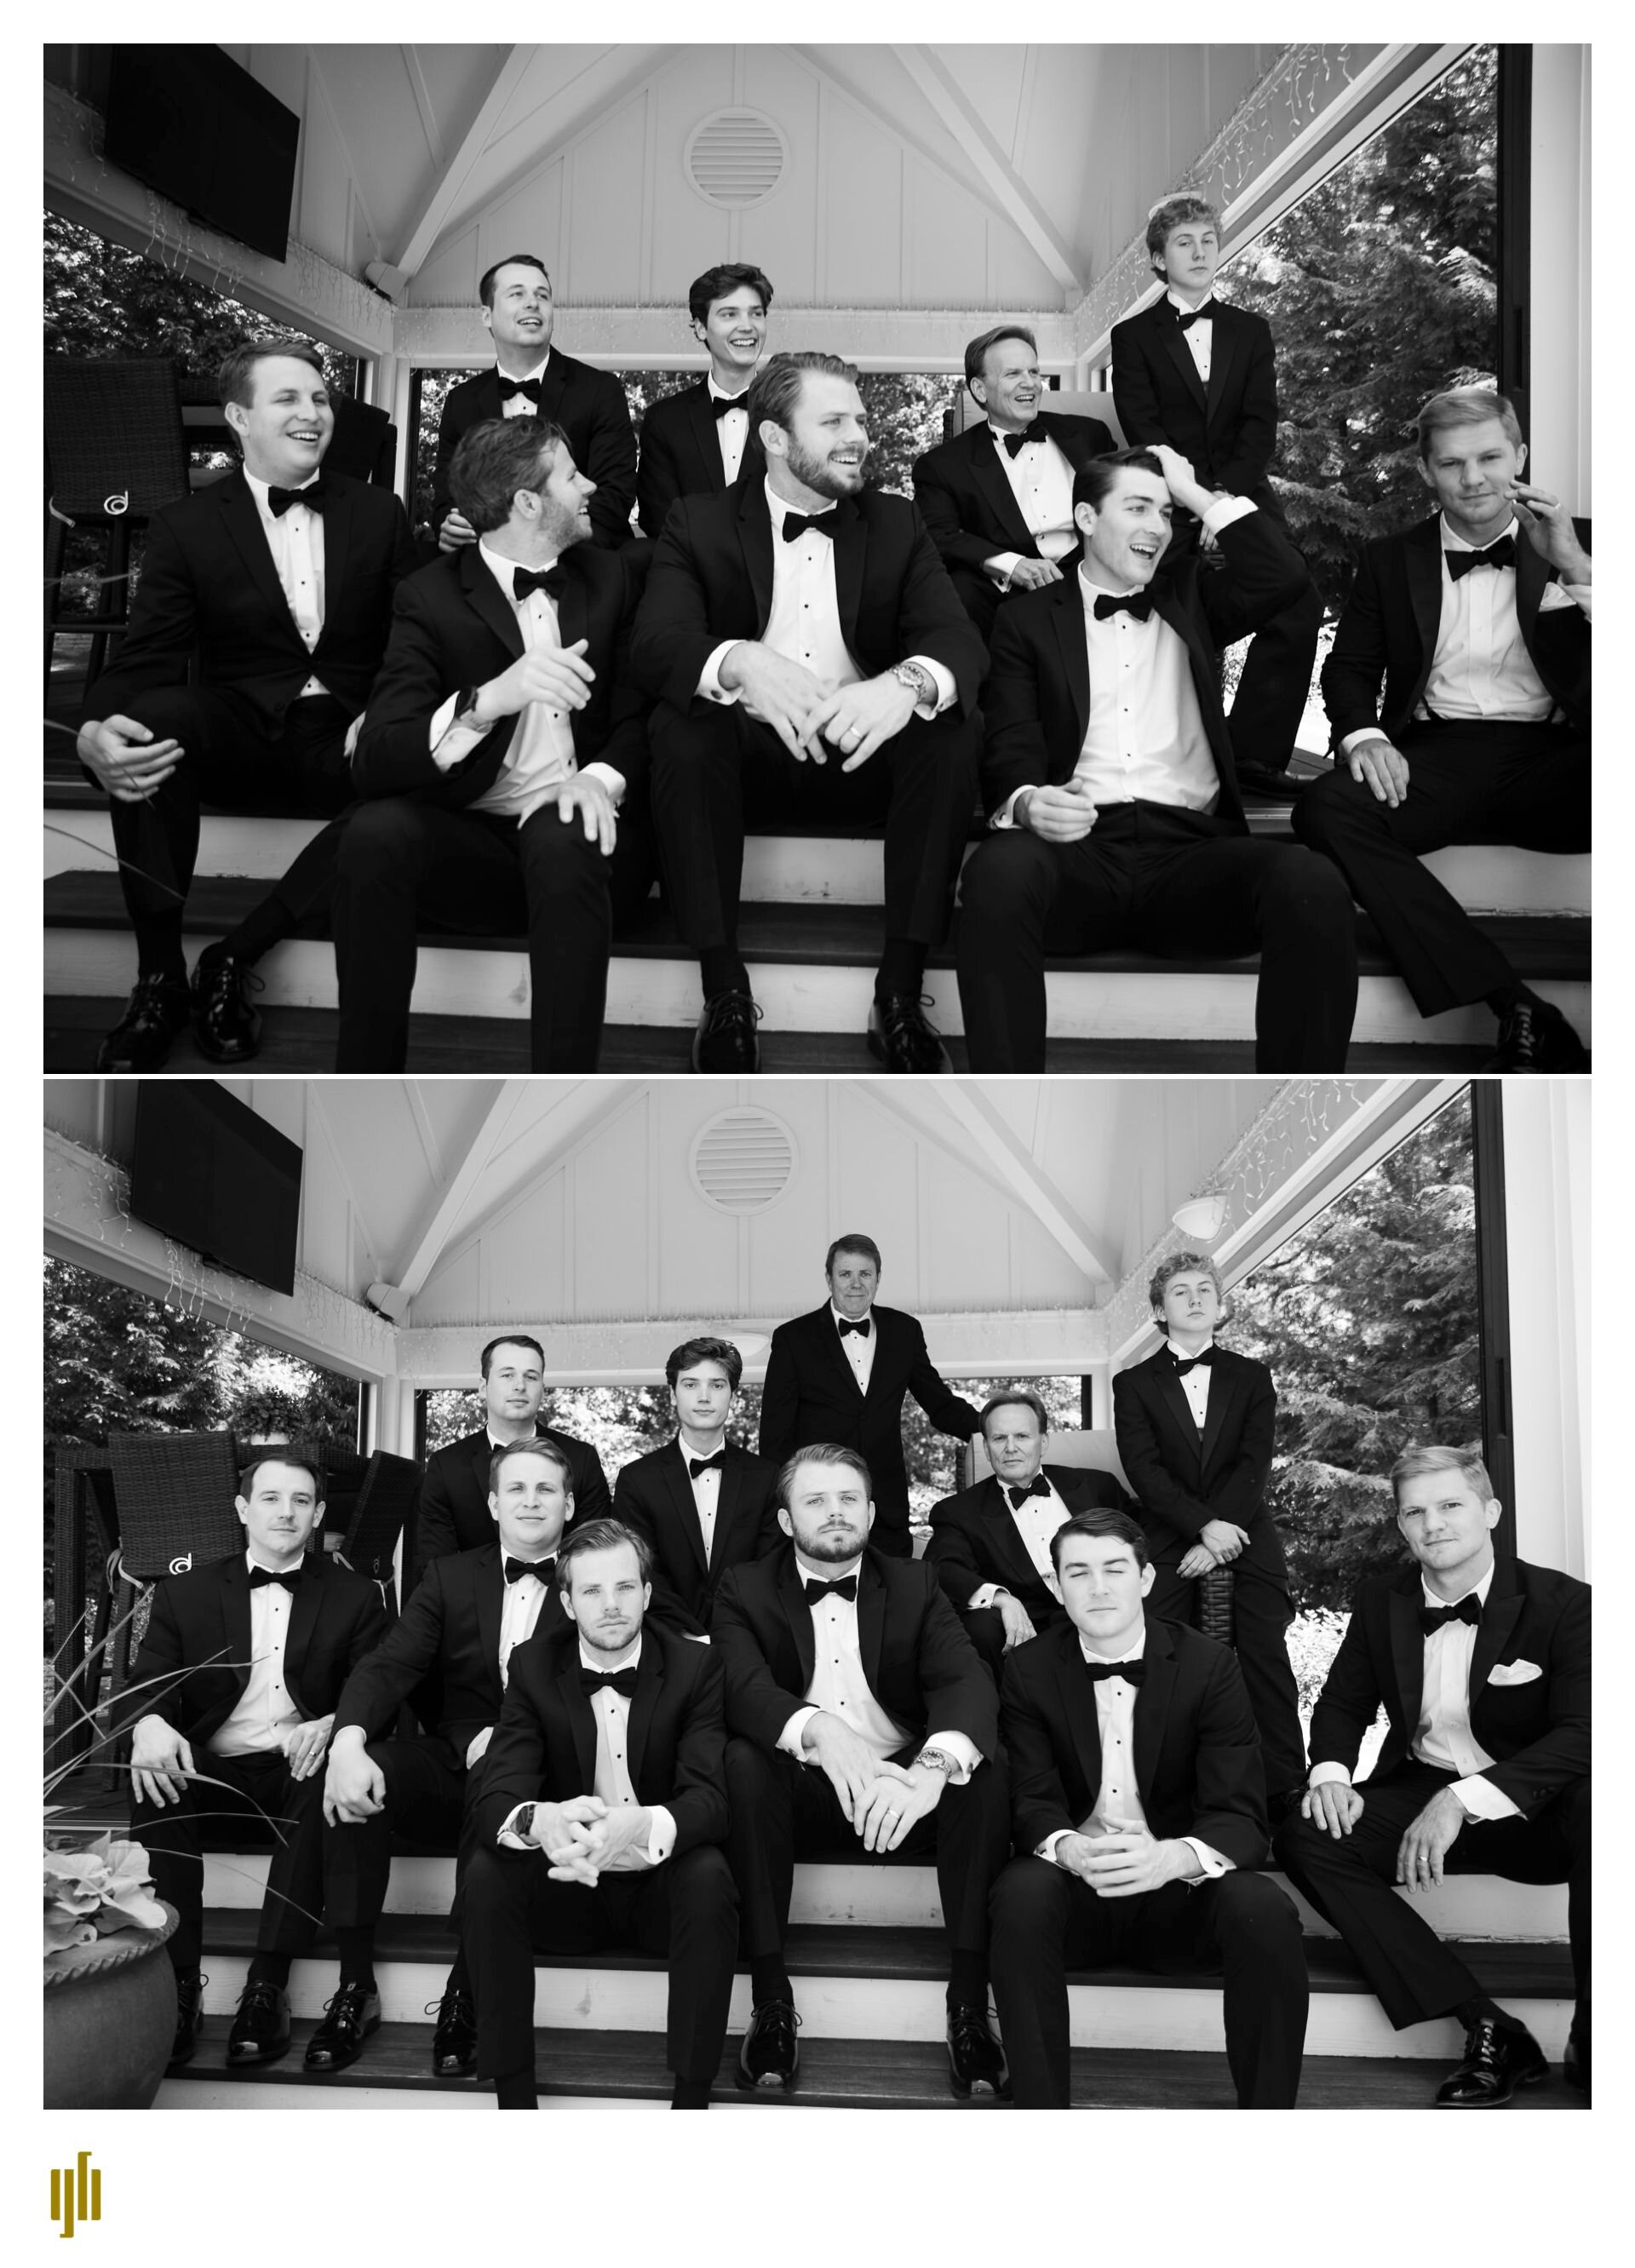
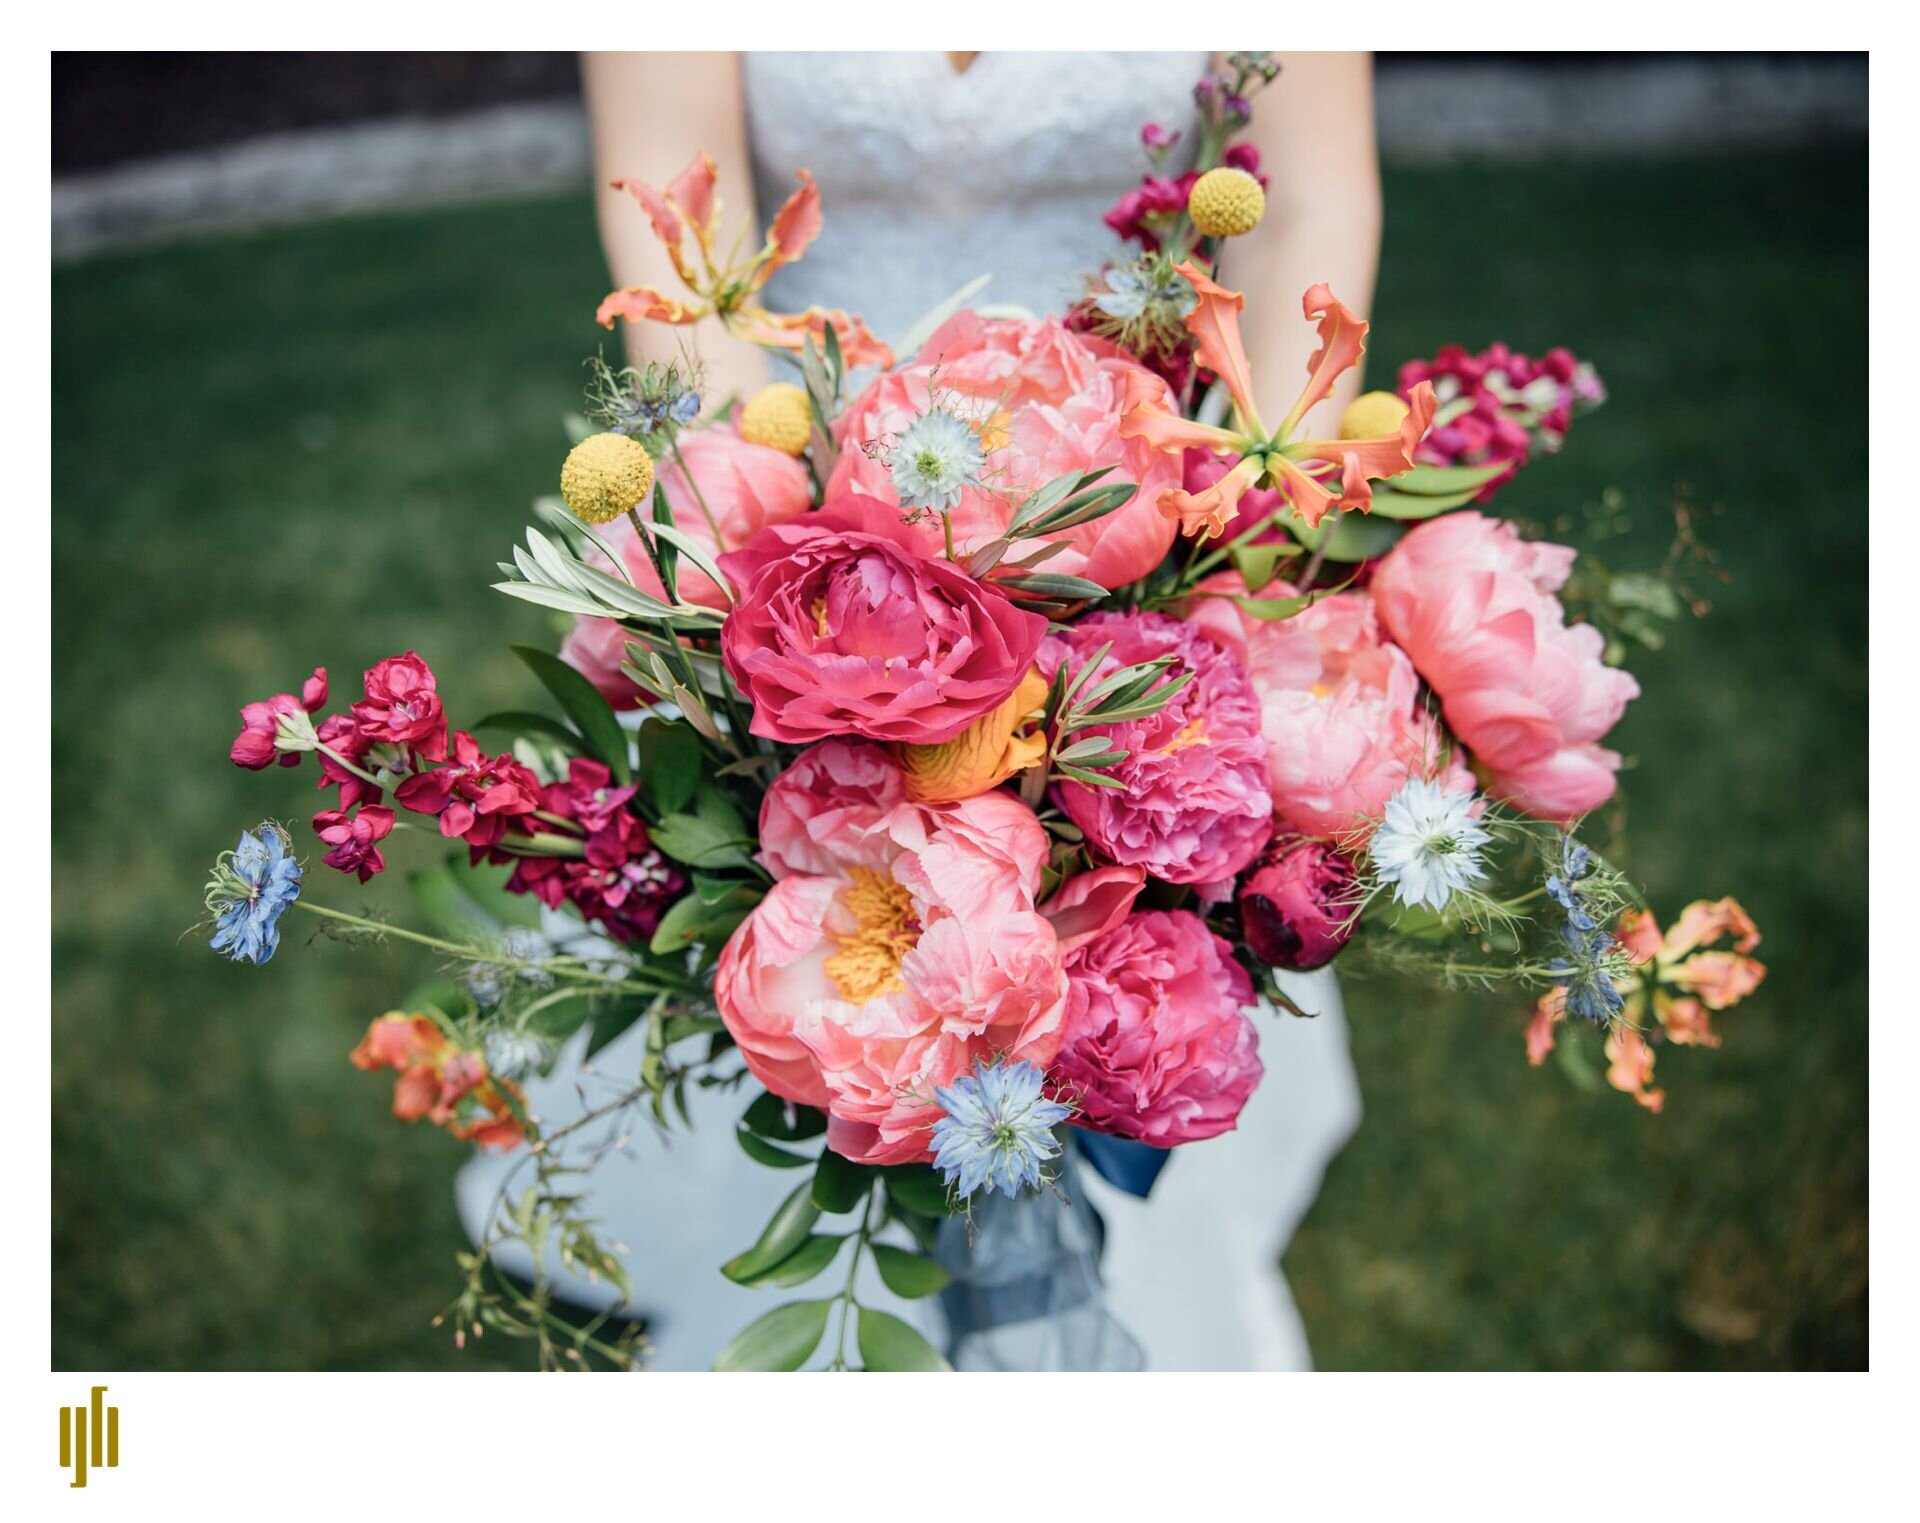
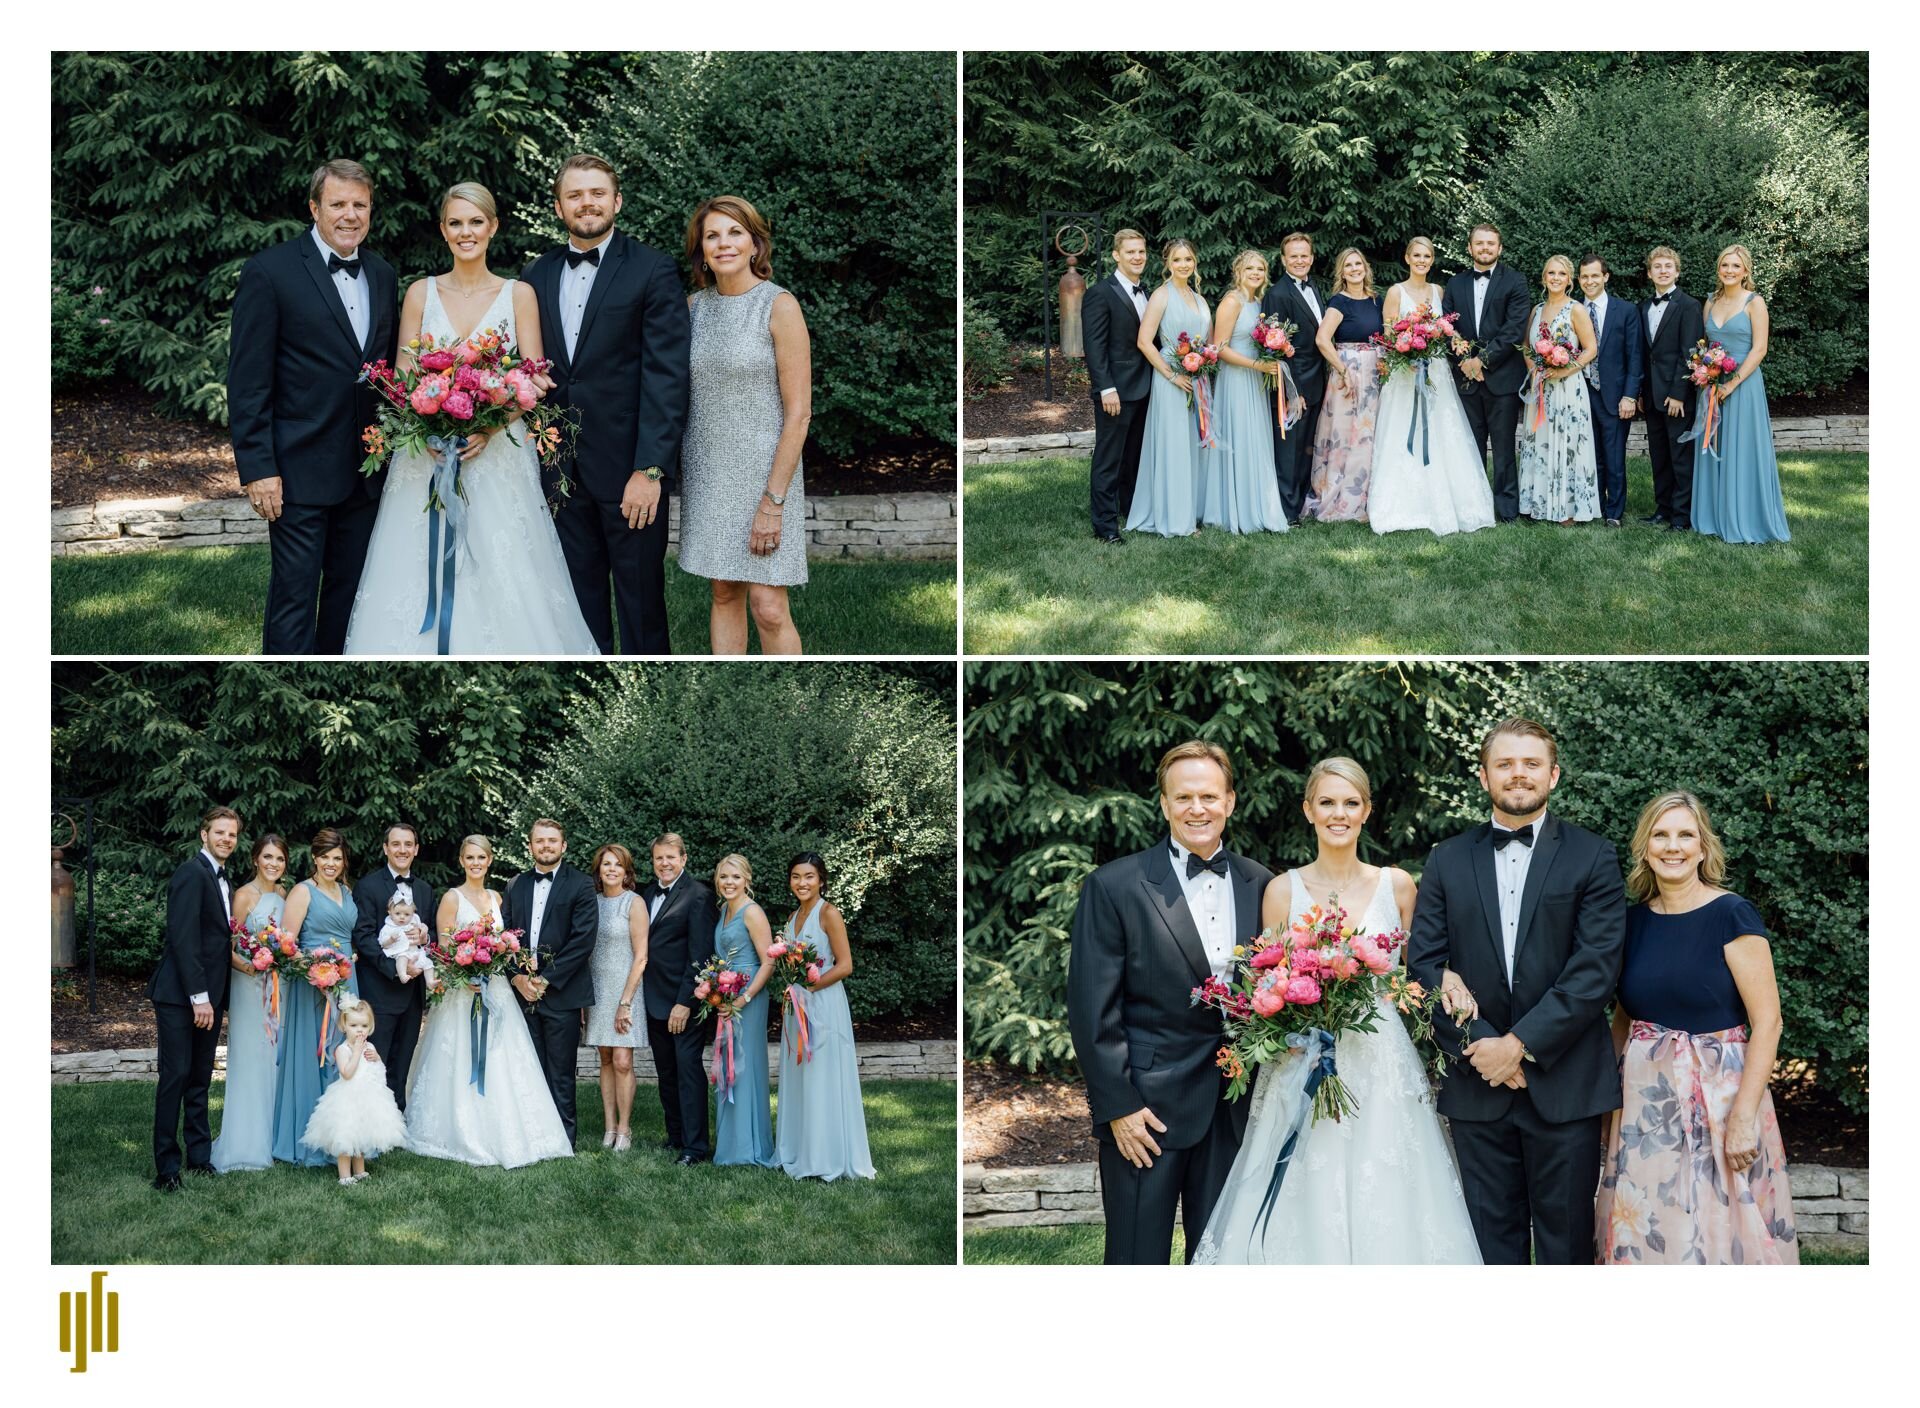
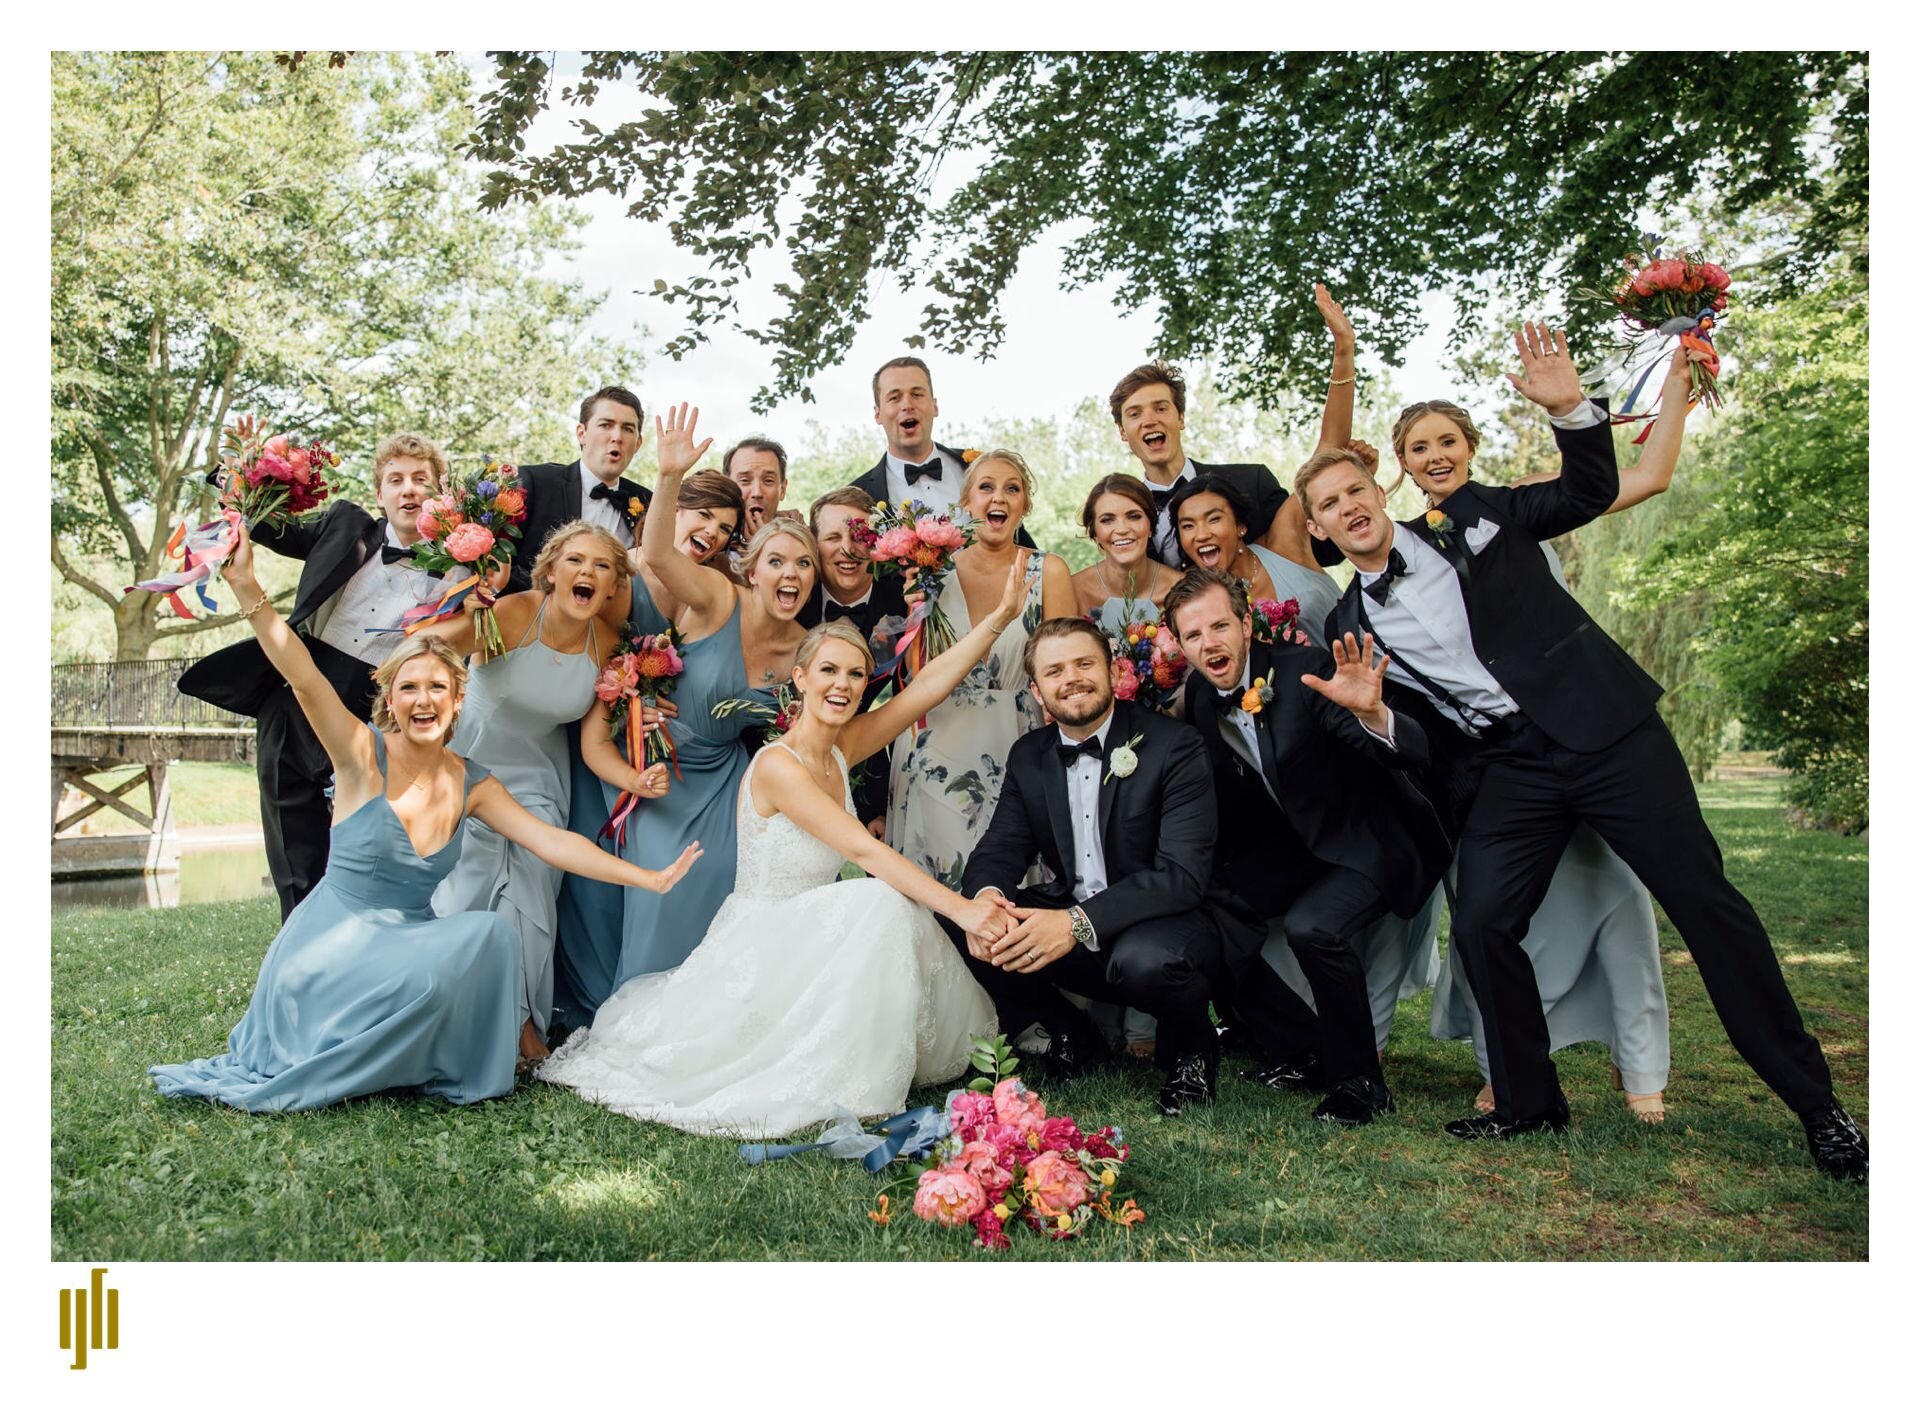
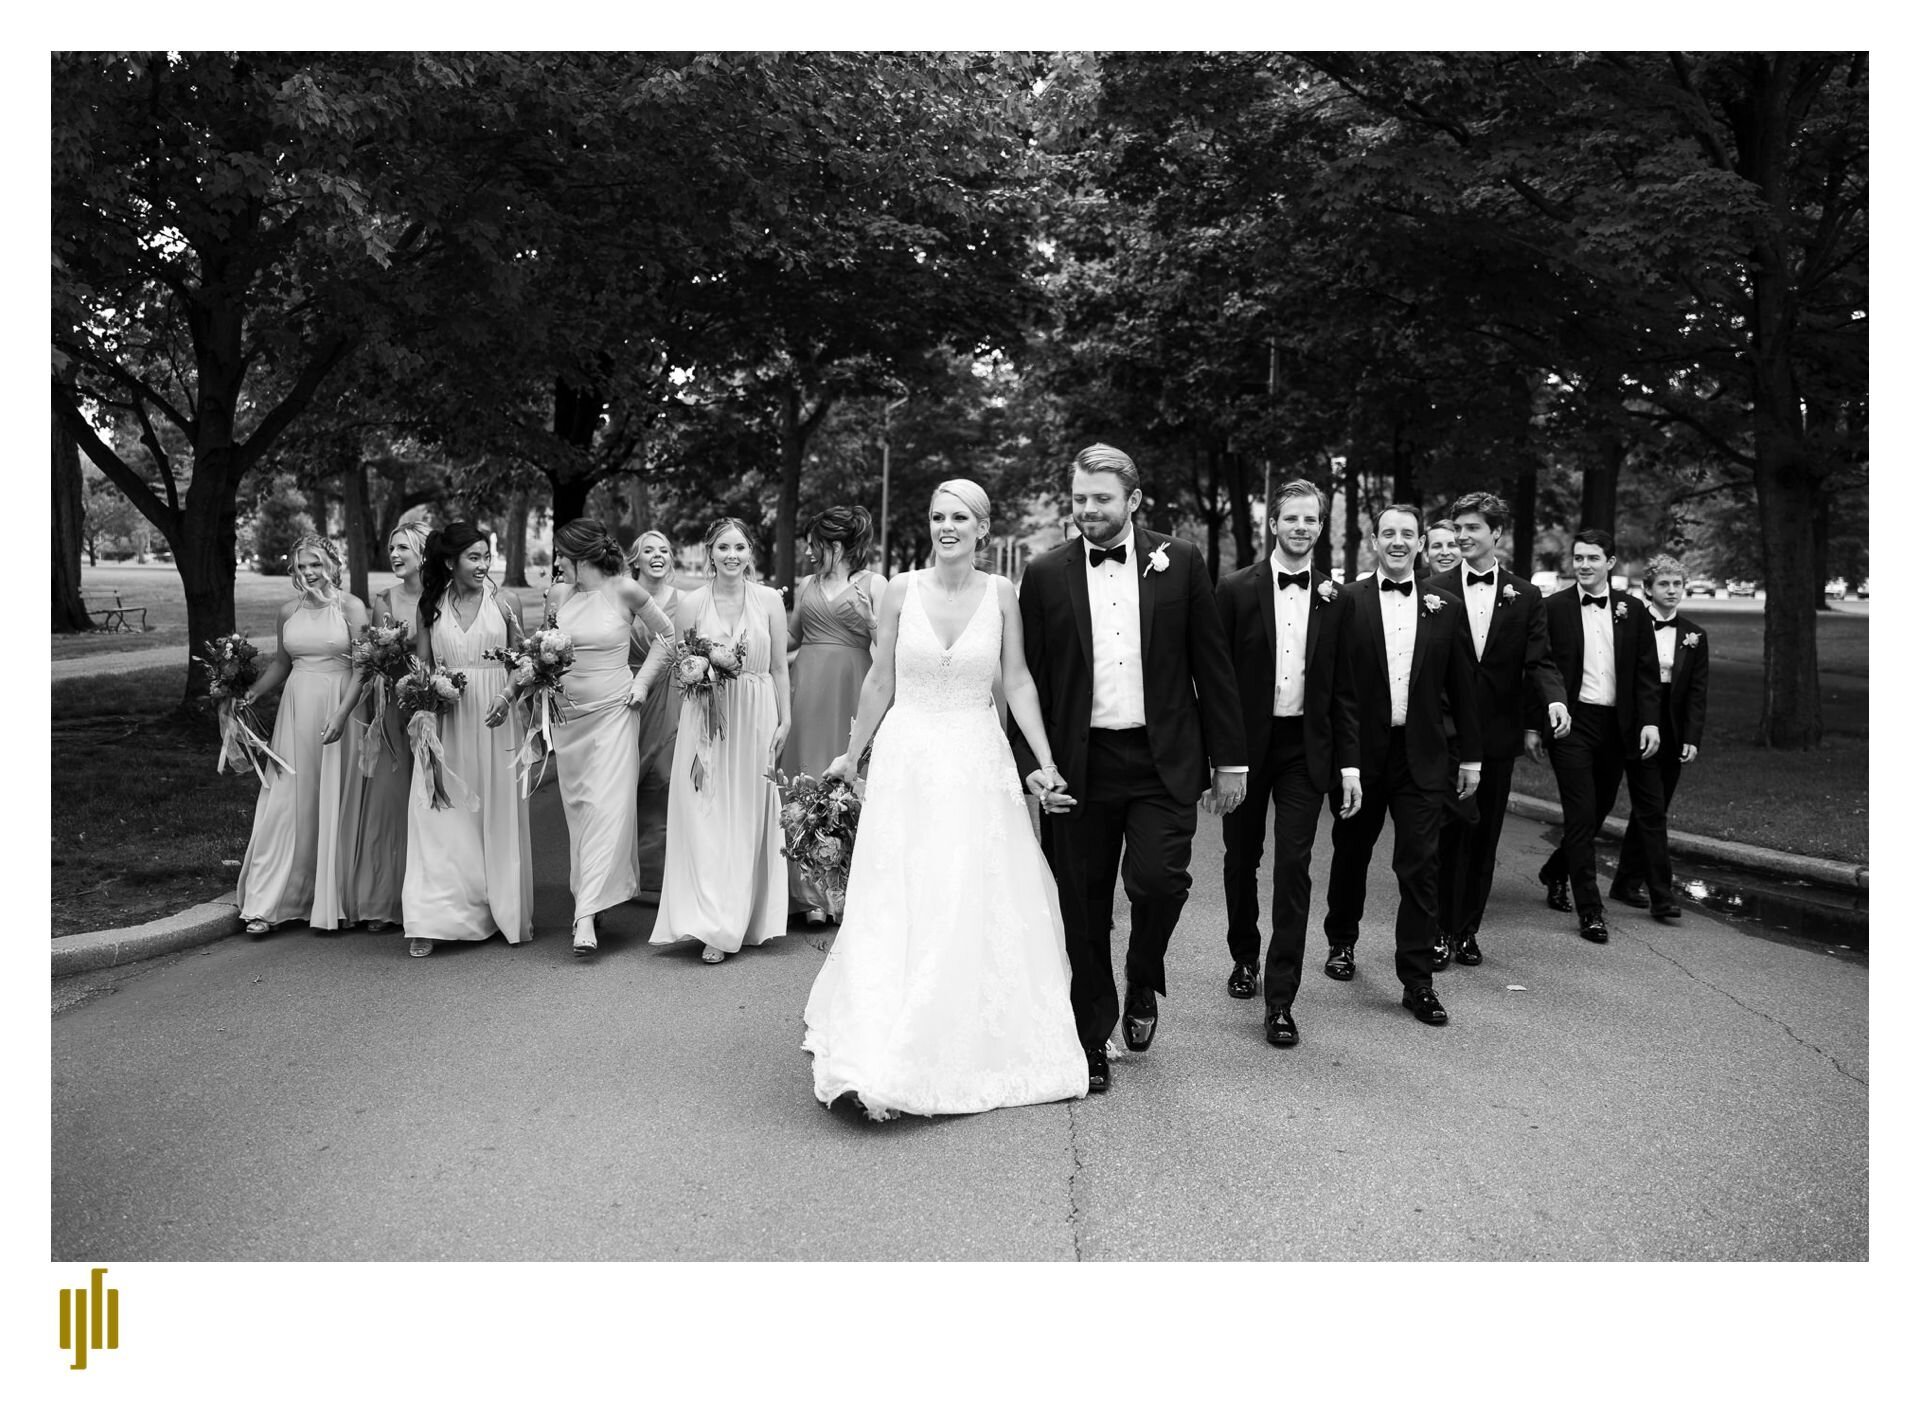
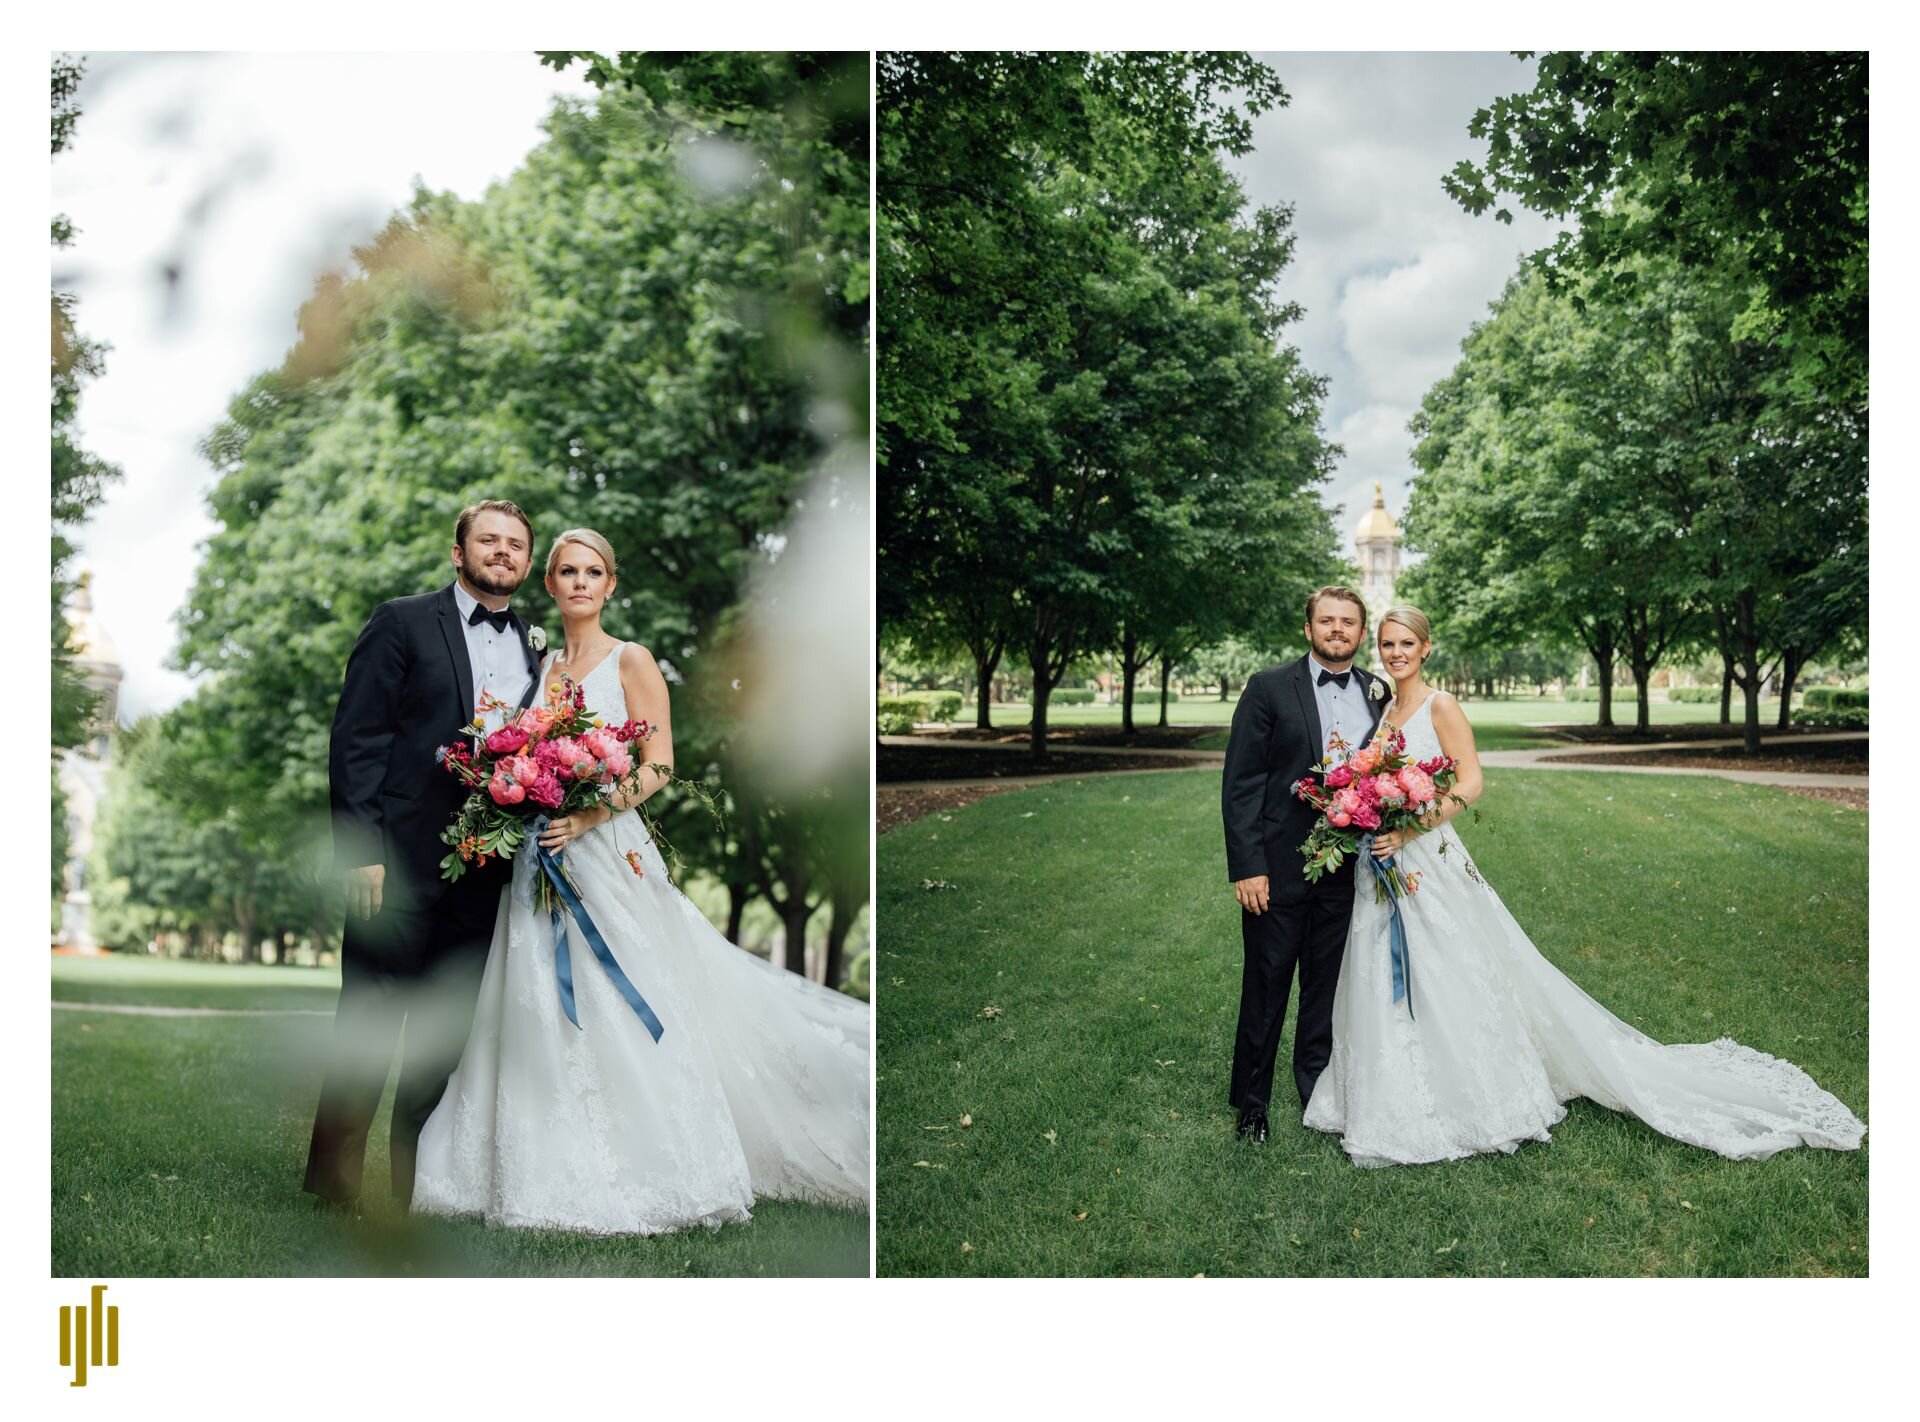
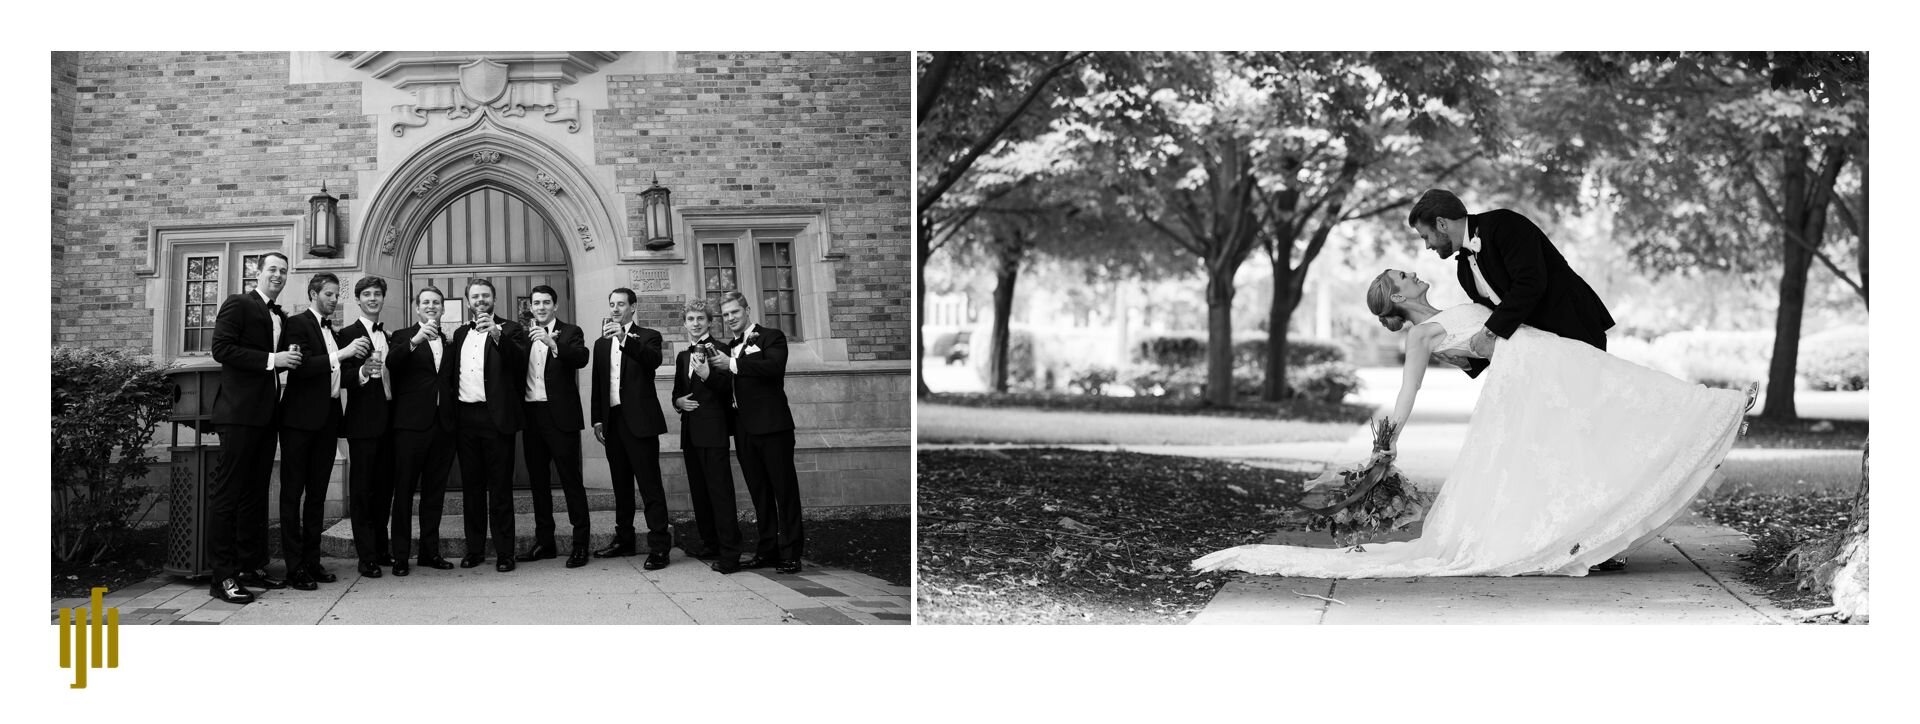
Wellfield Botanic Garden wedding - Kate and Spencer are married!

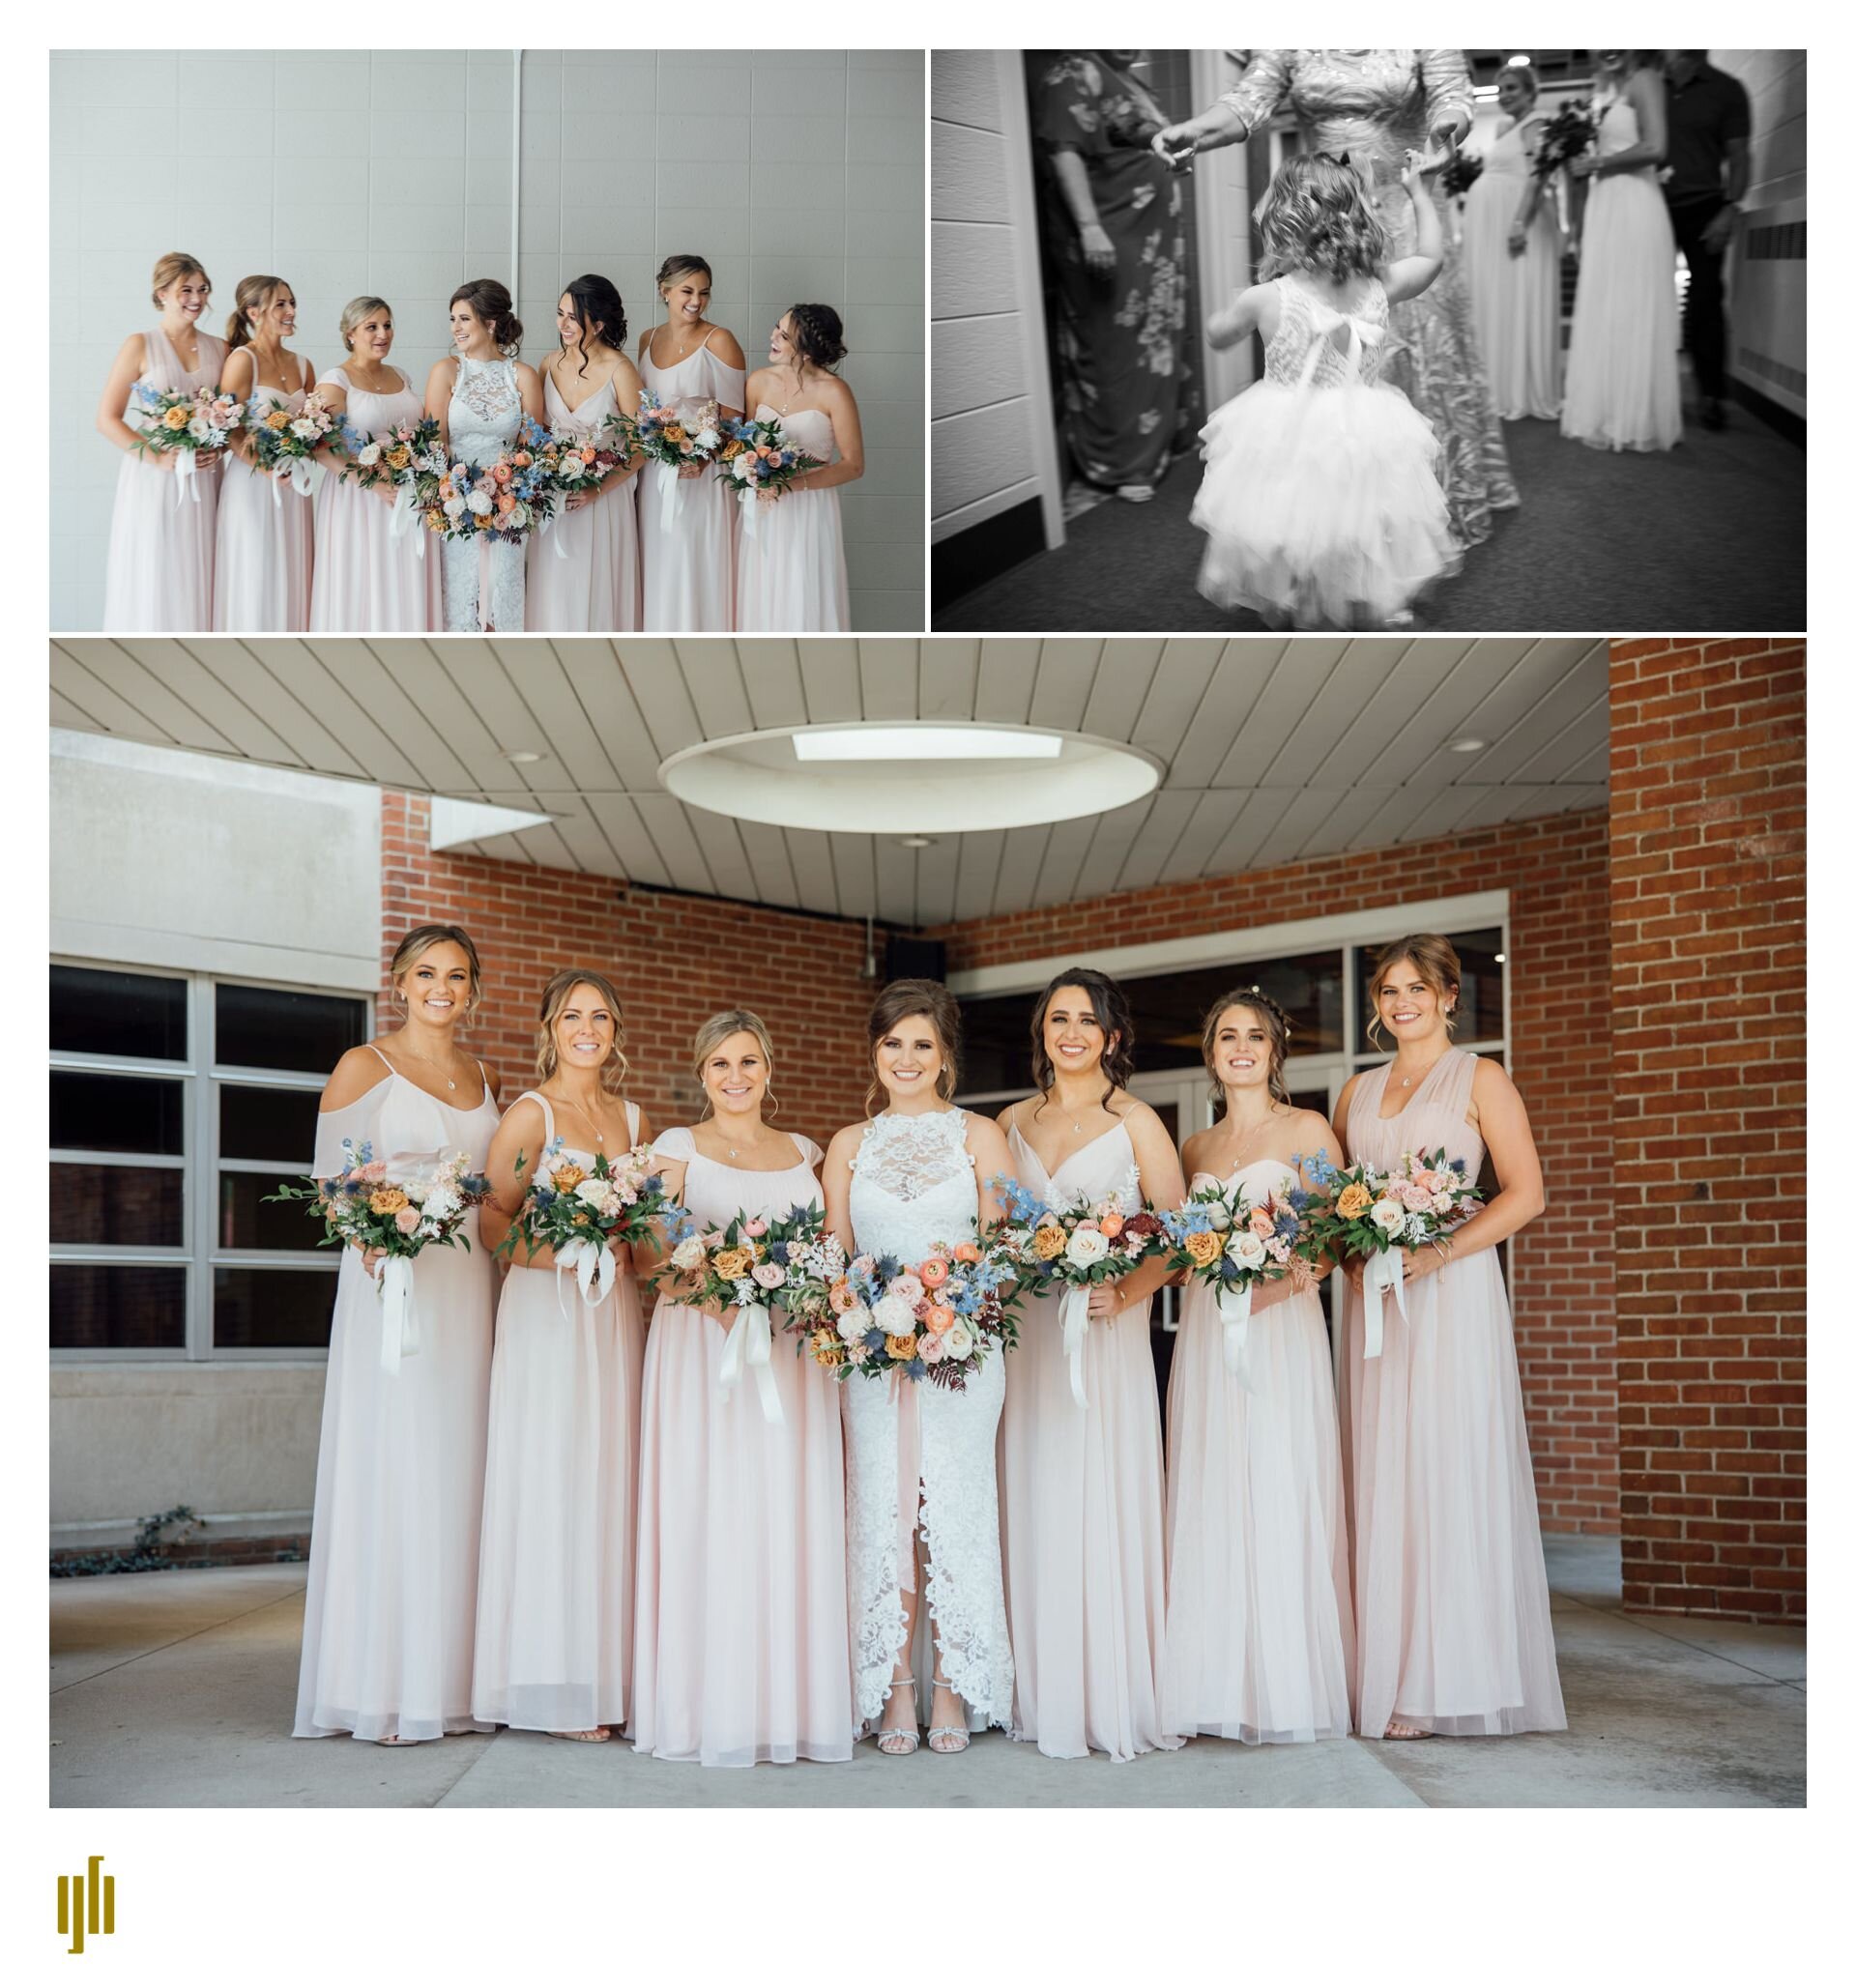
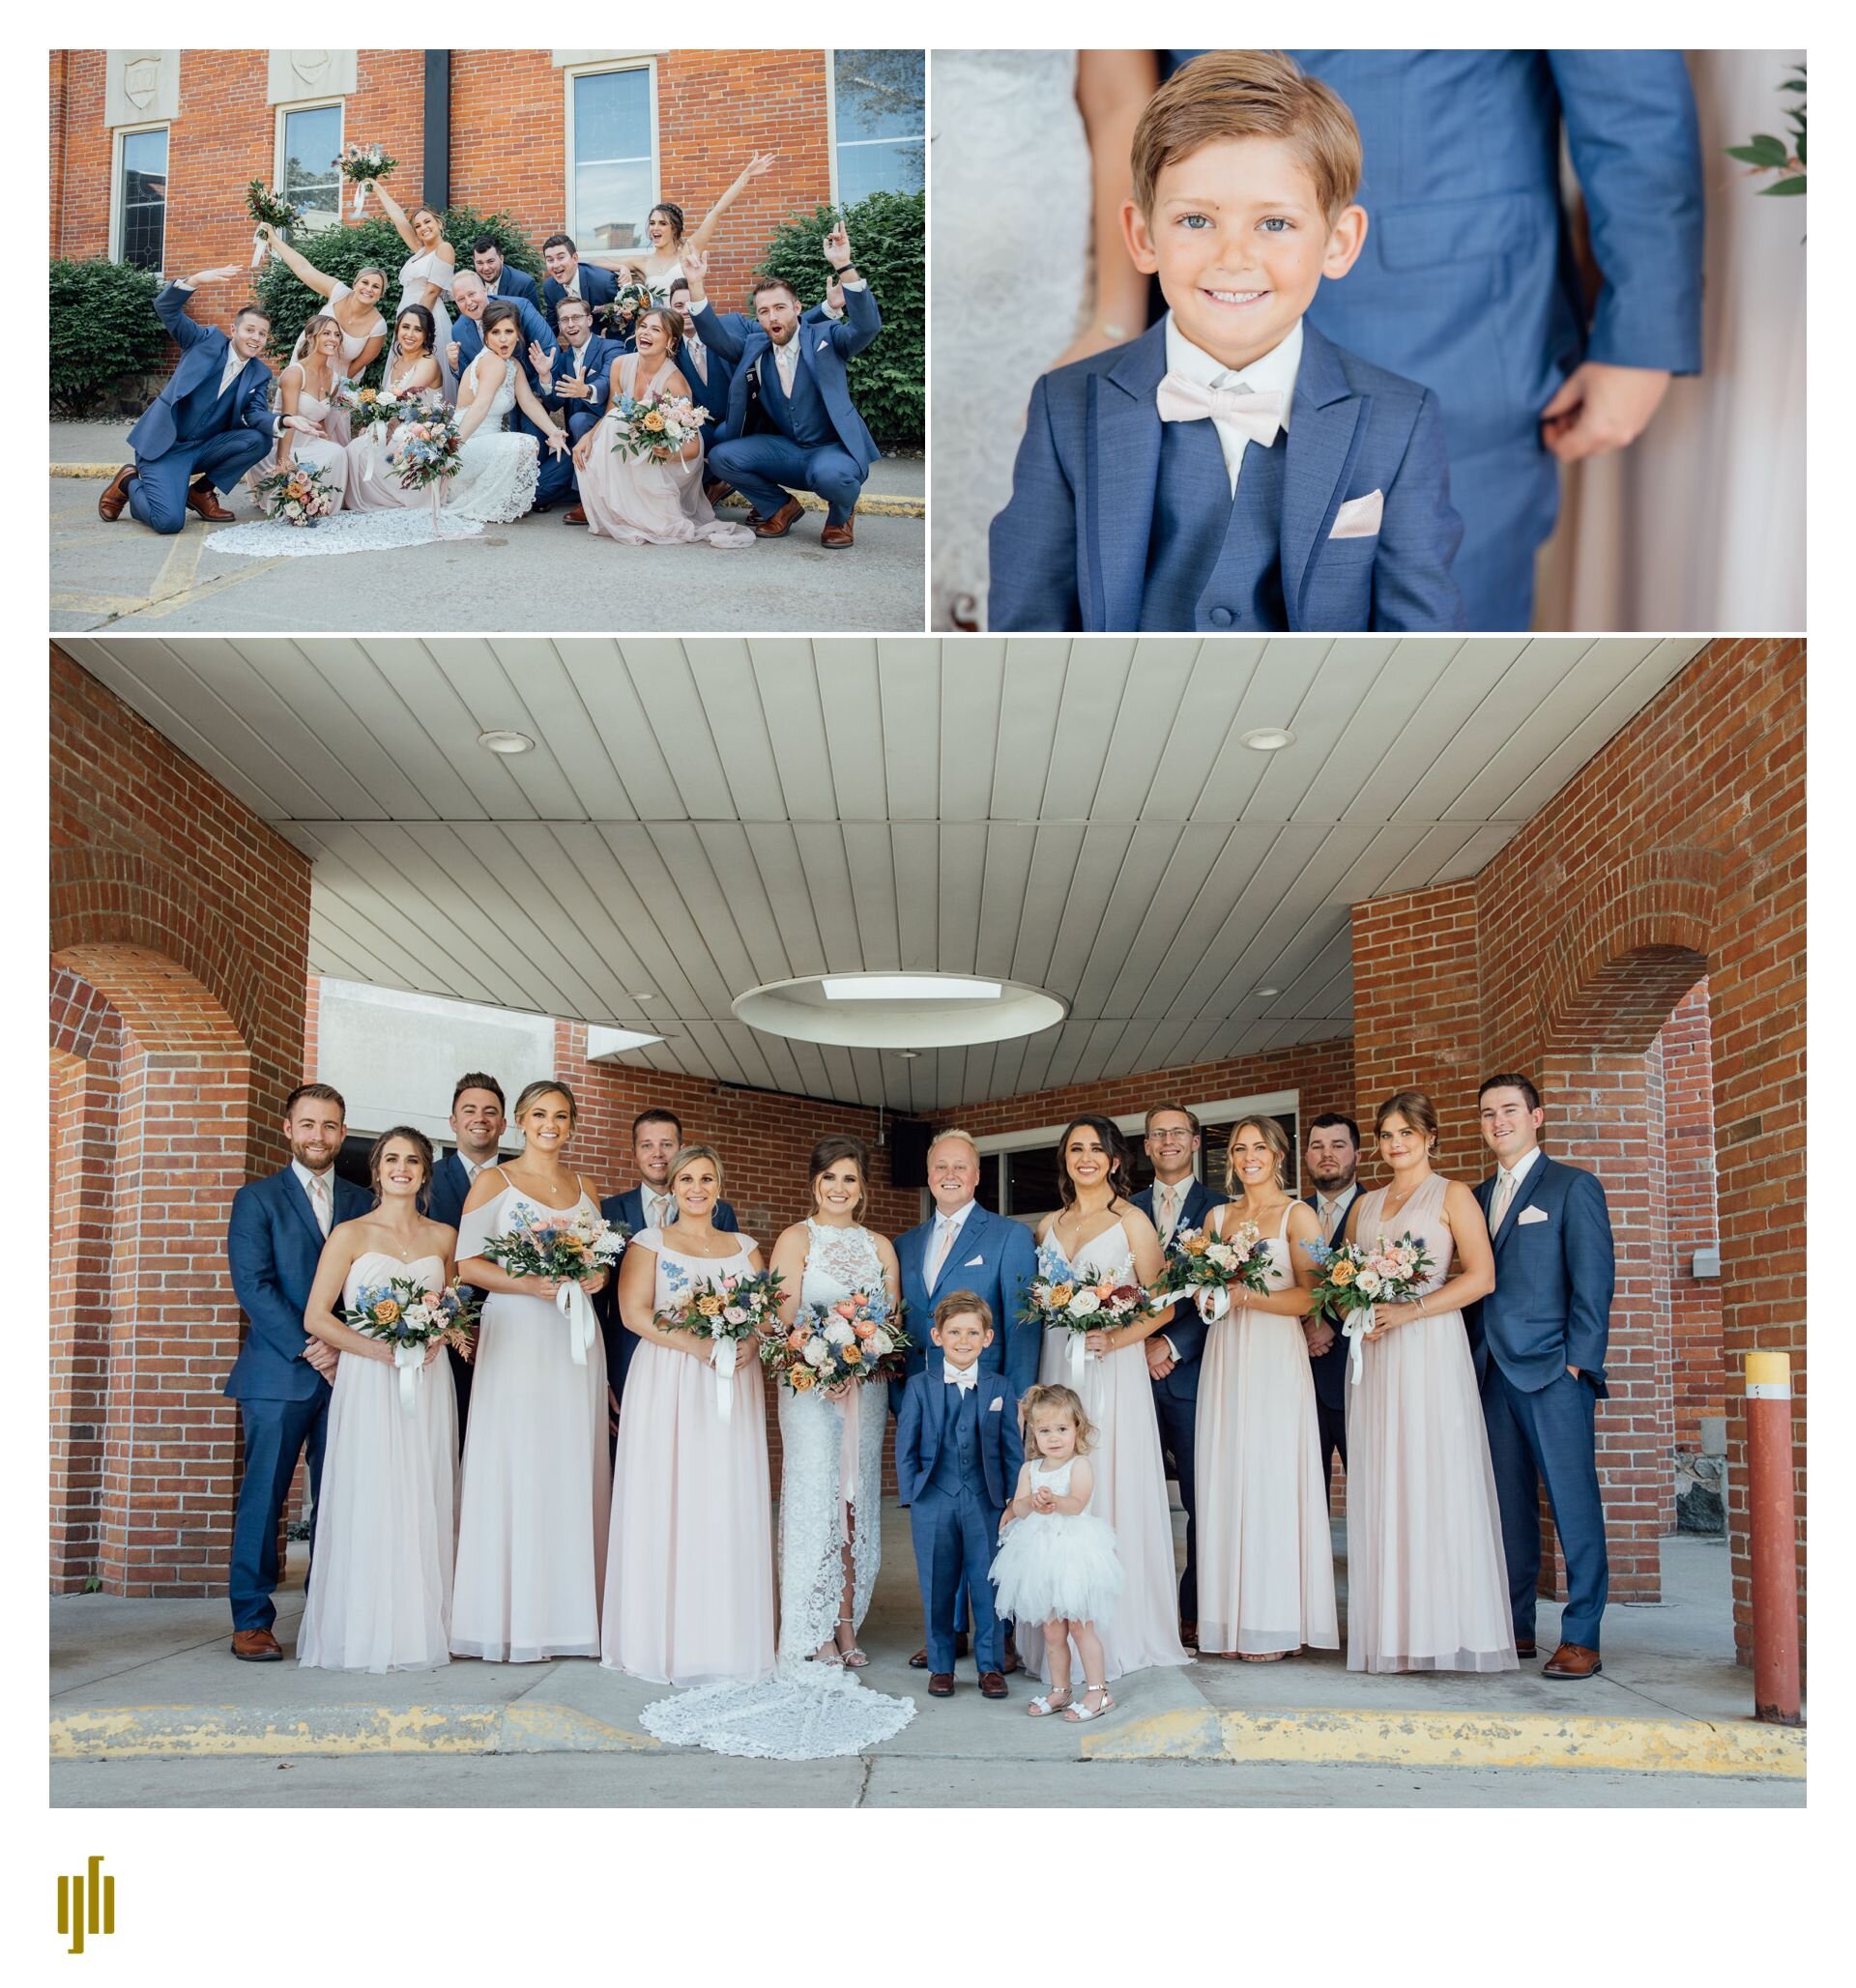
What a great way to end my regular wedding season! Photographing for the Cover family feels like a reunion, since I’ve seen so many of them in other photographs. I loved being there for Kate and Spencer’s wedding as well.

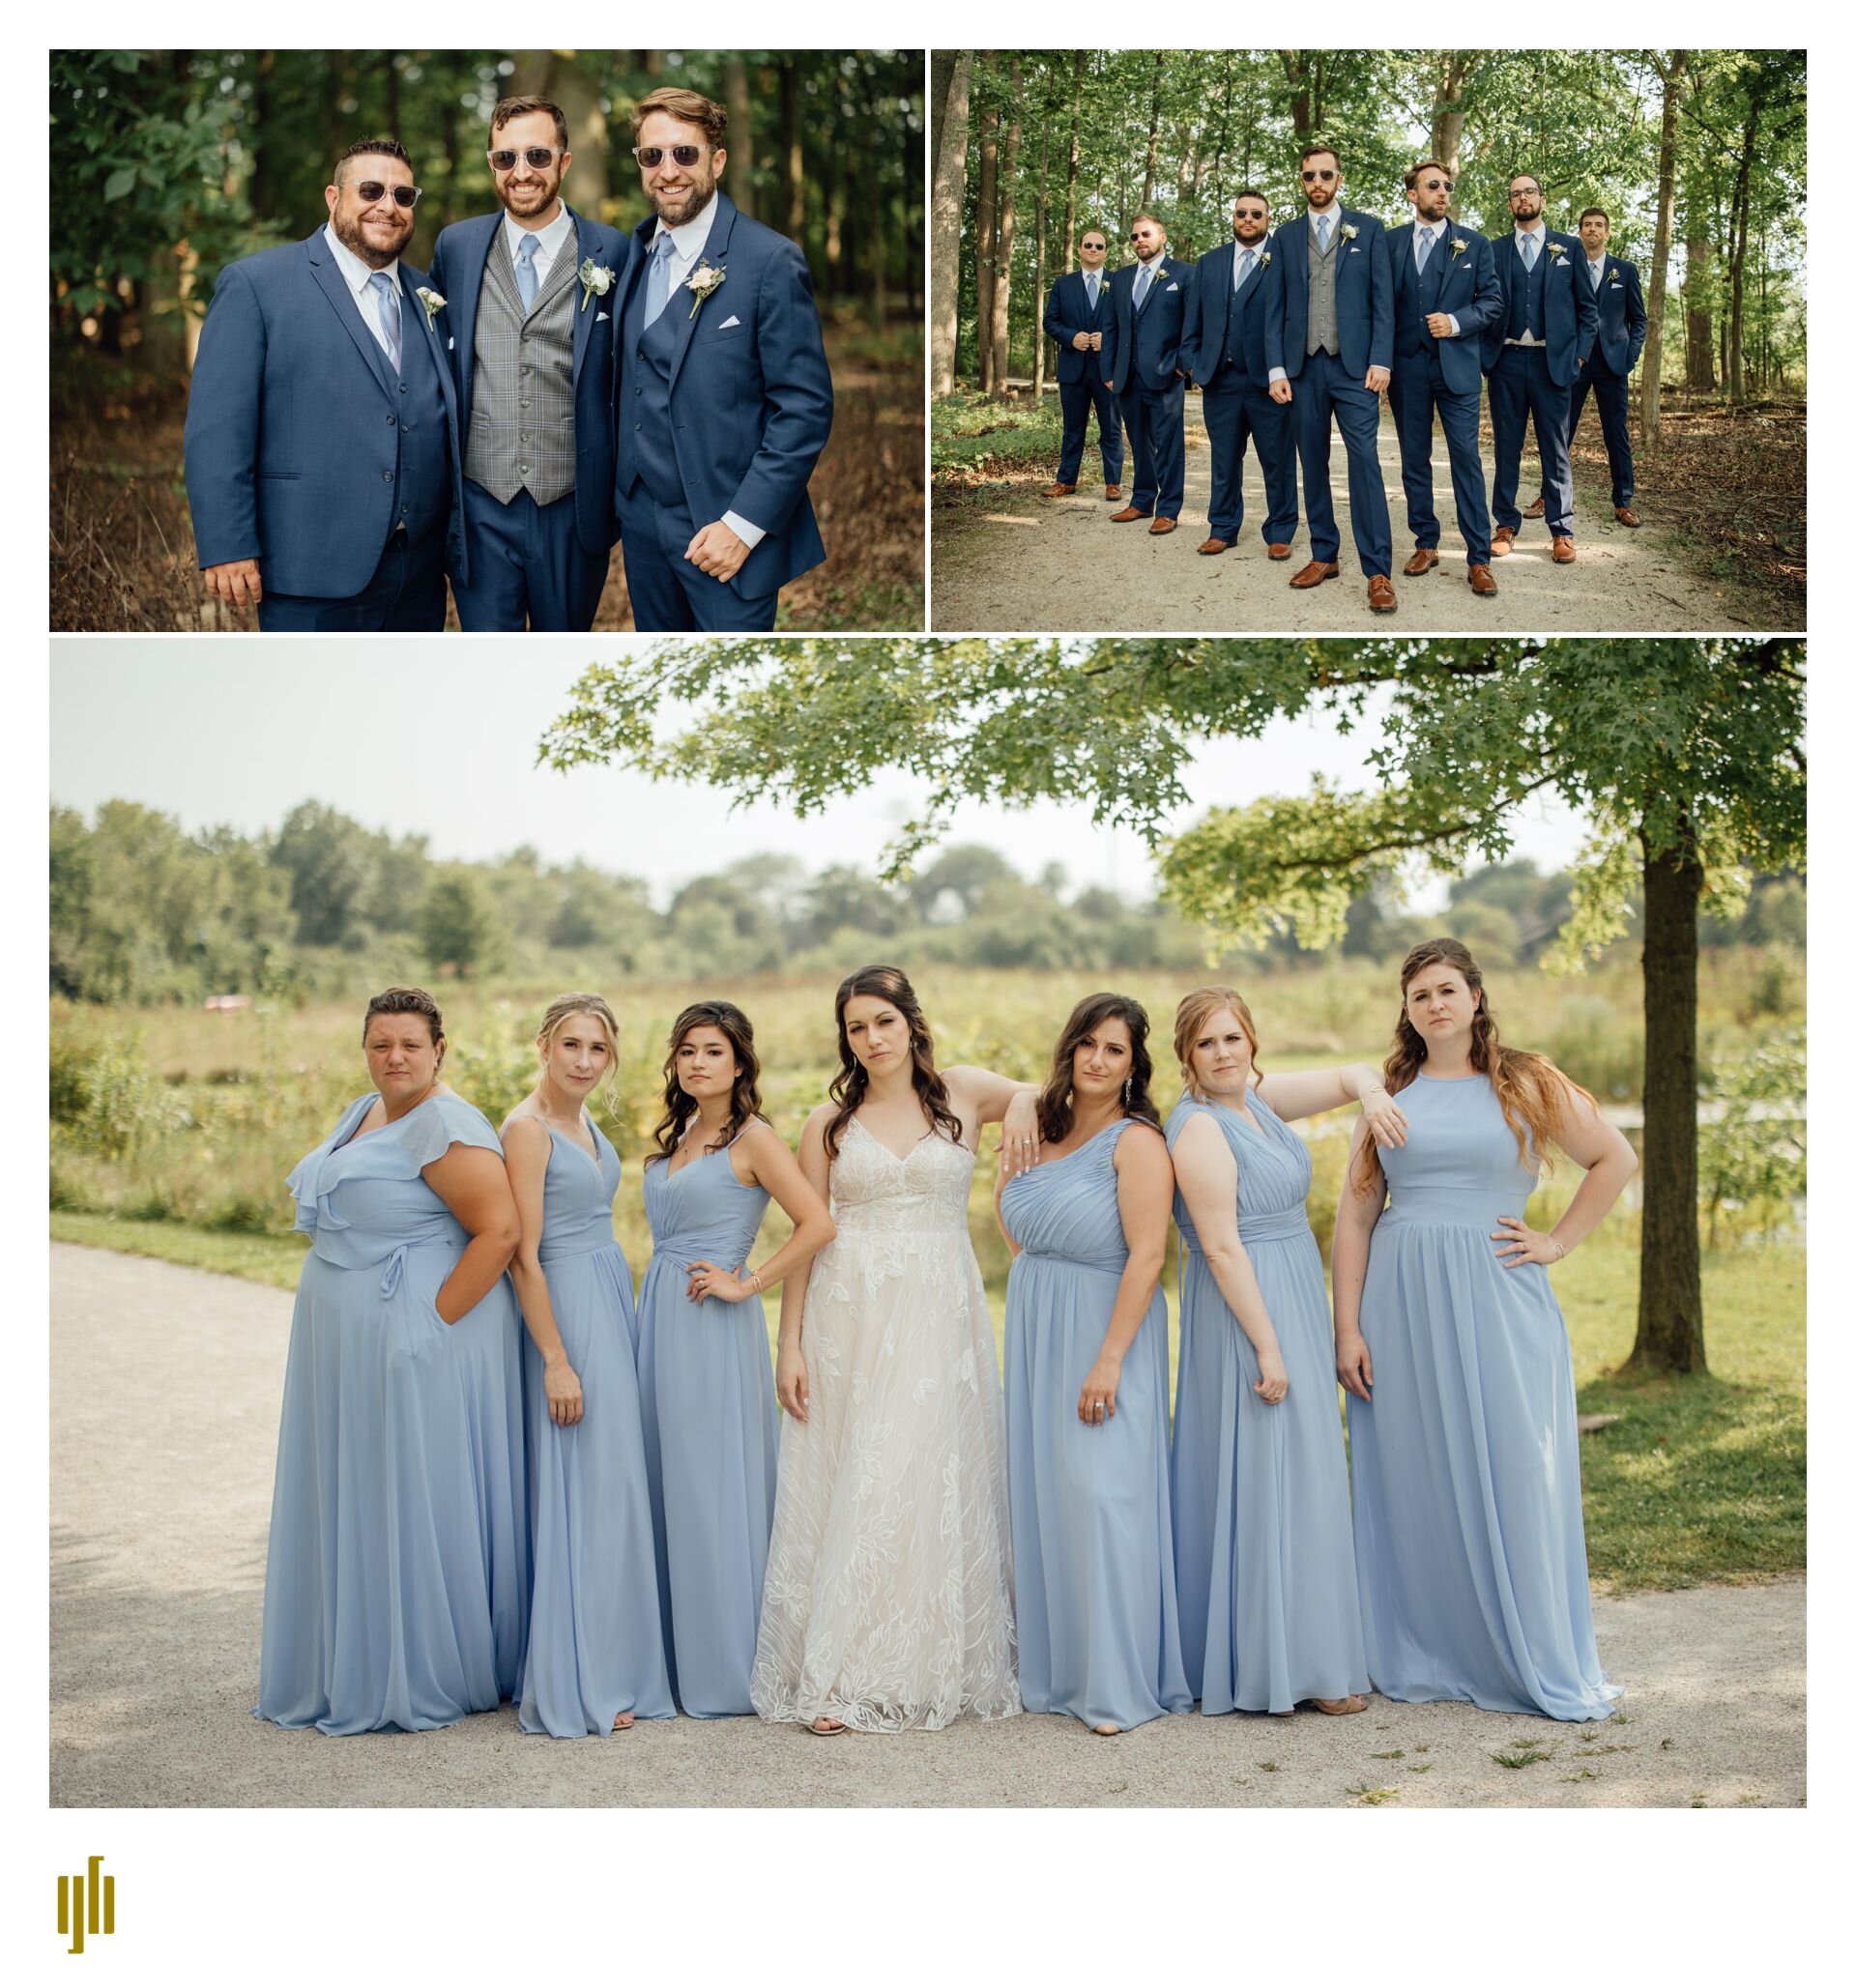
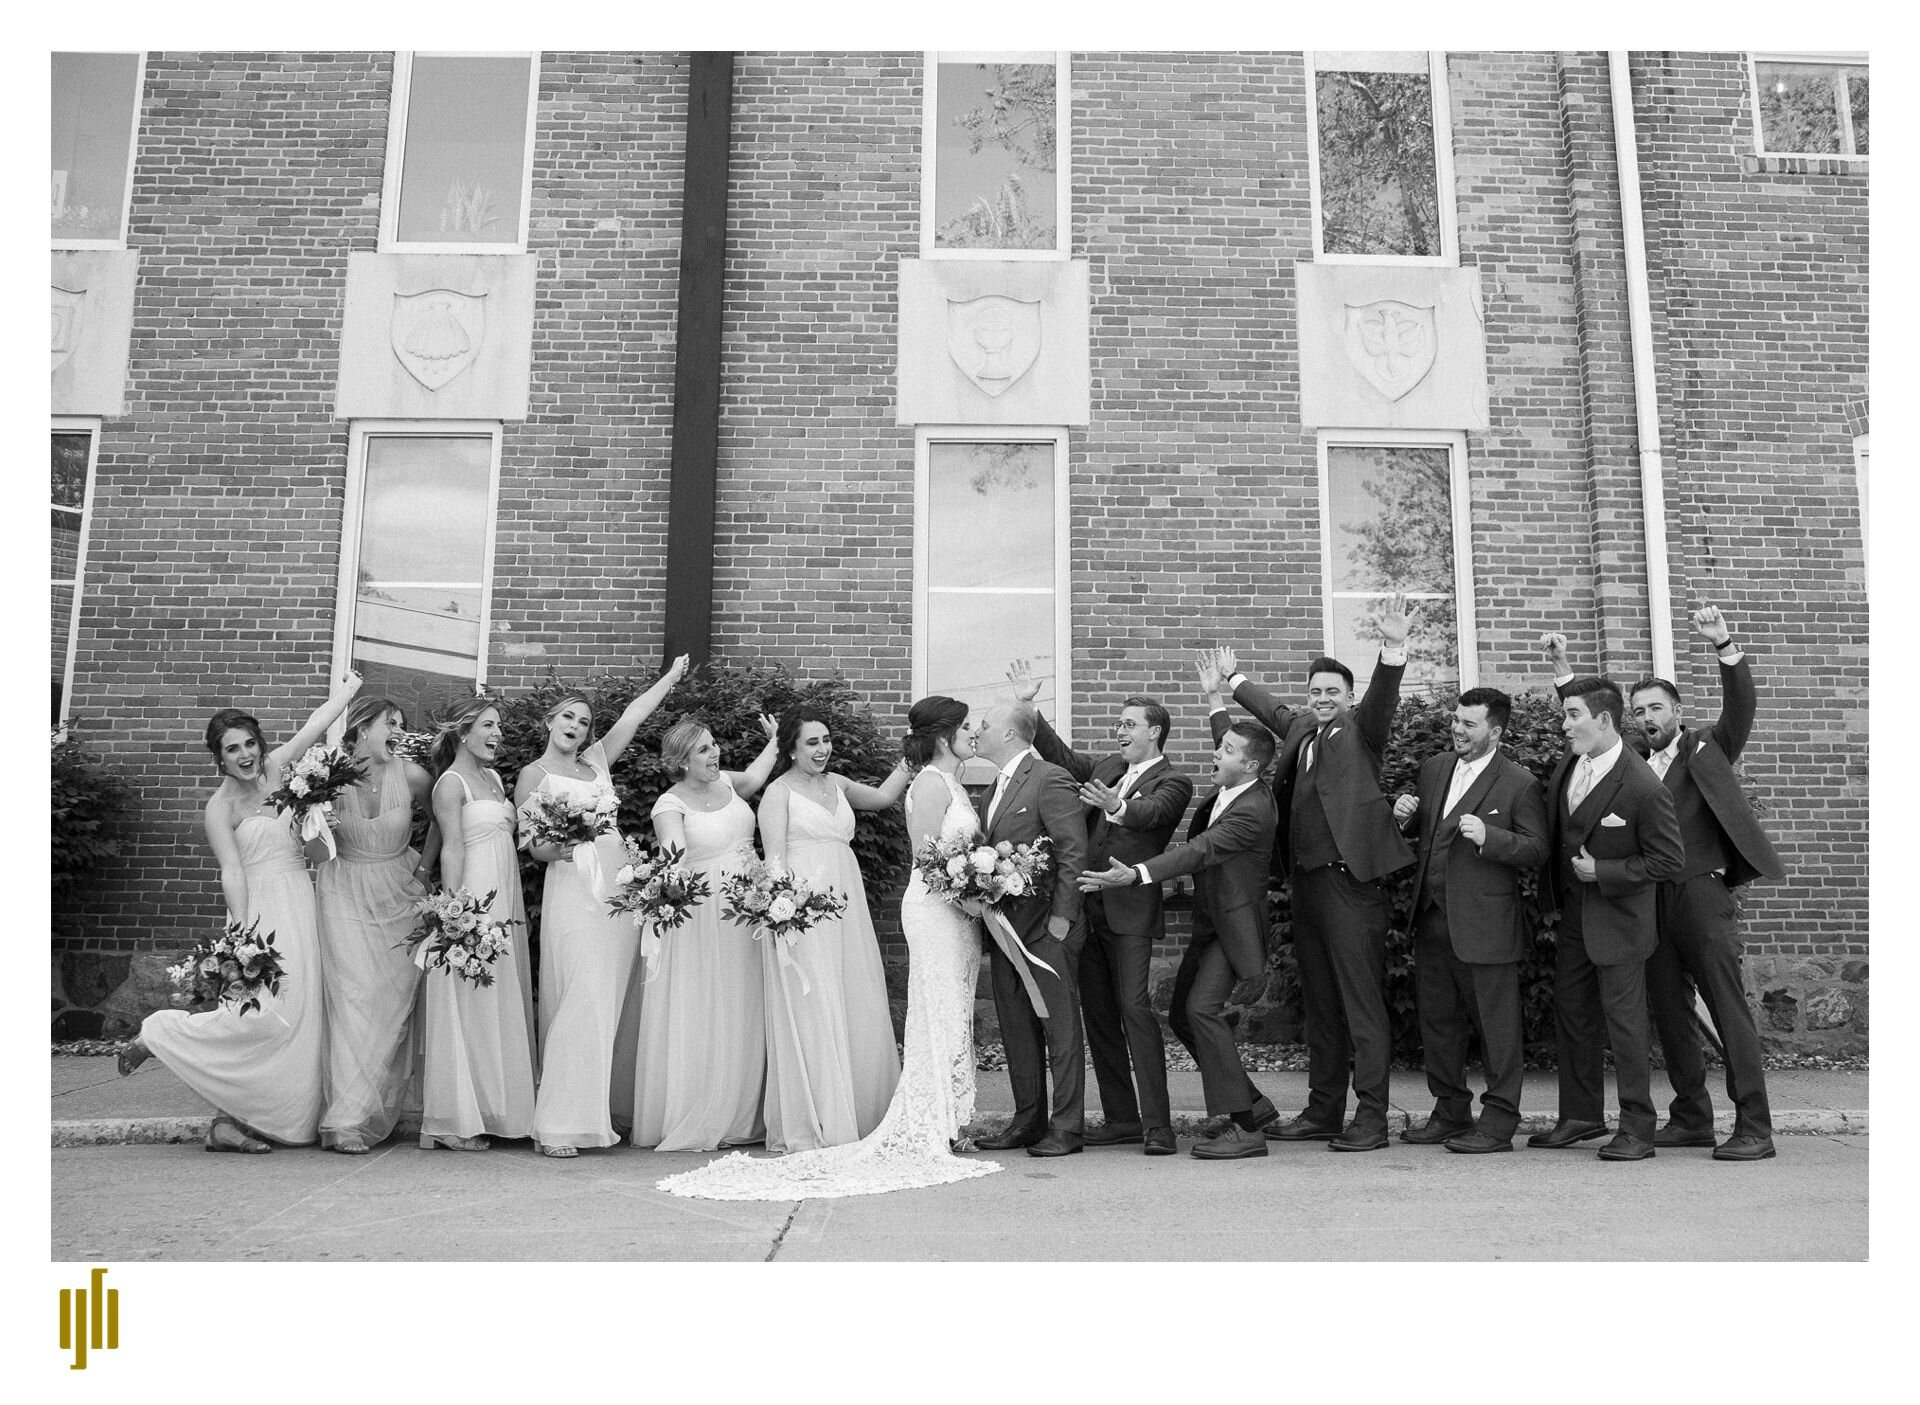
I loved how Kate and Spencer looked at each other, and how much fun their wedding party had. They took the party title seriously. This makes for some fun photos. It was great getting to hang out and document the entire thing.

A preview won’t do this day justice, but it will get it started. Here we go….

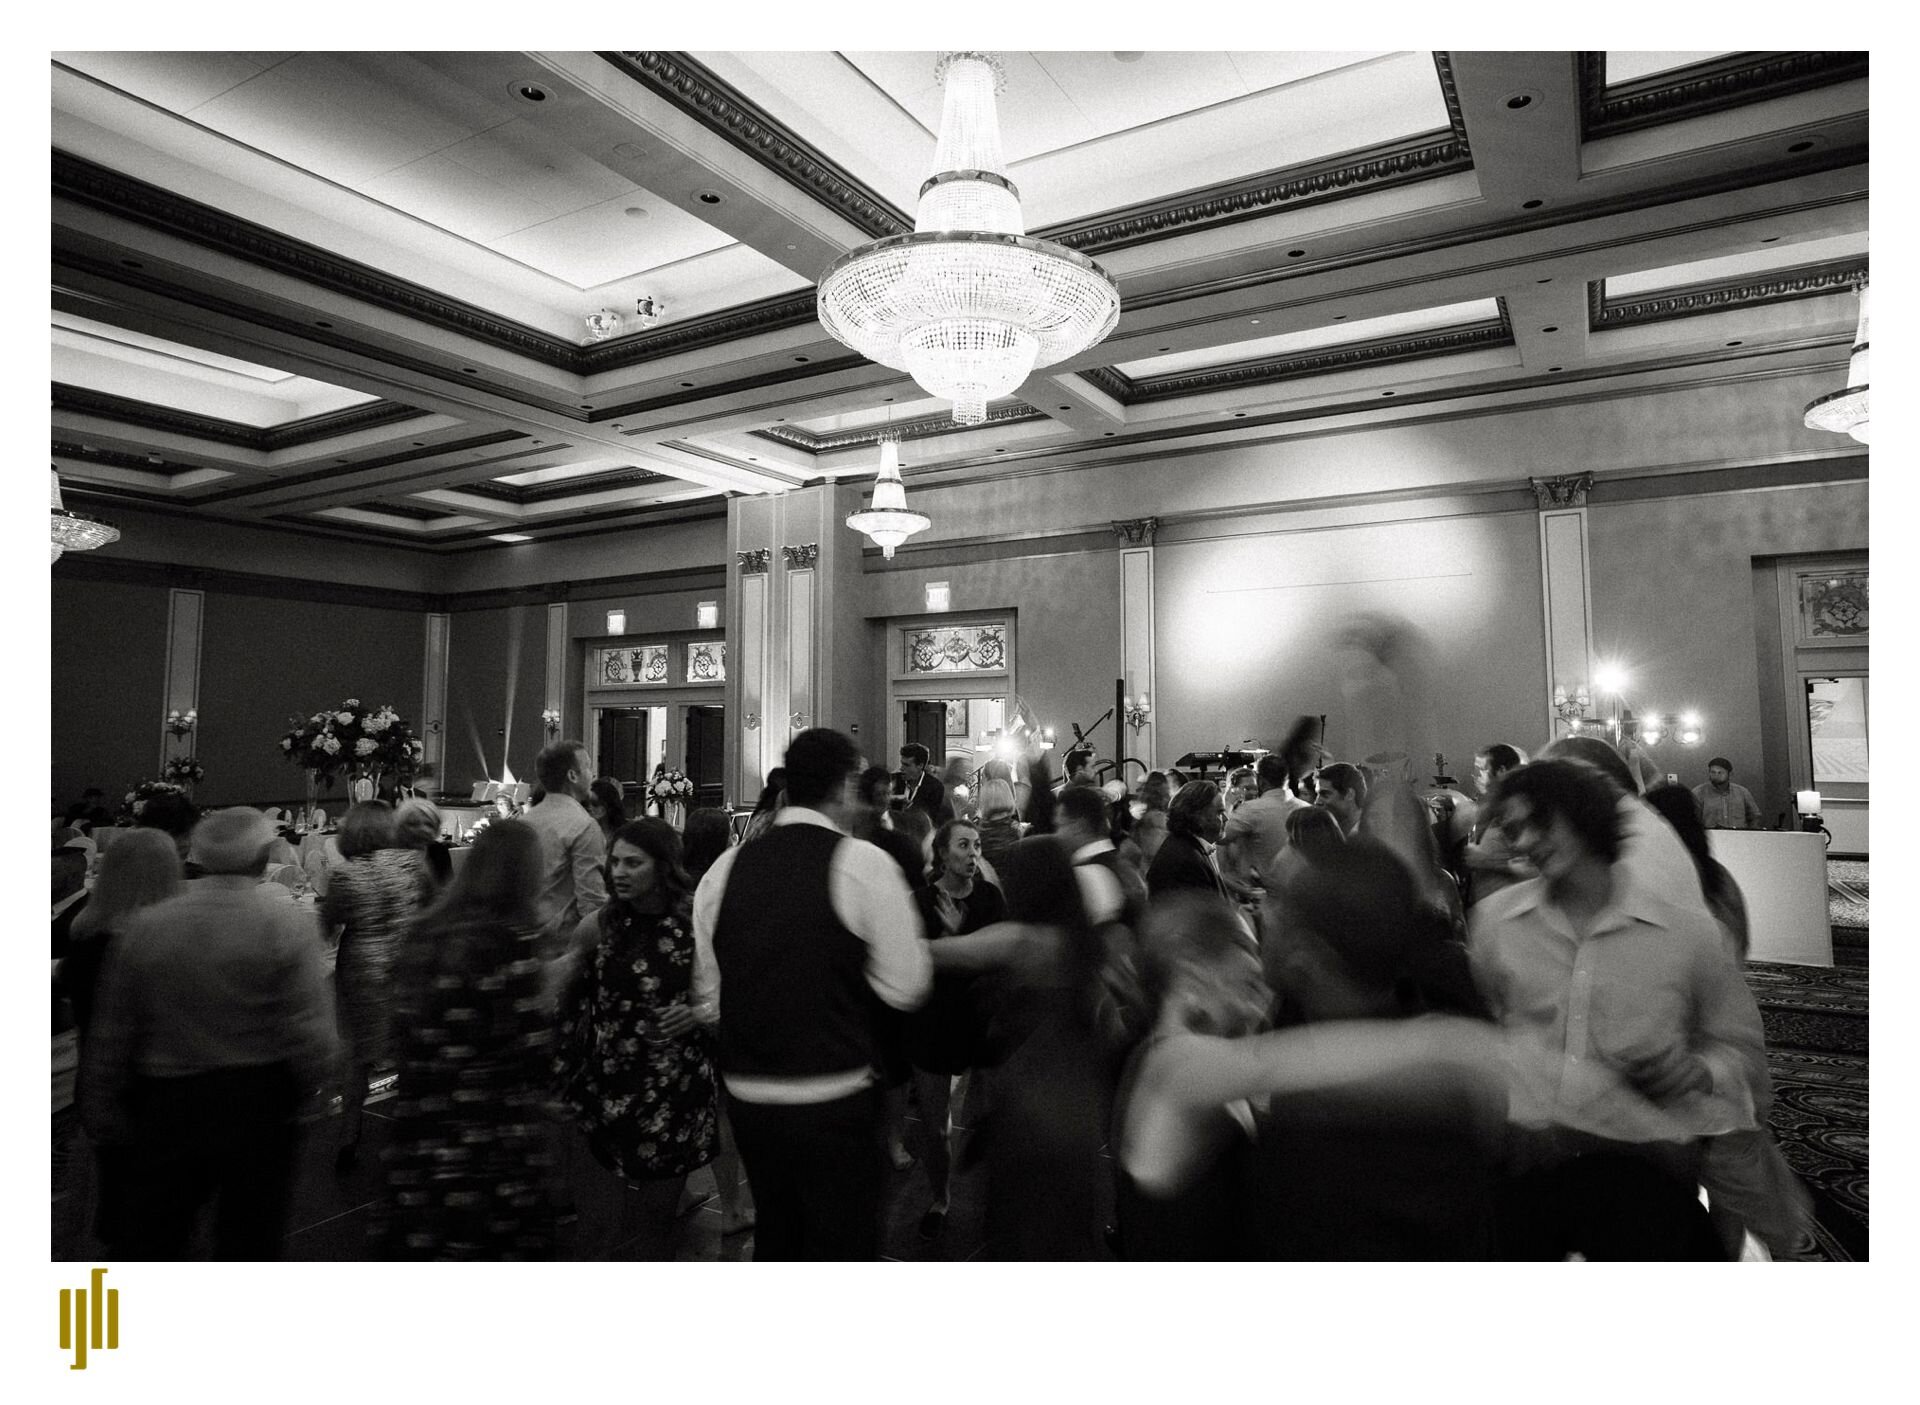
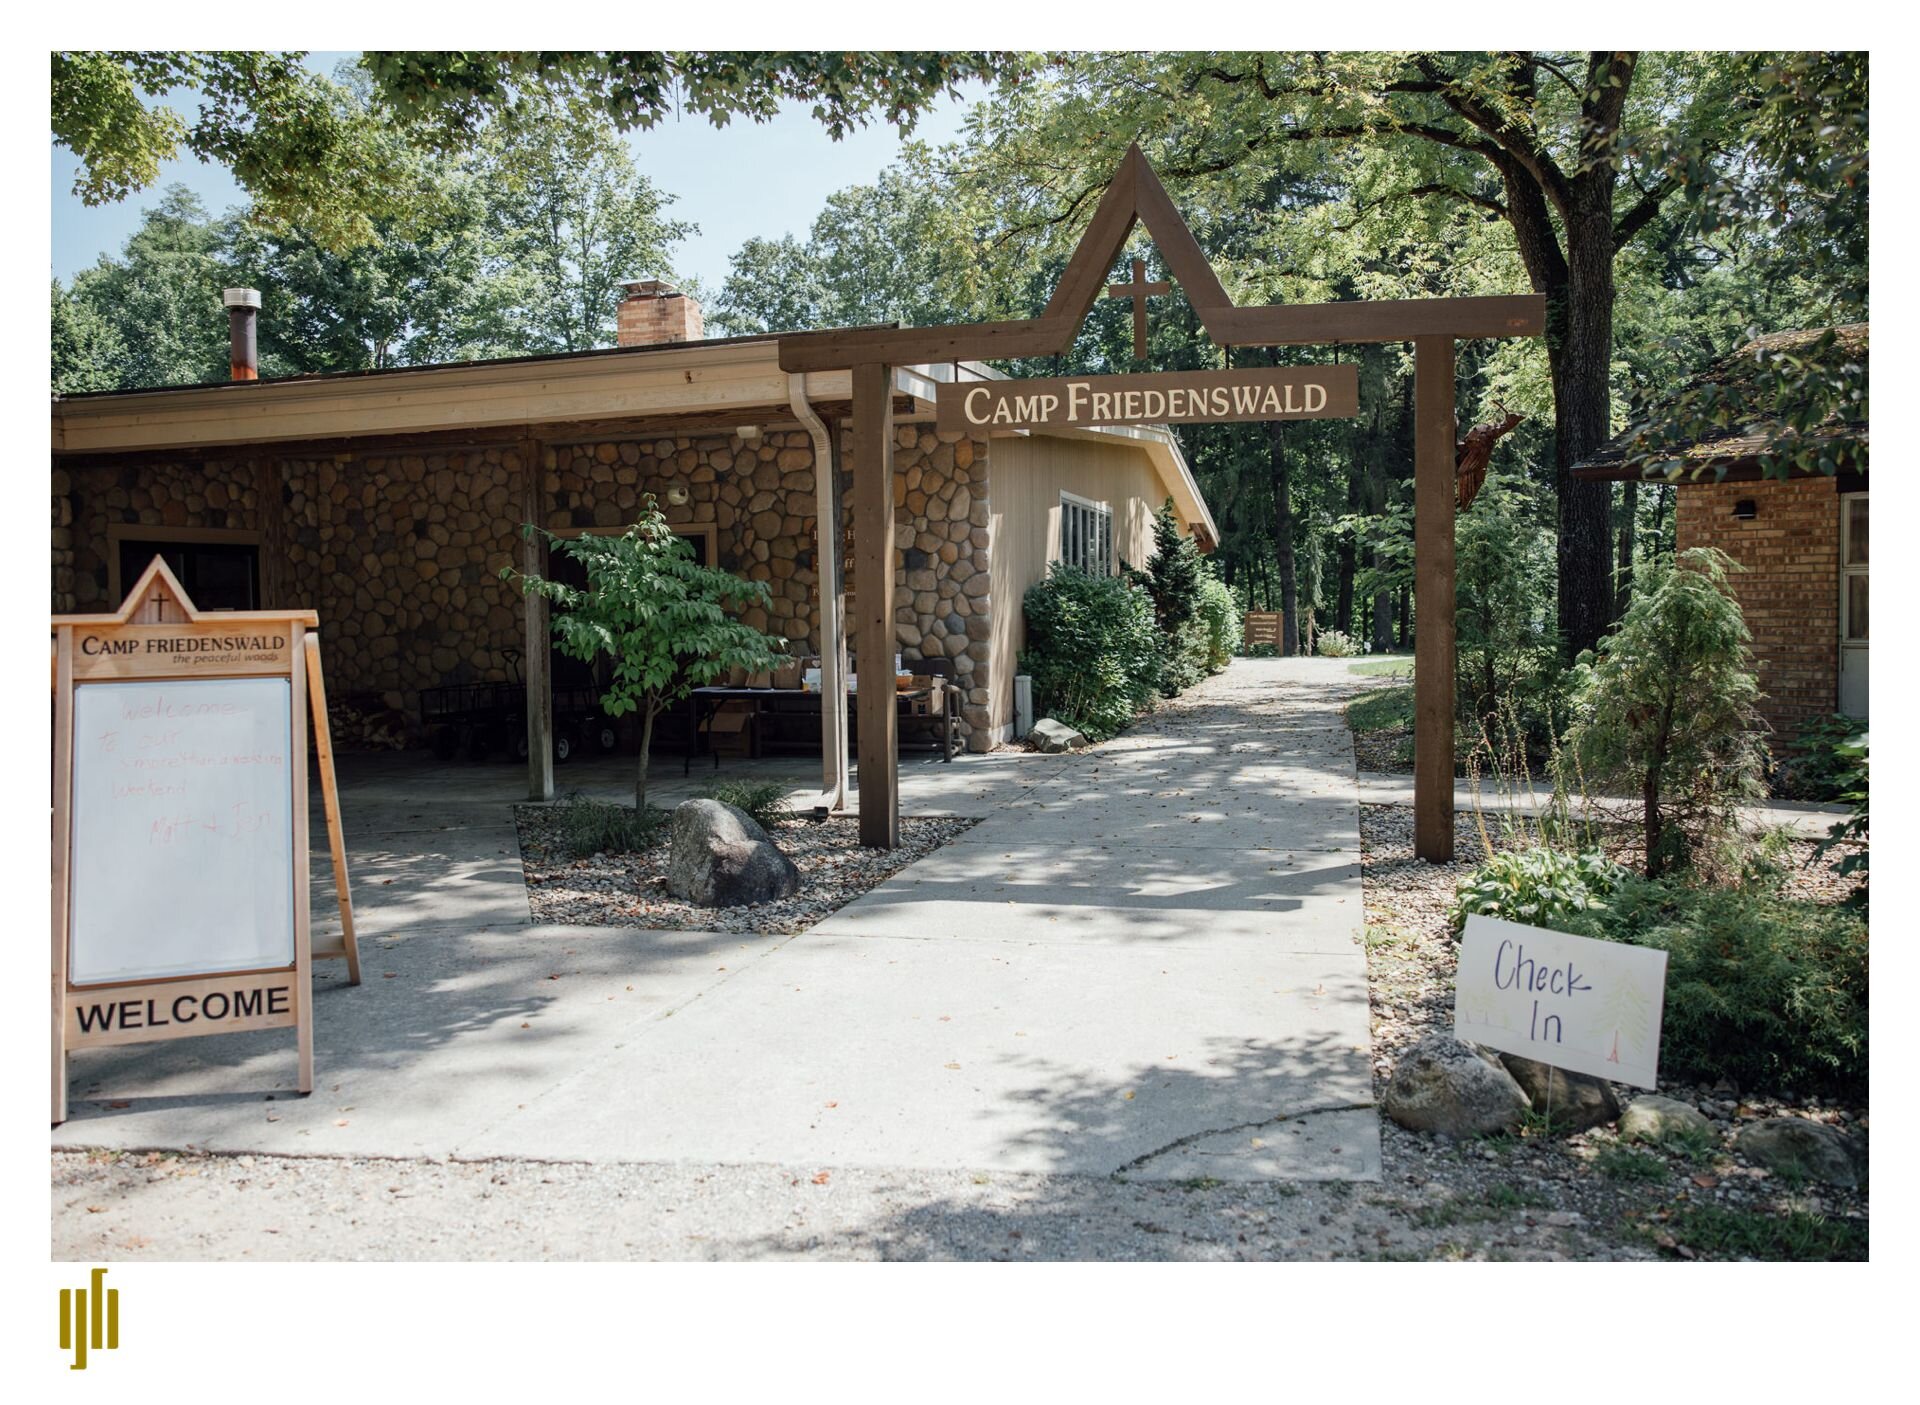
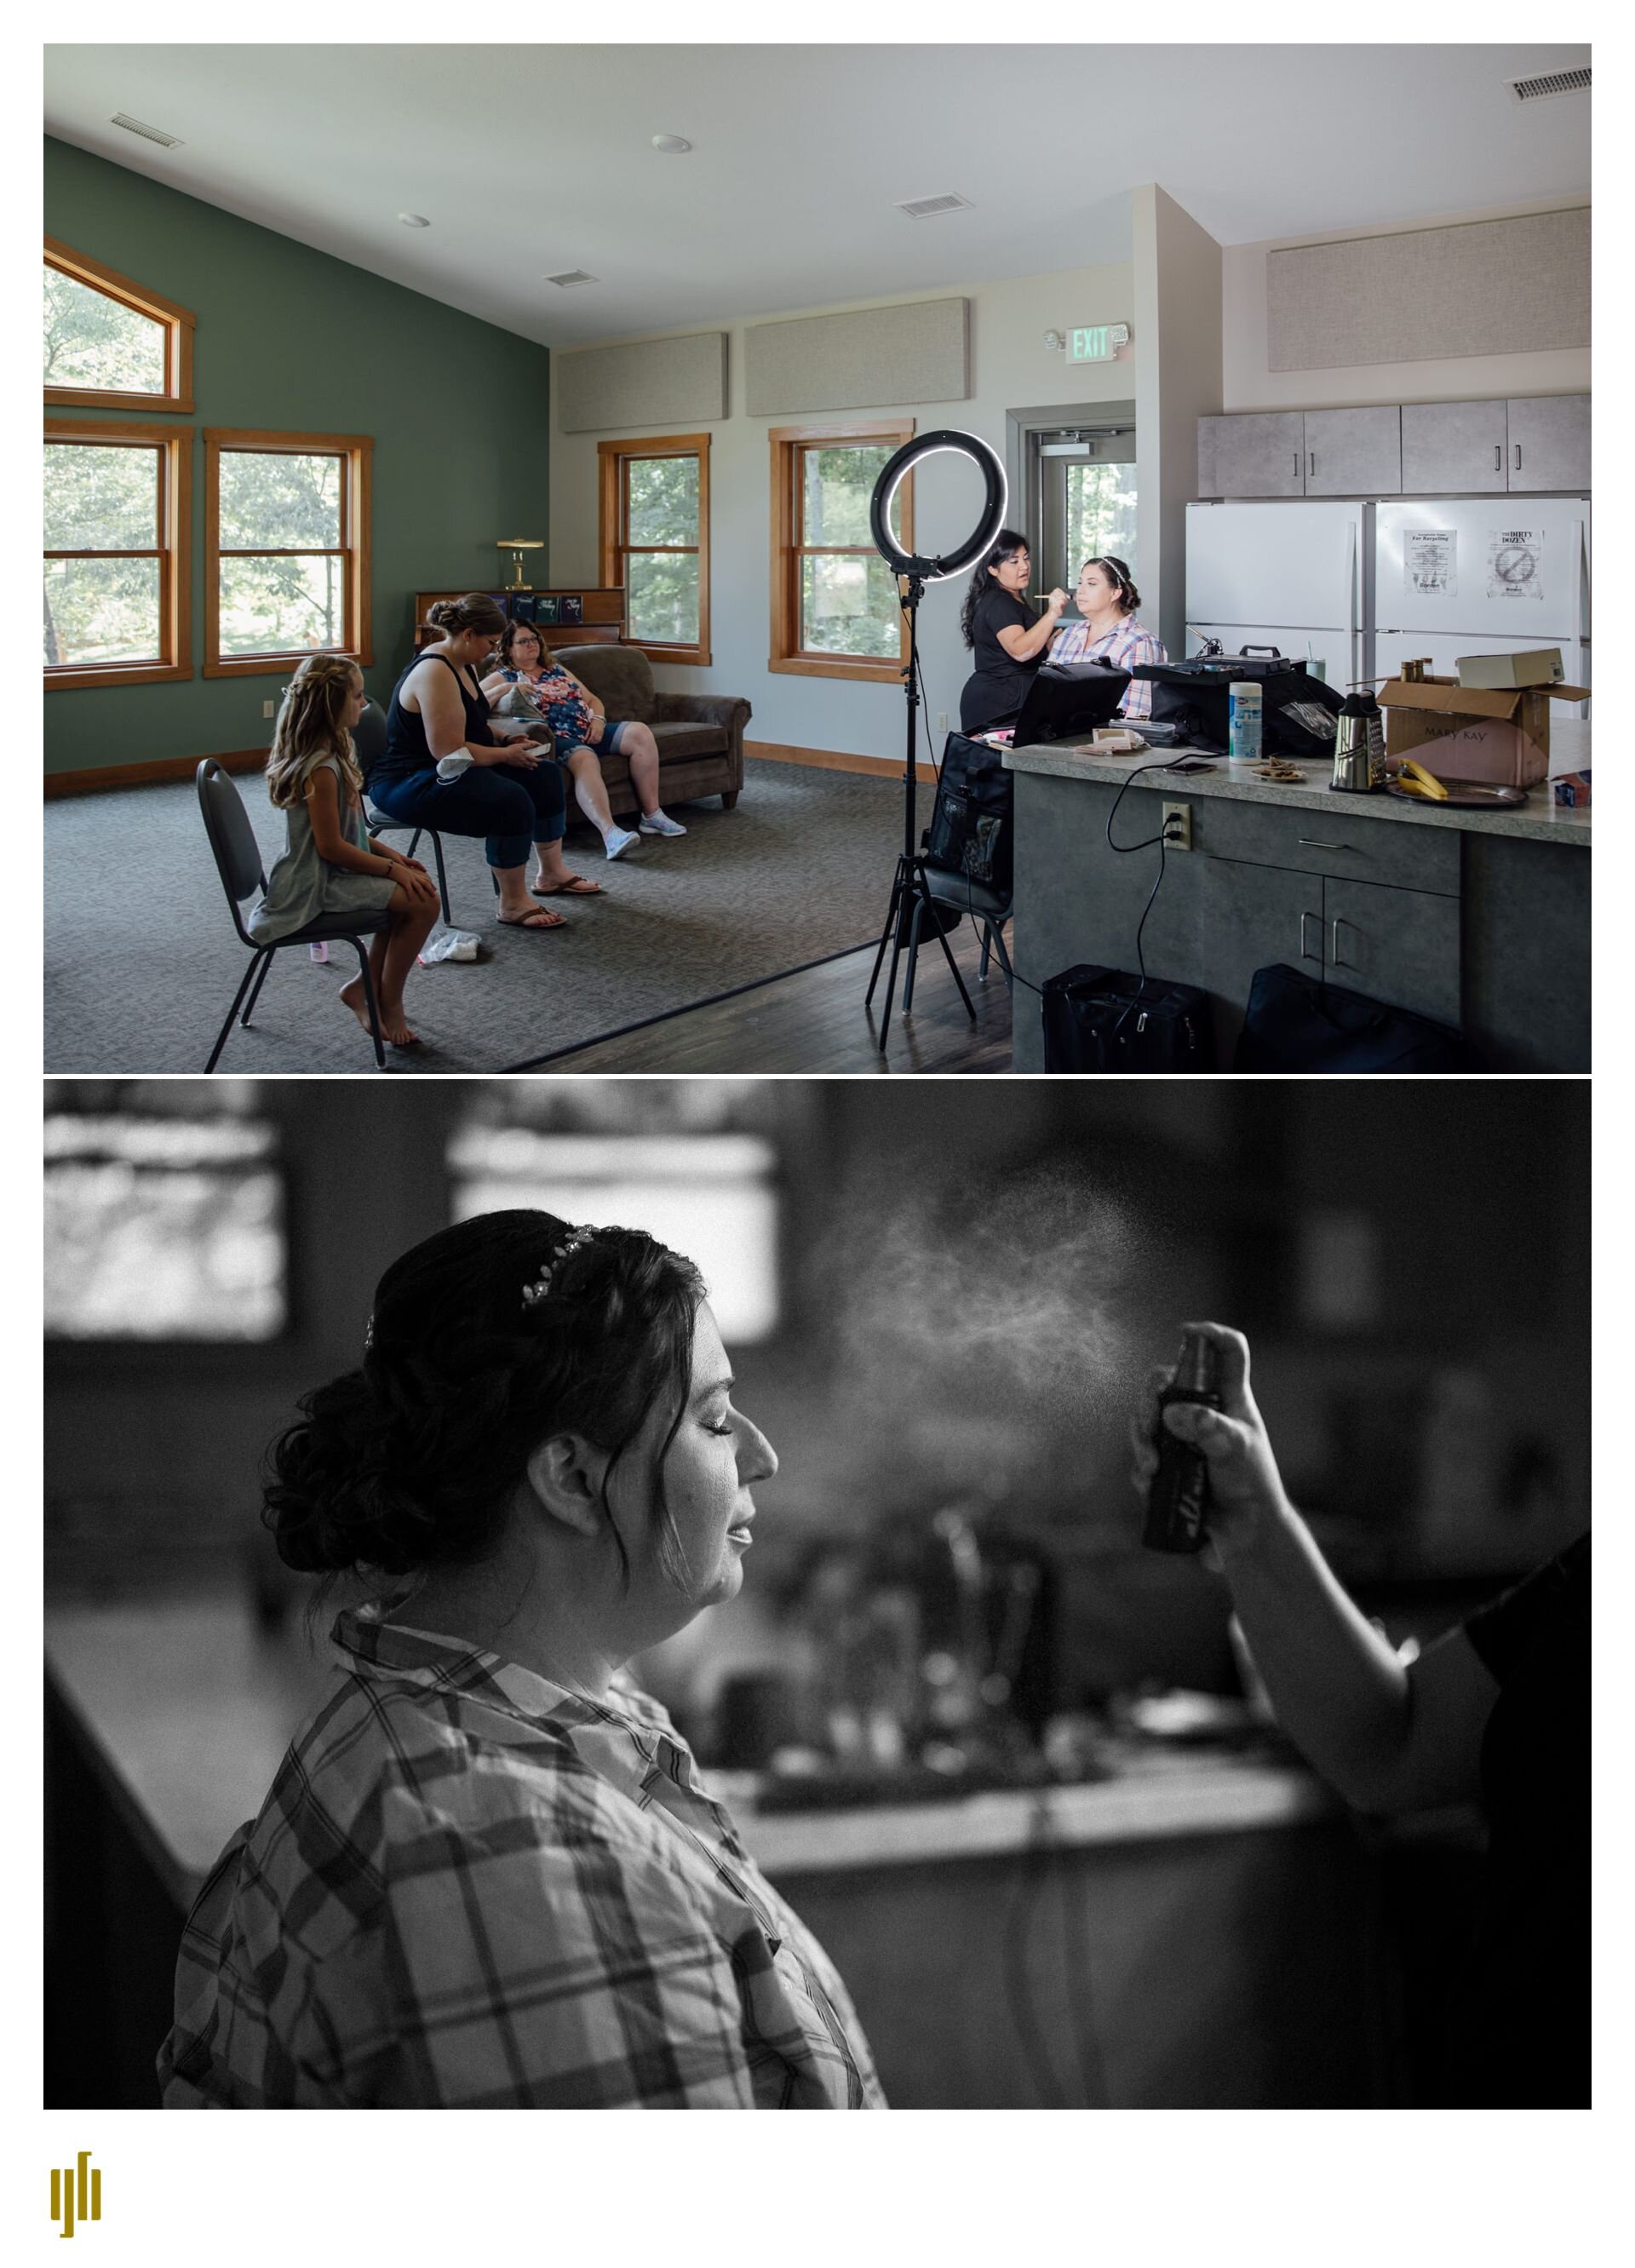
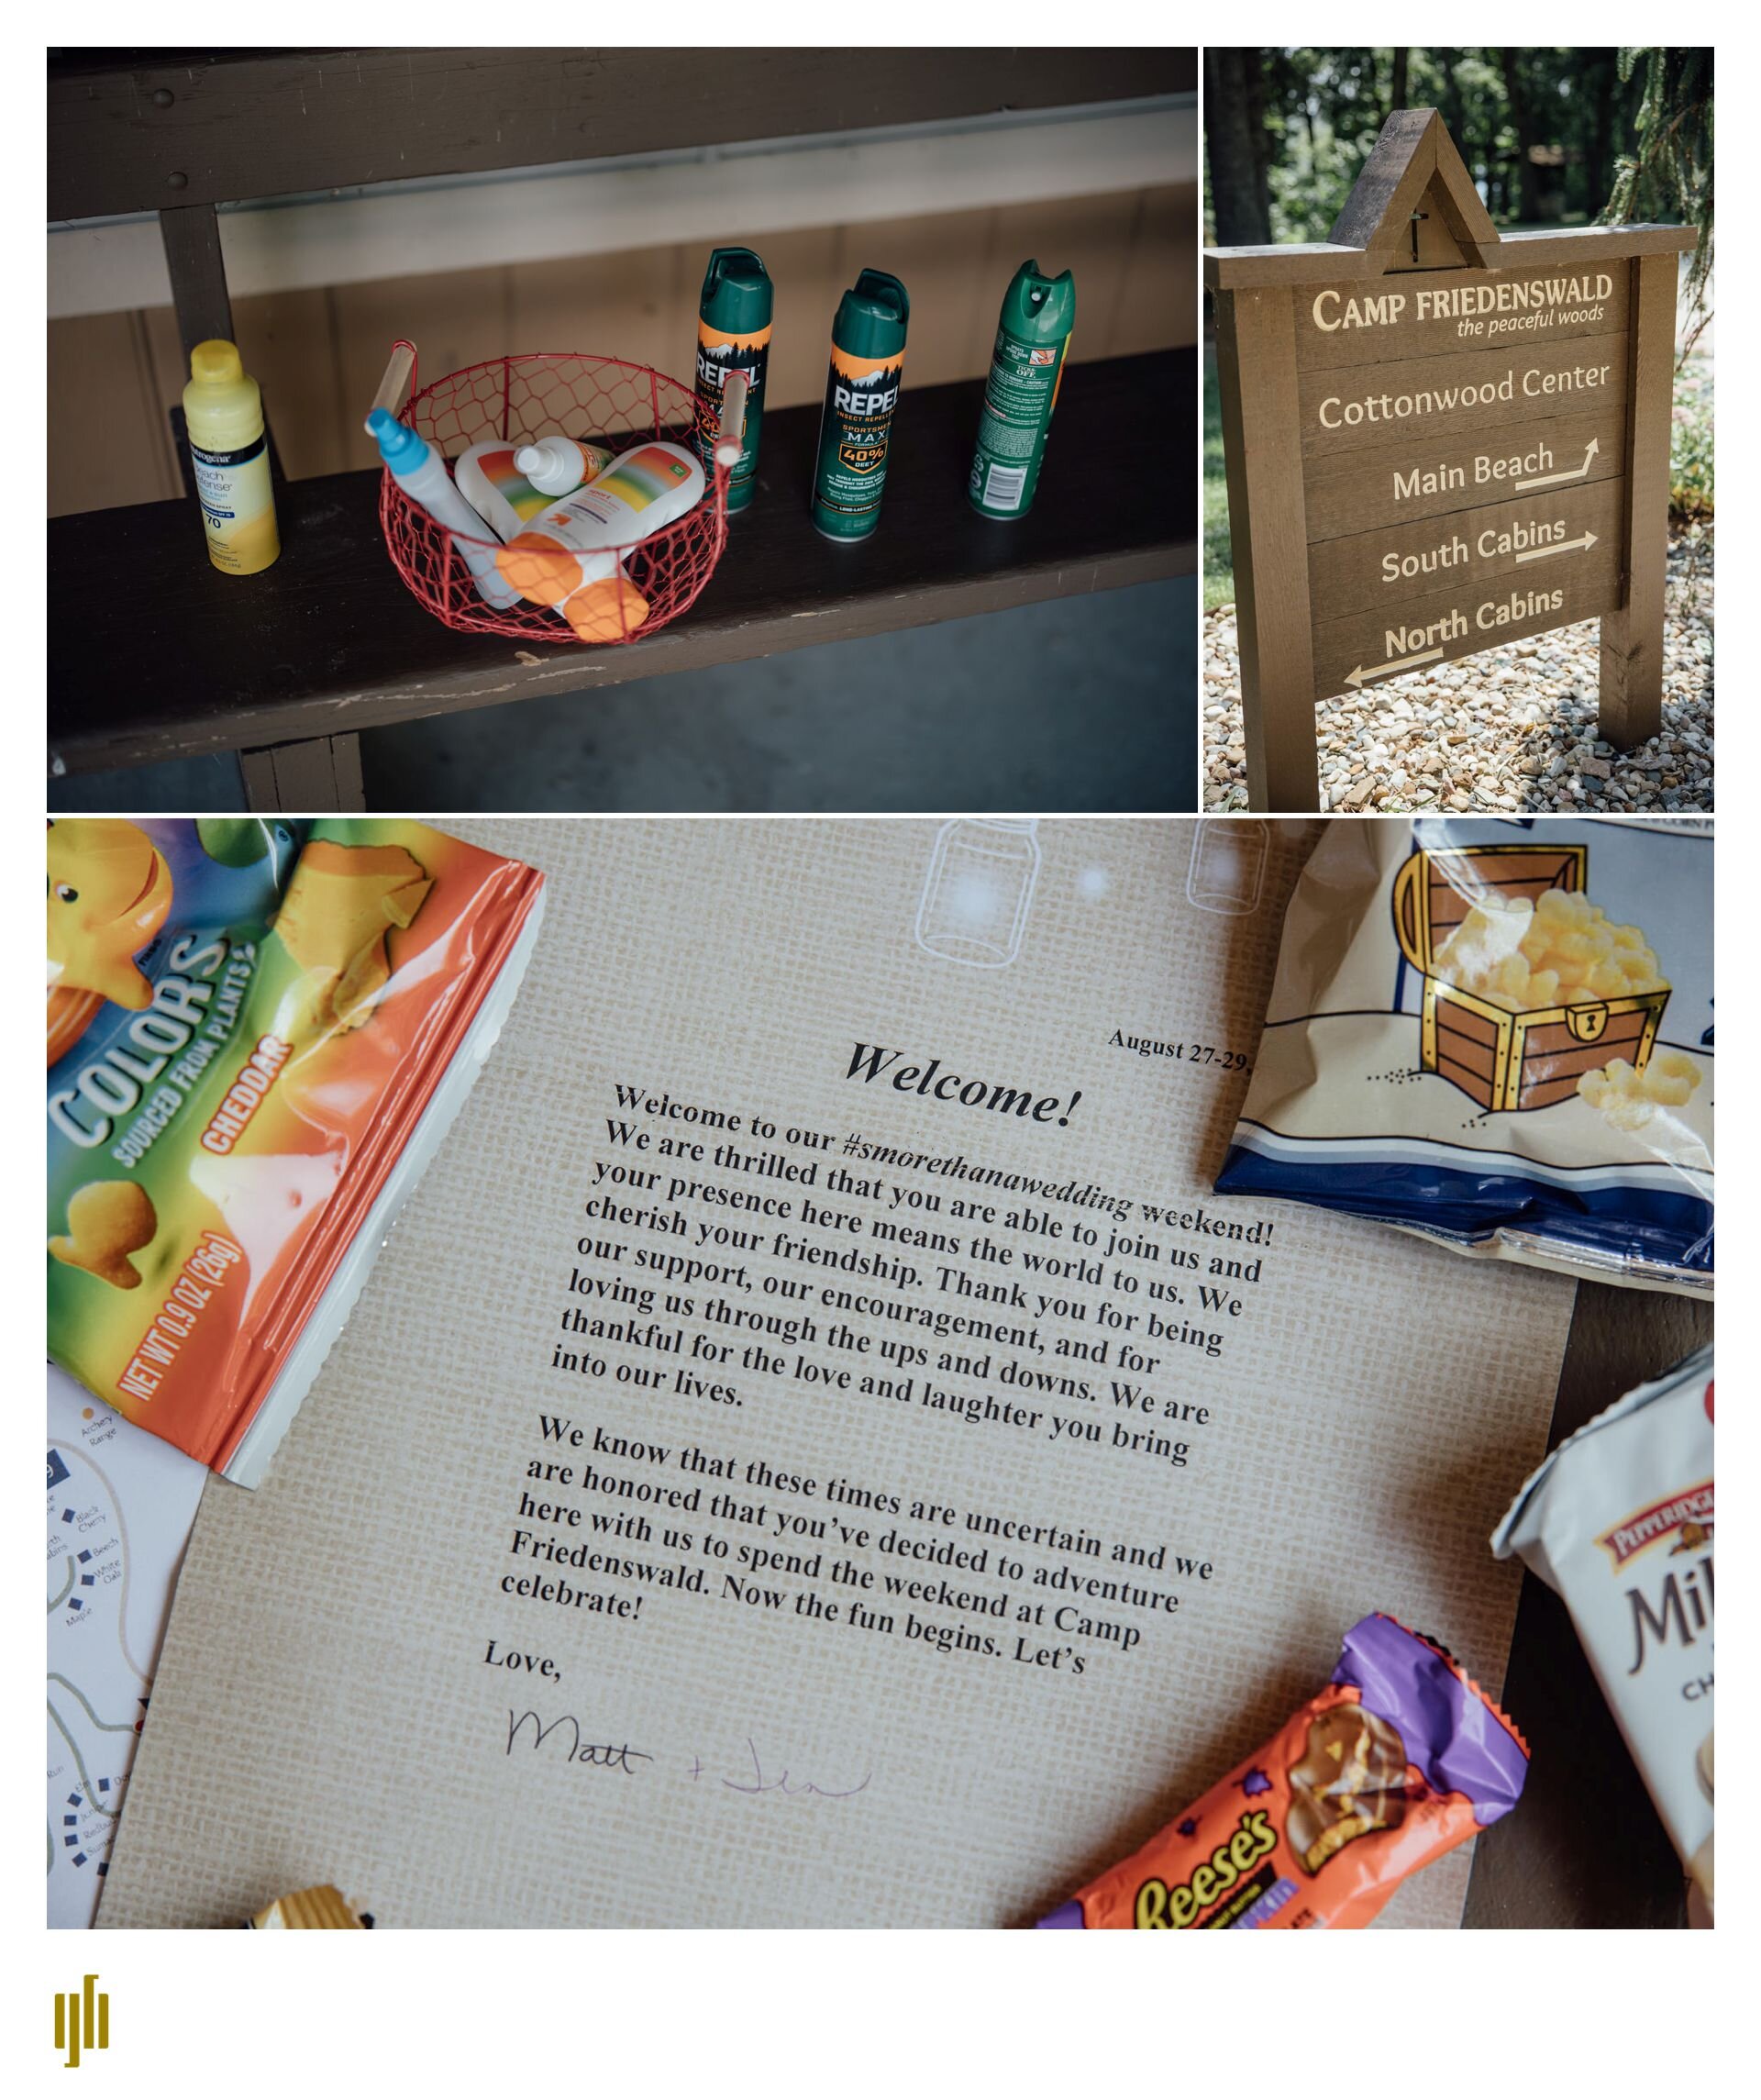
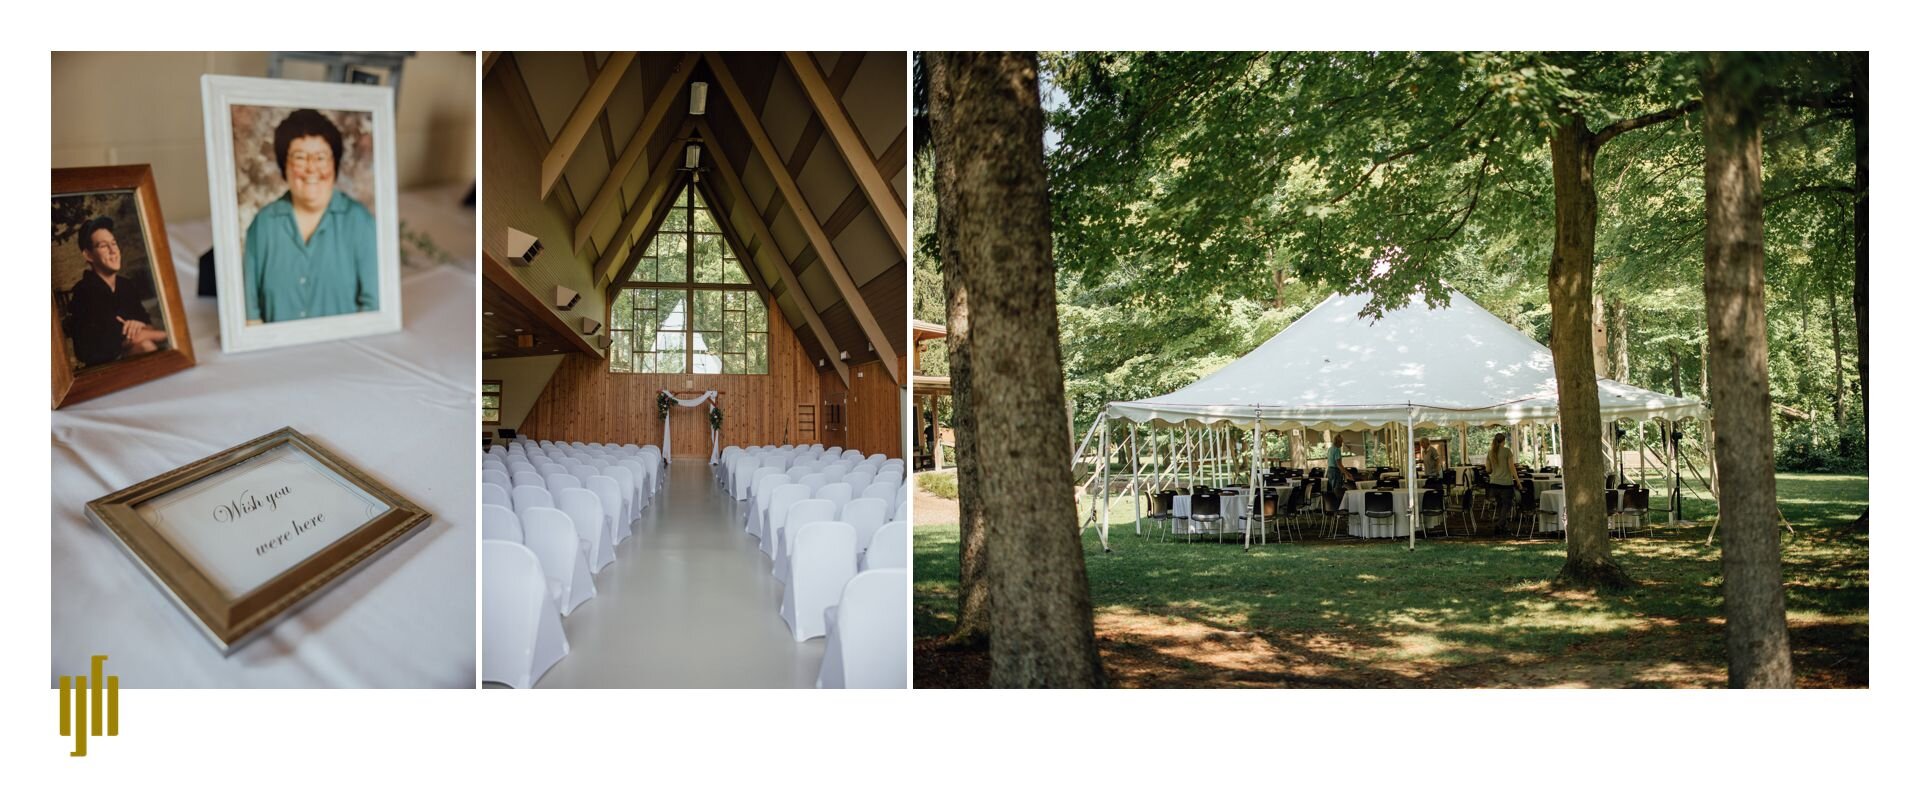
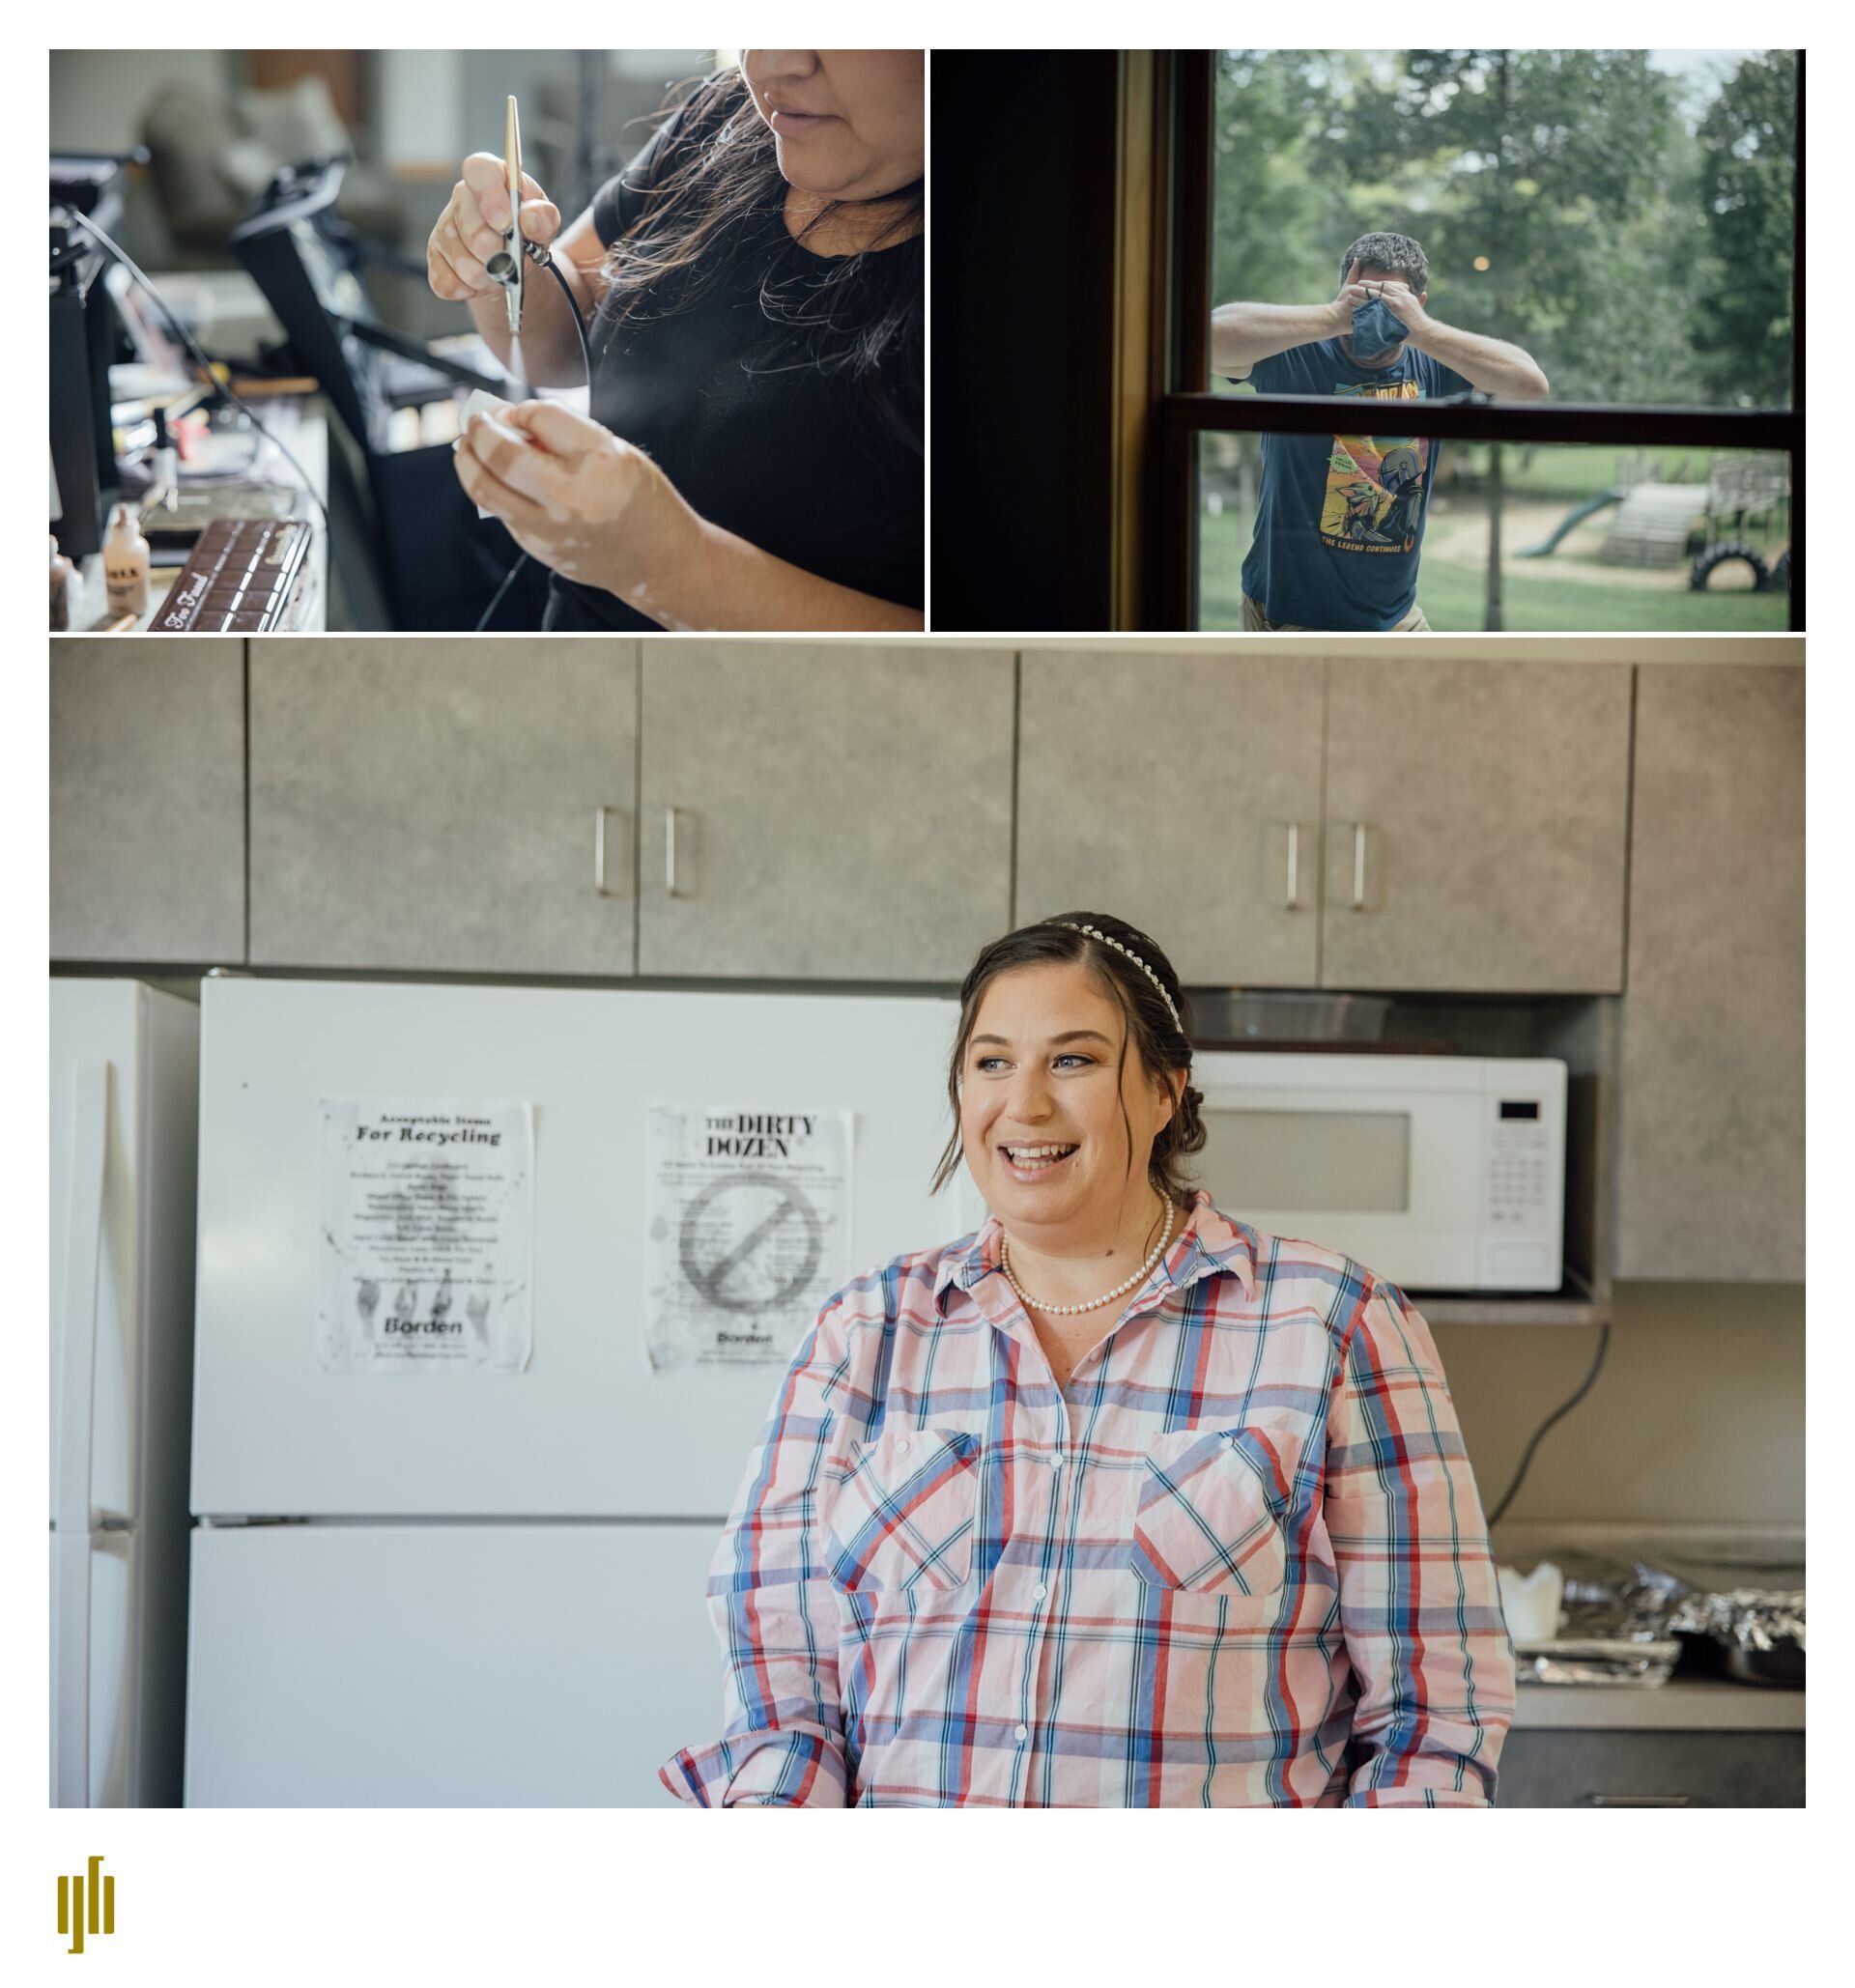
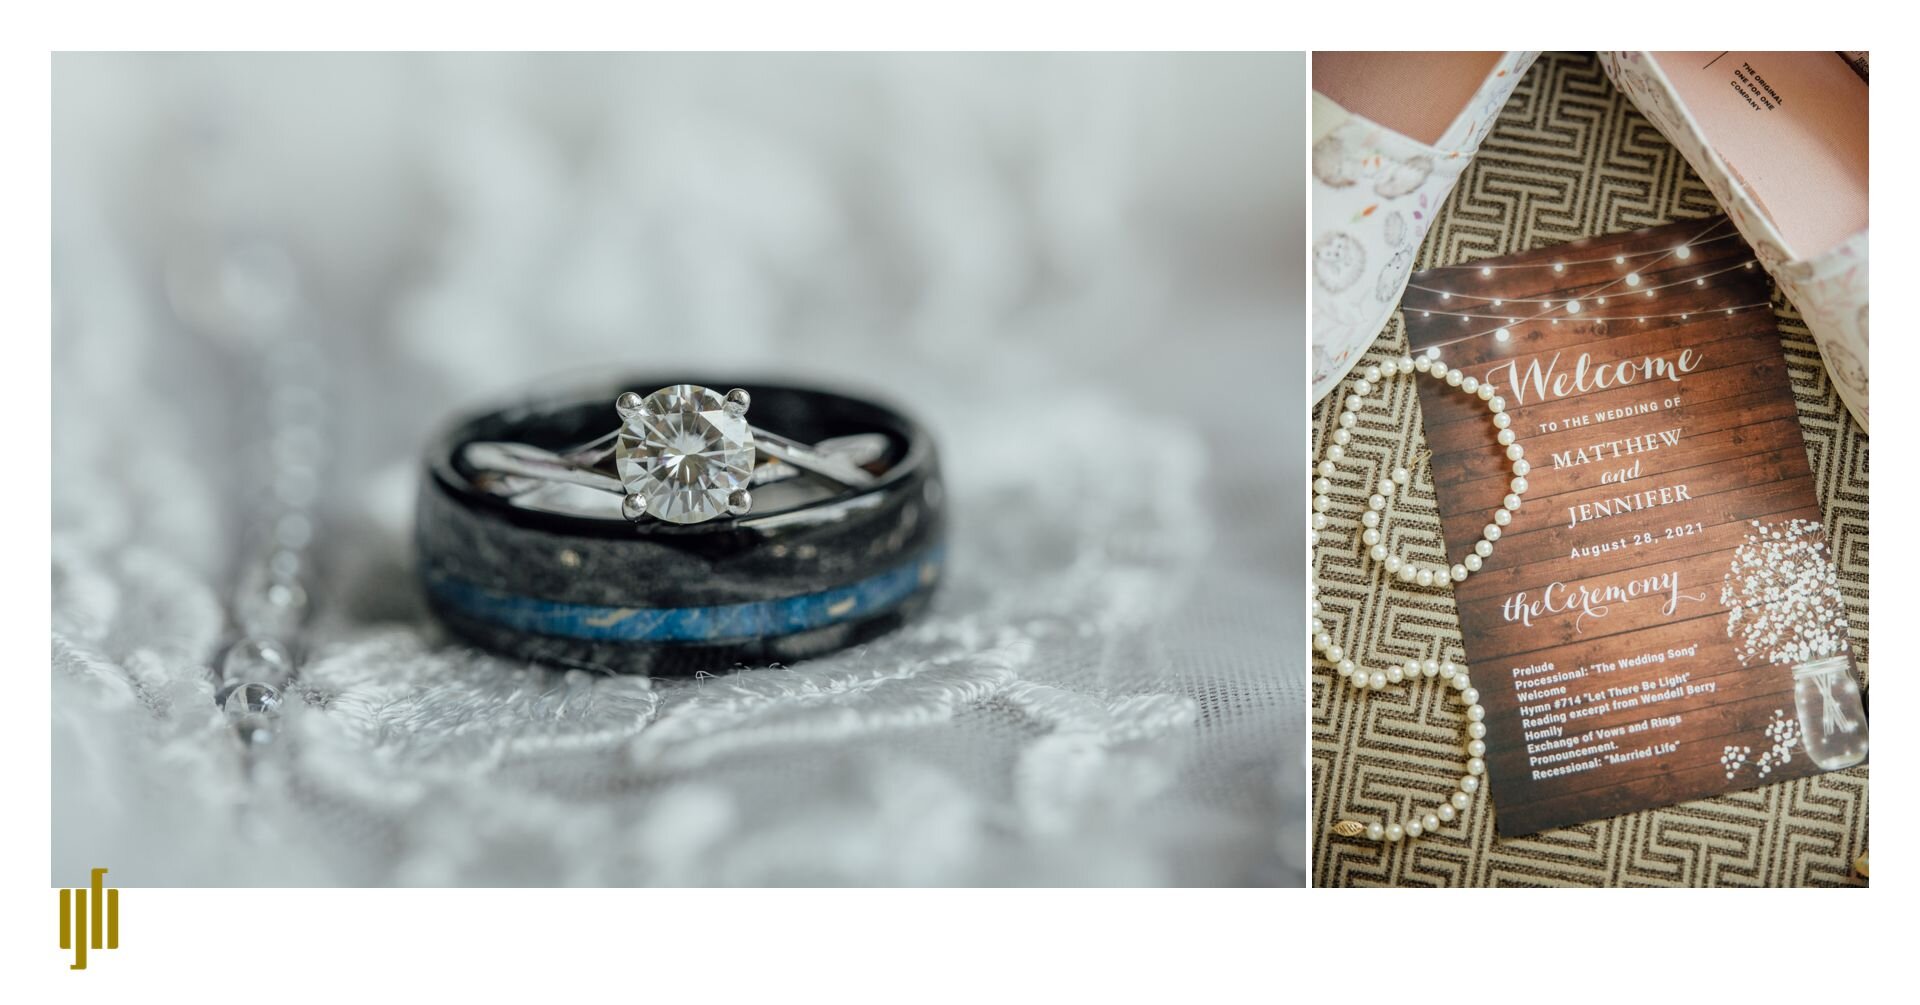
Camp Friedenswald wedding - Matt and Jennifer are married!

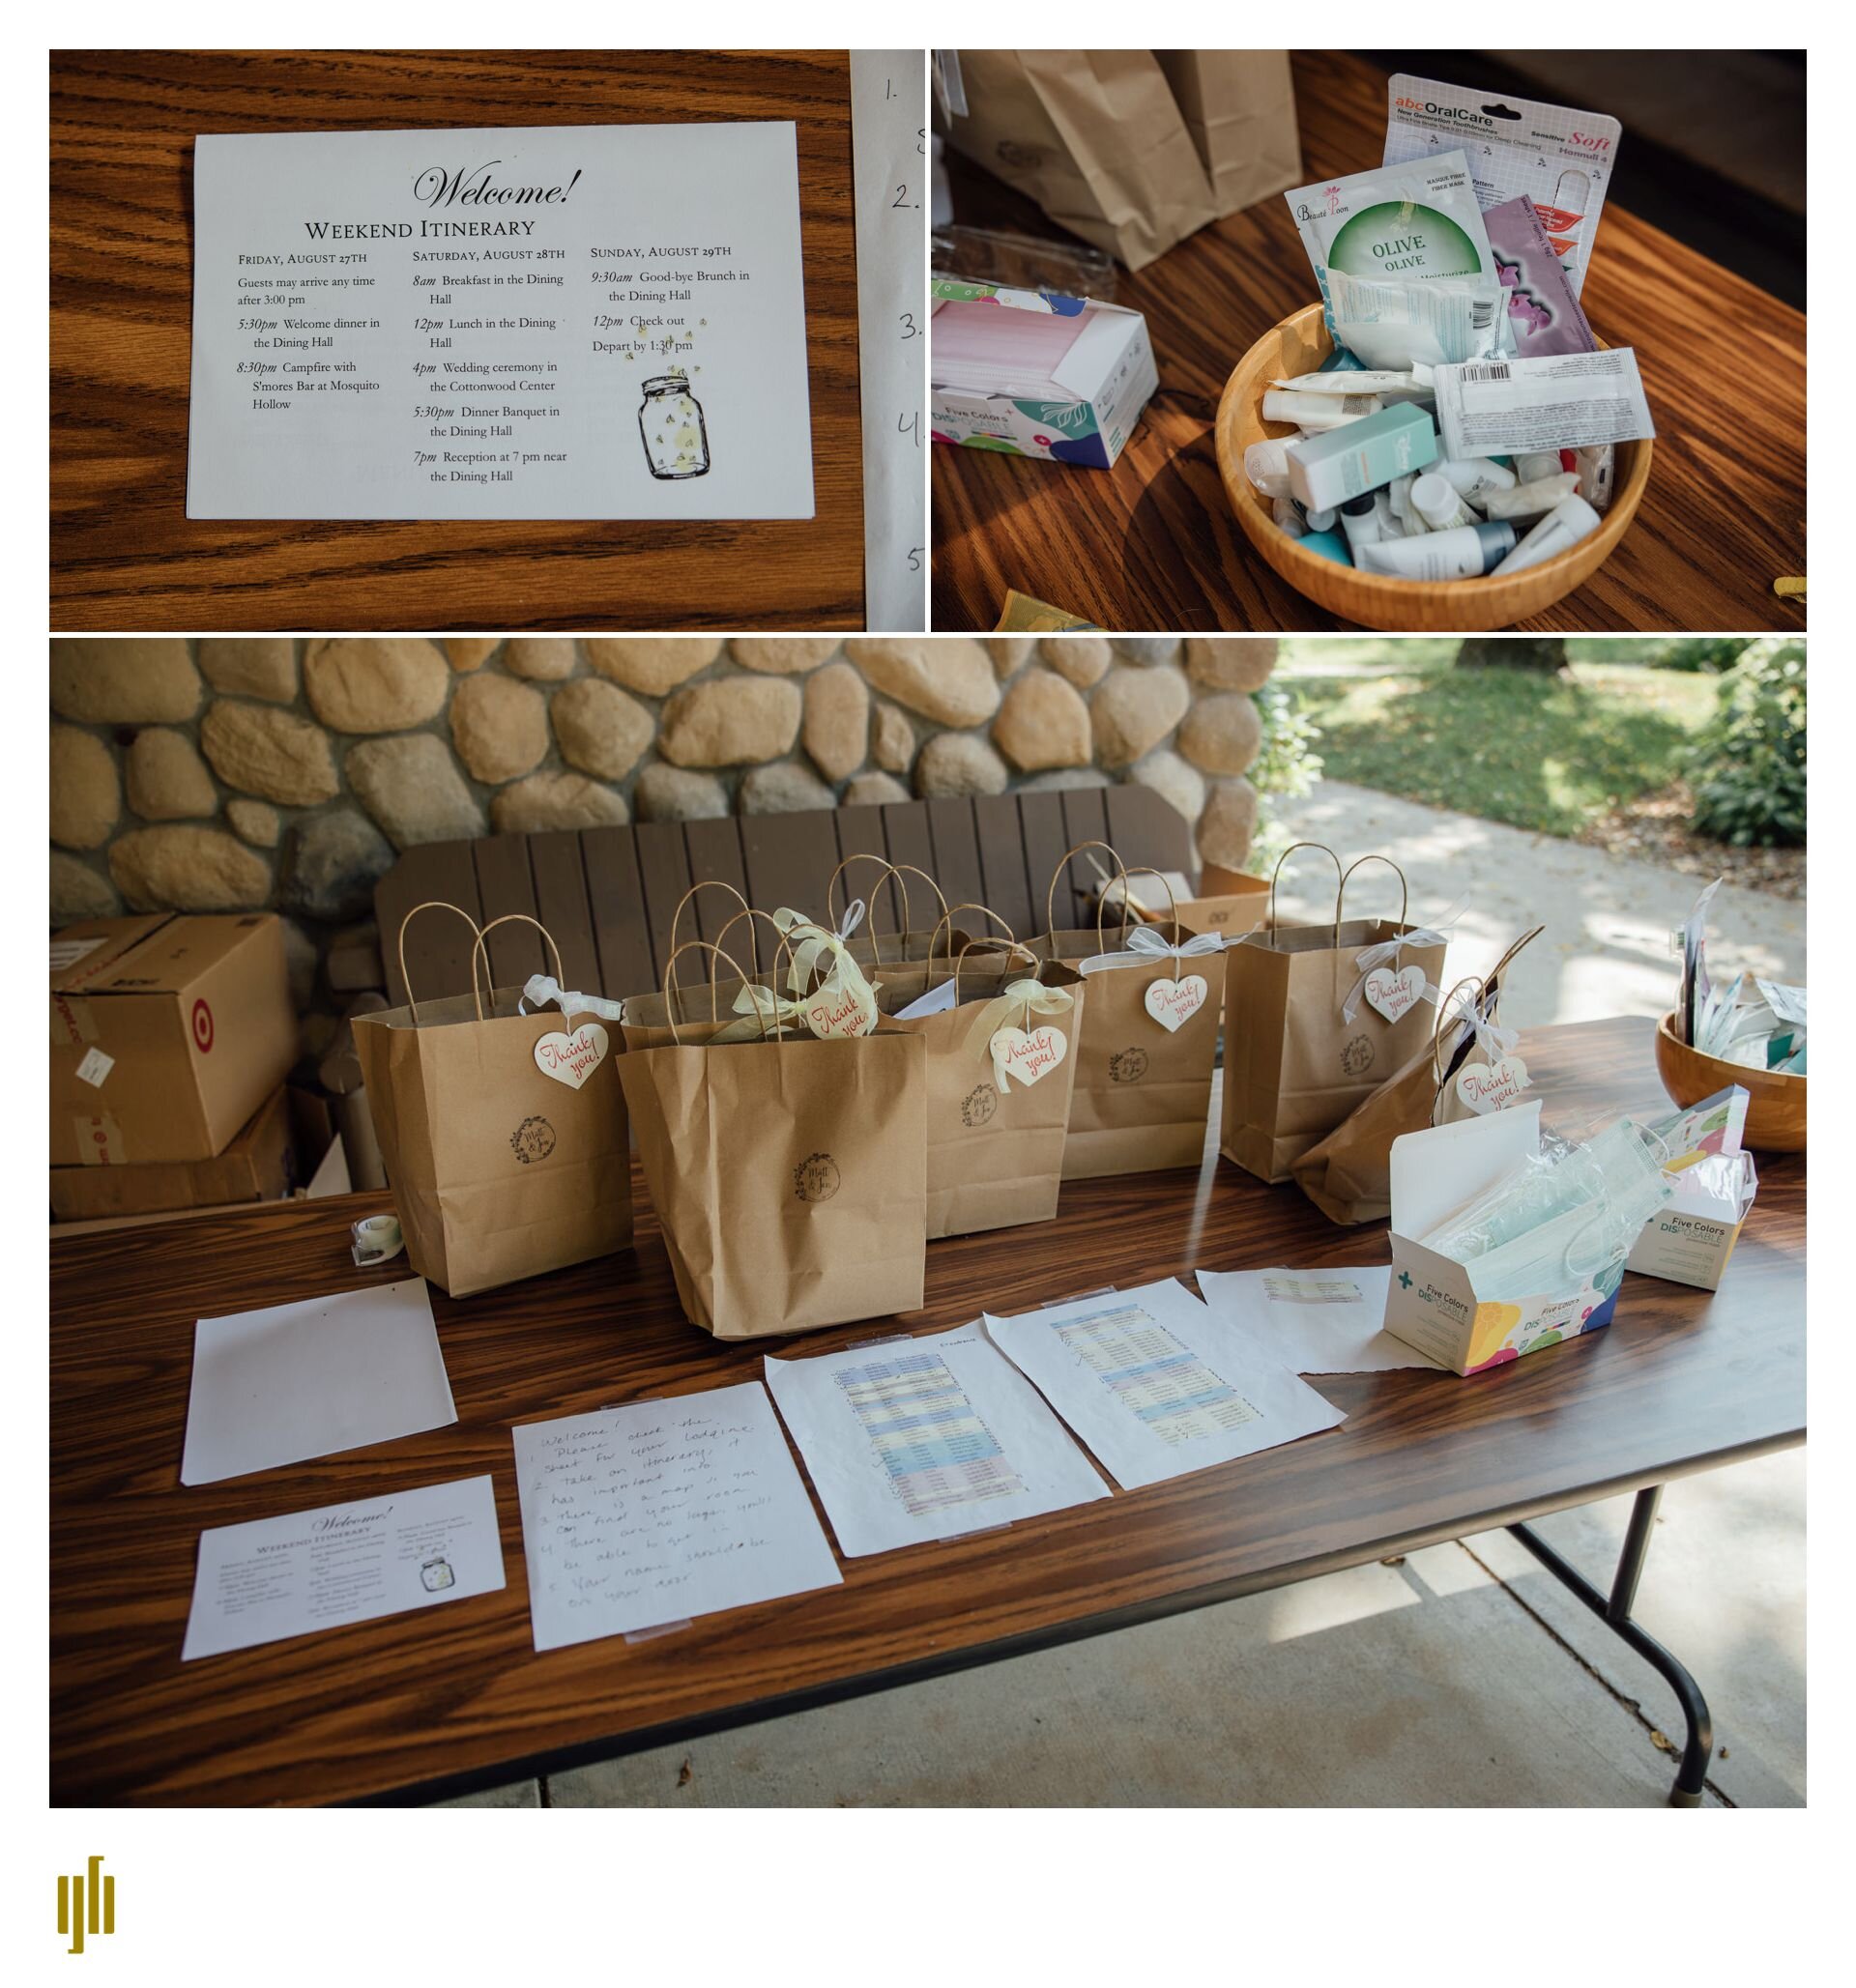
So this was a bit of a different approach than the normal. Instead of a day, Matt and Jennifer had a whole weekend of campground activities planned for their guests and in the middle of it, they had a wedding. I loved the relaxed approach, and how natural it felt. What a lovely way to start a life together.

Congratulations Matt and Jennnifer! Thank you for bringing us along.

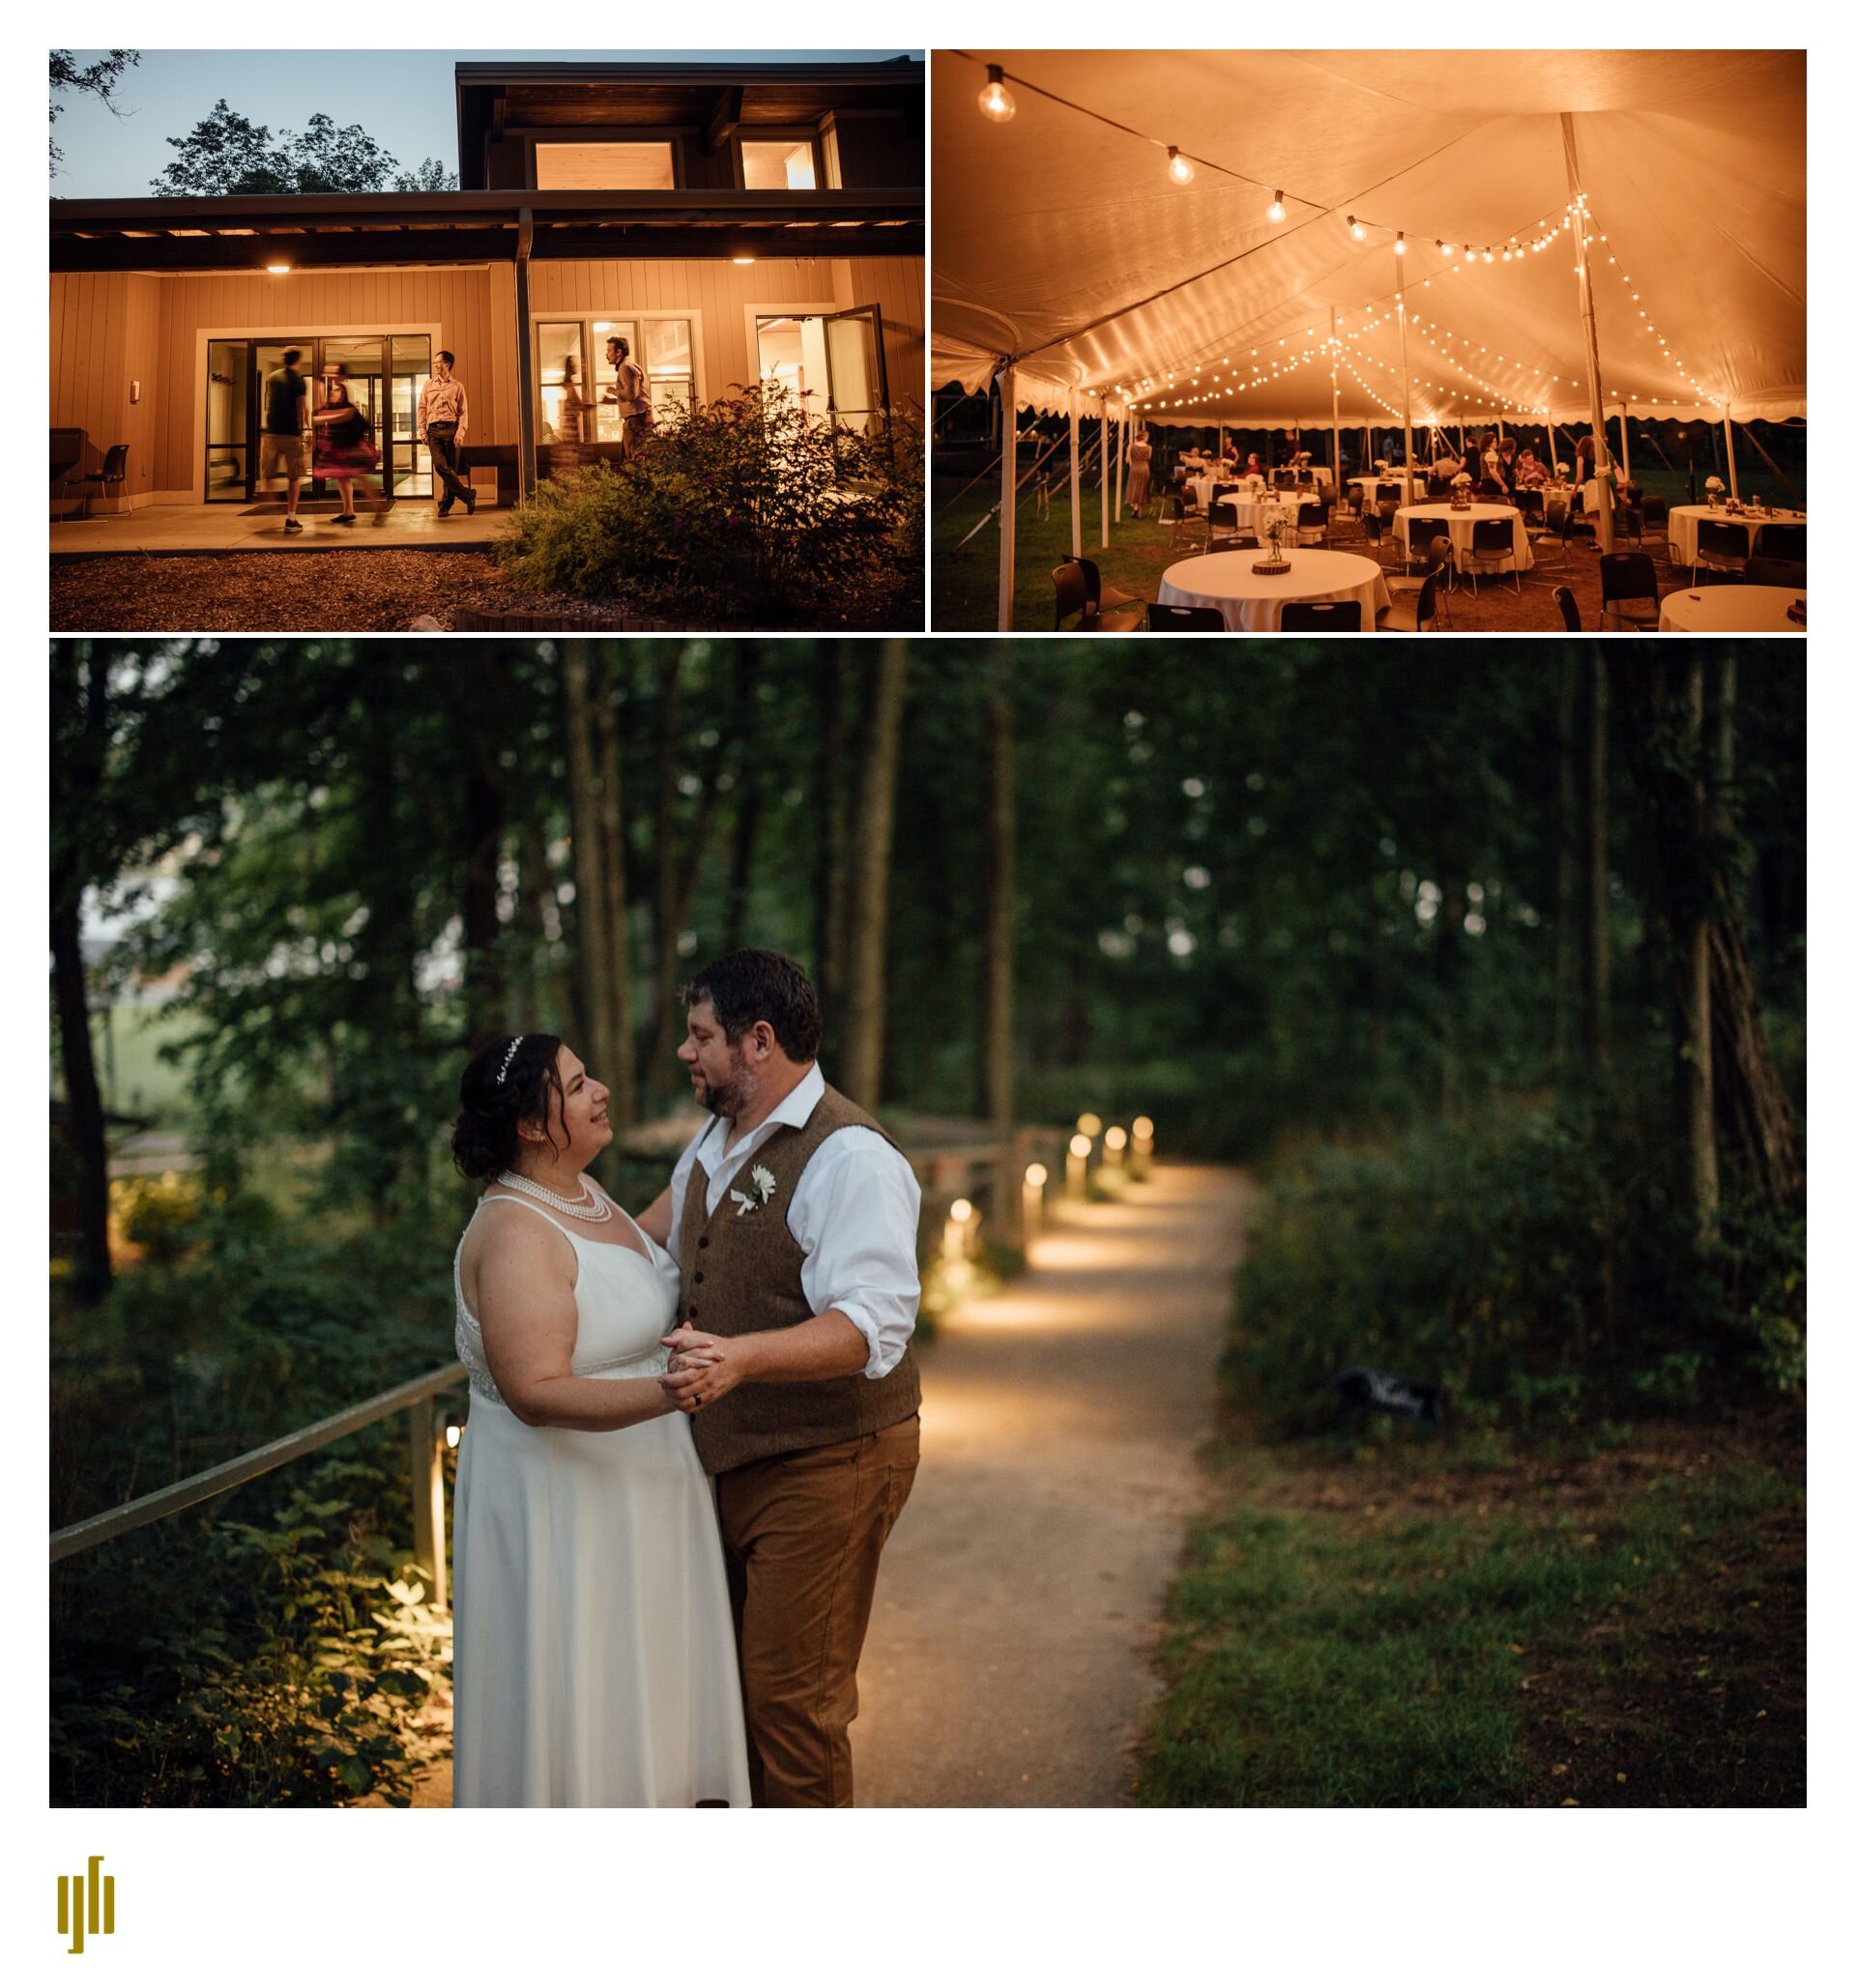
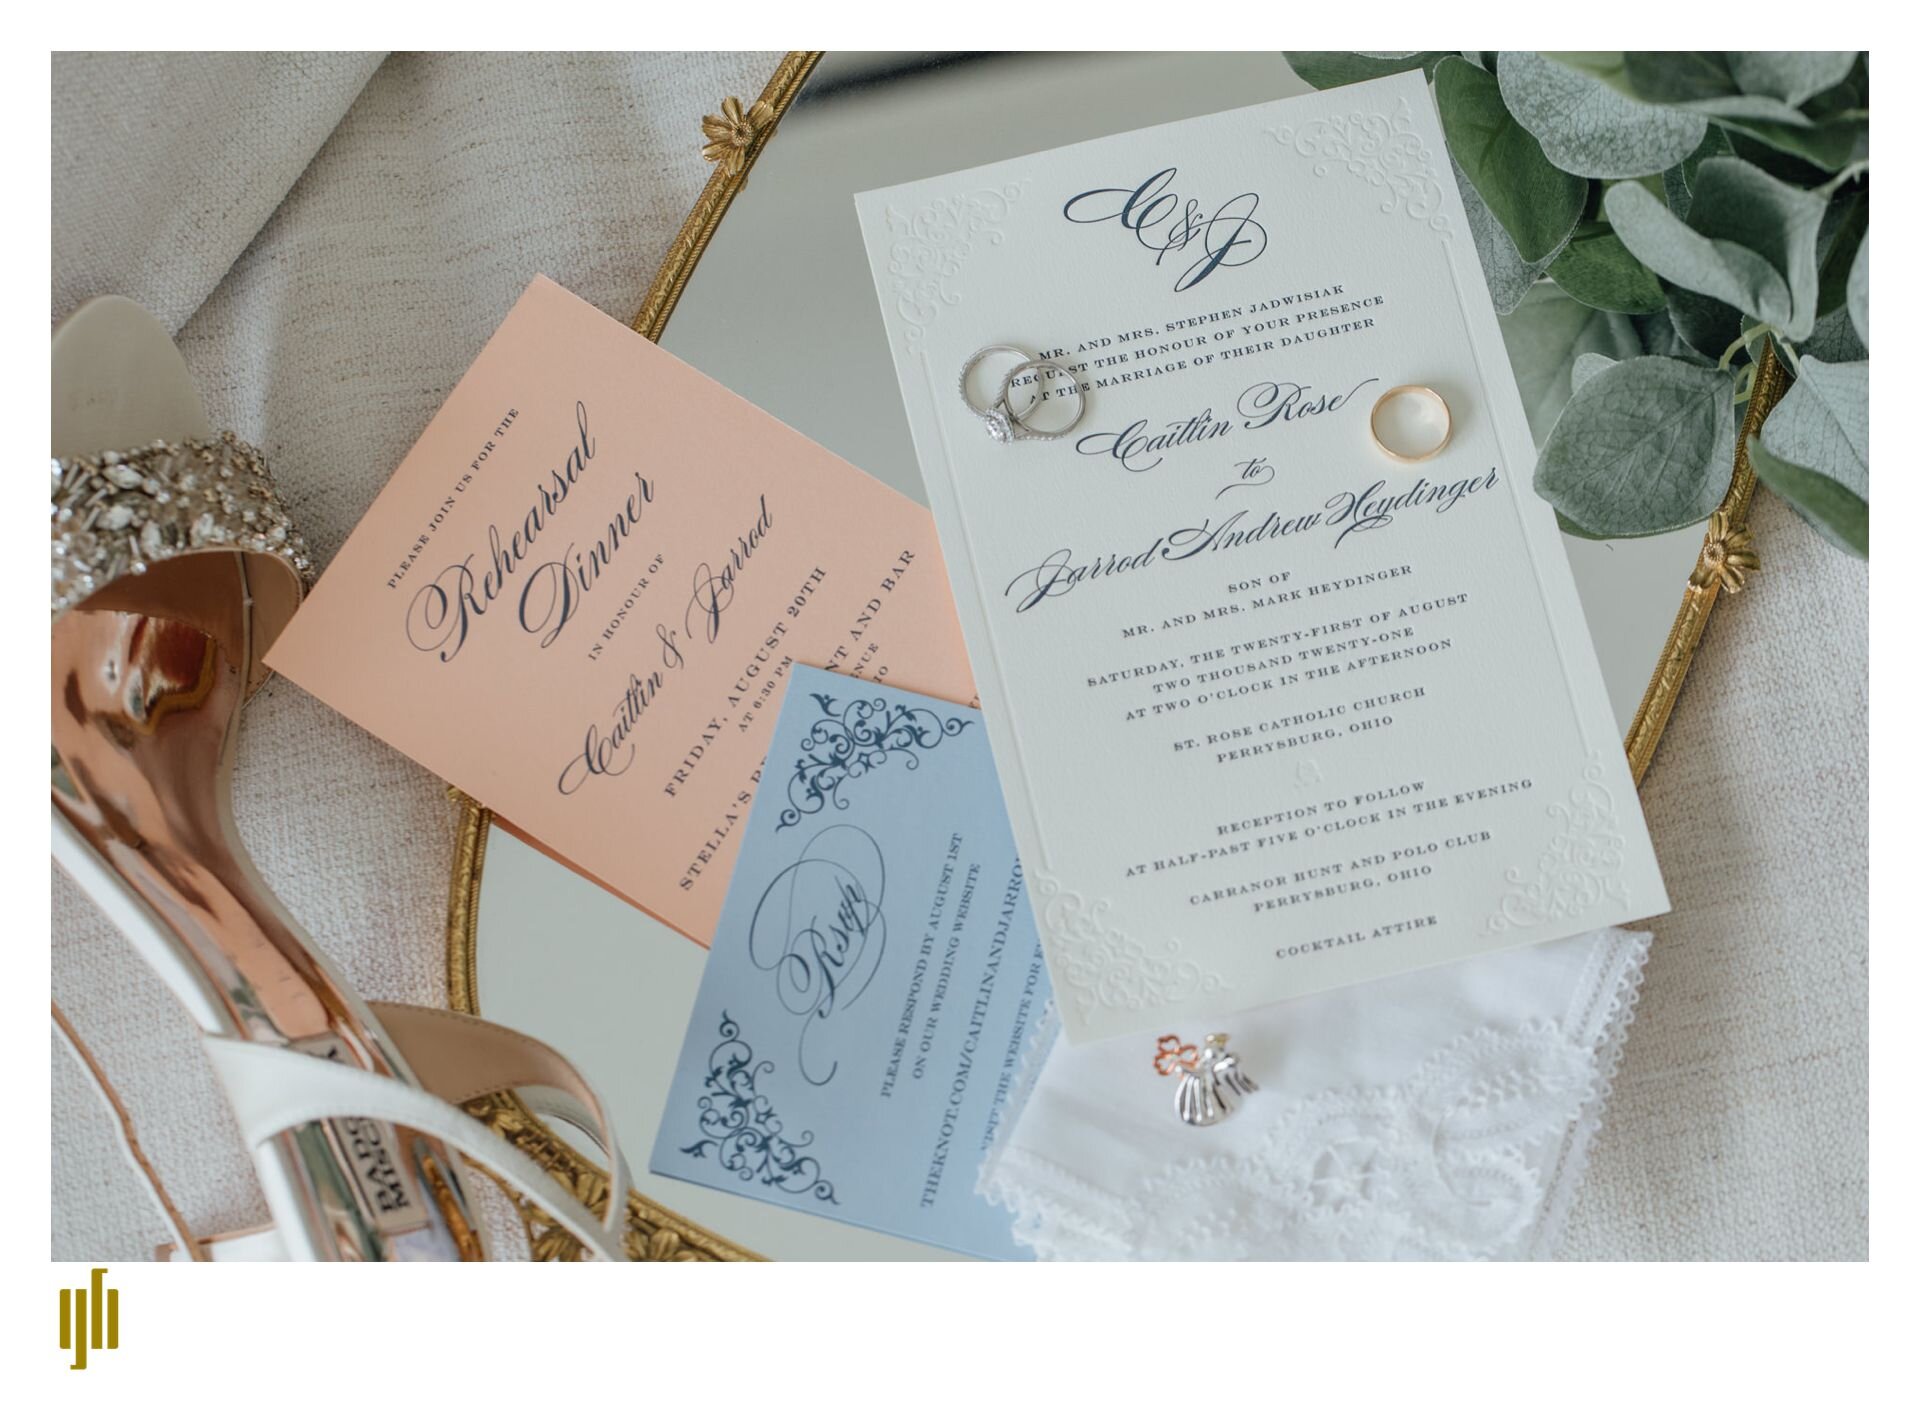
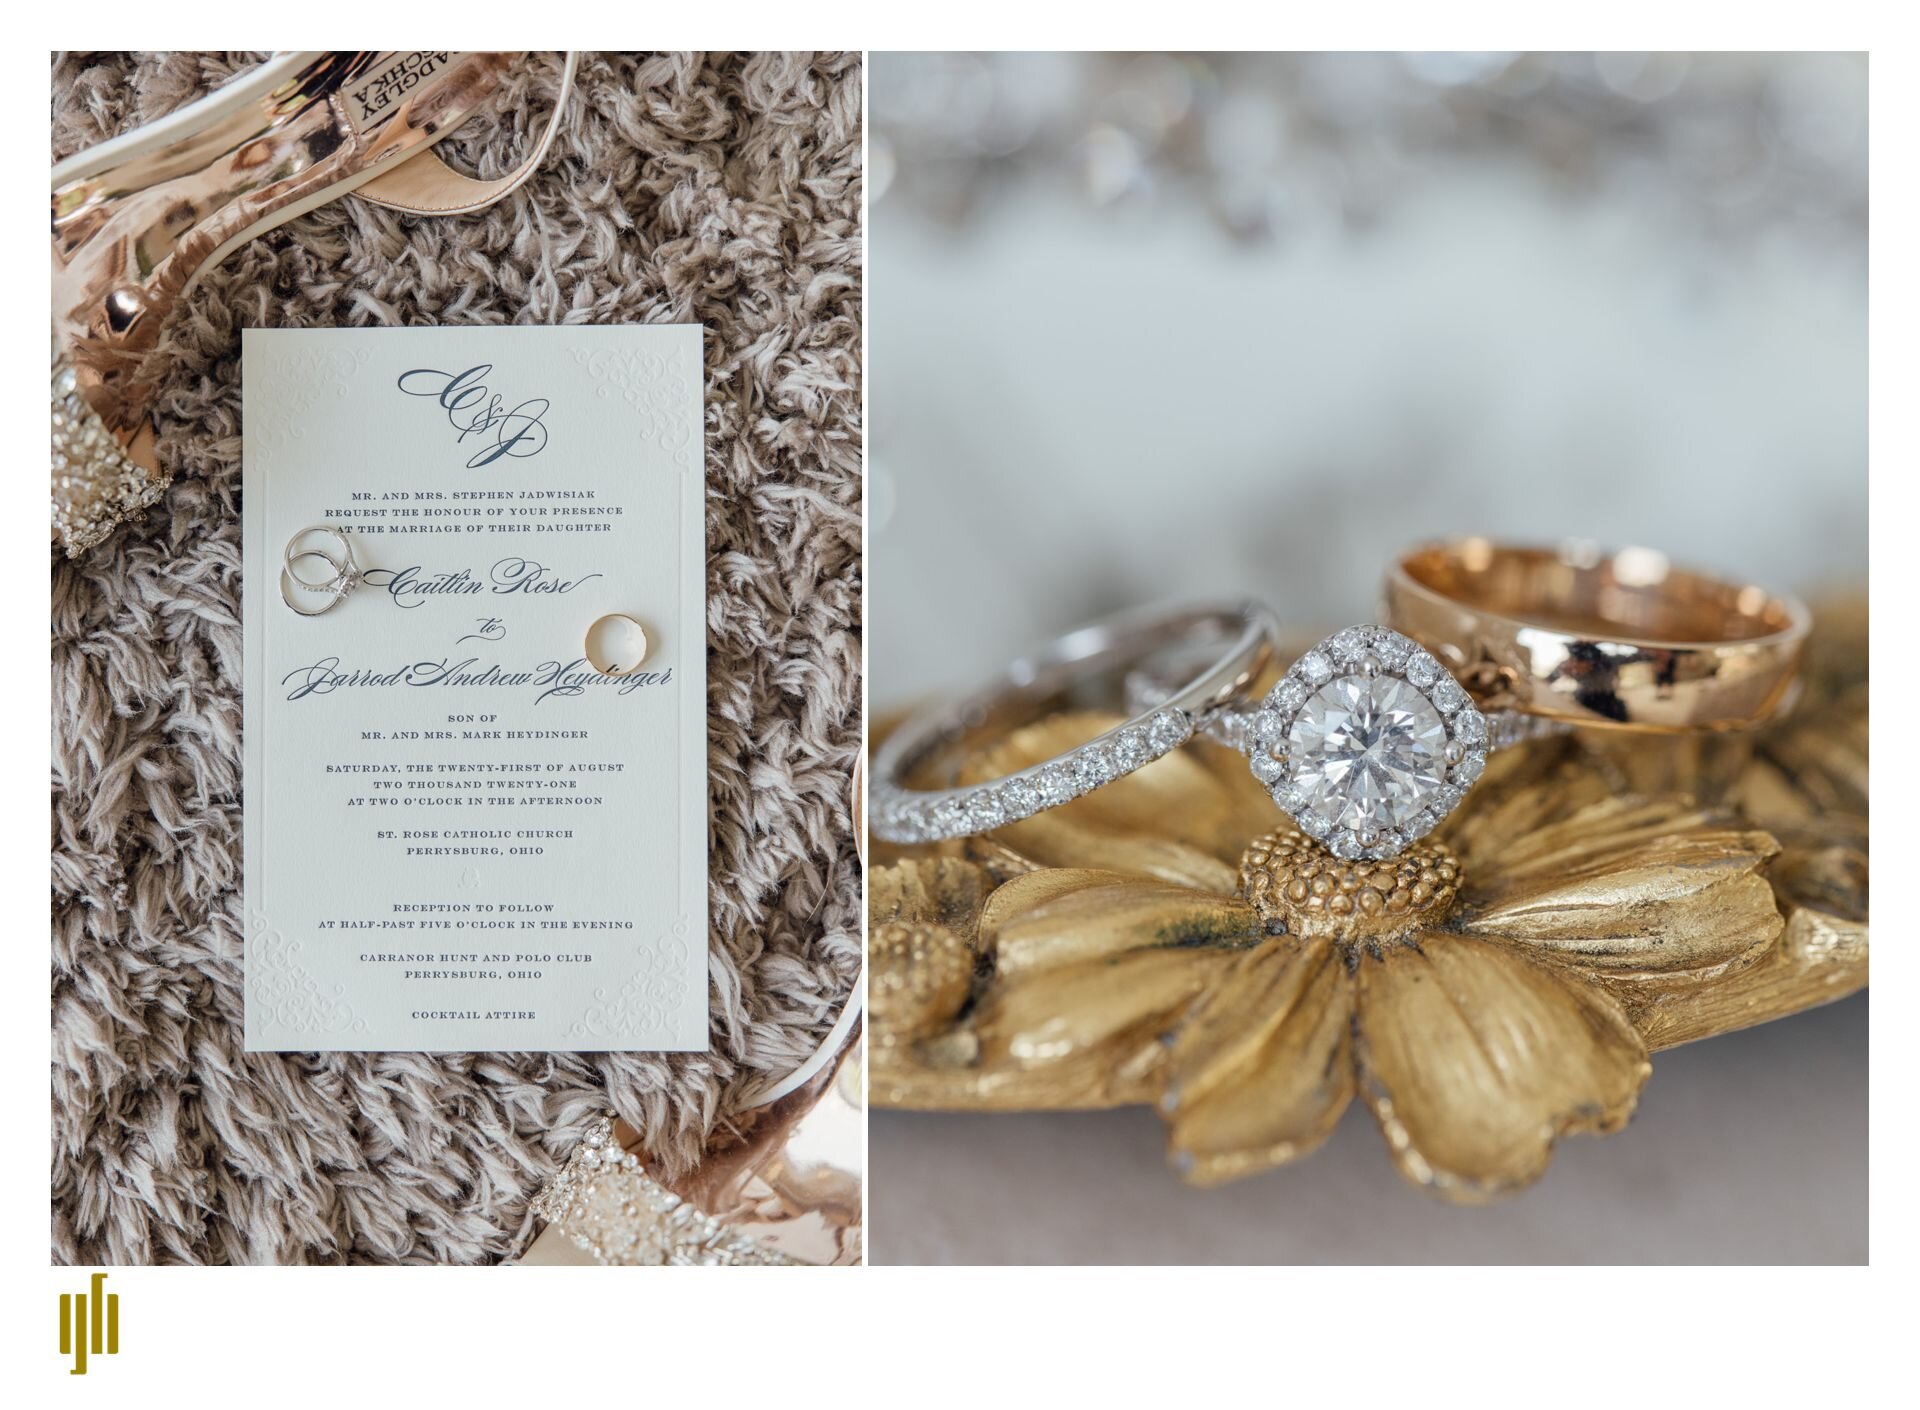
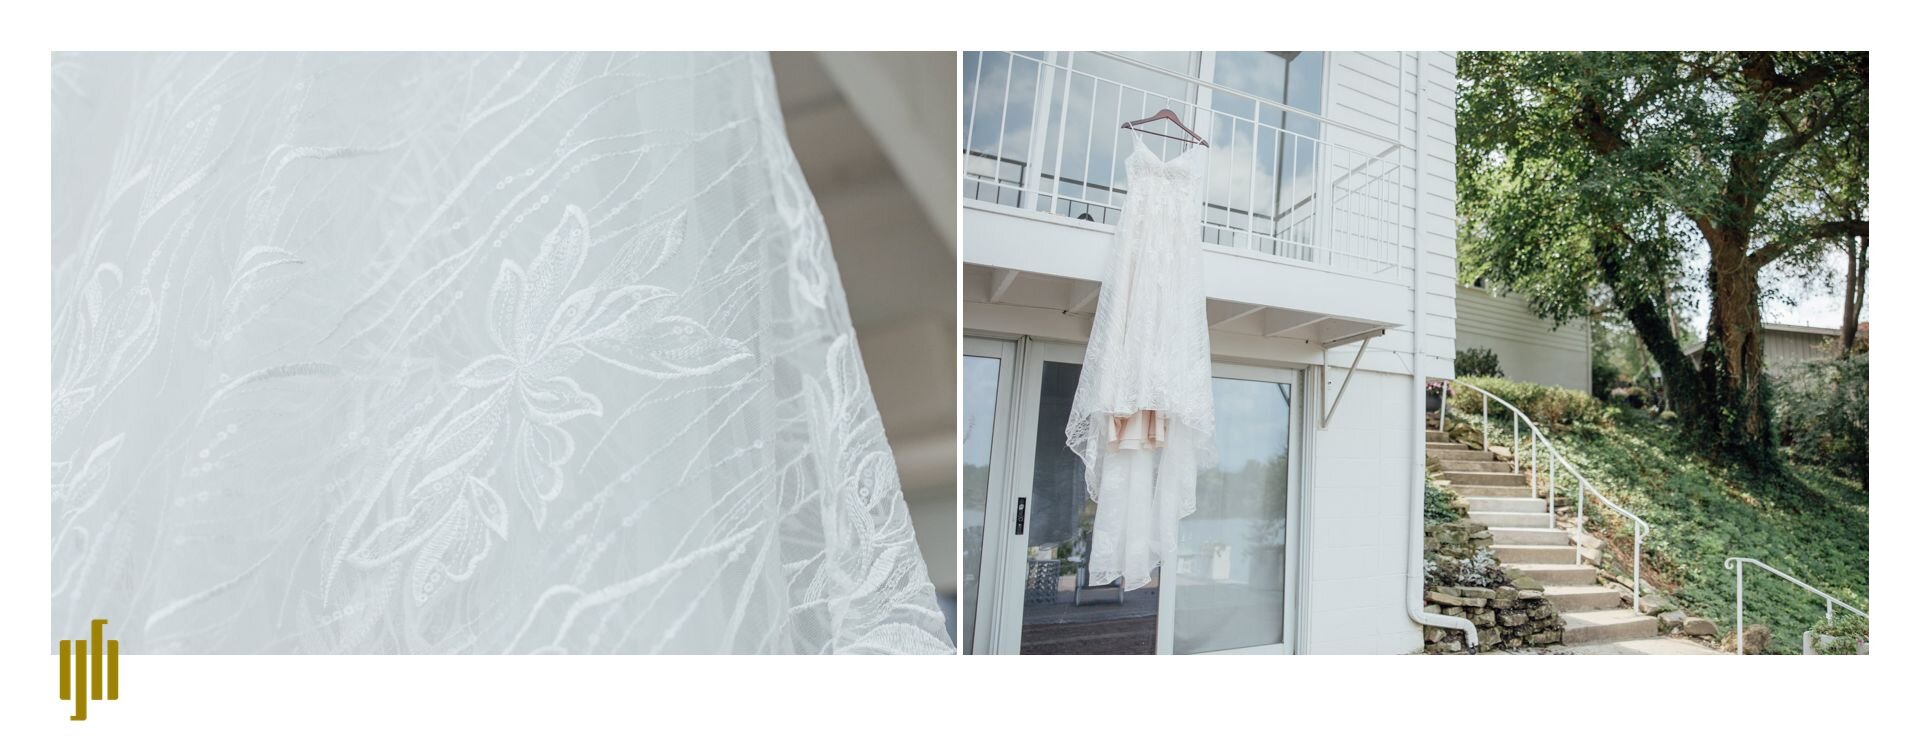
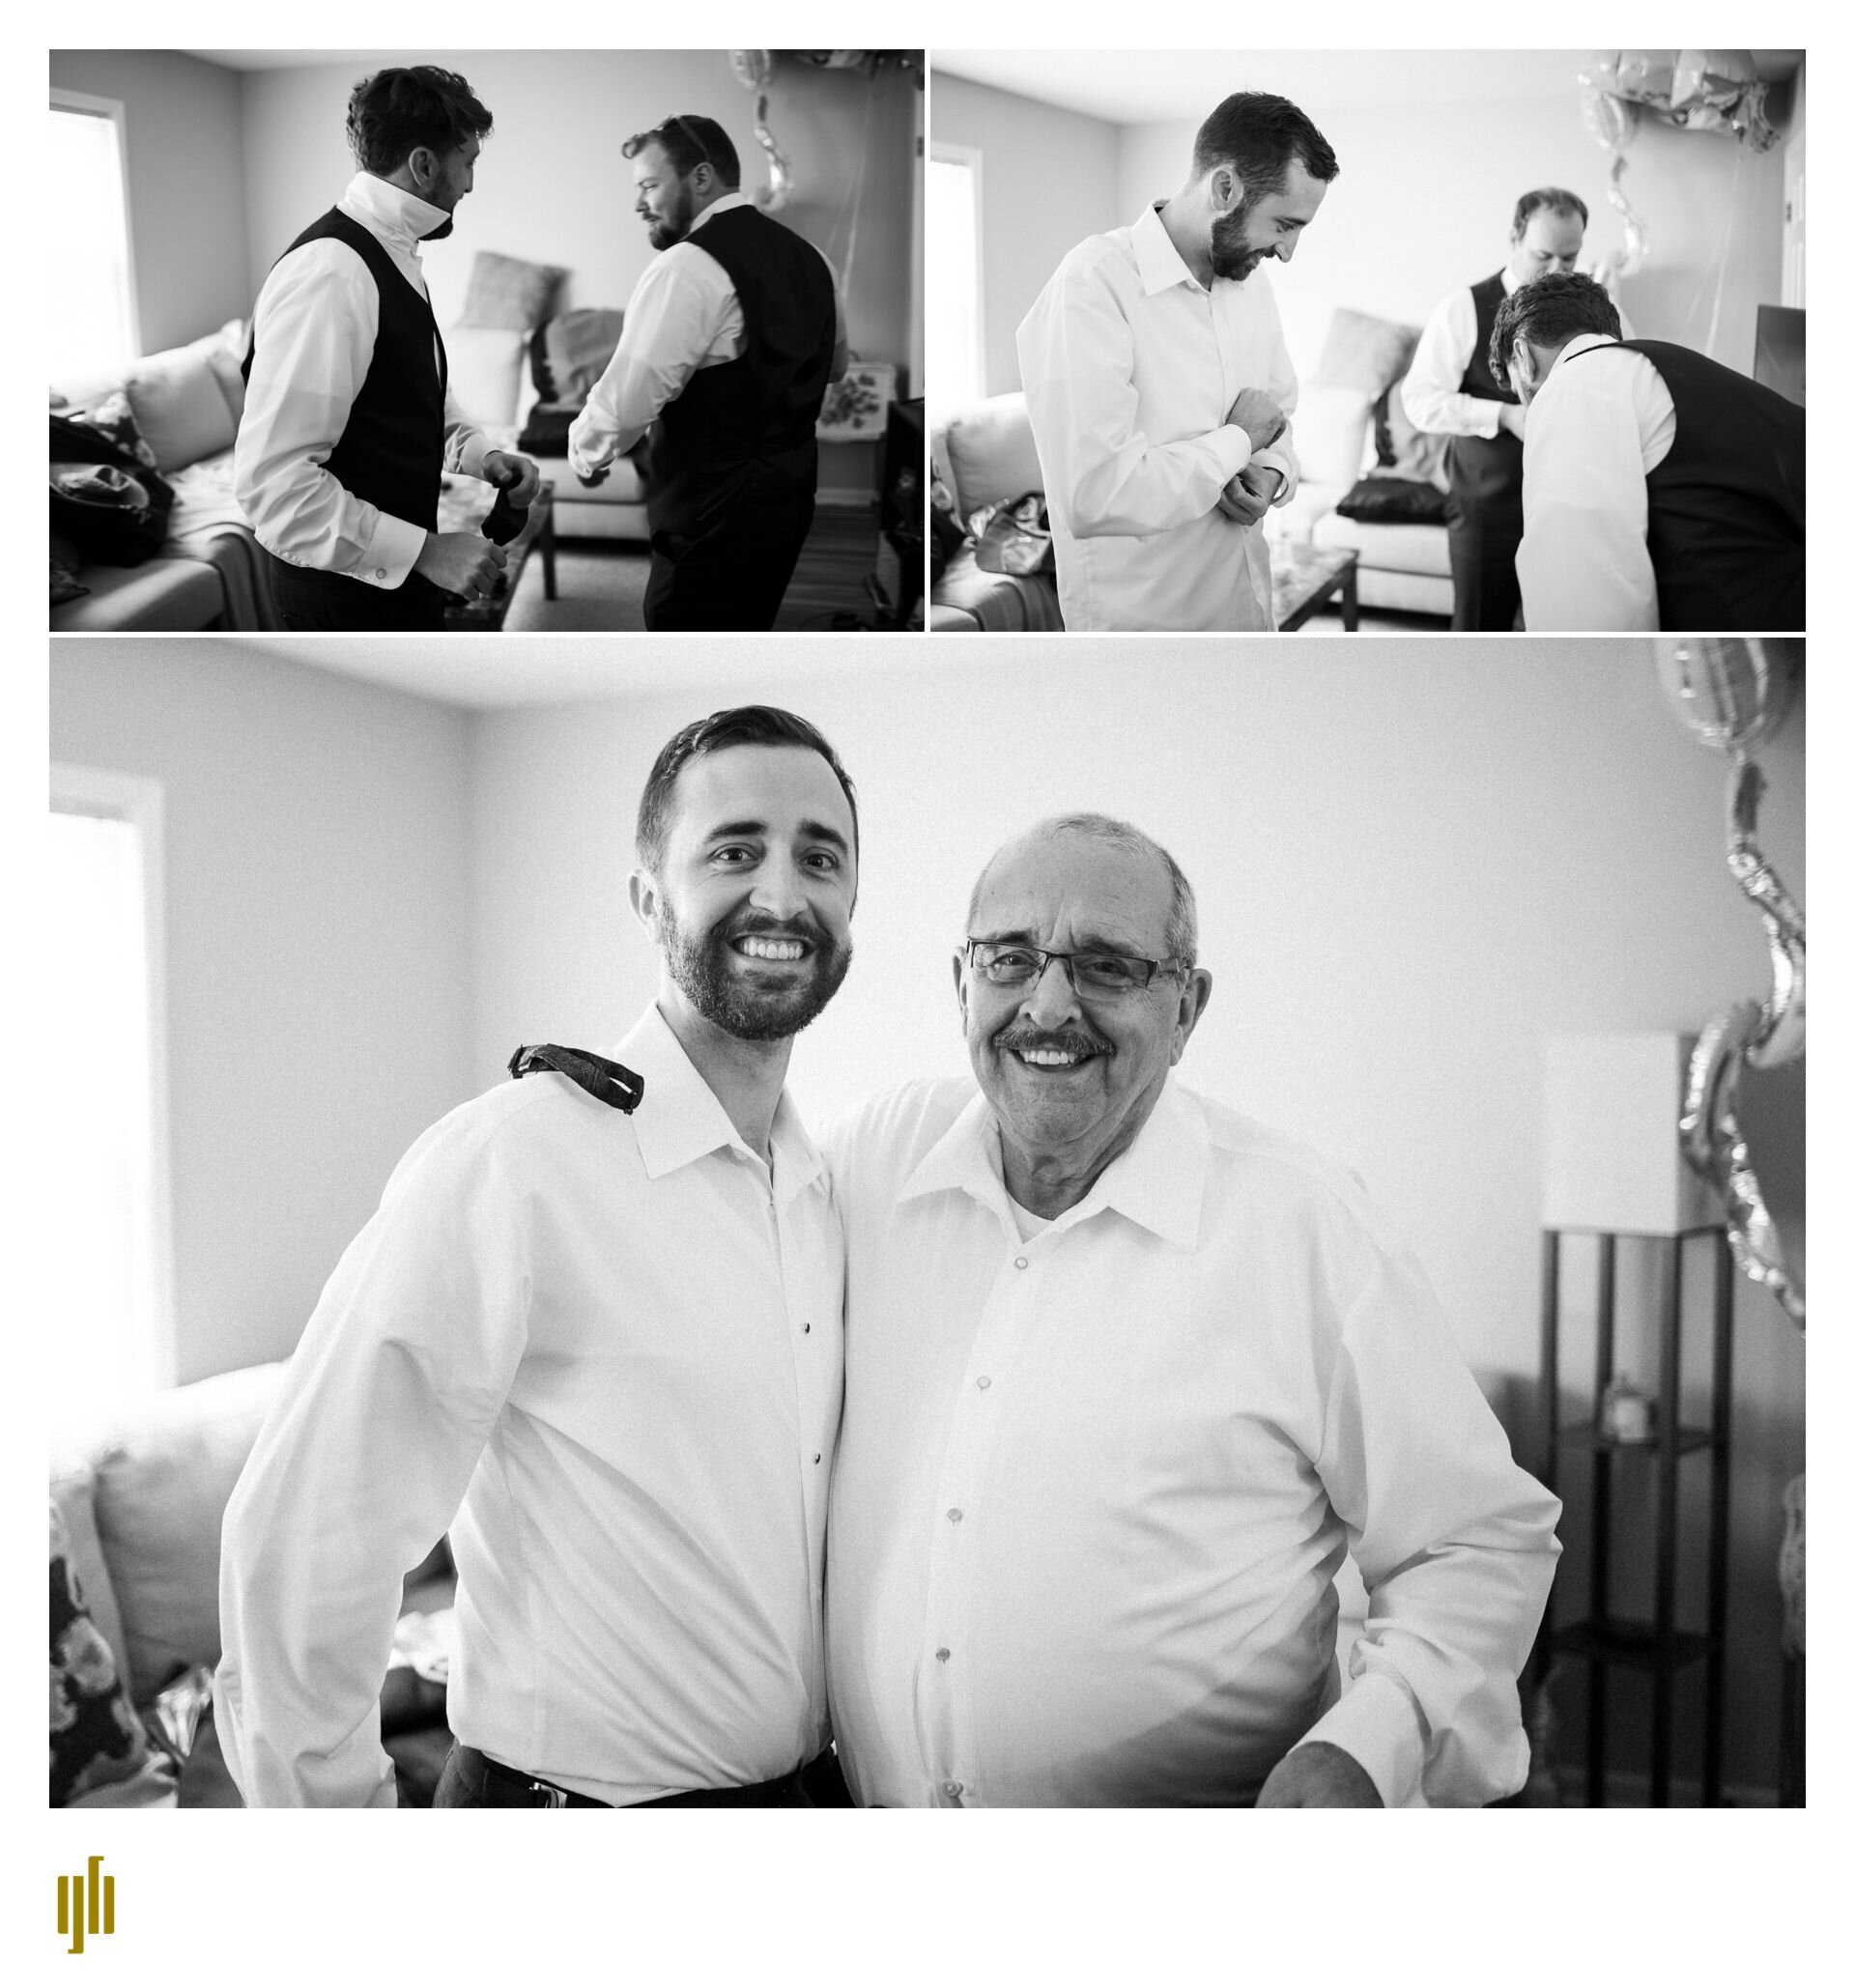
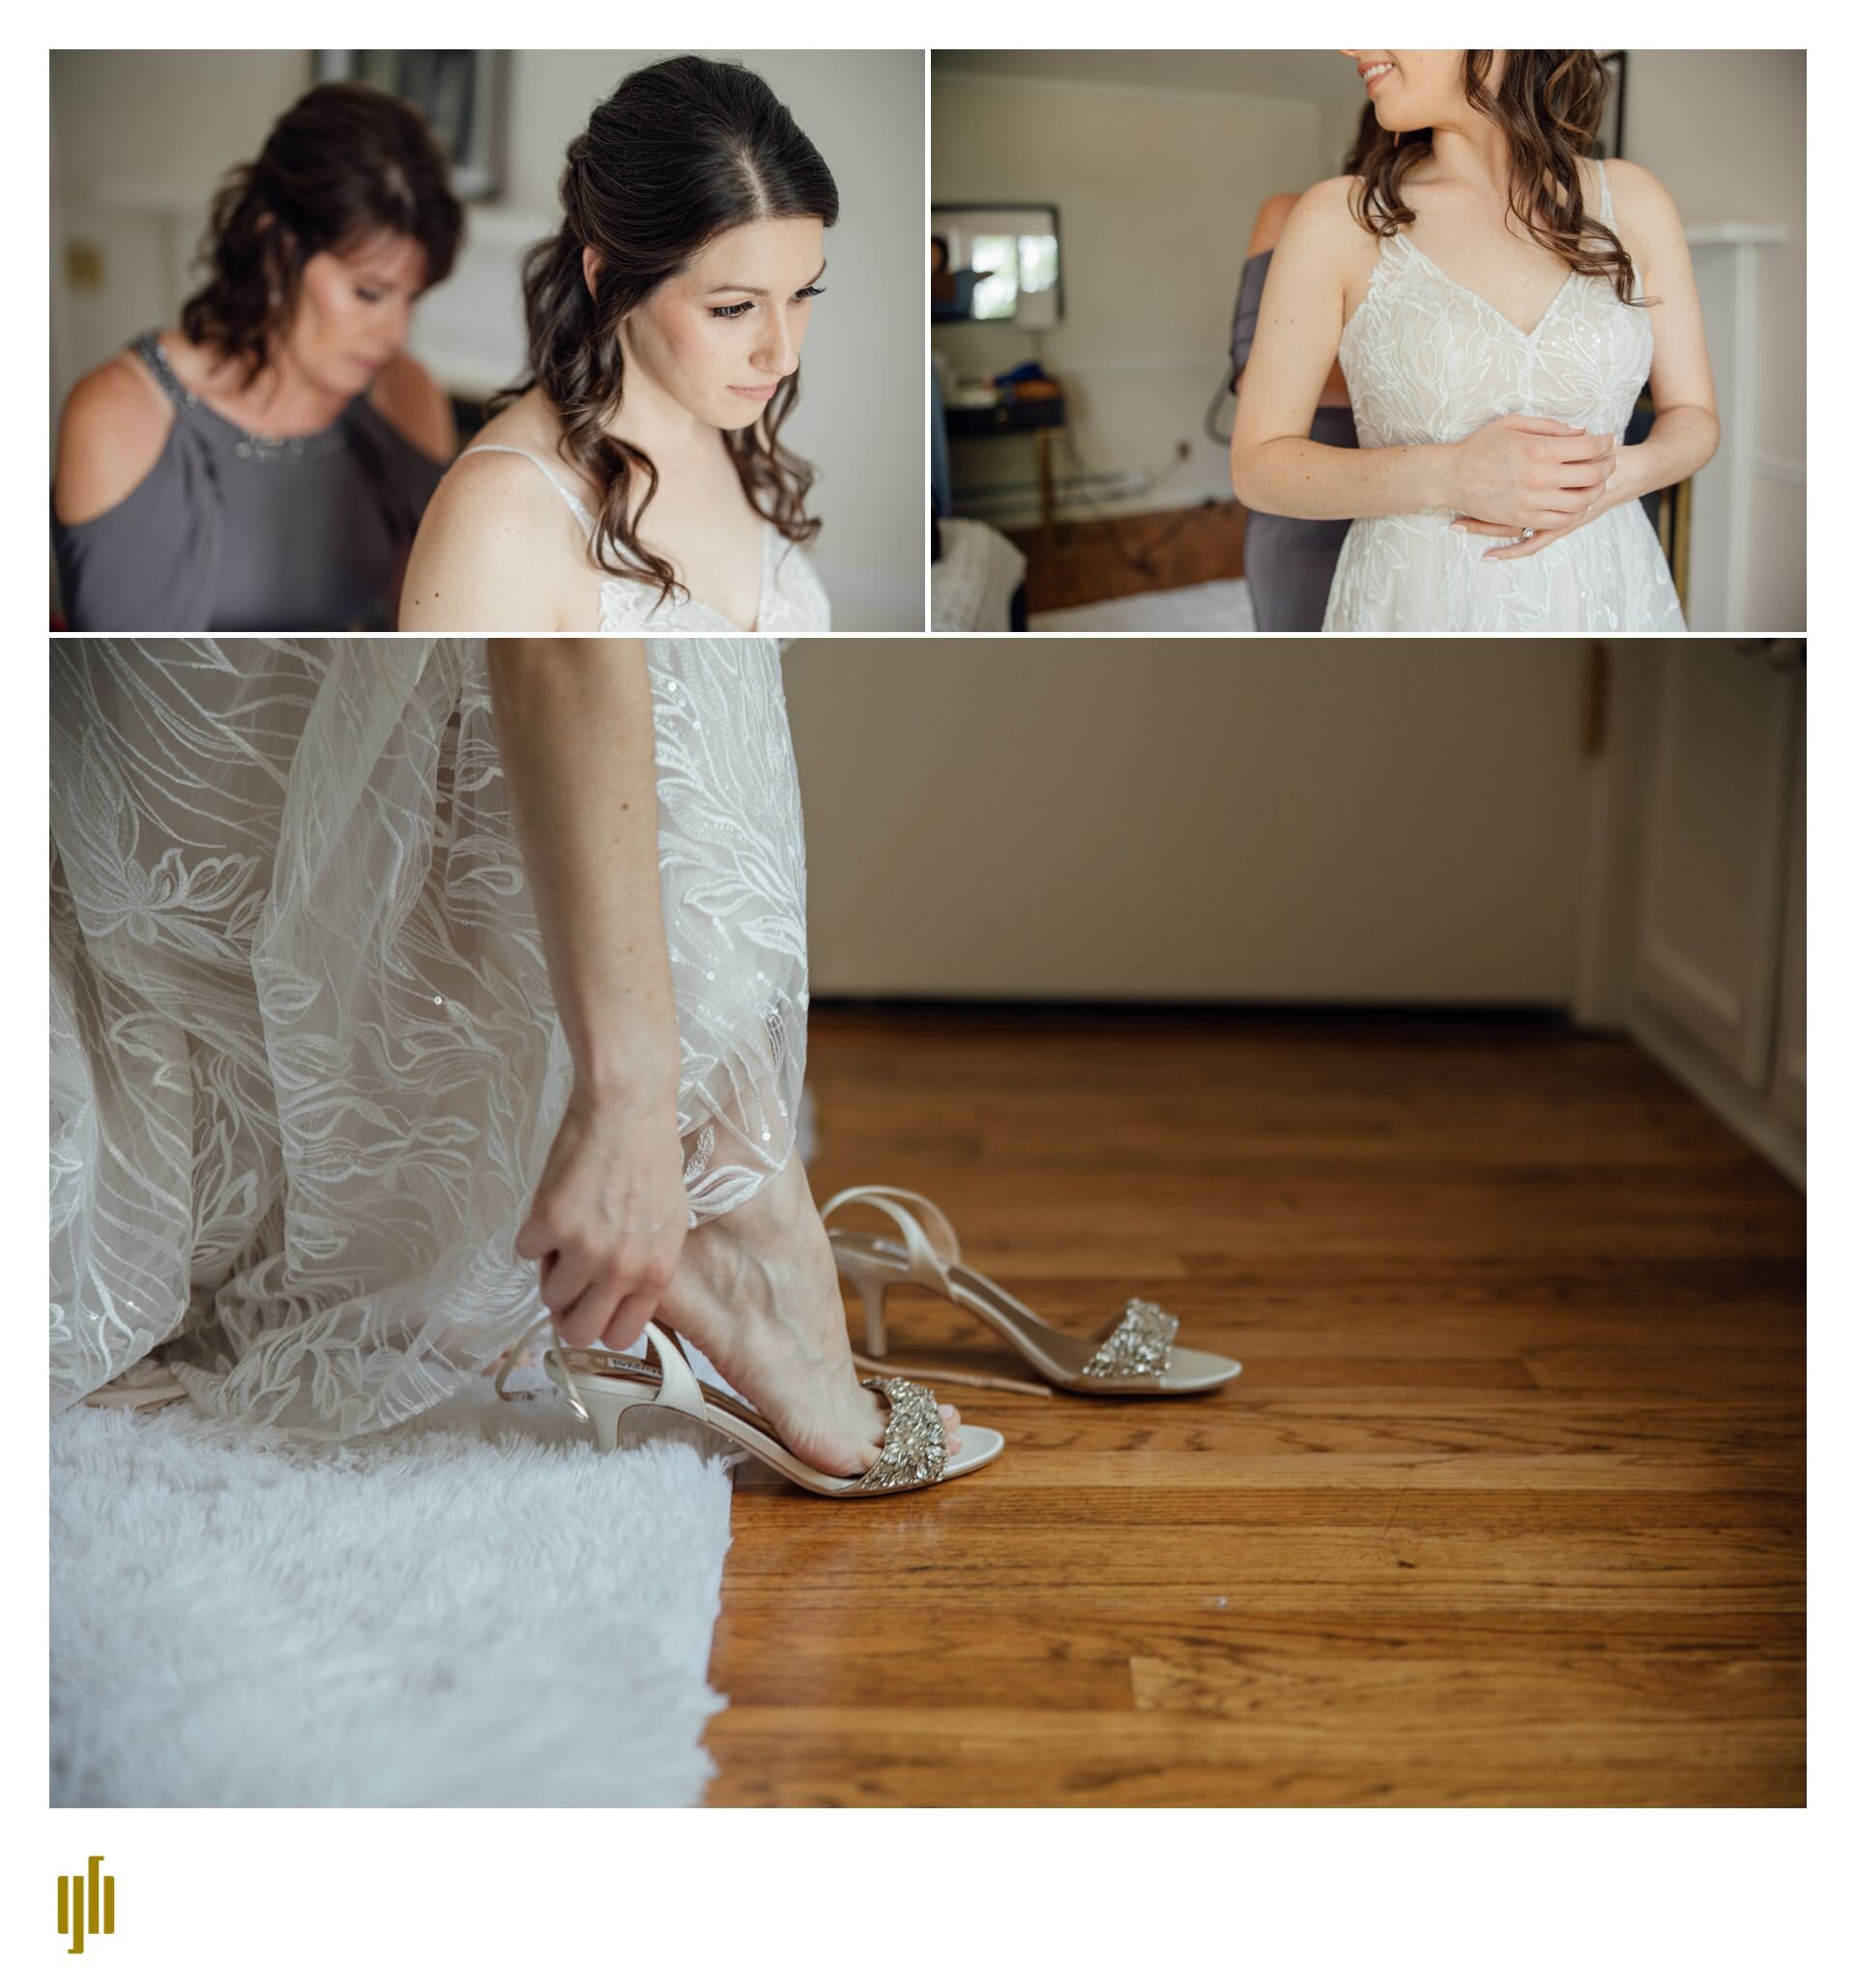
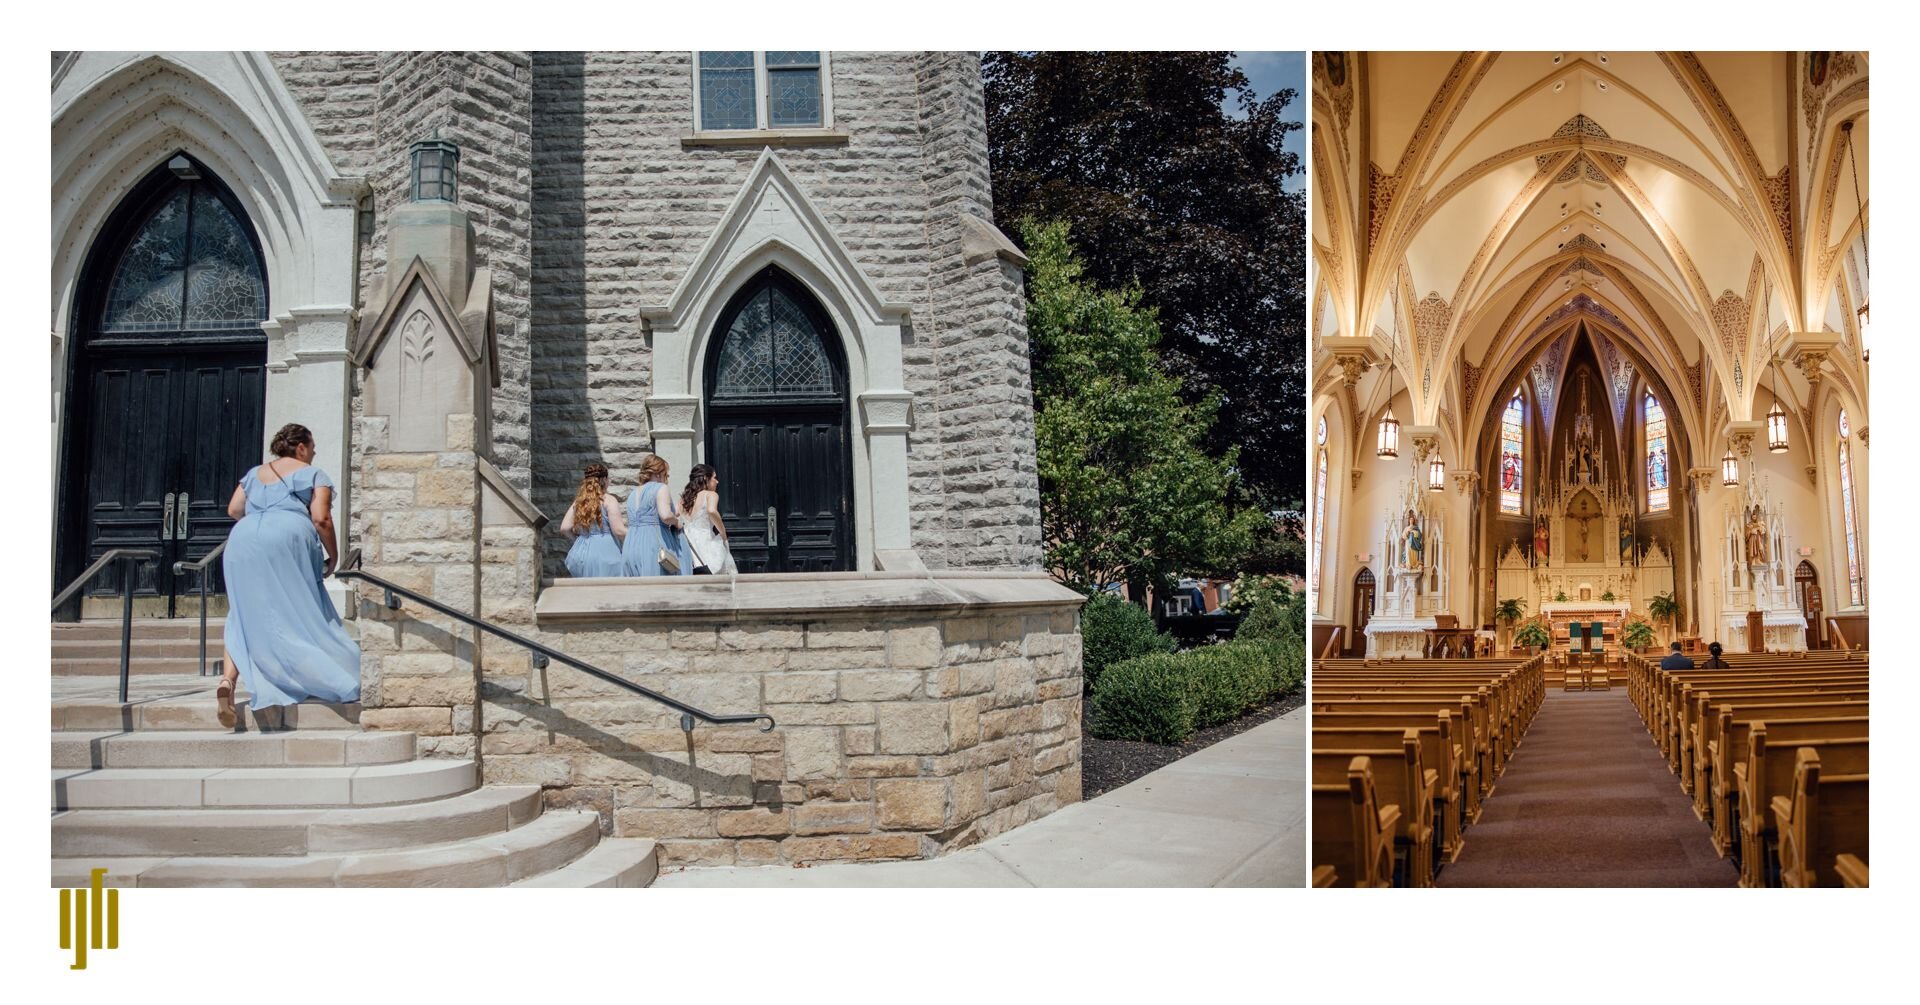
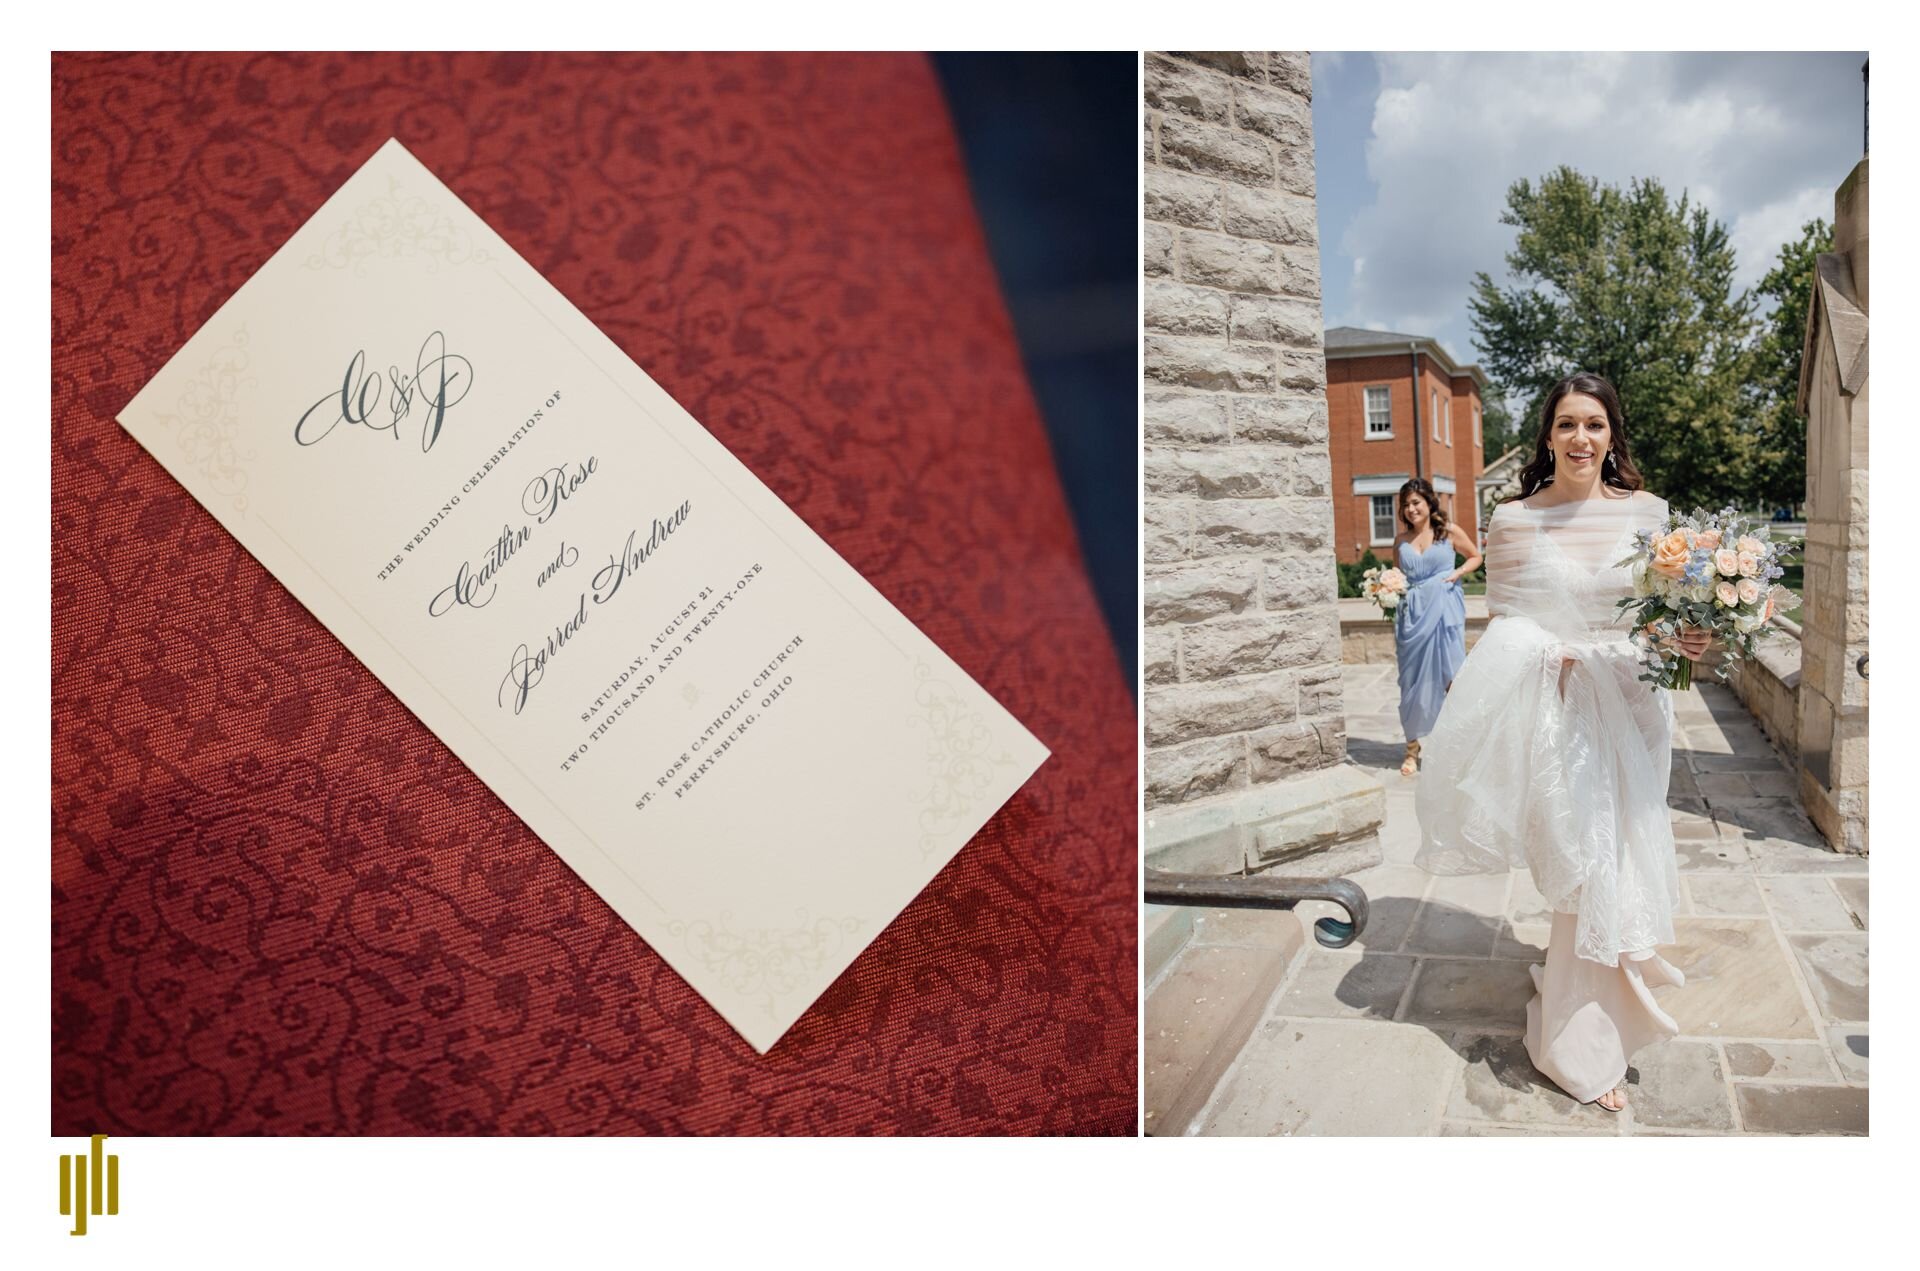
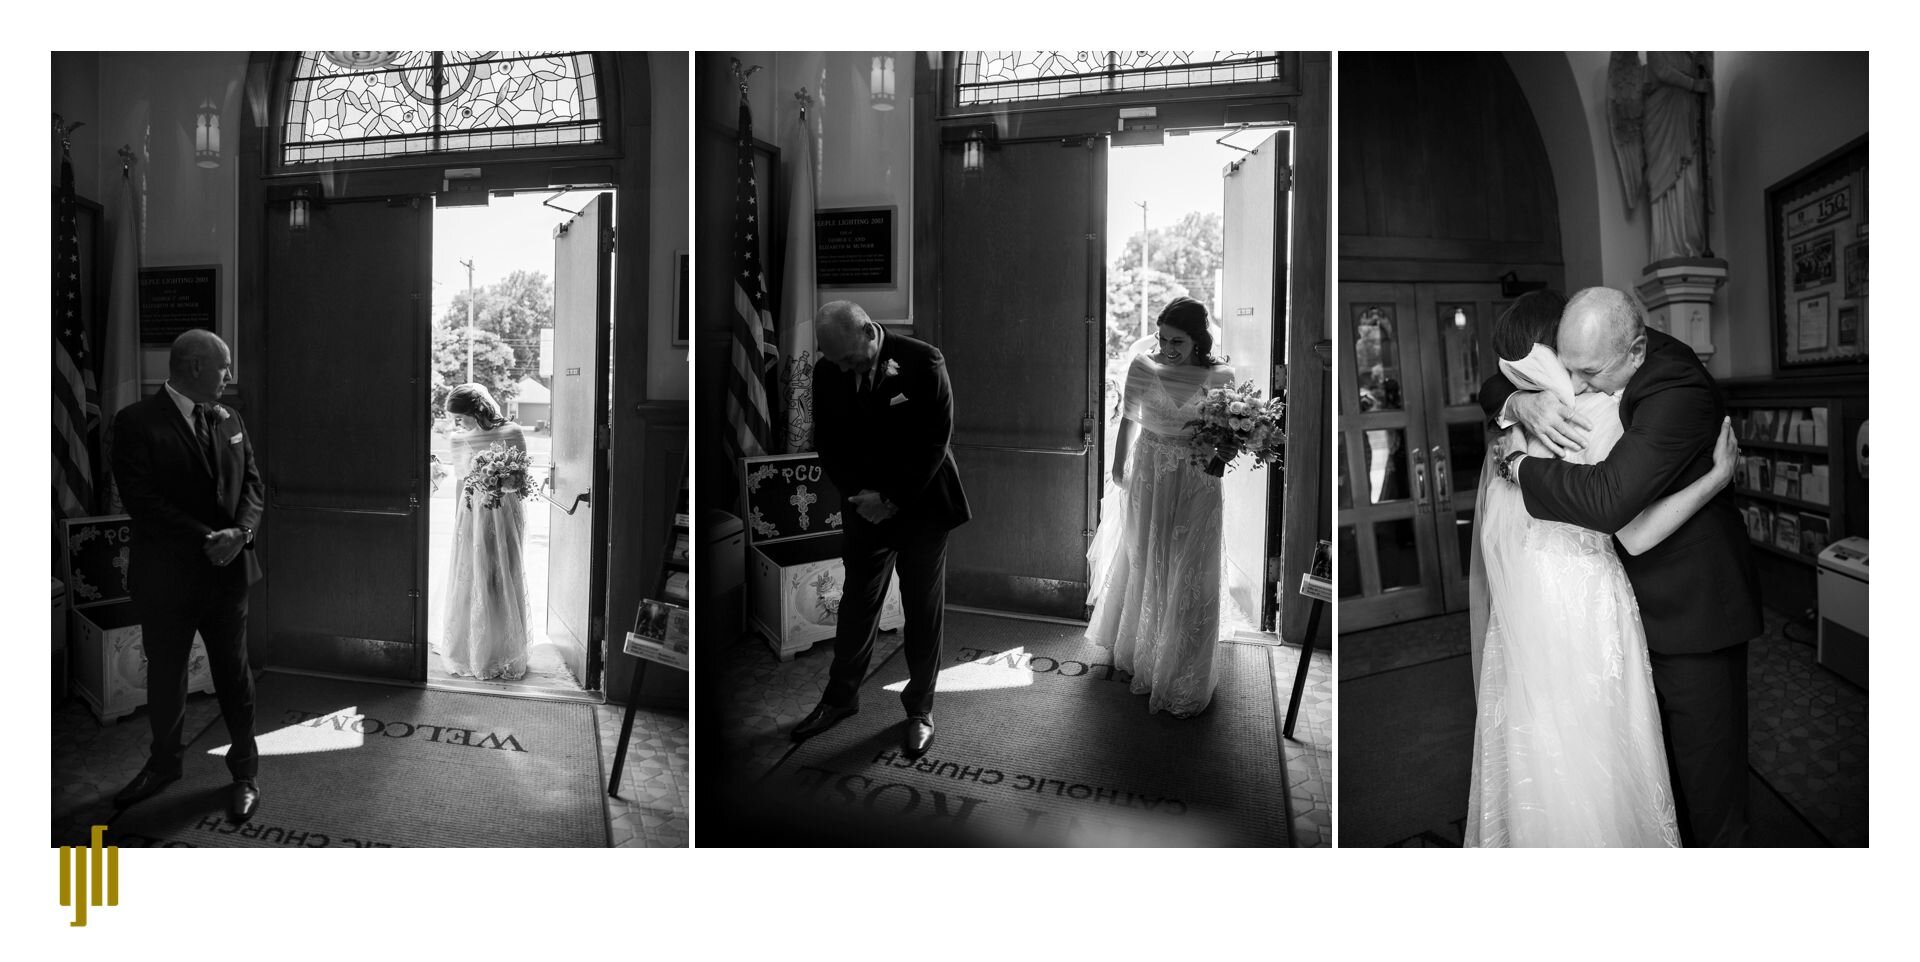
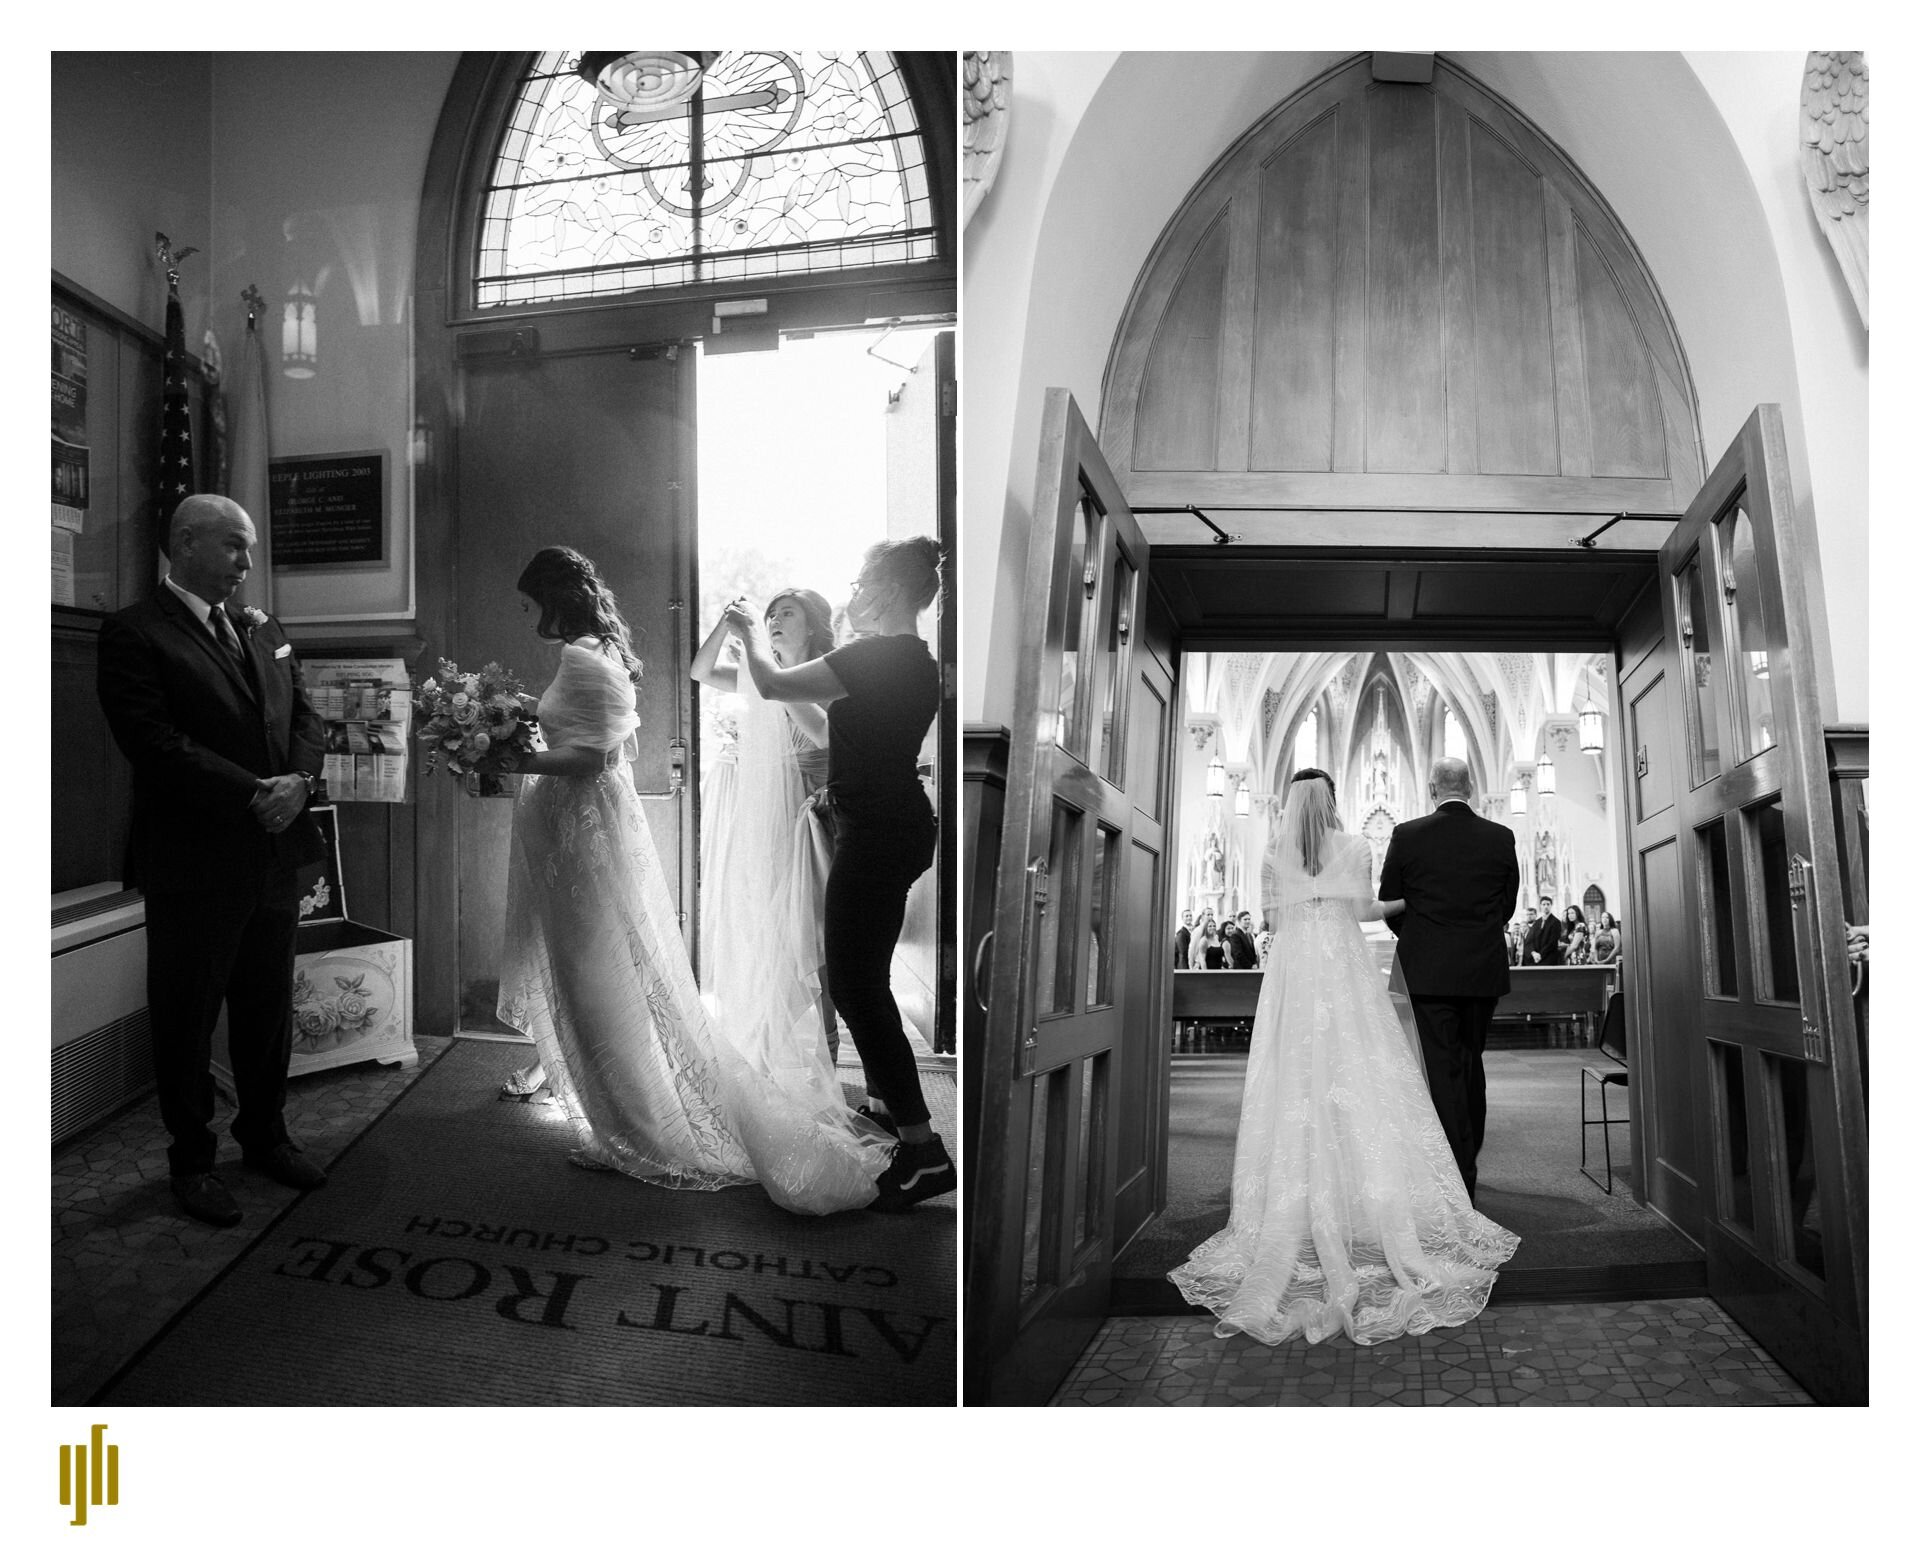
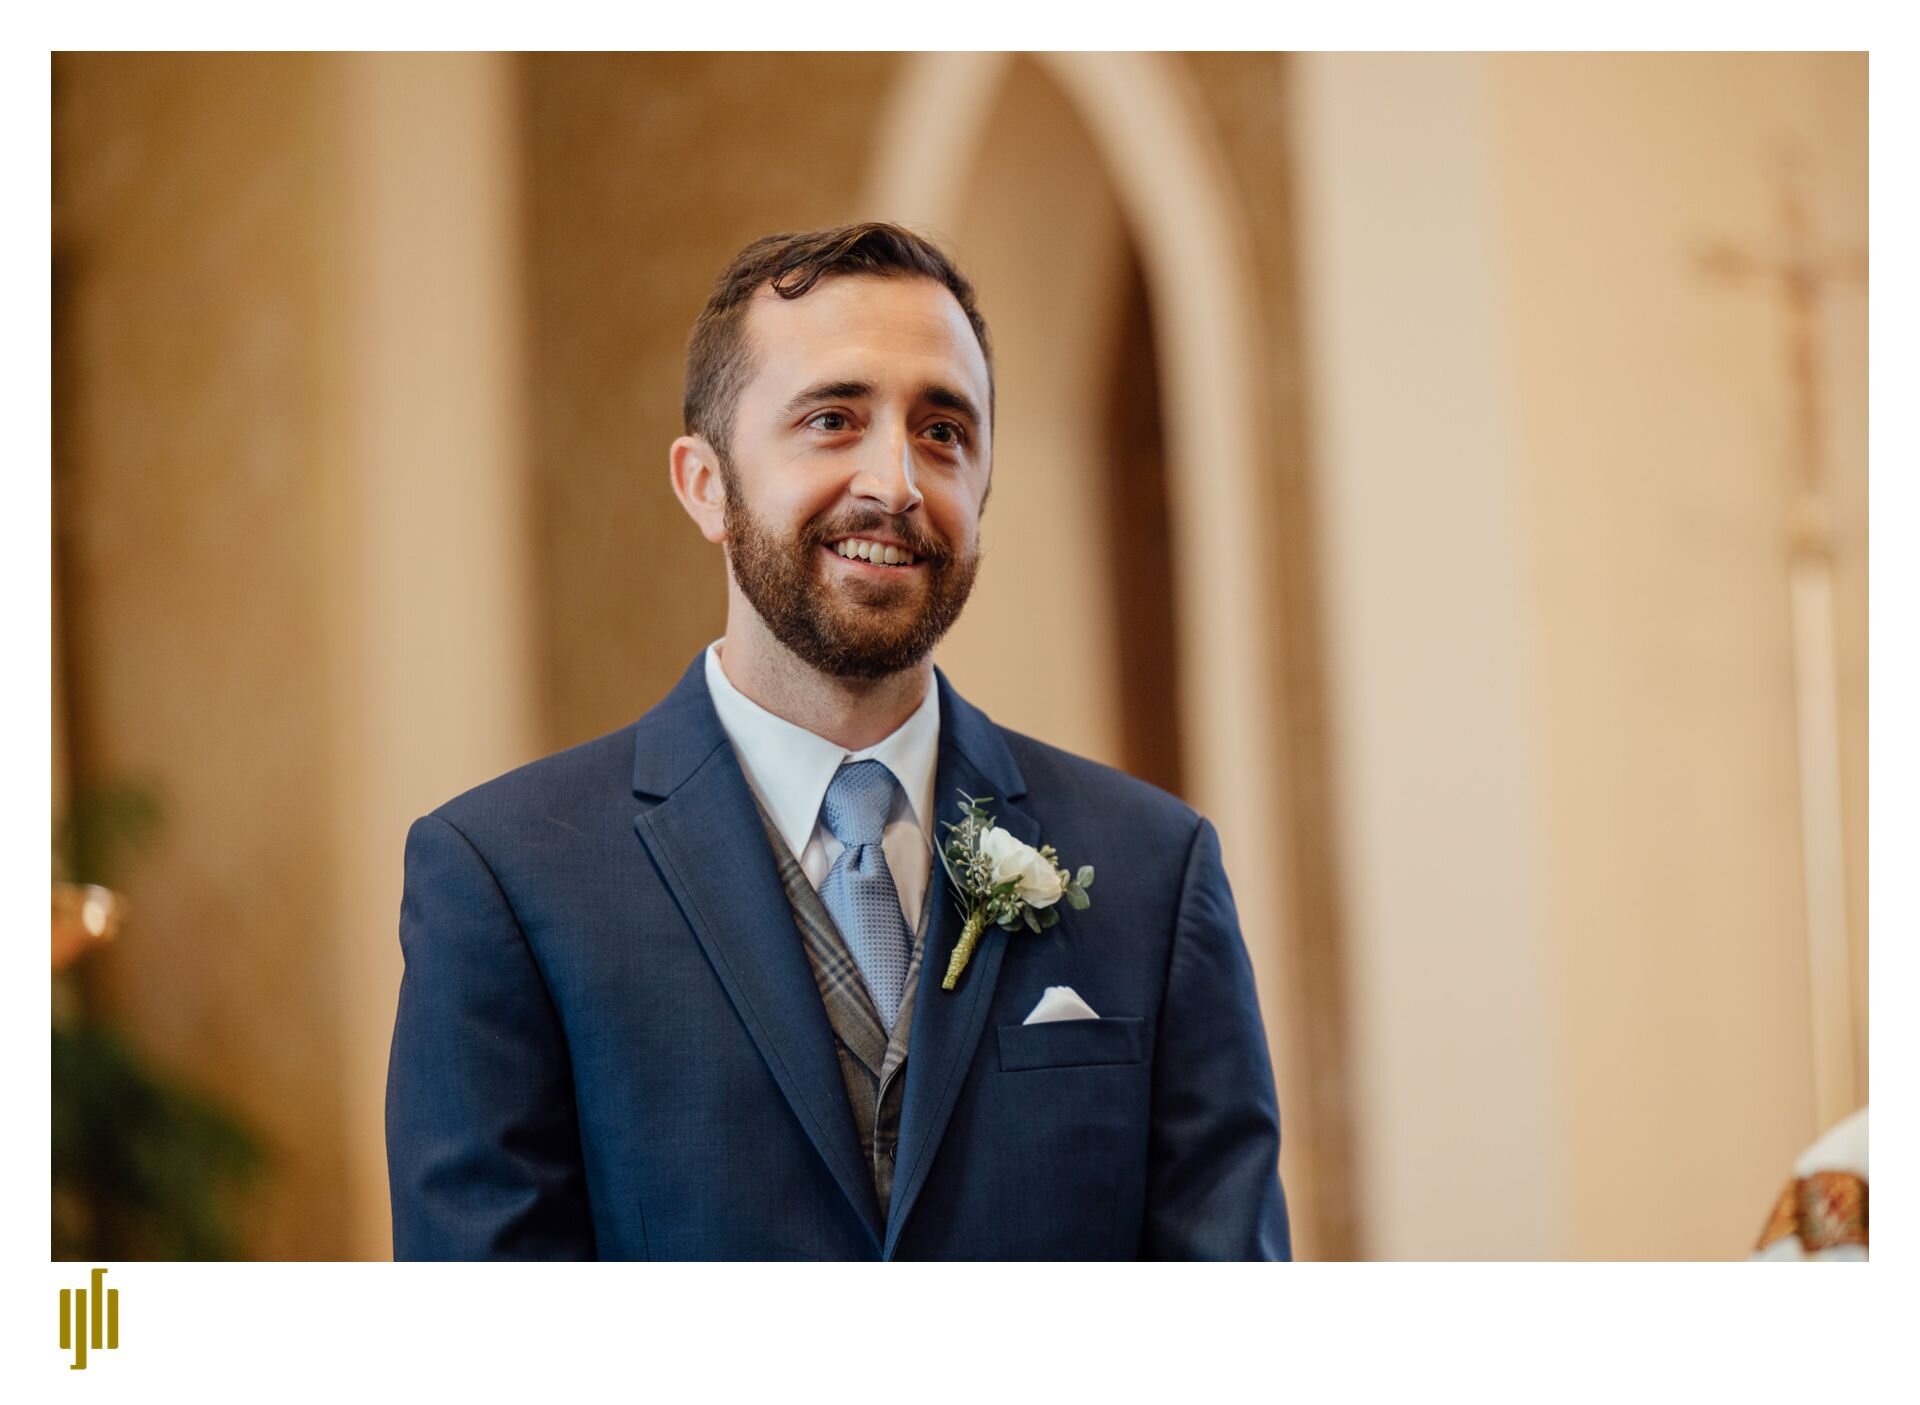
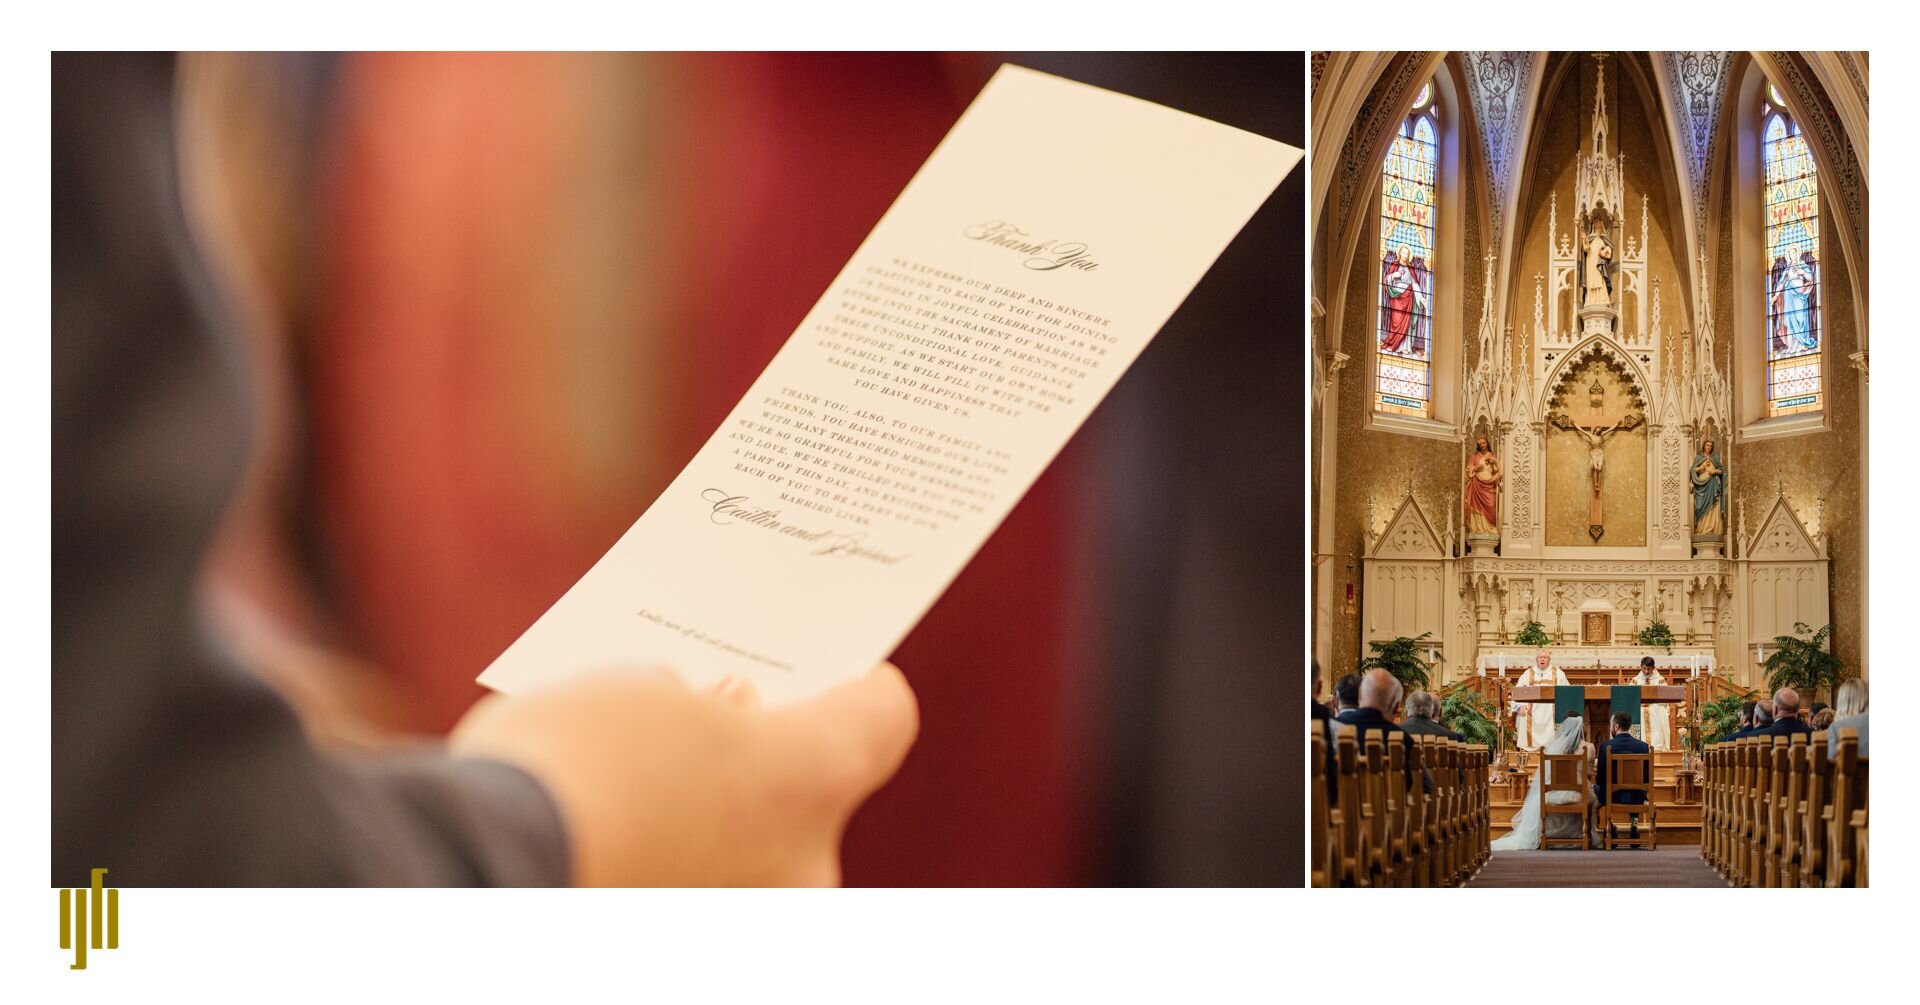
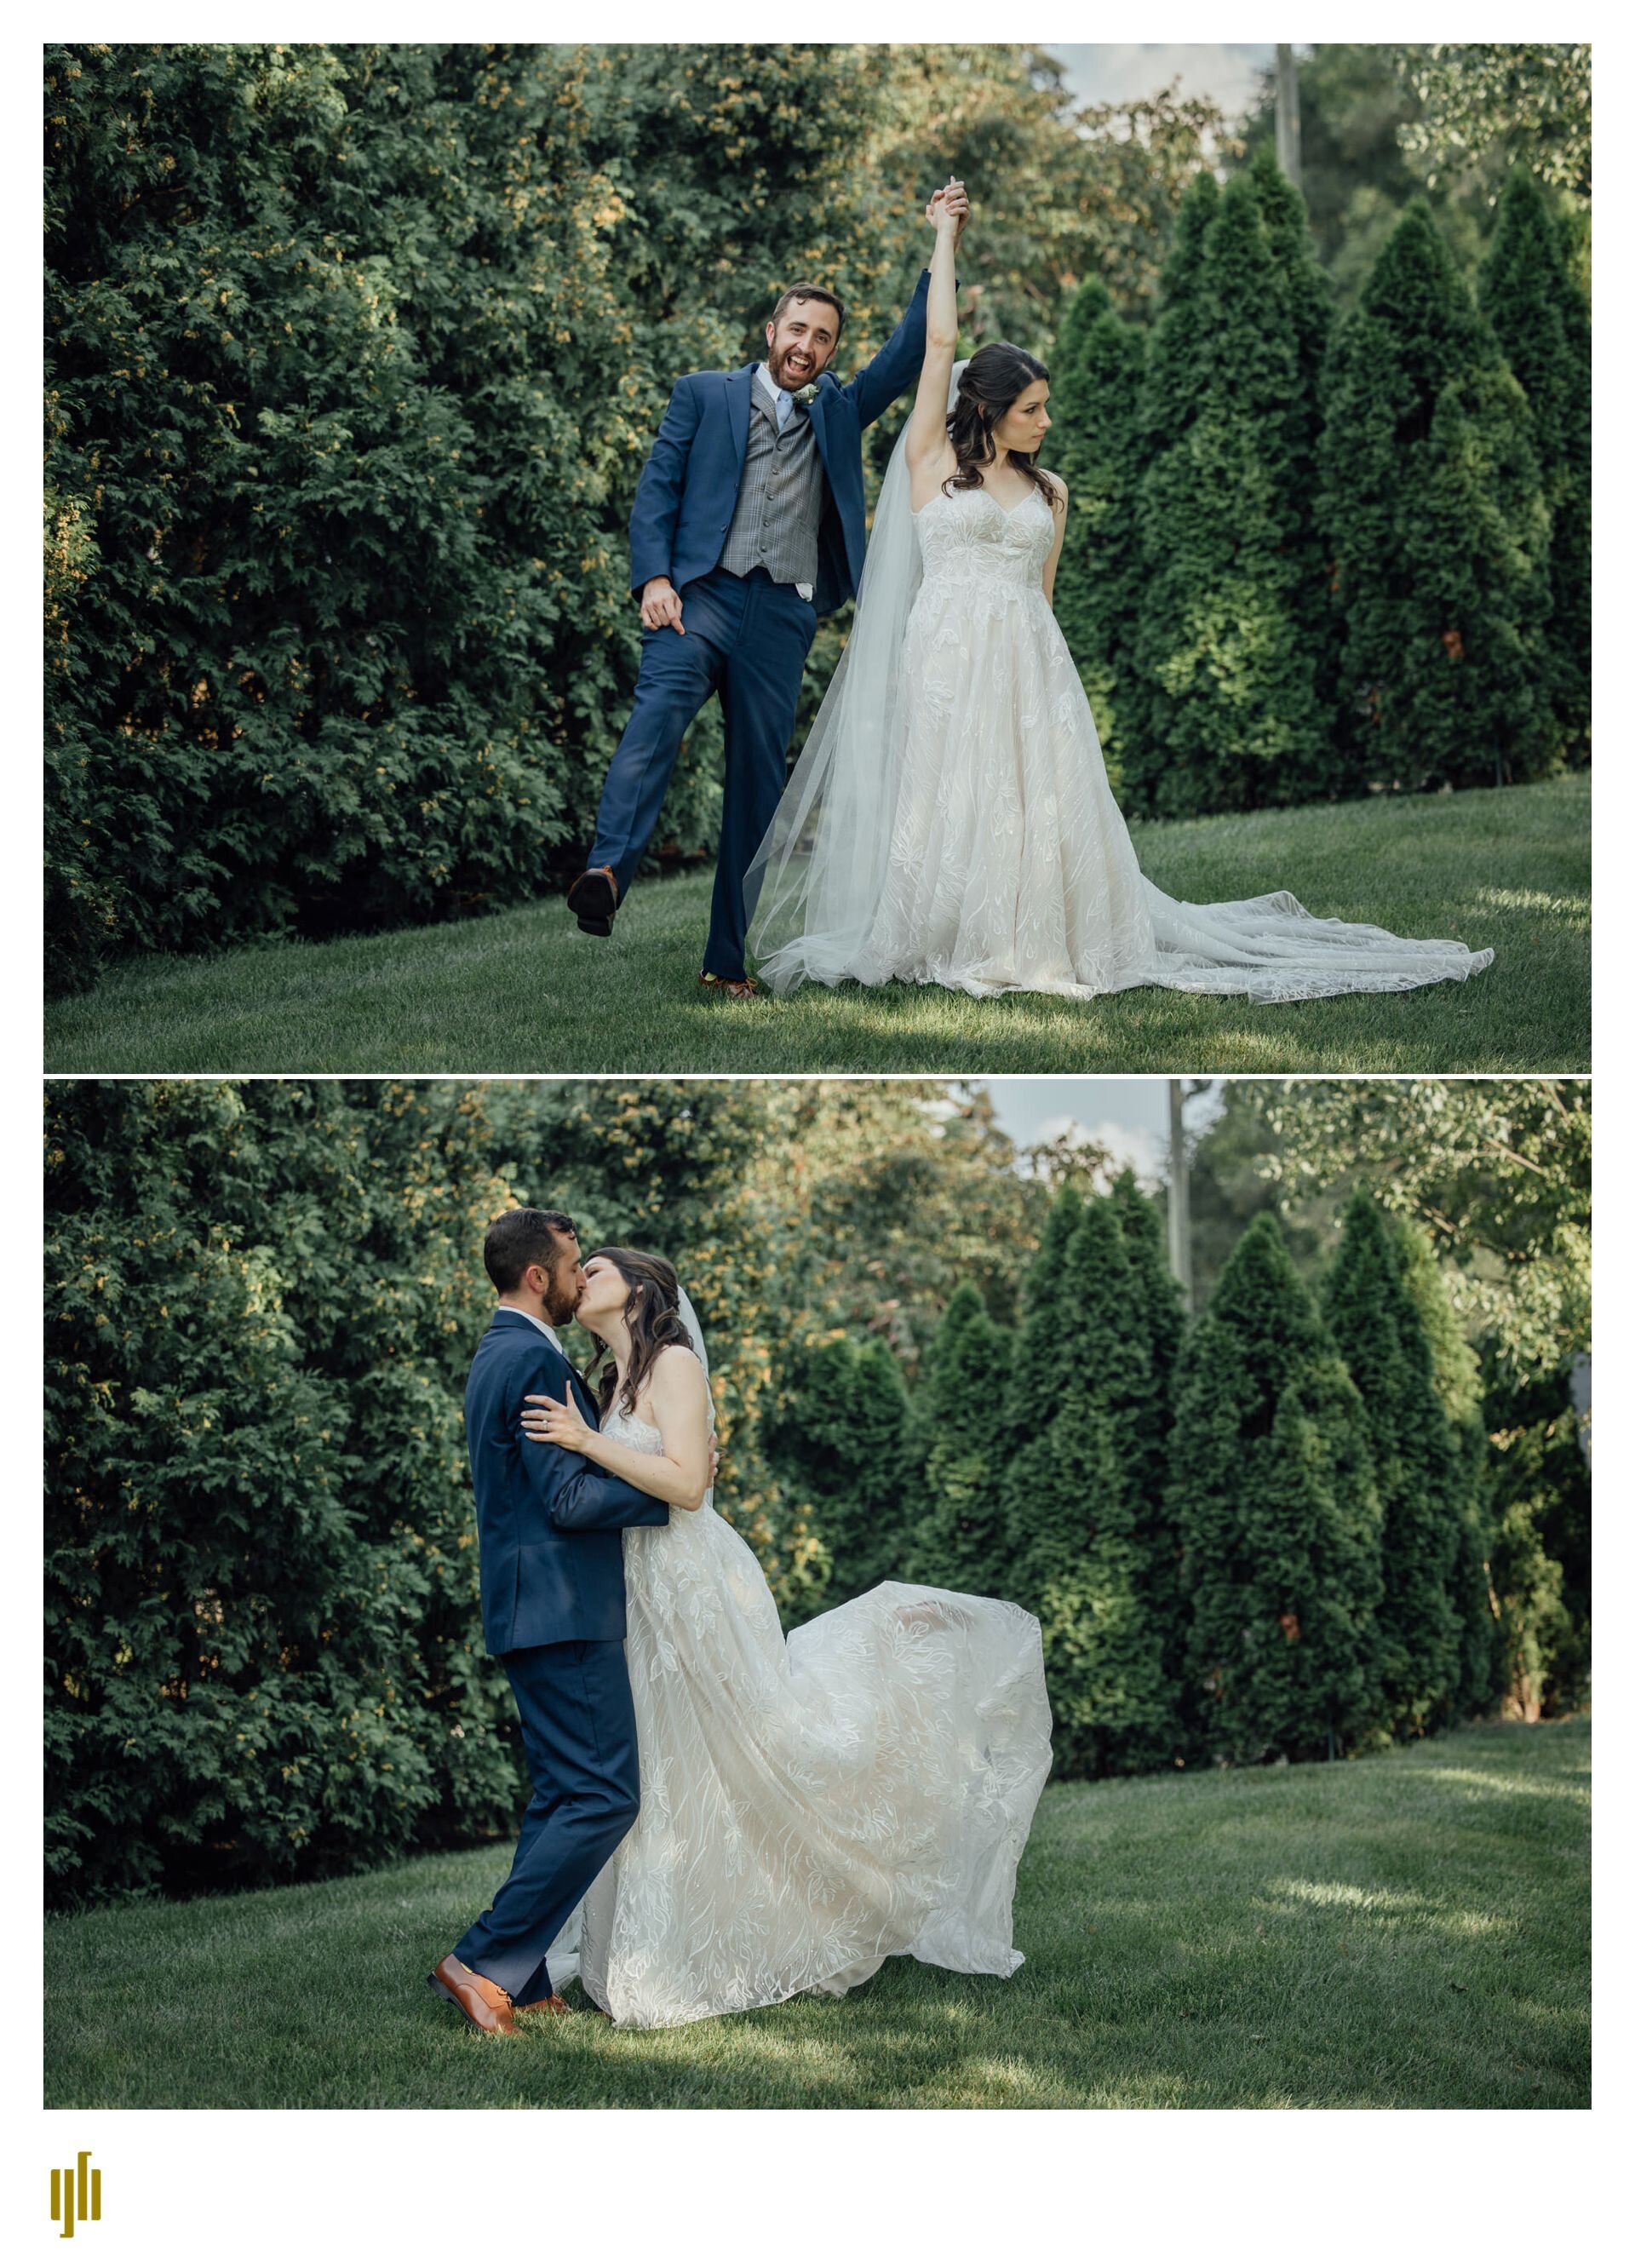
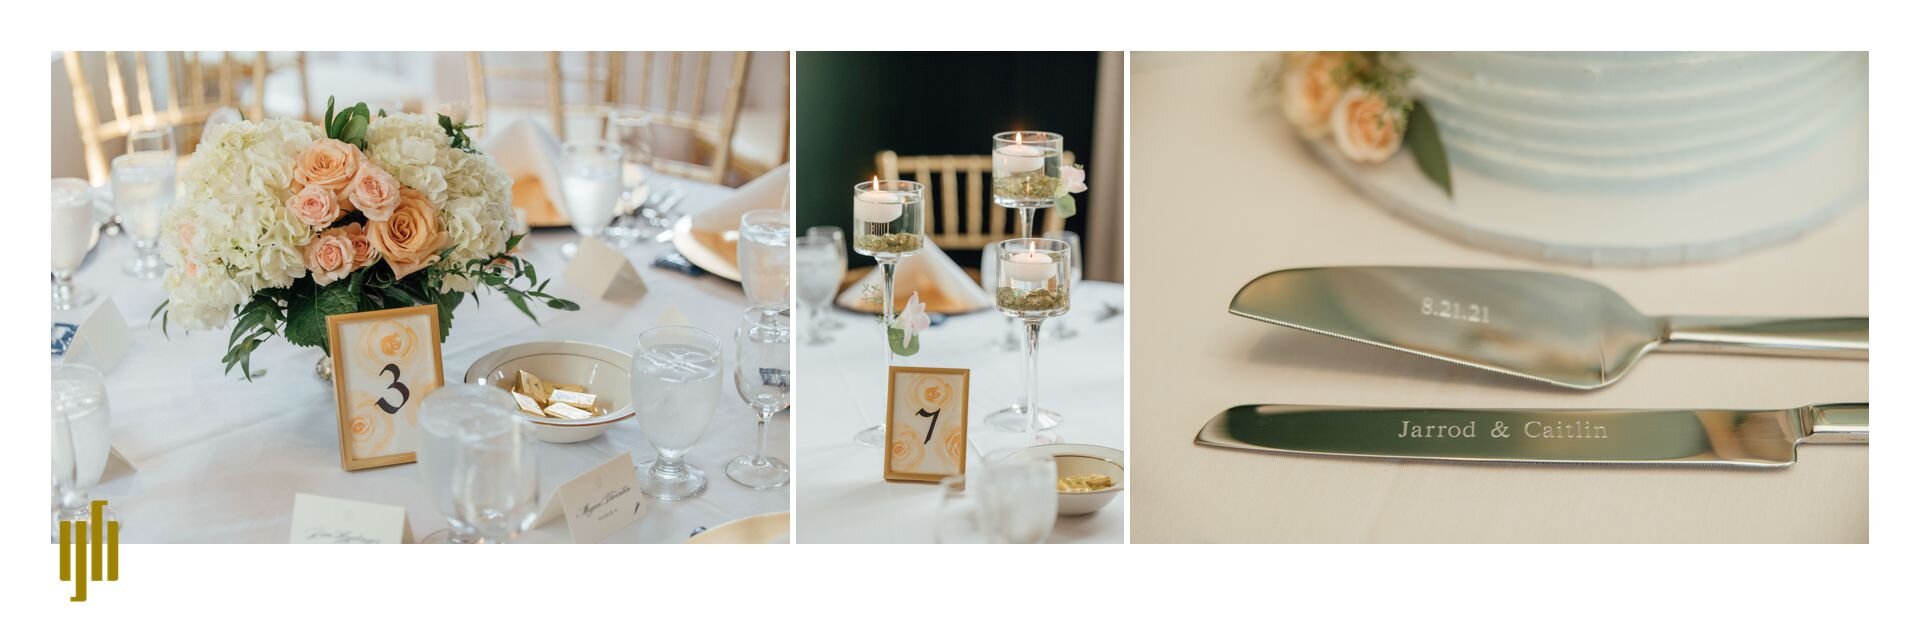
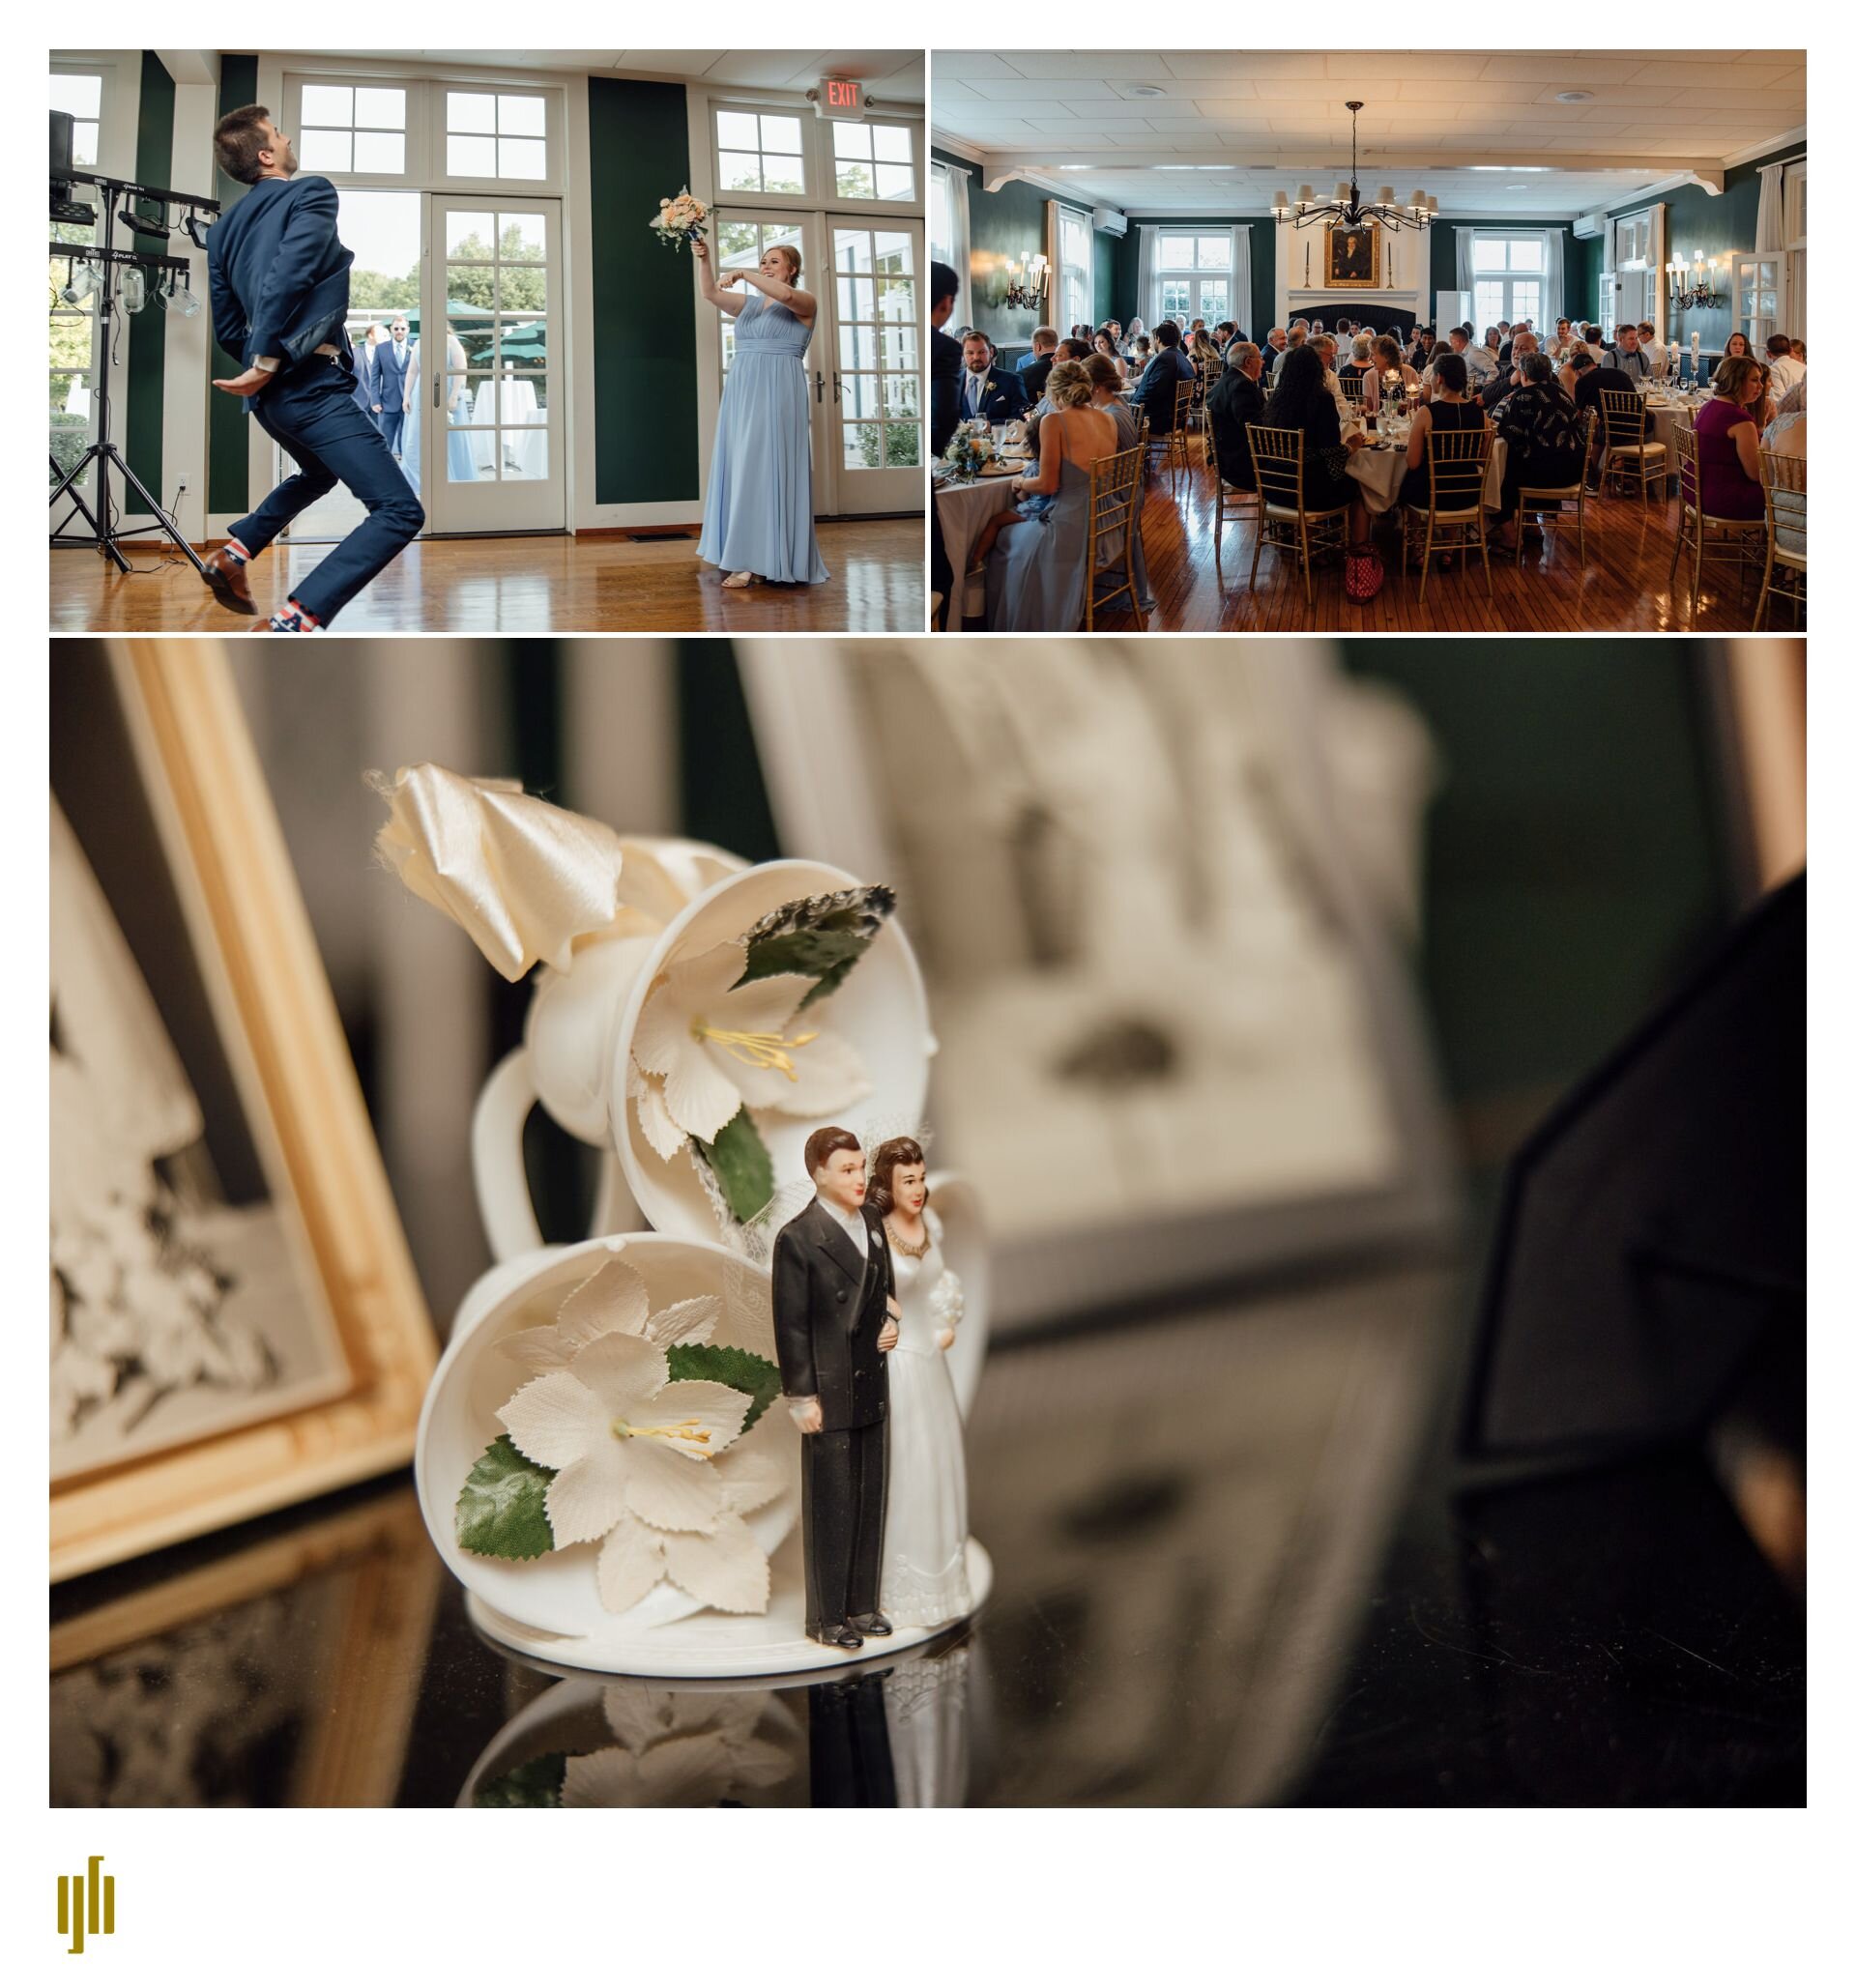
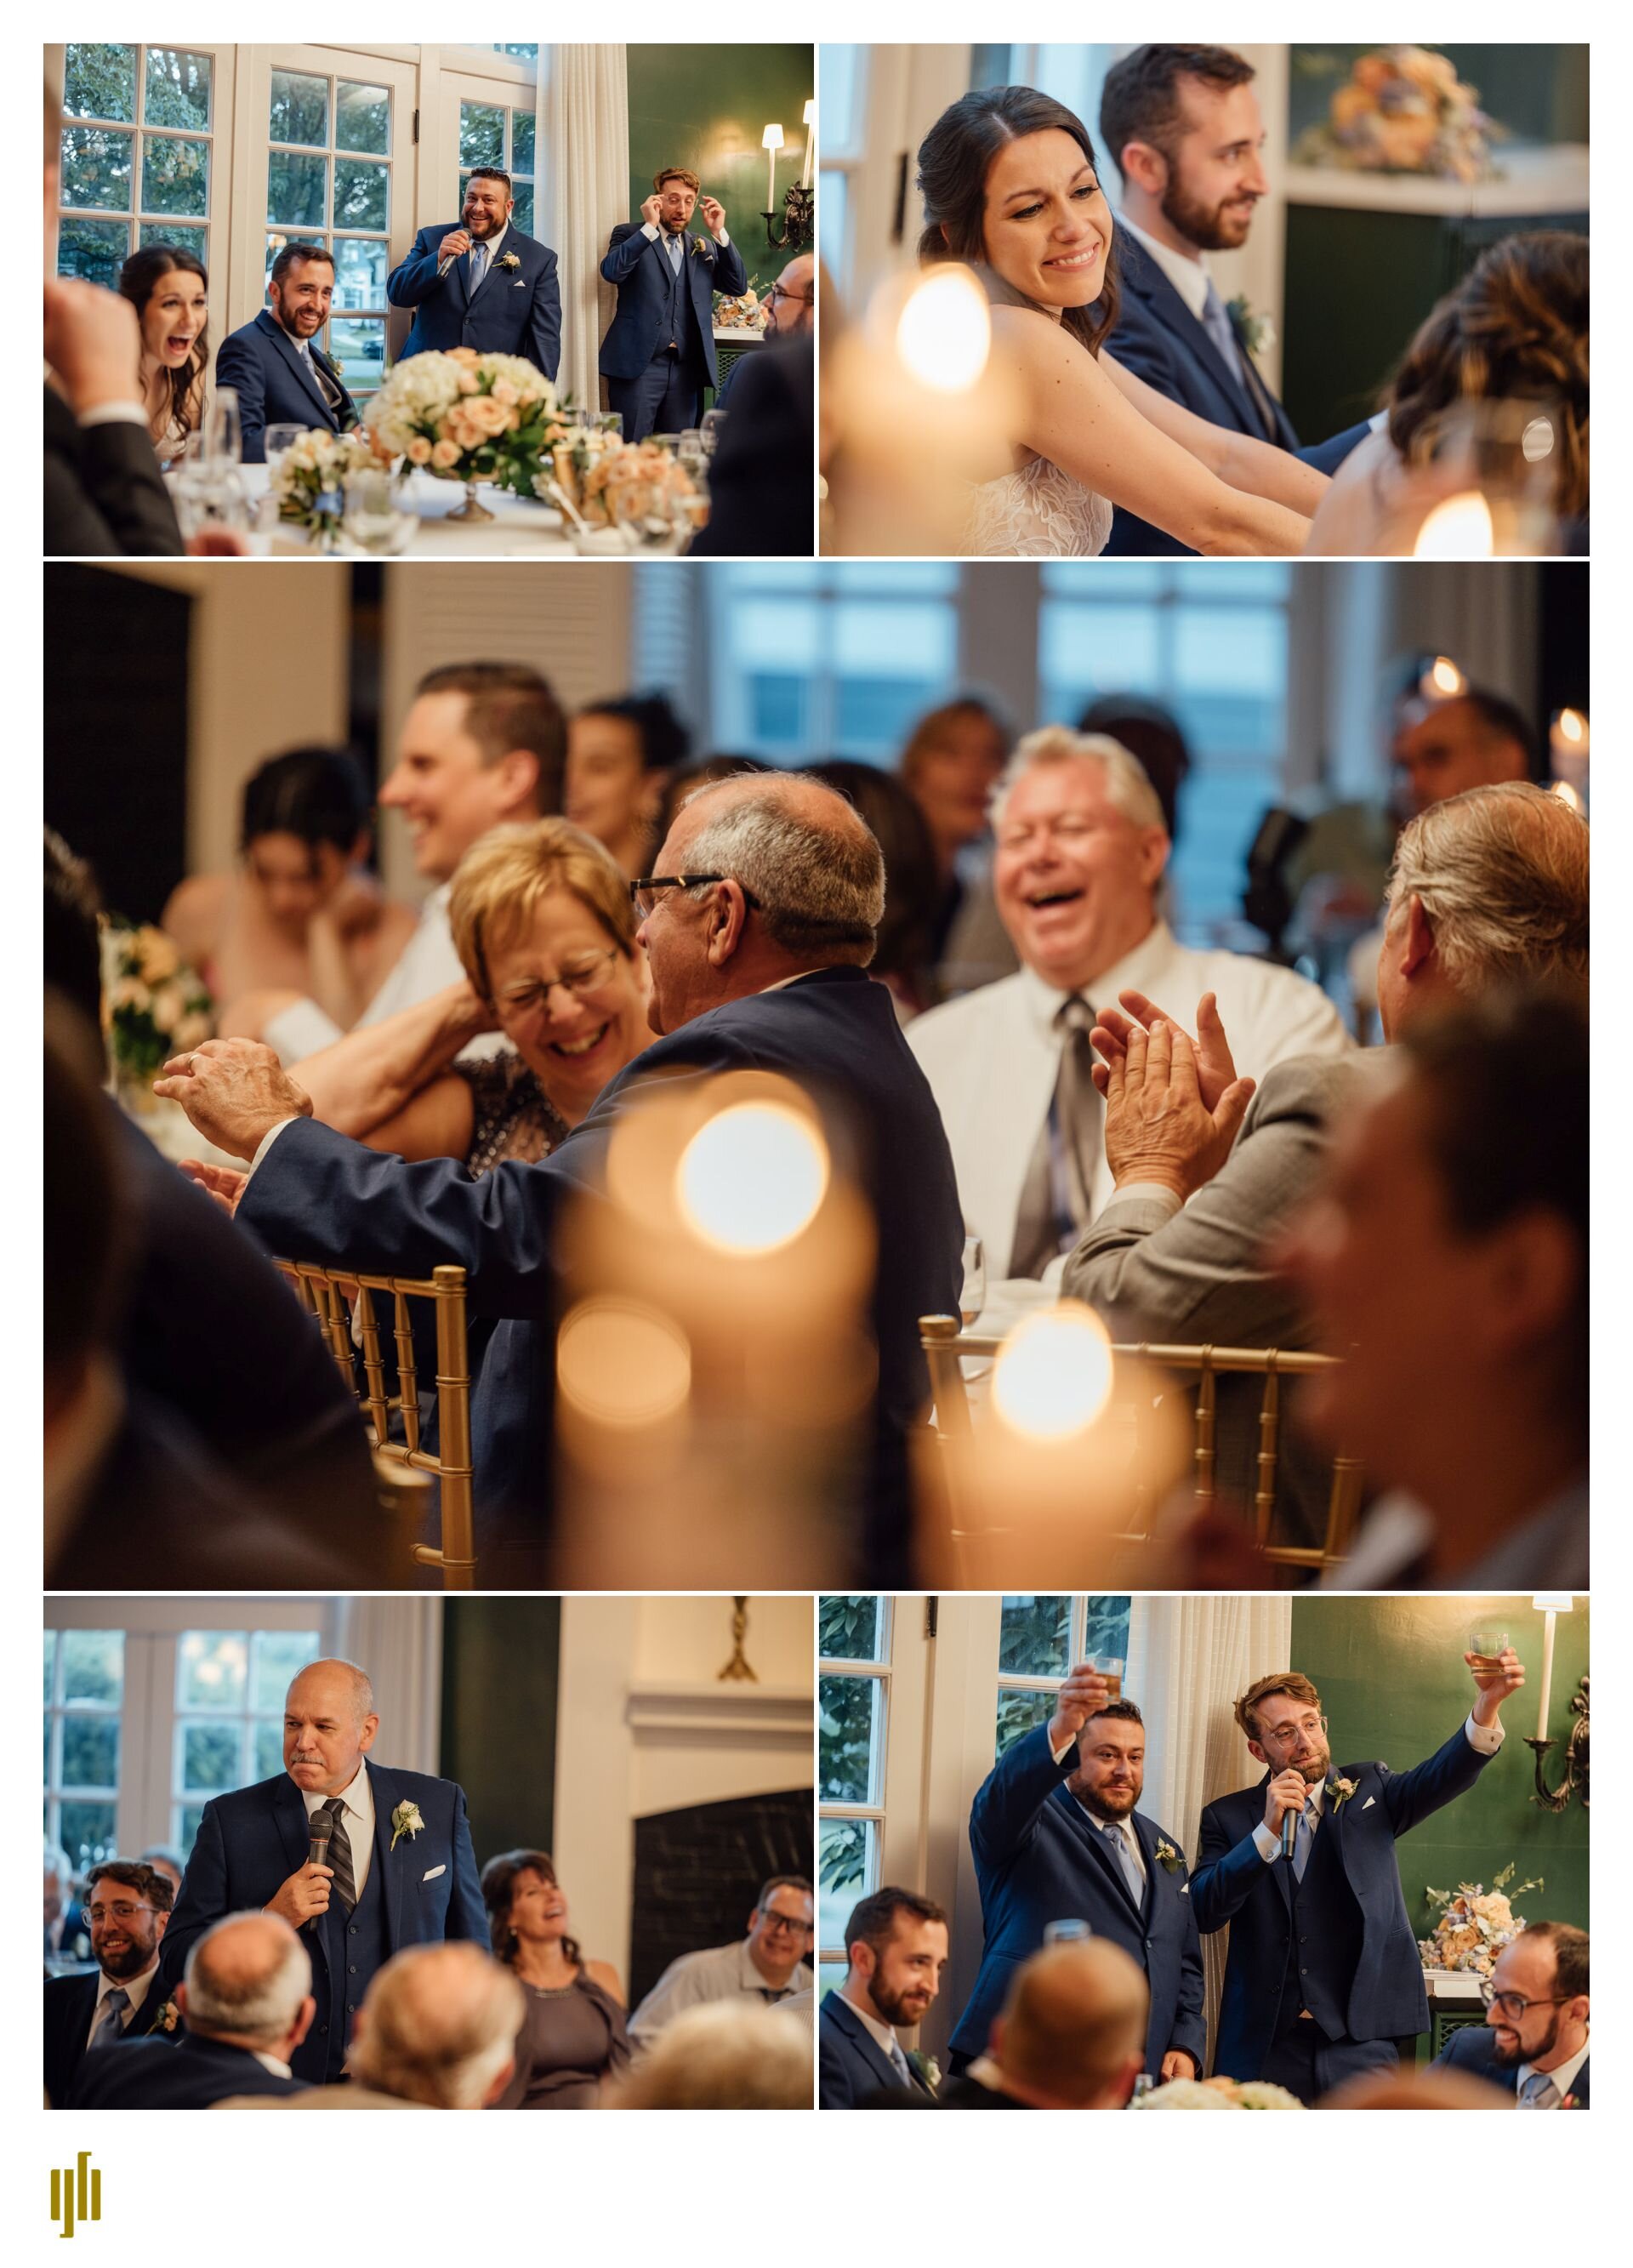
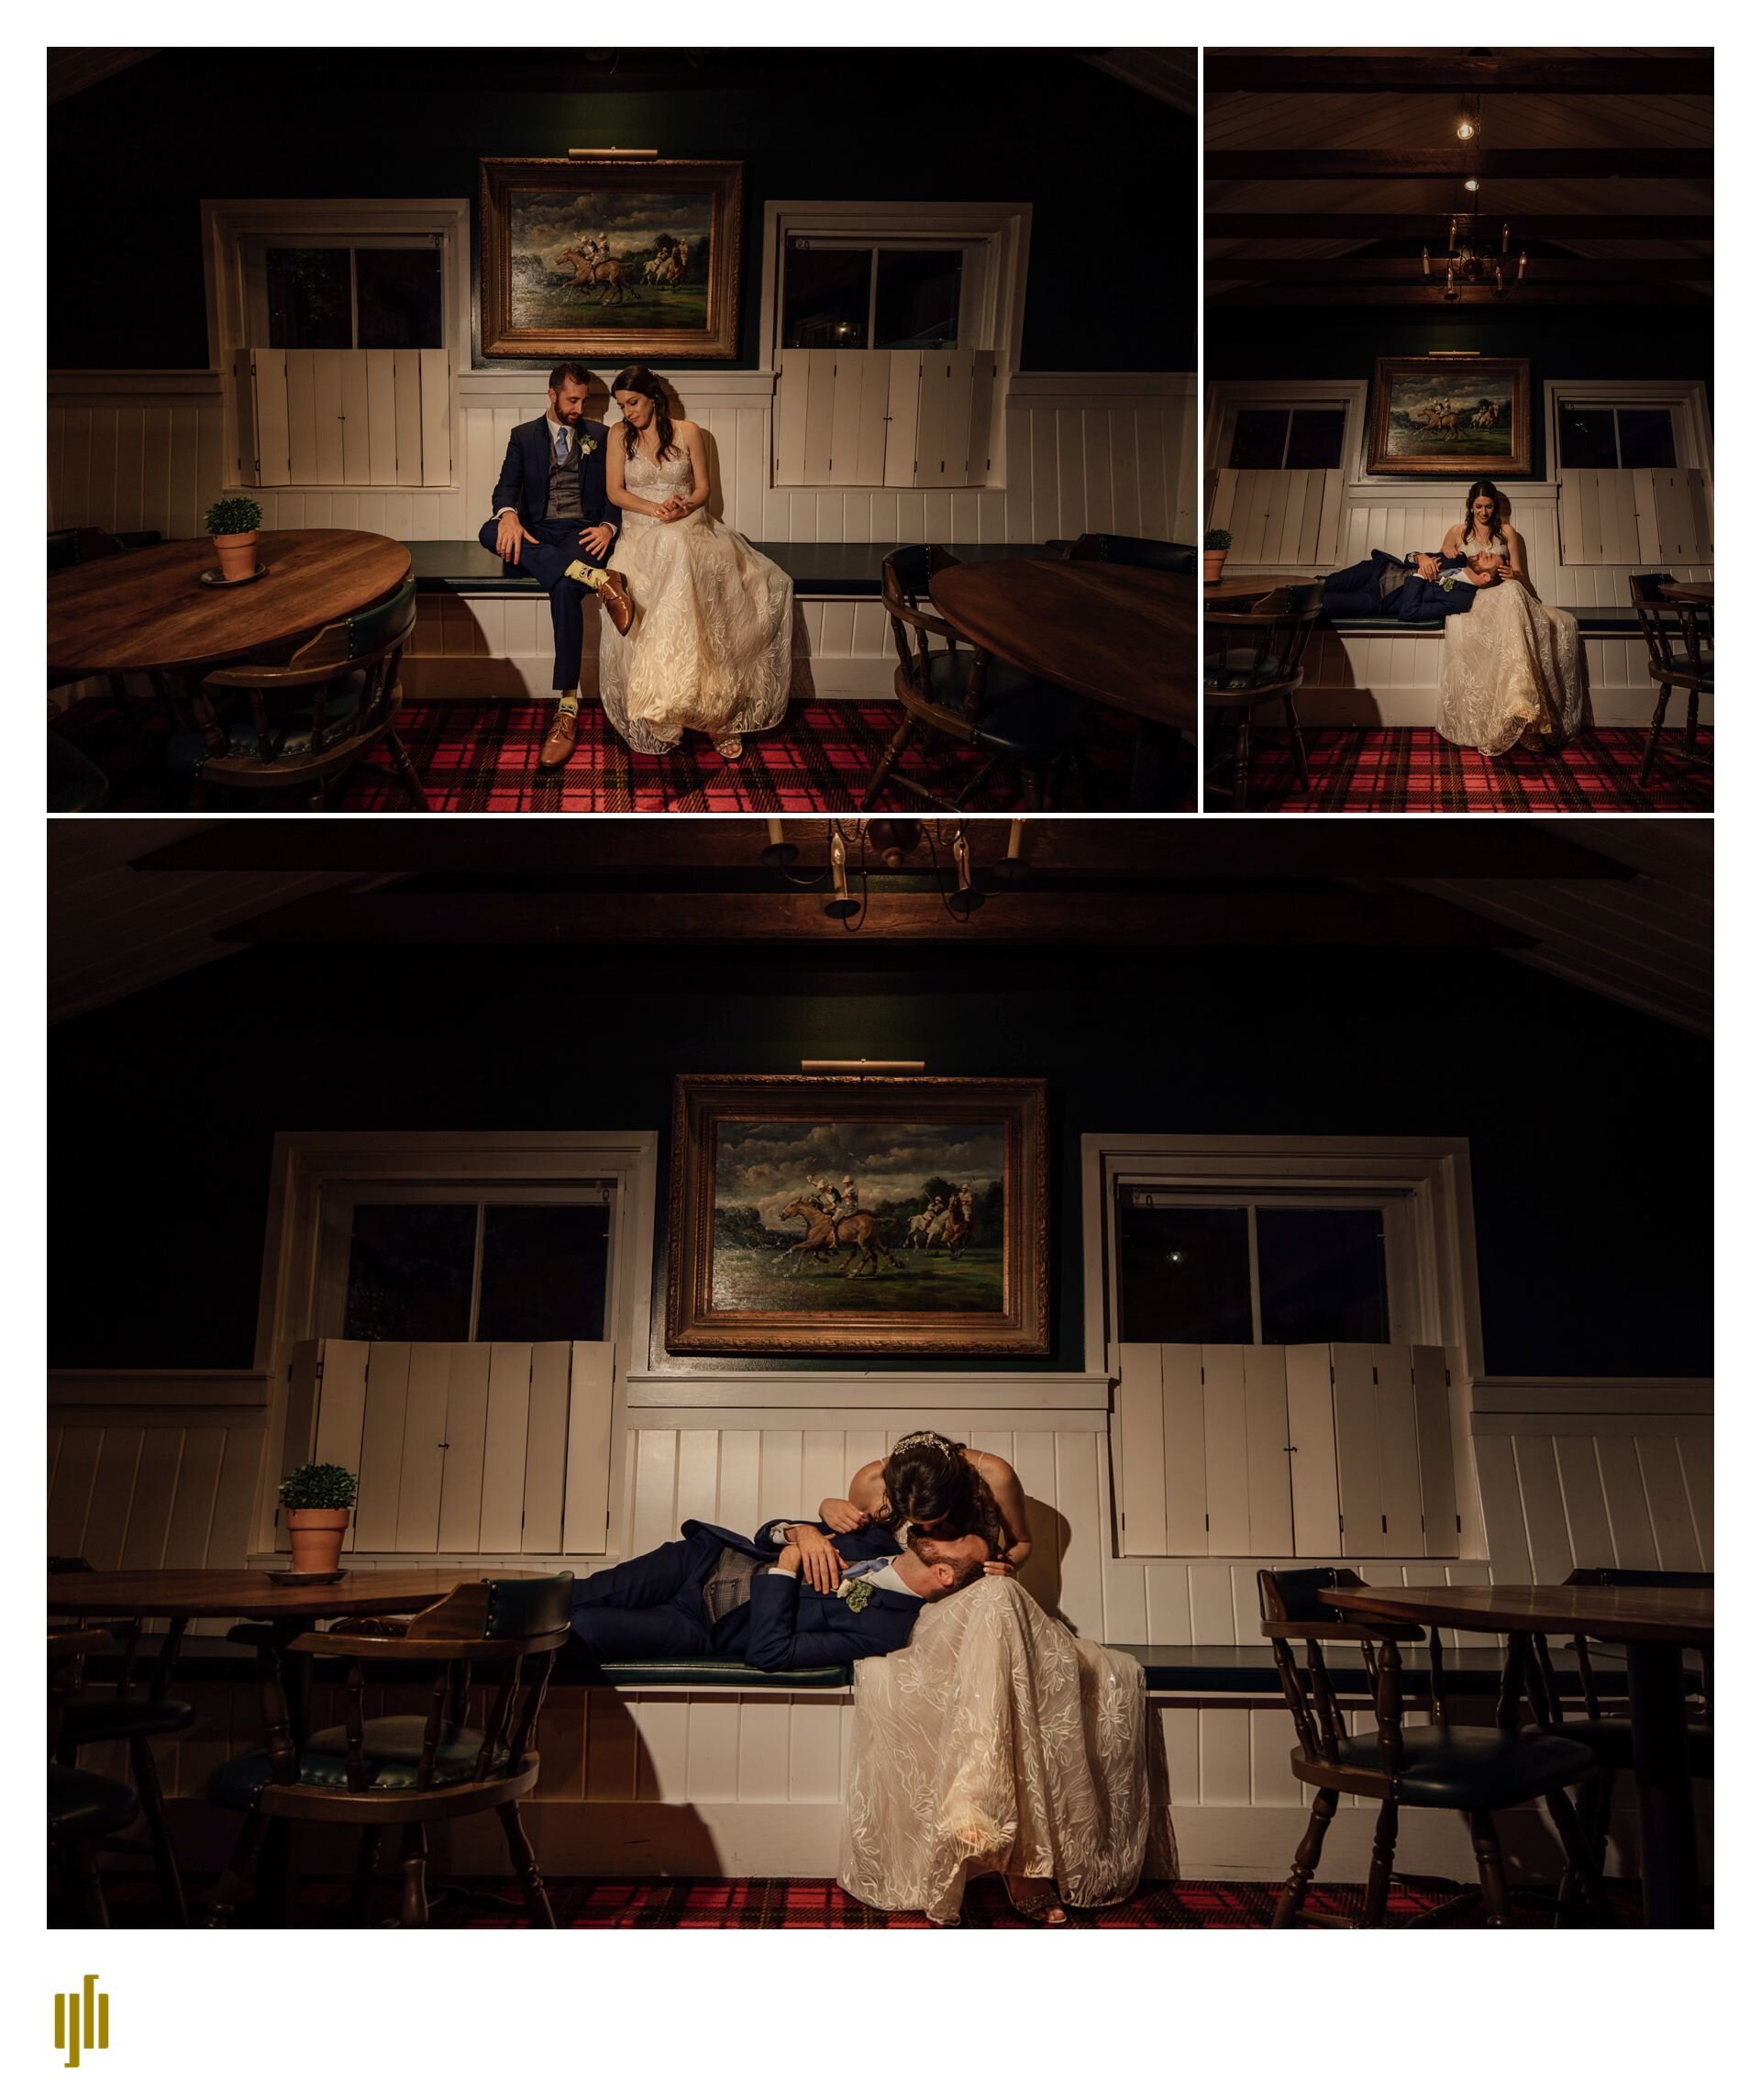
Toledo wedding - Jarrod and Caitlin are married!

This was our first wedding in Toledo area since moving here and what a fantastic wedding it was. Jarrod and Caitlin were wonderful to work with, and it was an honor to be there. The ceremony was held at St. Rose Parish in Perrysburg, OH, and we went almost next door to the Corranor Hunt and Polo Club for the reception. Enjoy a quick look at their day!

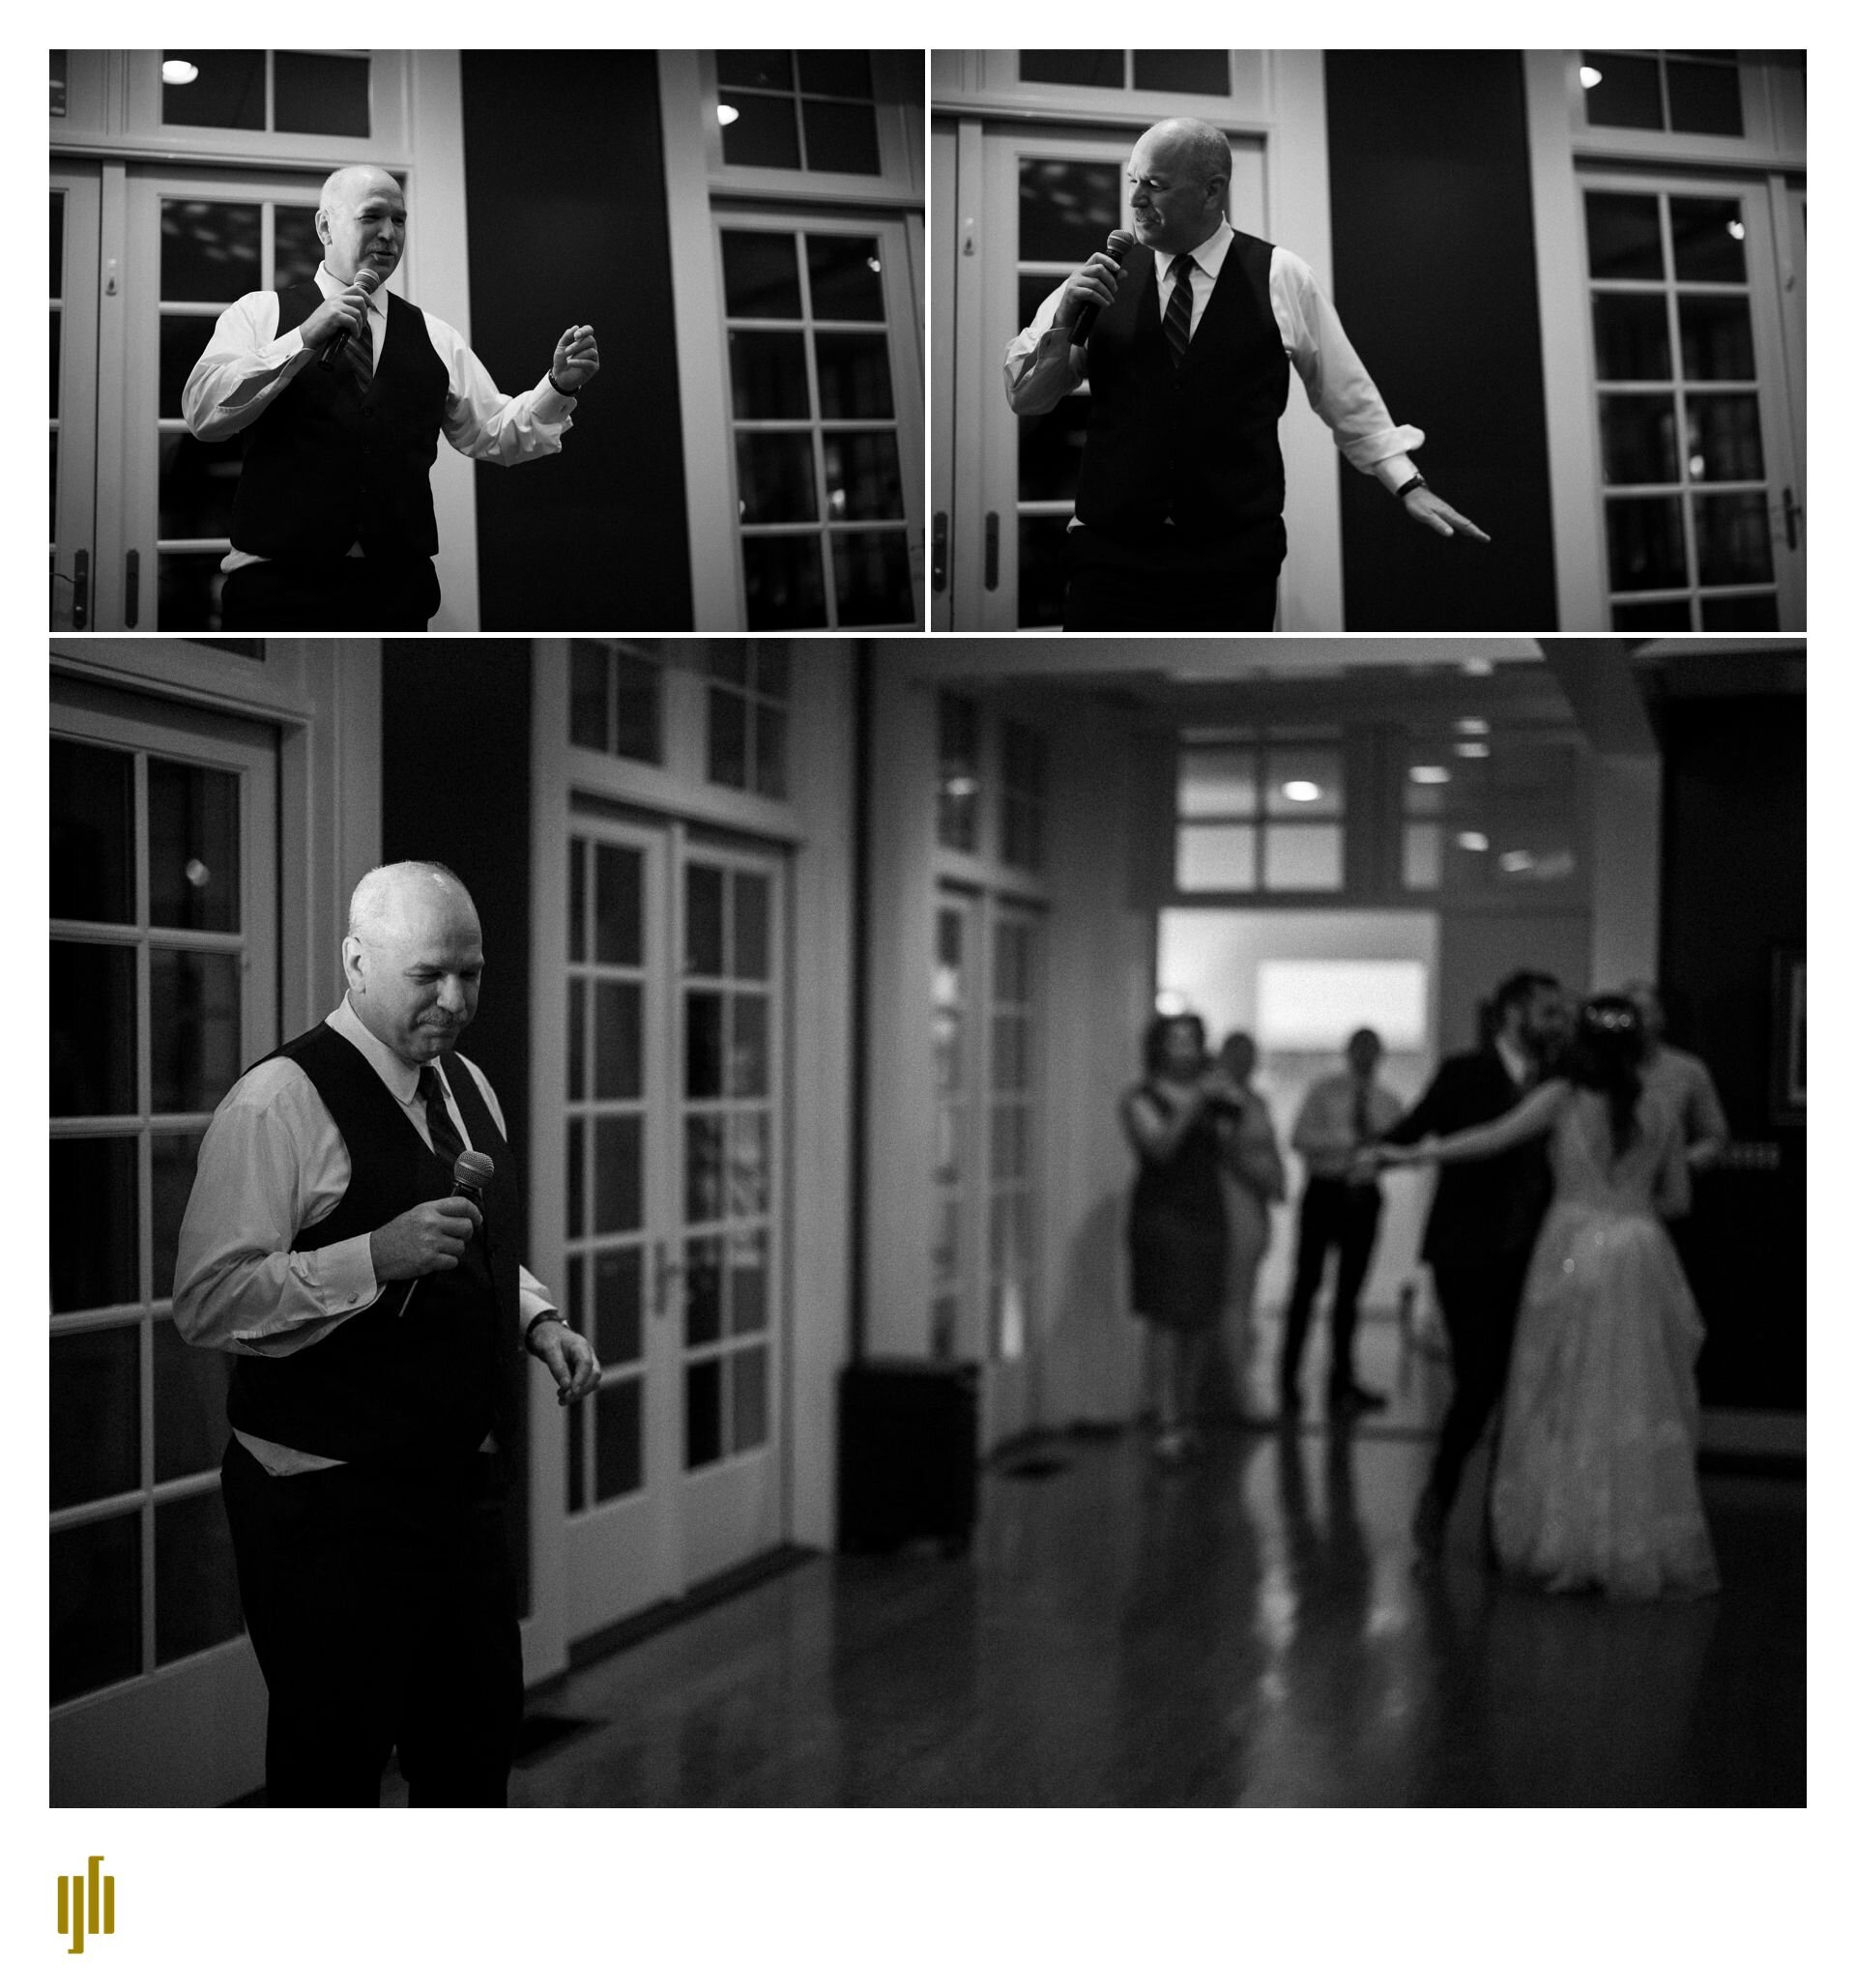
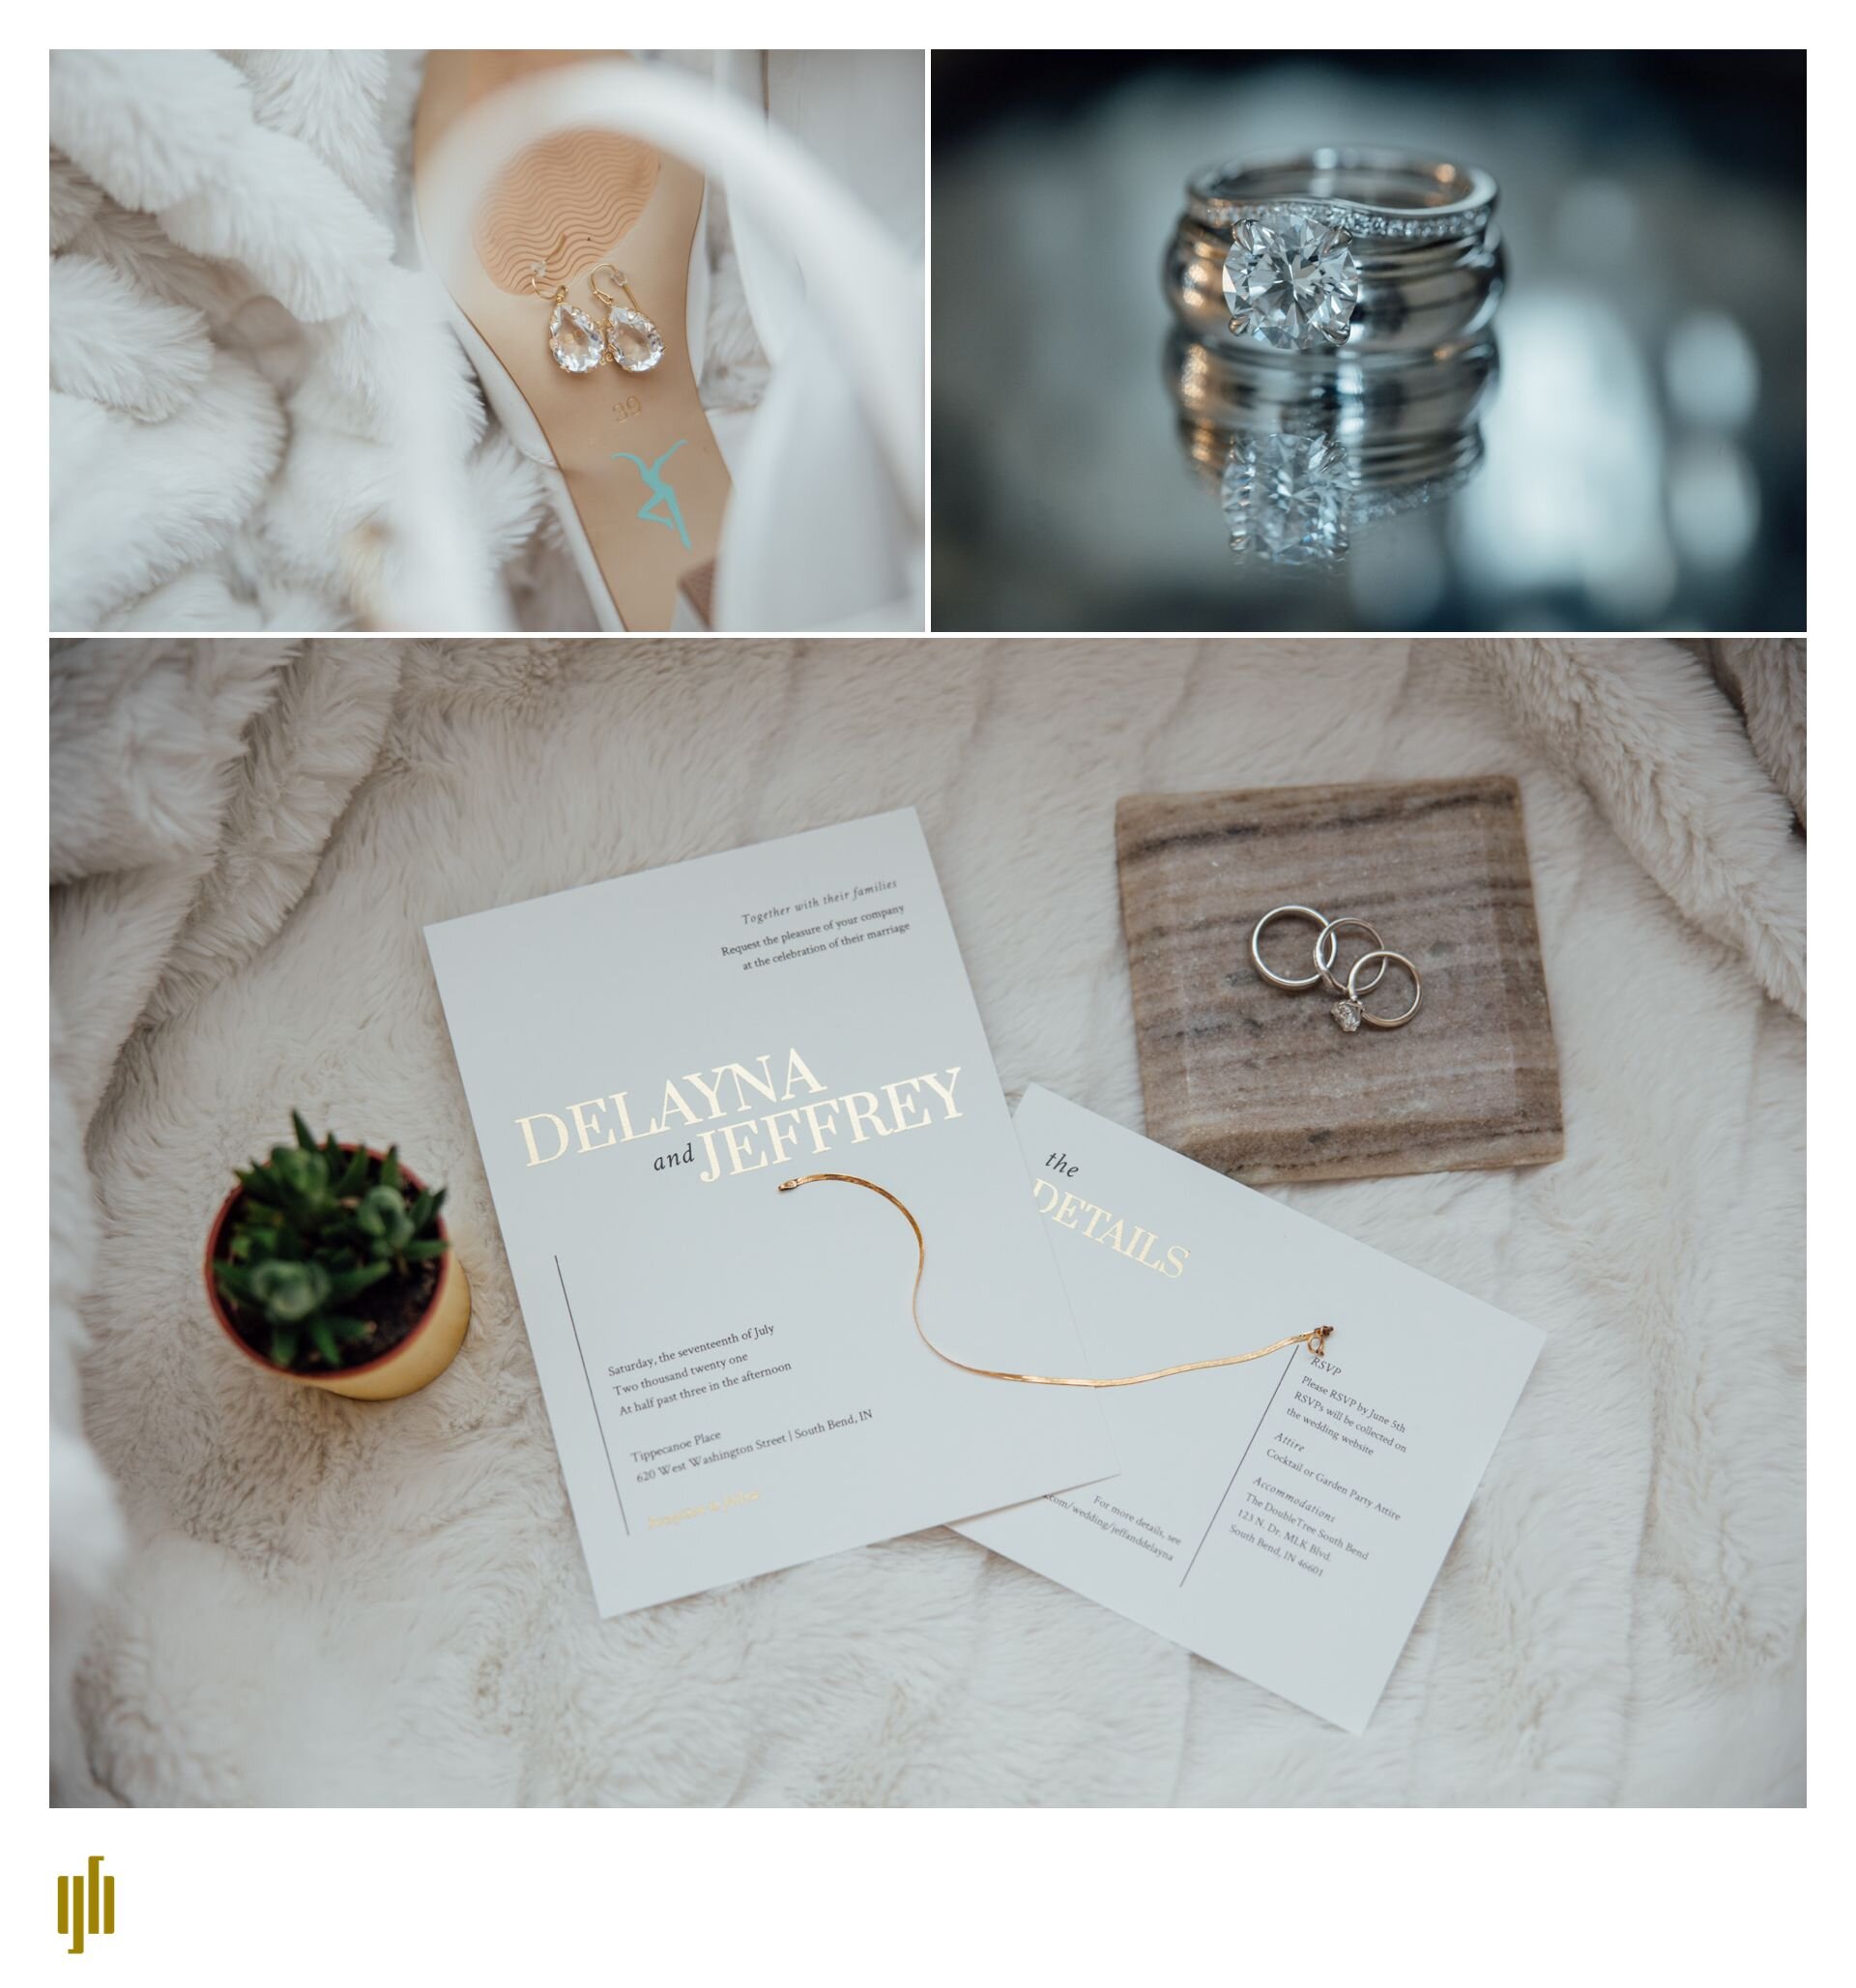
Tippacanoe Place wedding - Jeff and Delayna are married!

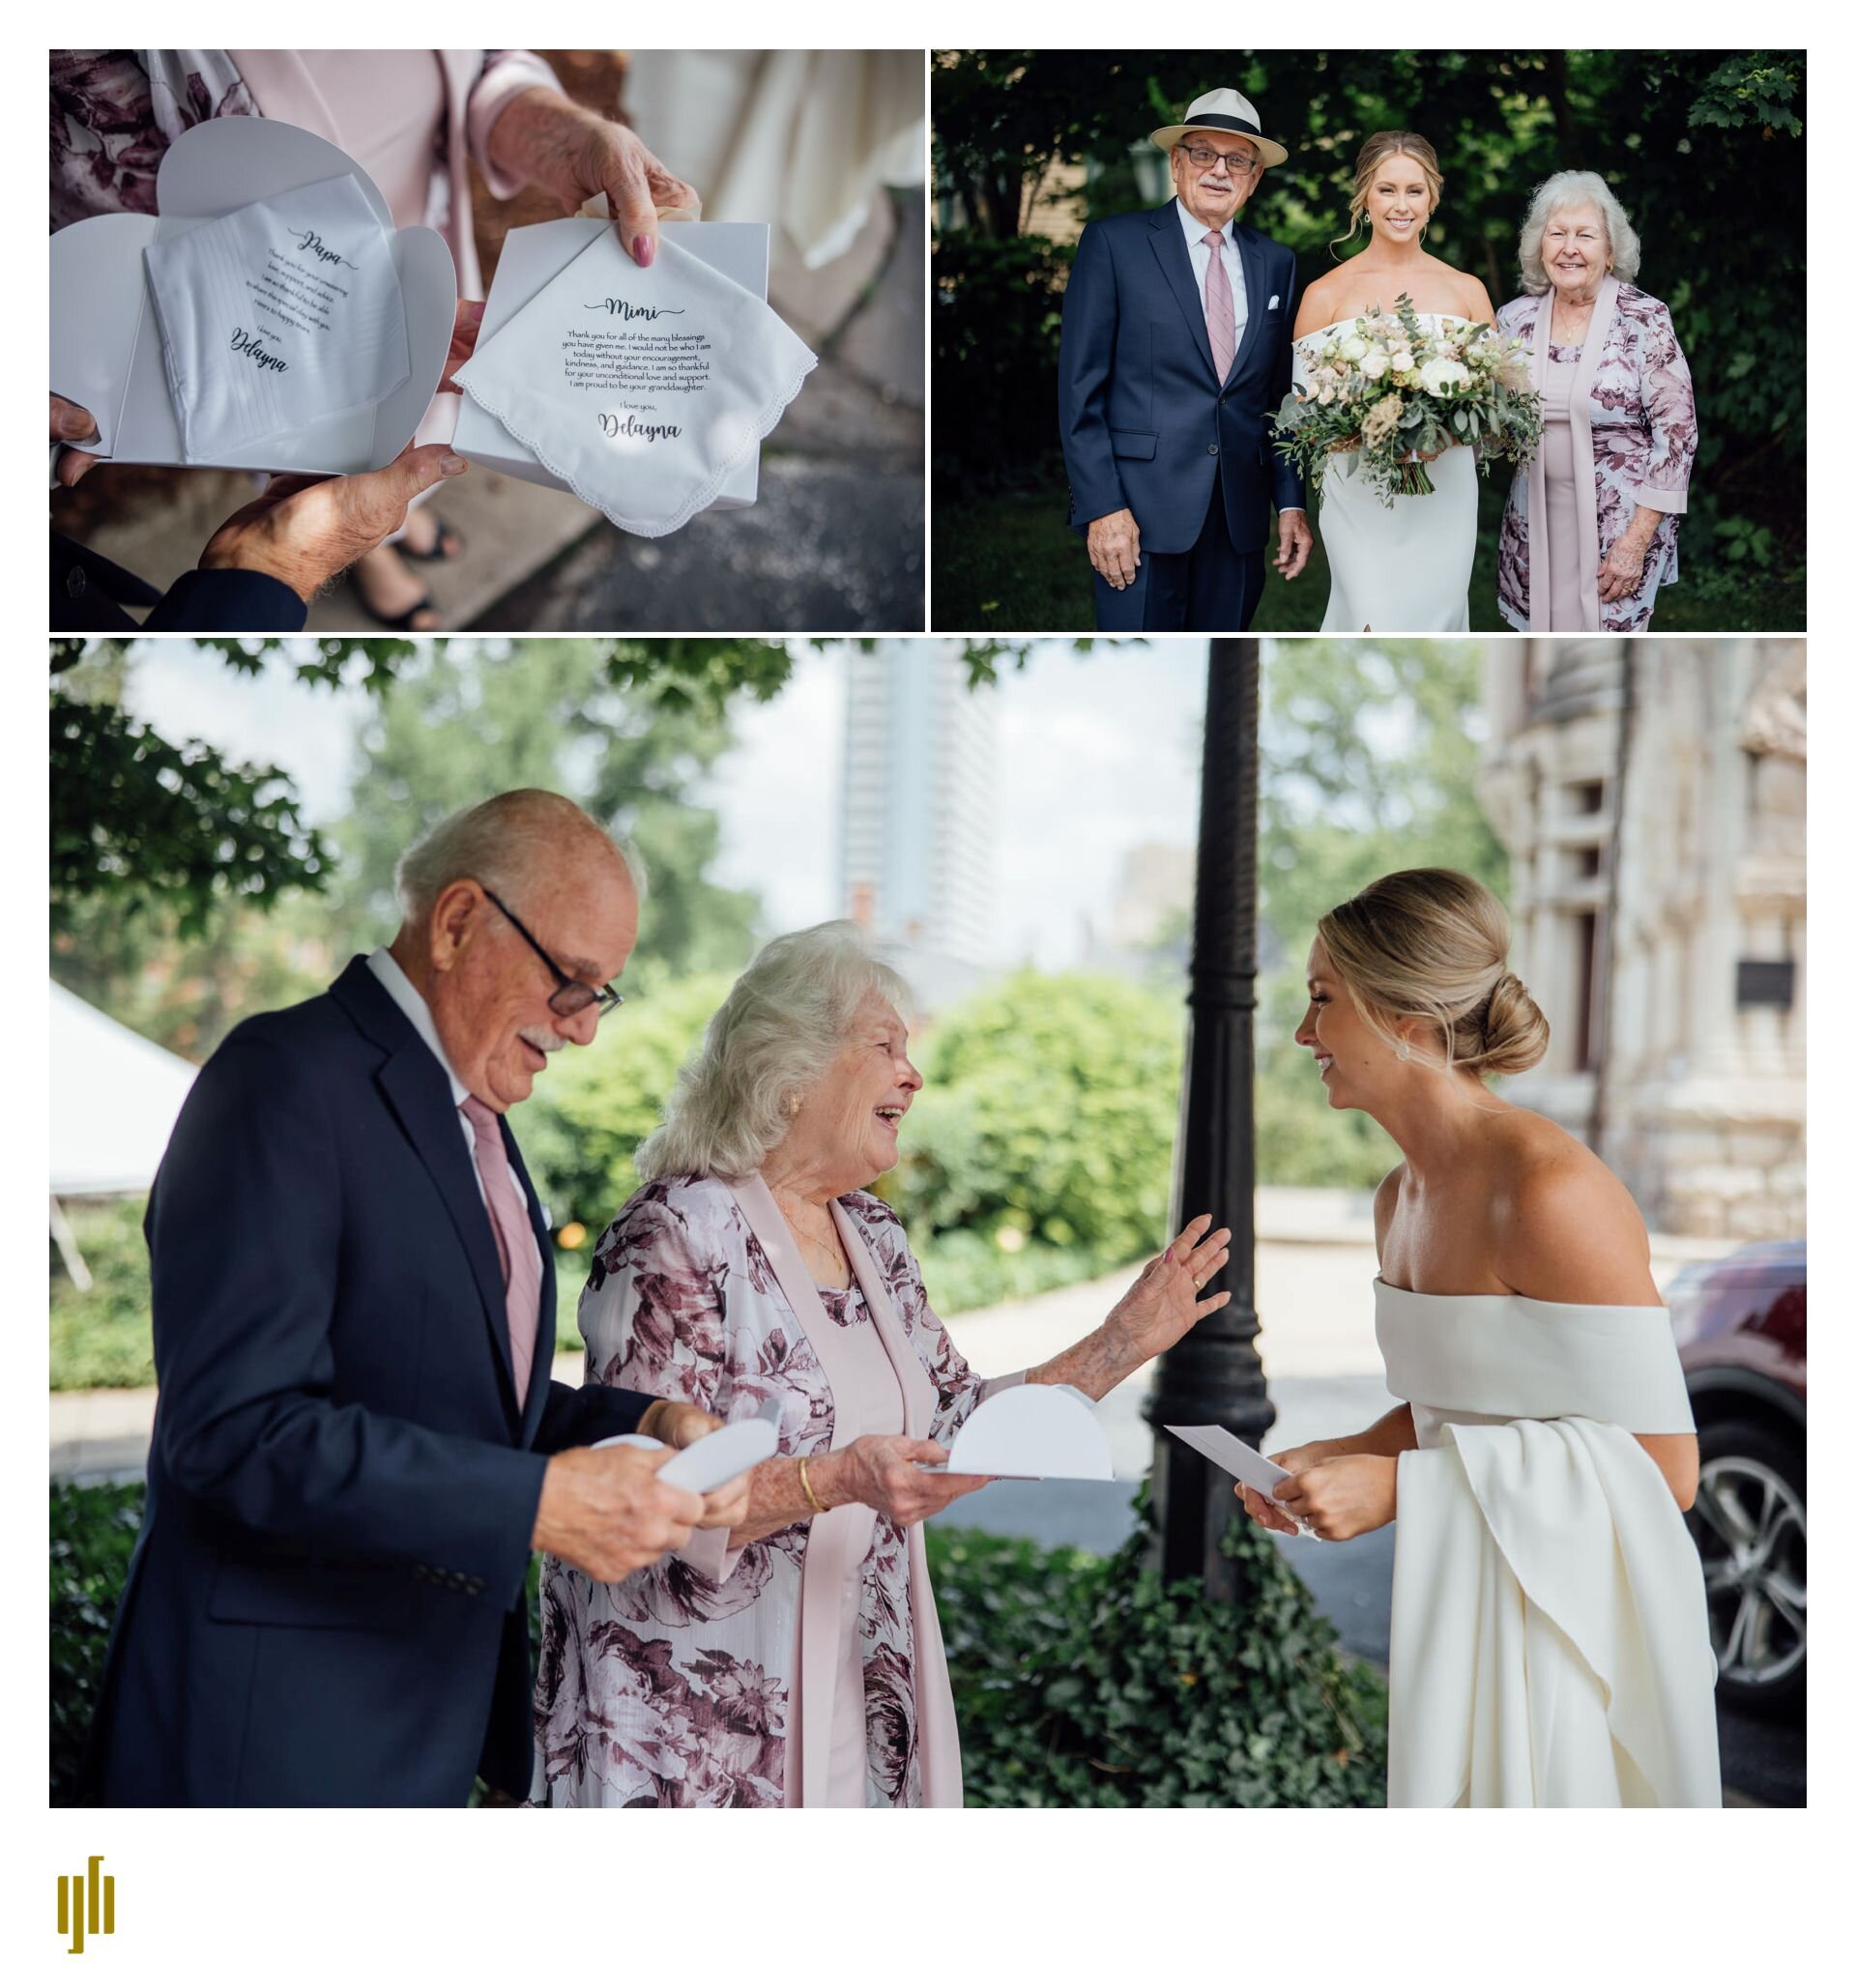
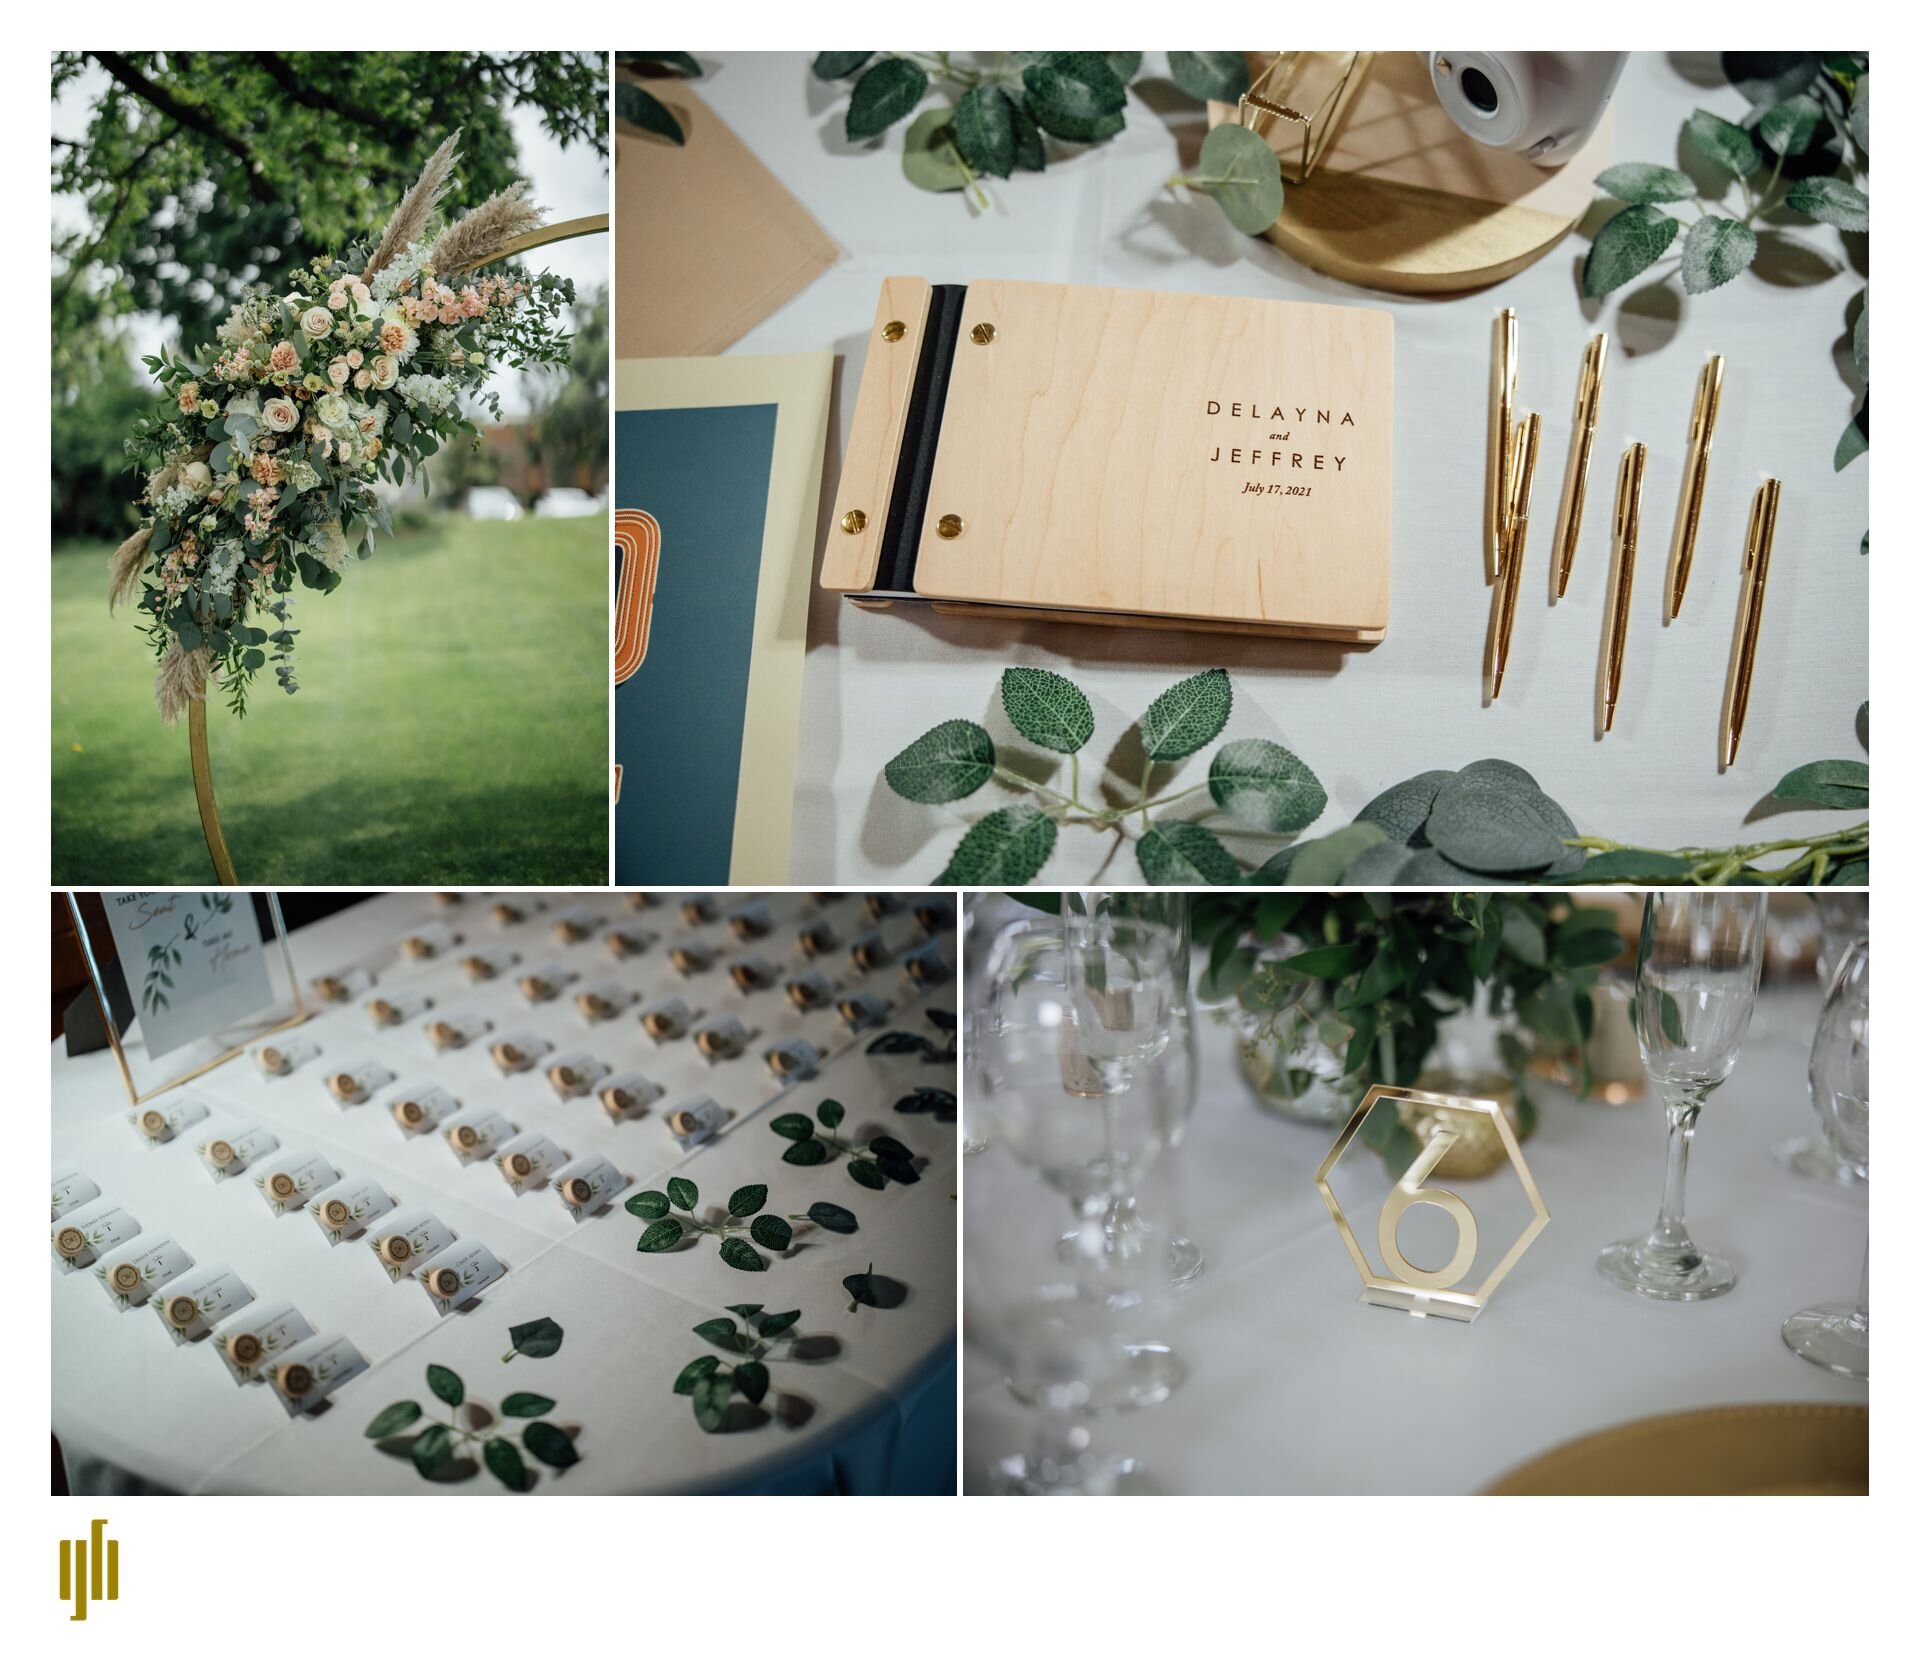
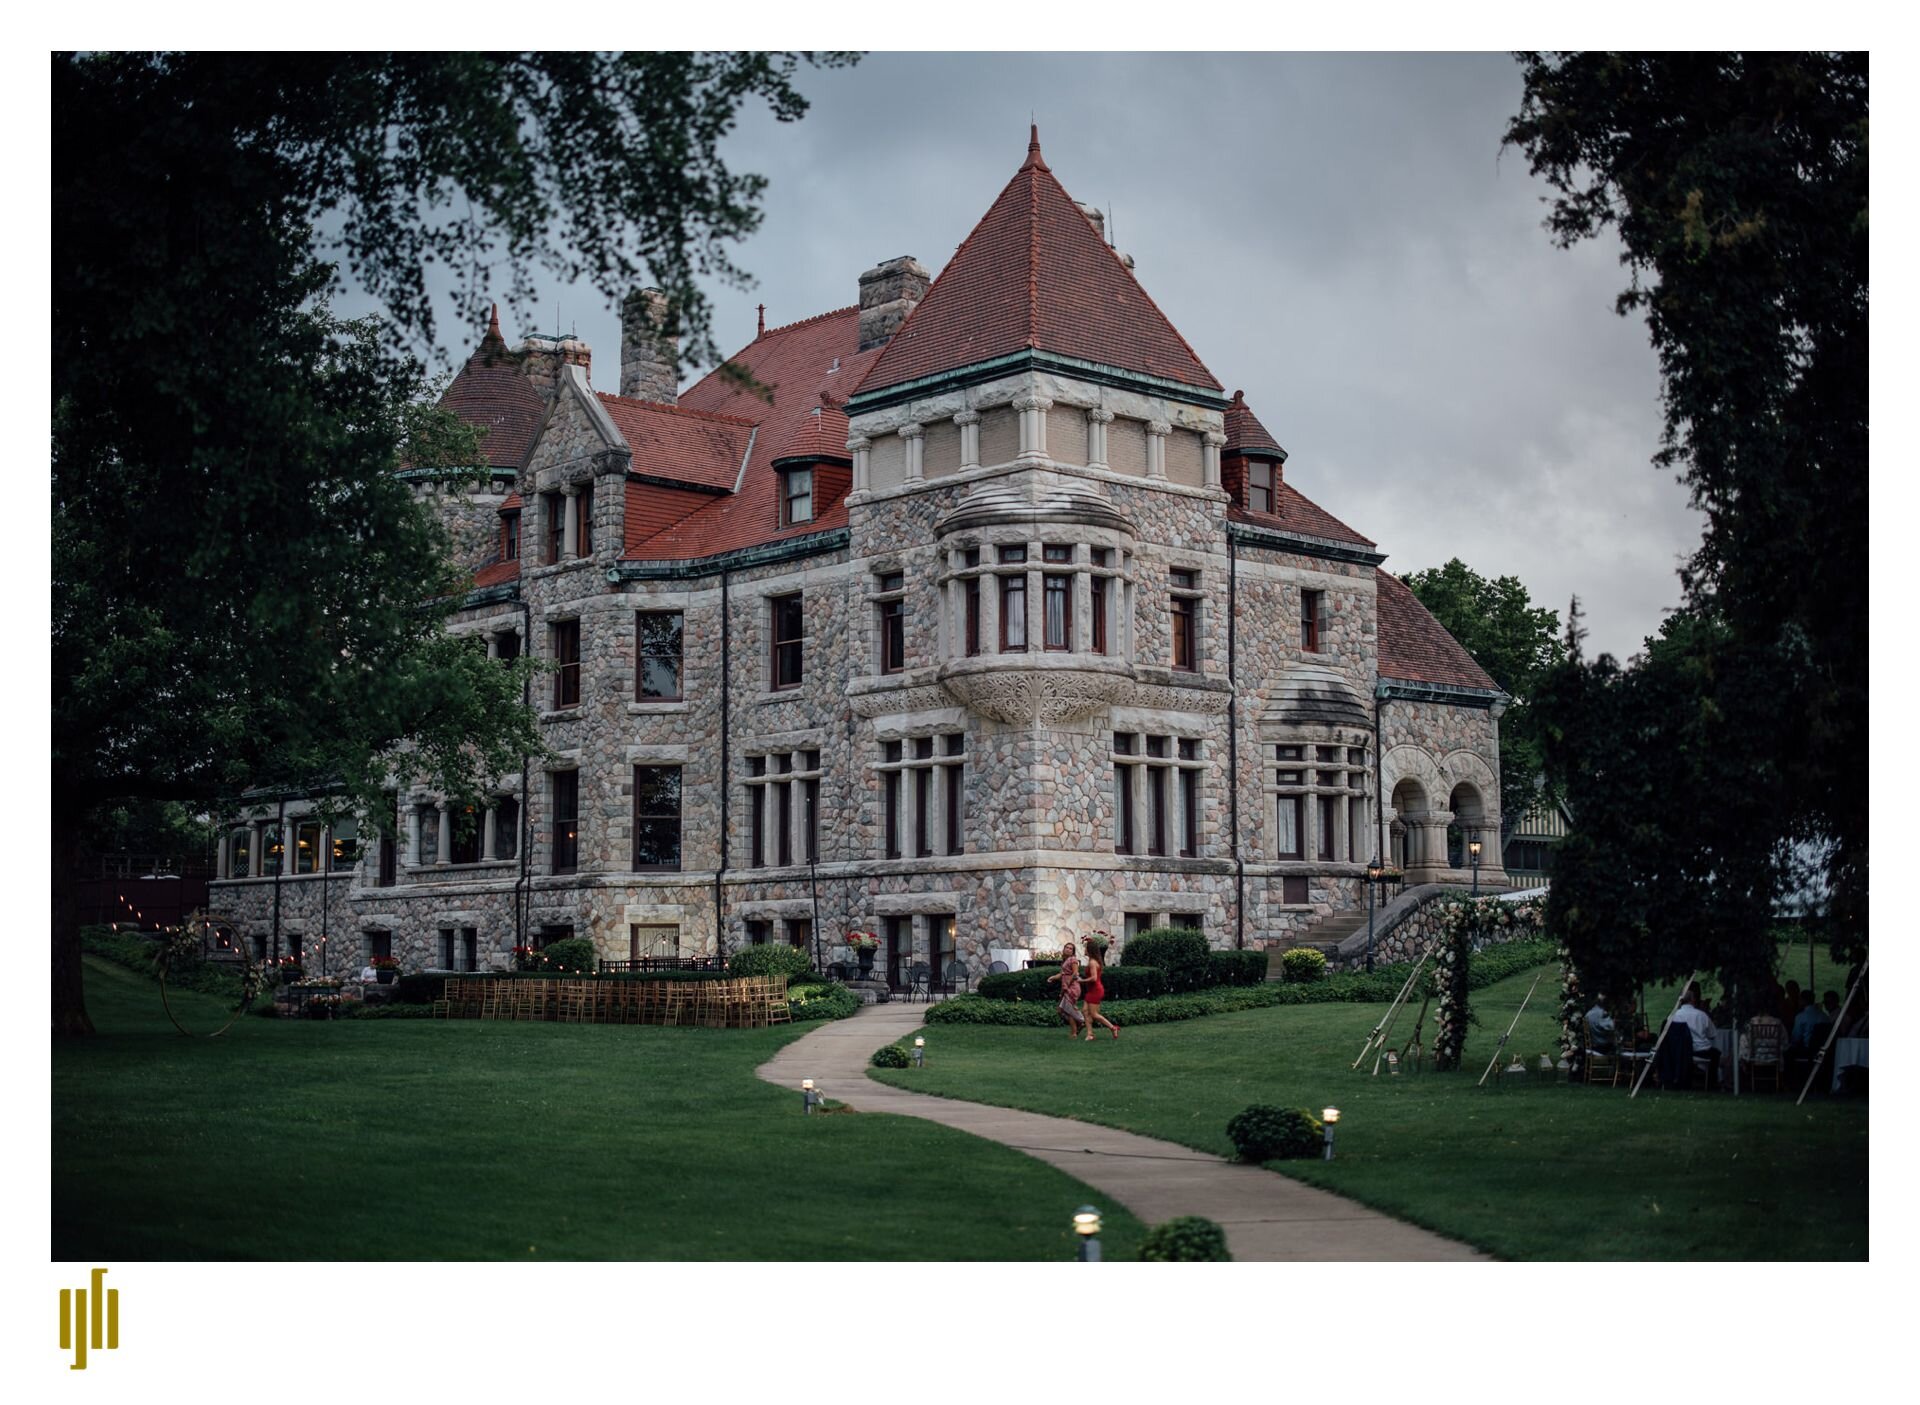
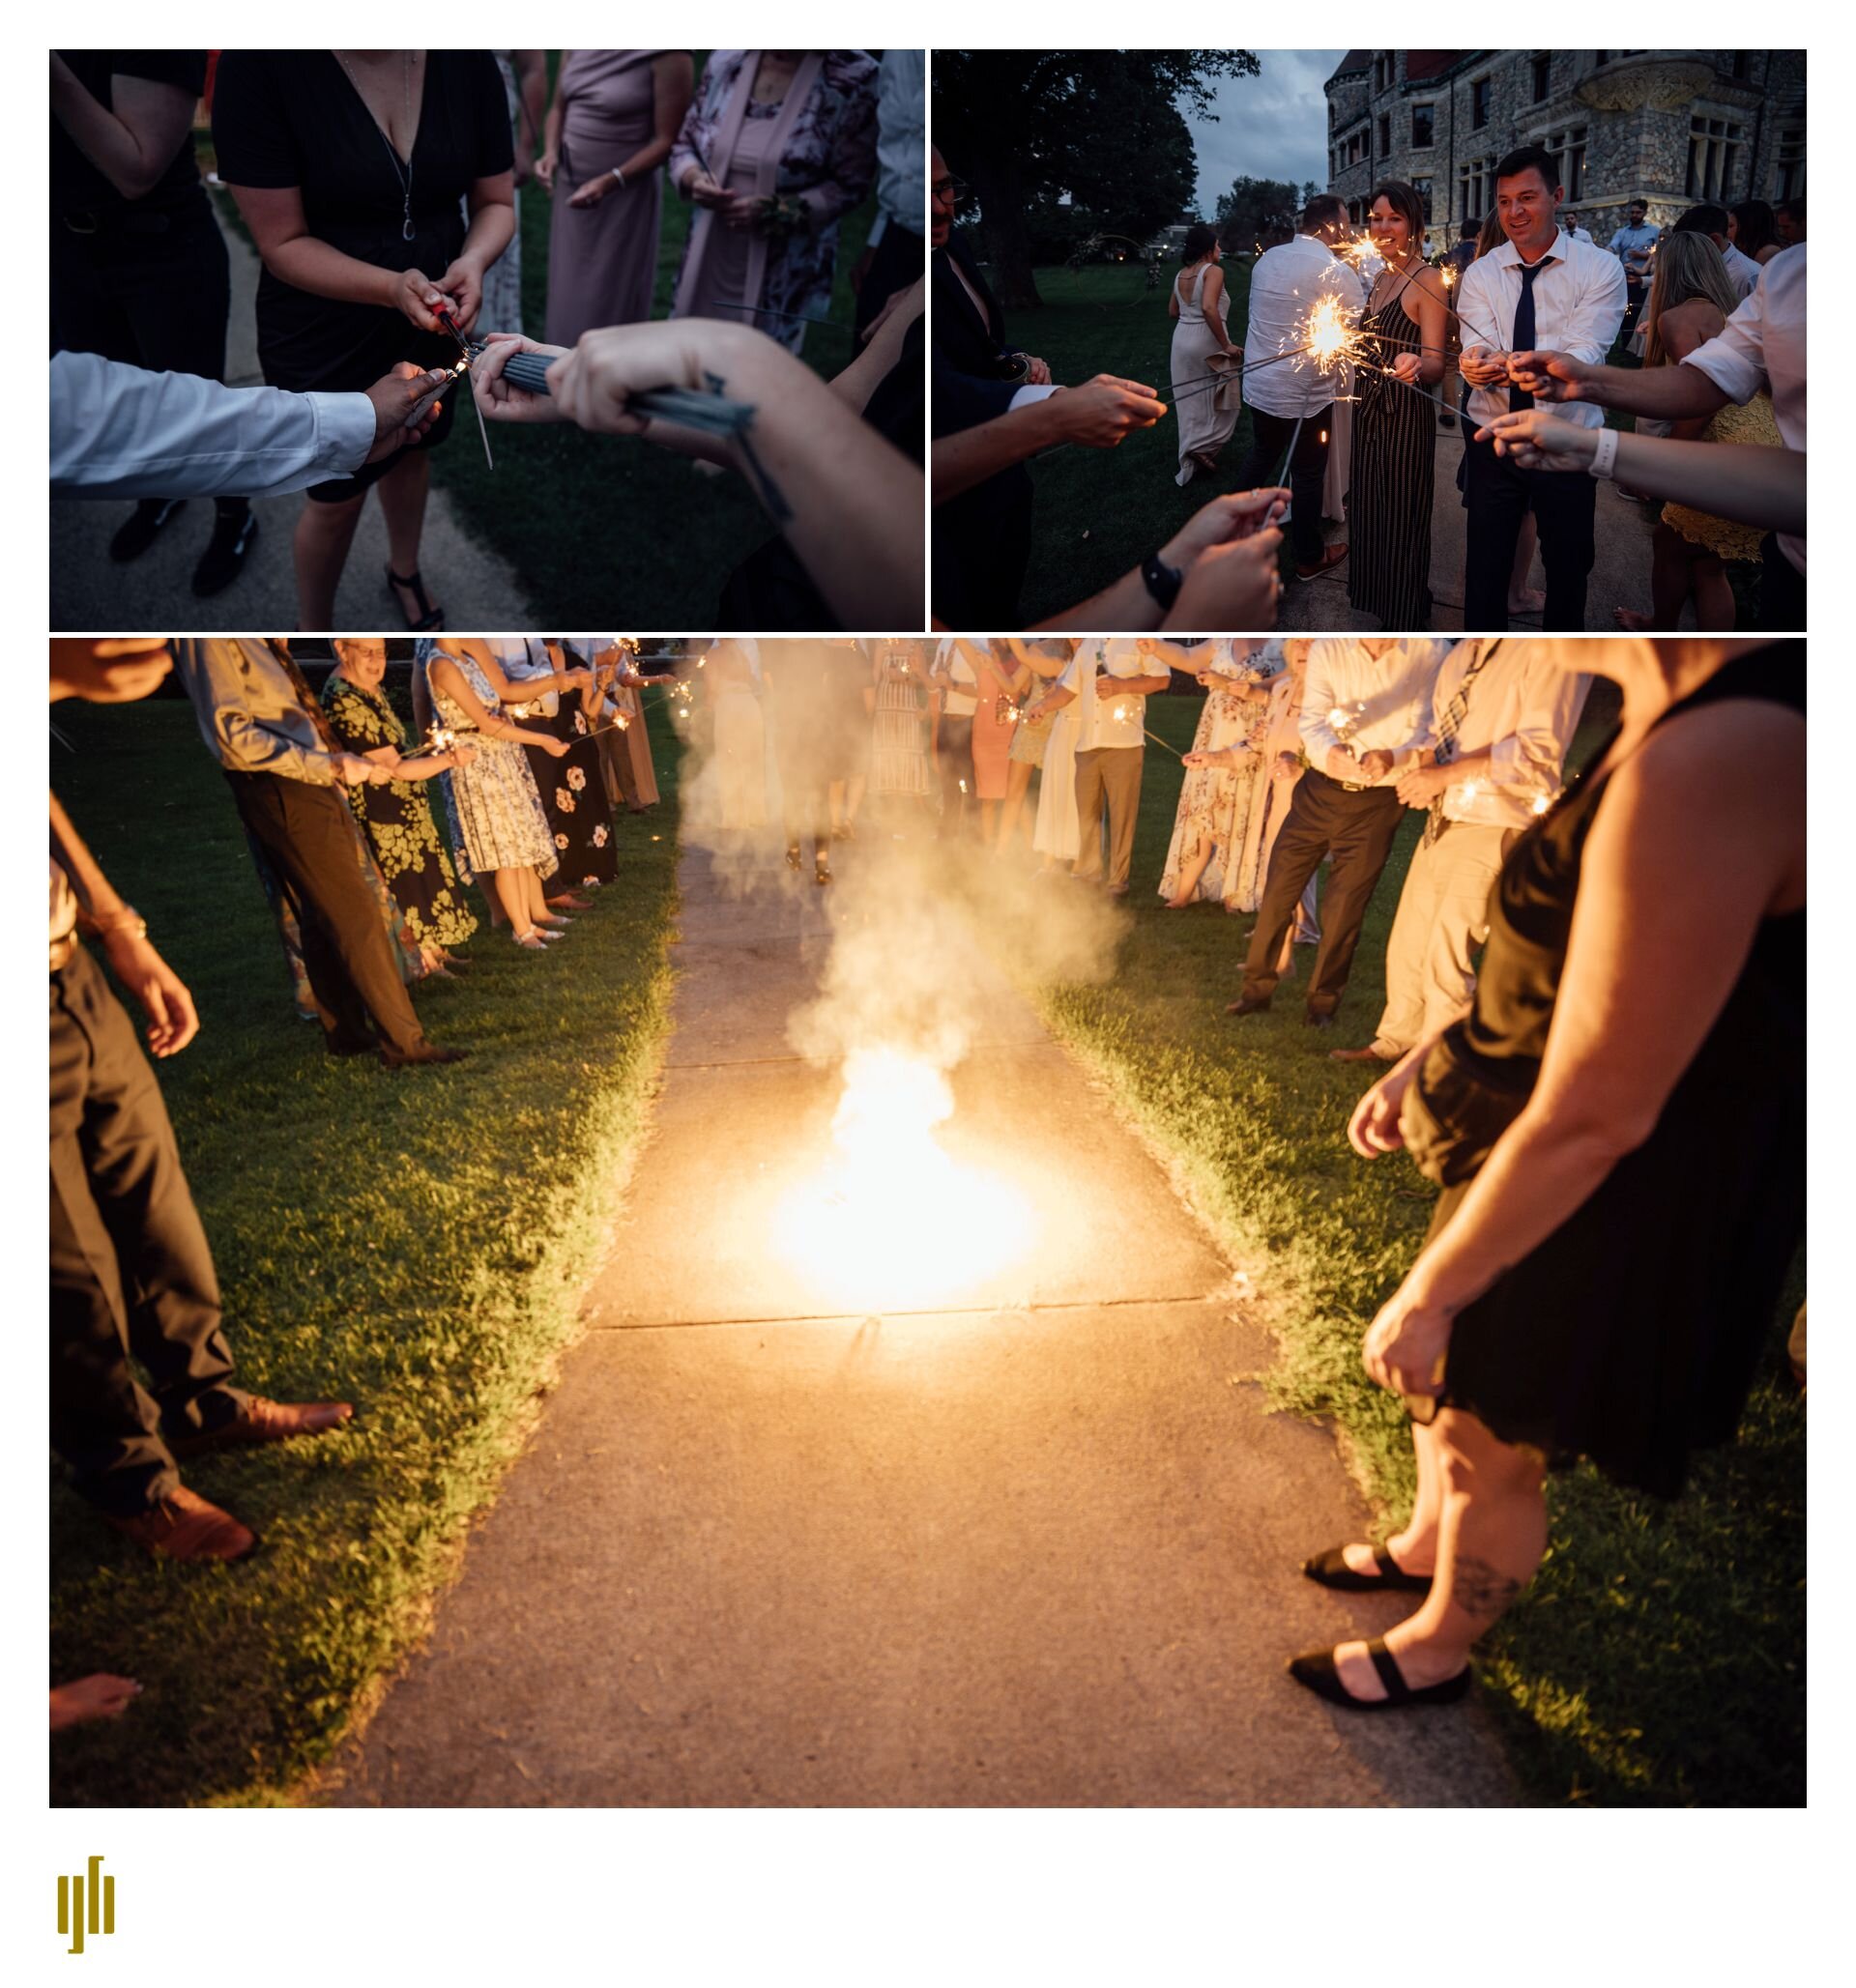
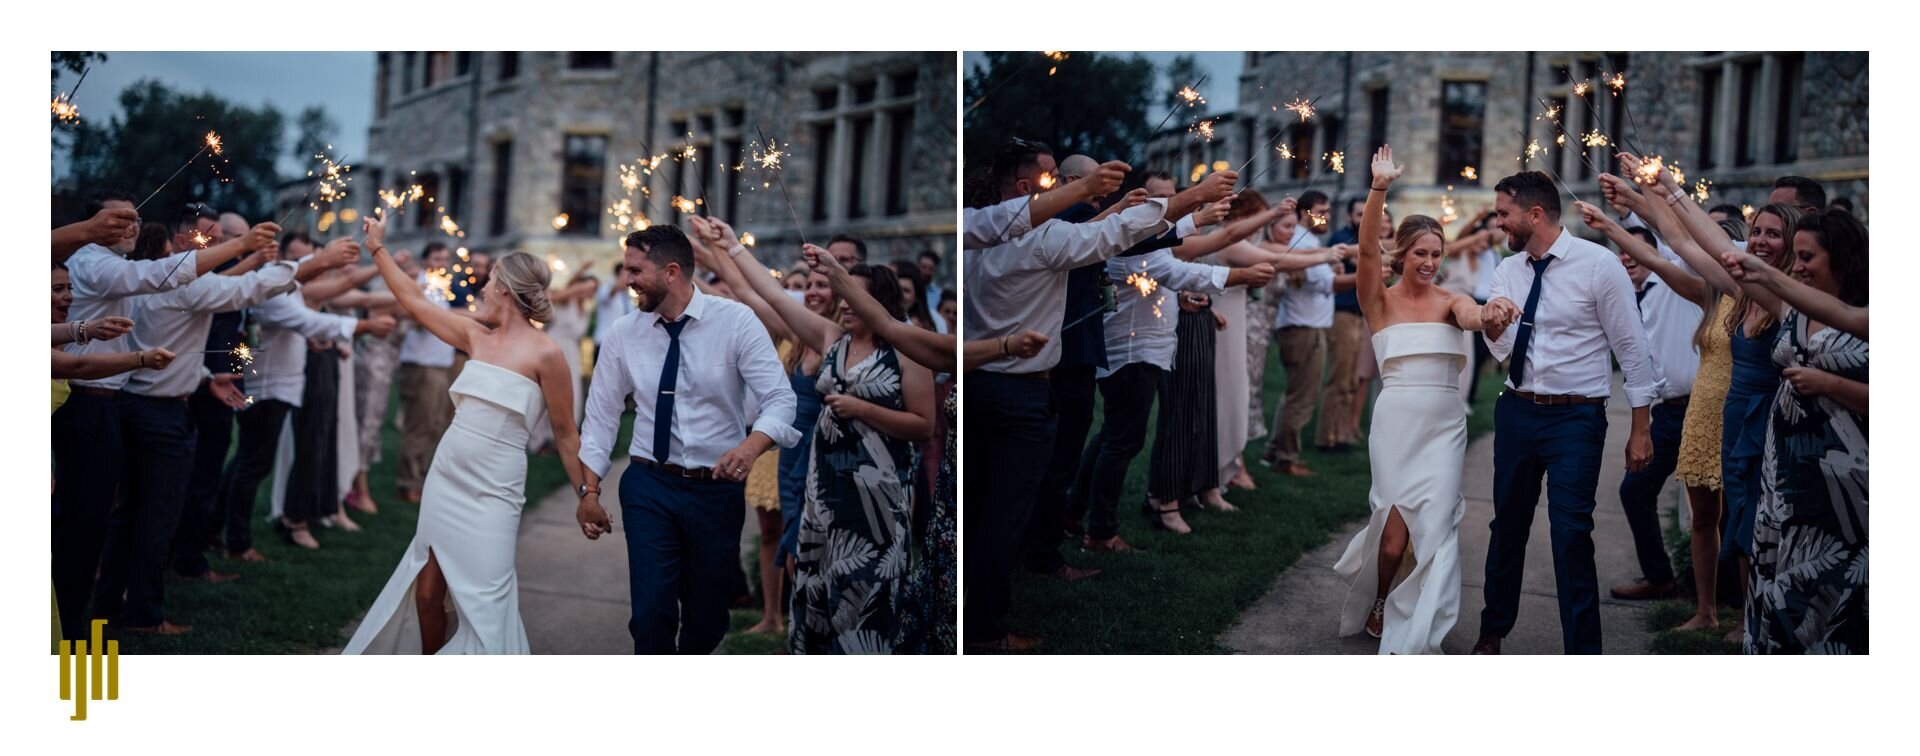
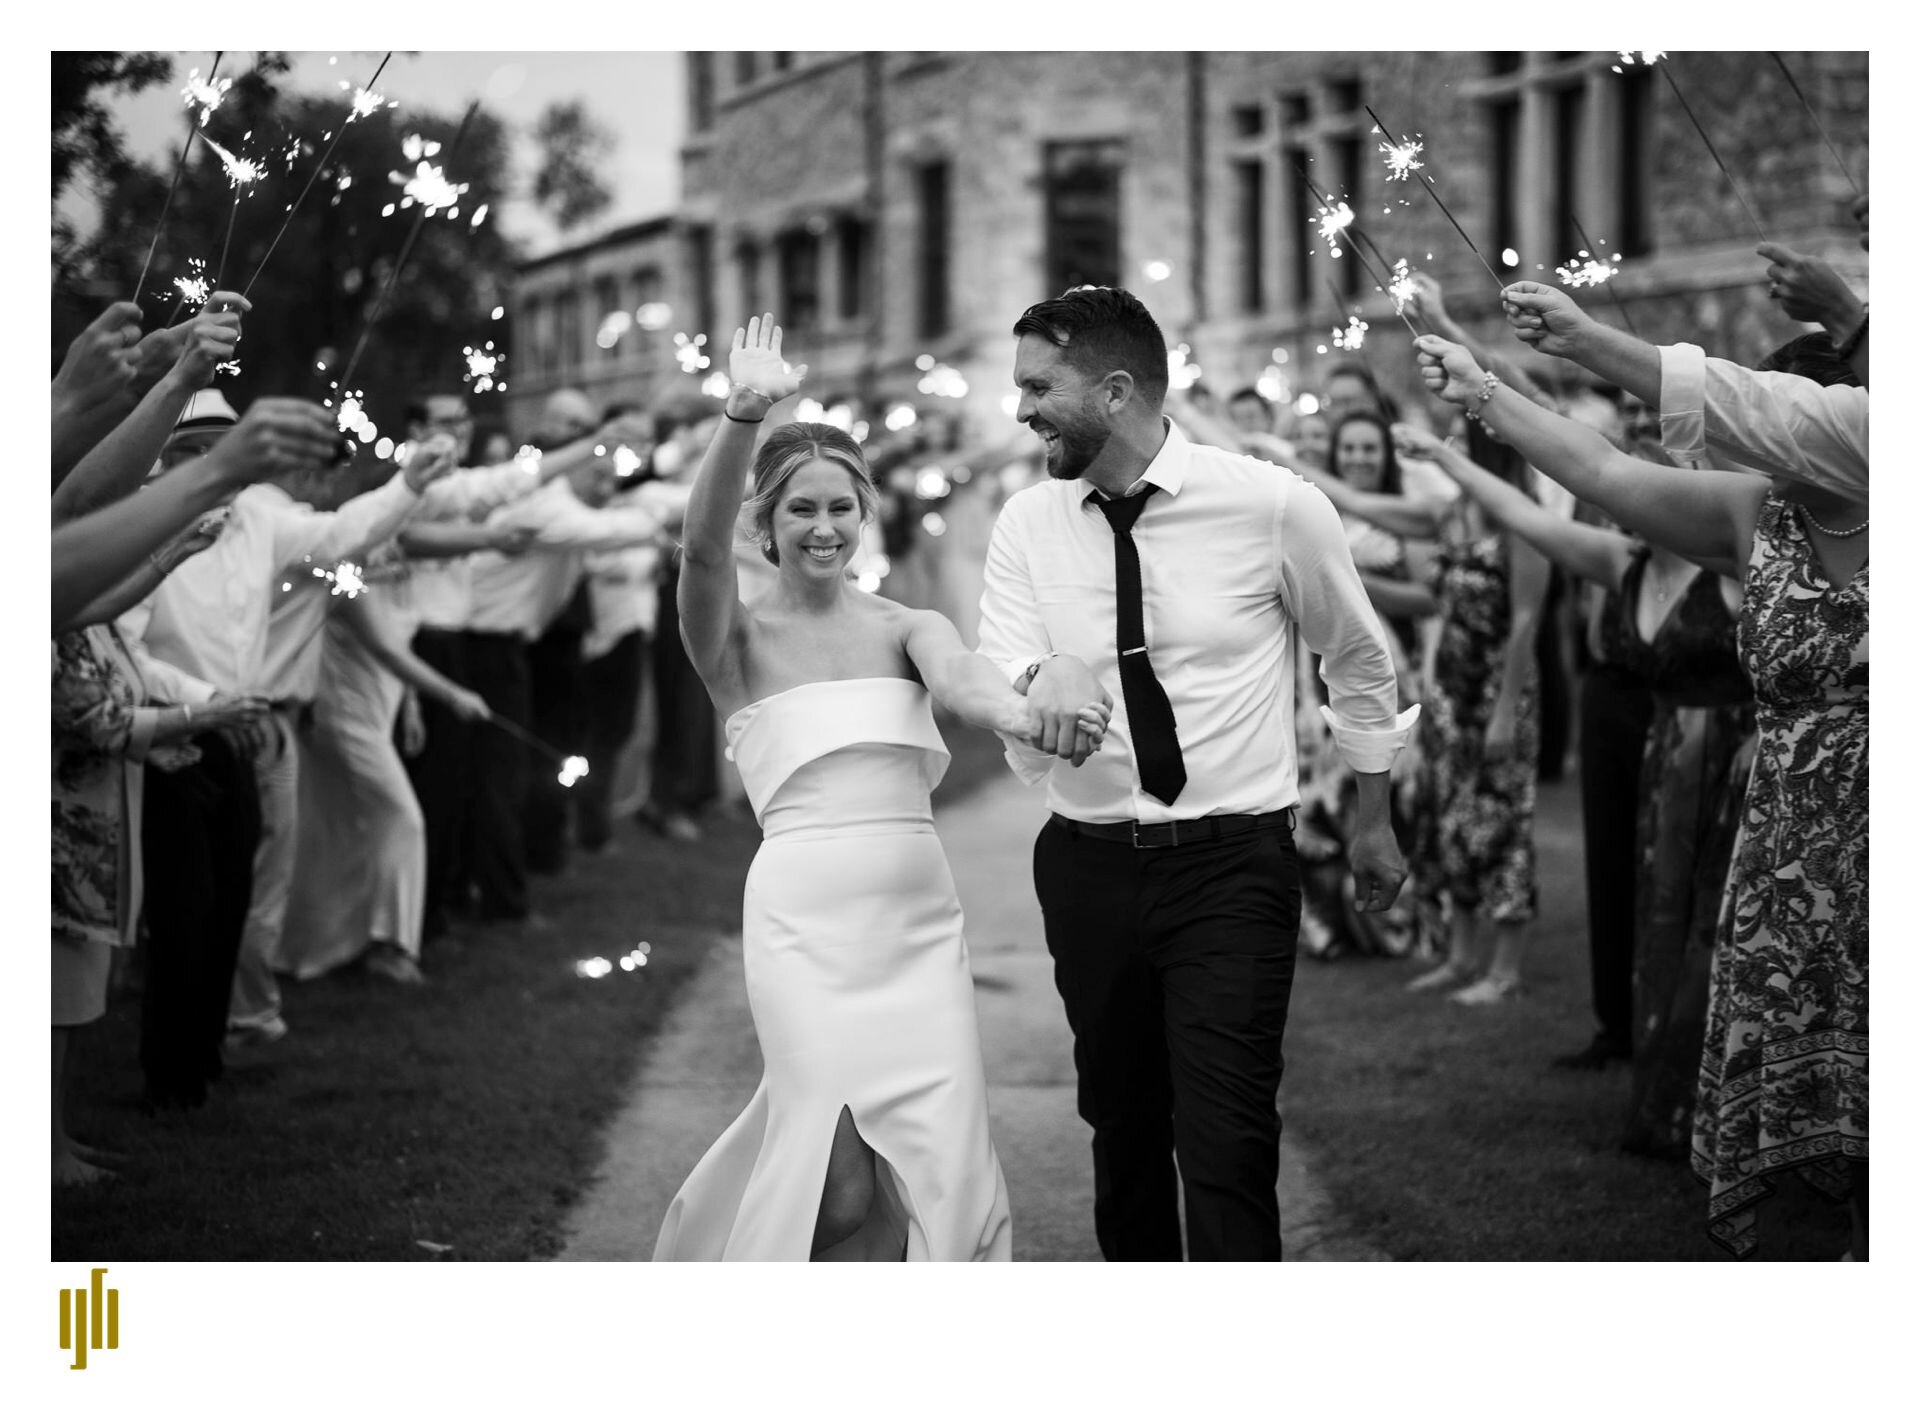
In the middle of one of the rainiest seasons I’ve experienced in recent memory, Jeff and Delayna had a beautiful day. They took advantage with a ceremony under the Tipppacanoe Place trees, and reception directly beside it where they could watch the sun set and dance the night away. Our photos ended with a sparkler sendoff (for the camera), and everyone went straight back to late-night snacks and more dancing. A complete win all around. Check out the little trip downtown we managed between the ceremony and the reception as well!

Vendors!

Venue: Tippacanoe Place

Rentals: AAYS Rental

Cake: C’Est La Vie

Flowers: Snapdragon Designs

Hair and Makeup: Beauty and Bliss

Dress: Sarah Seven


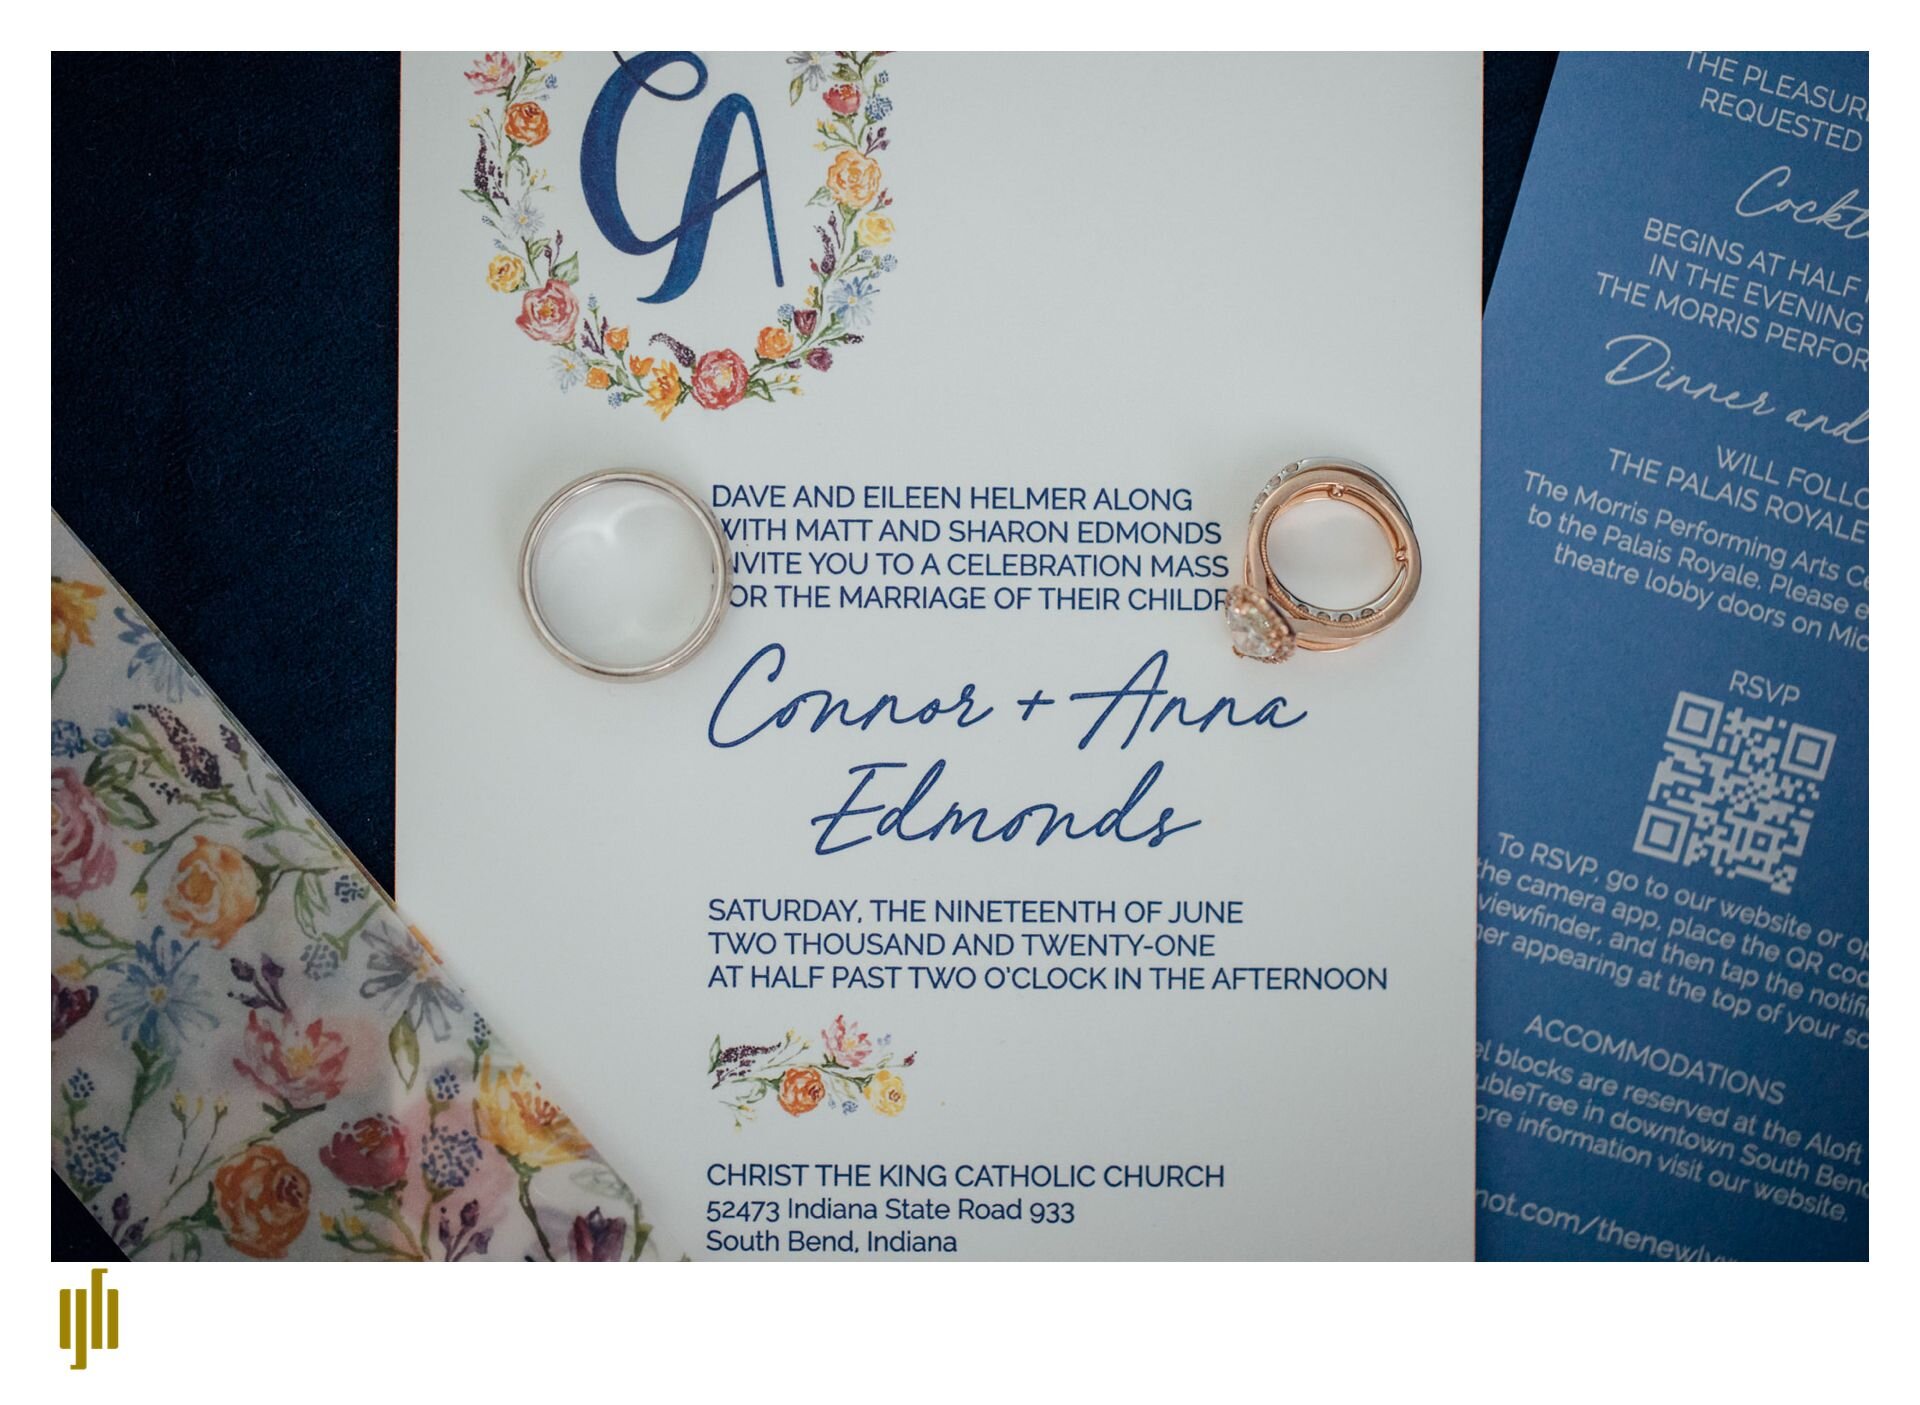
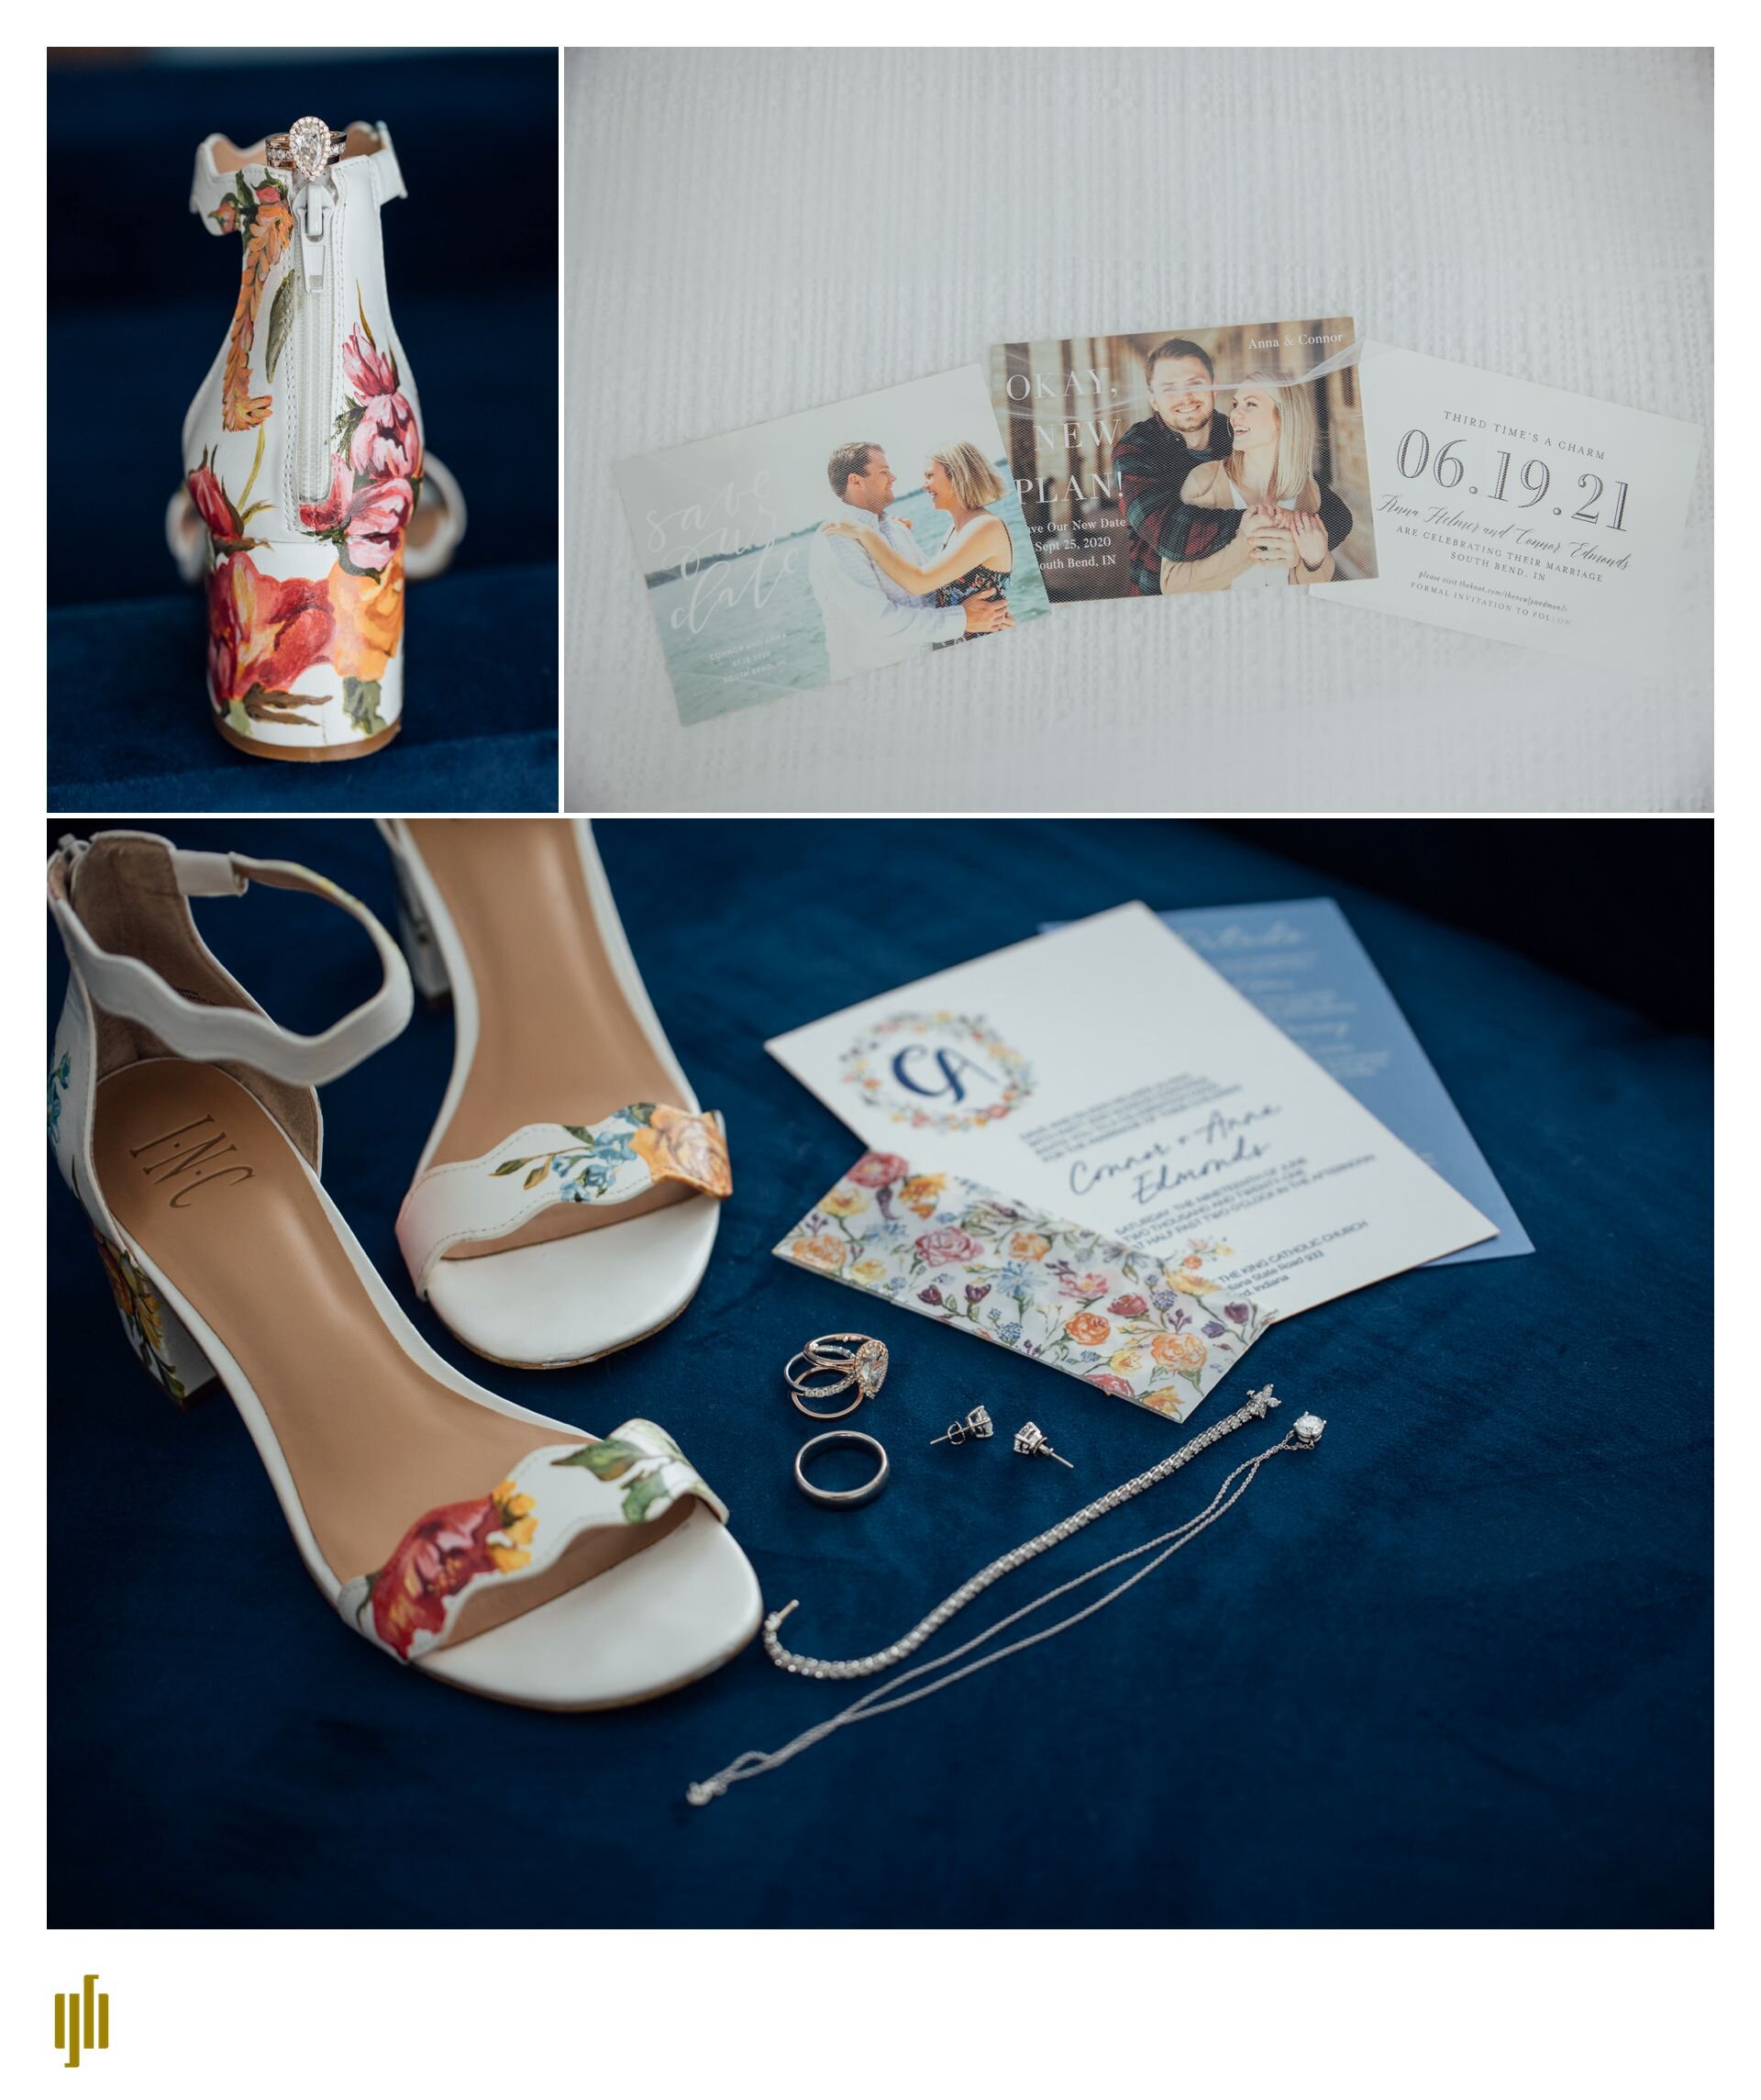
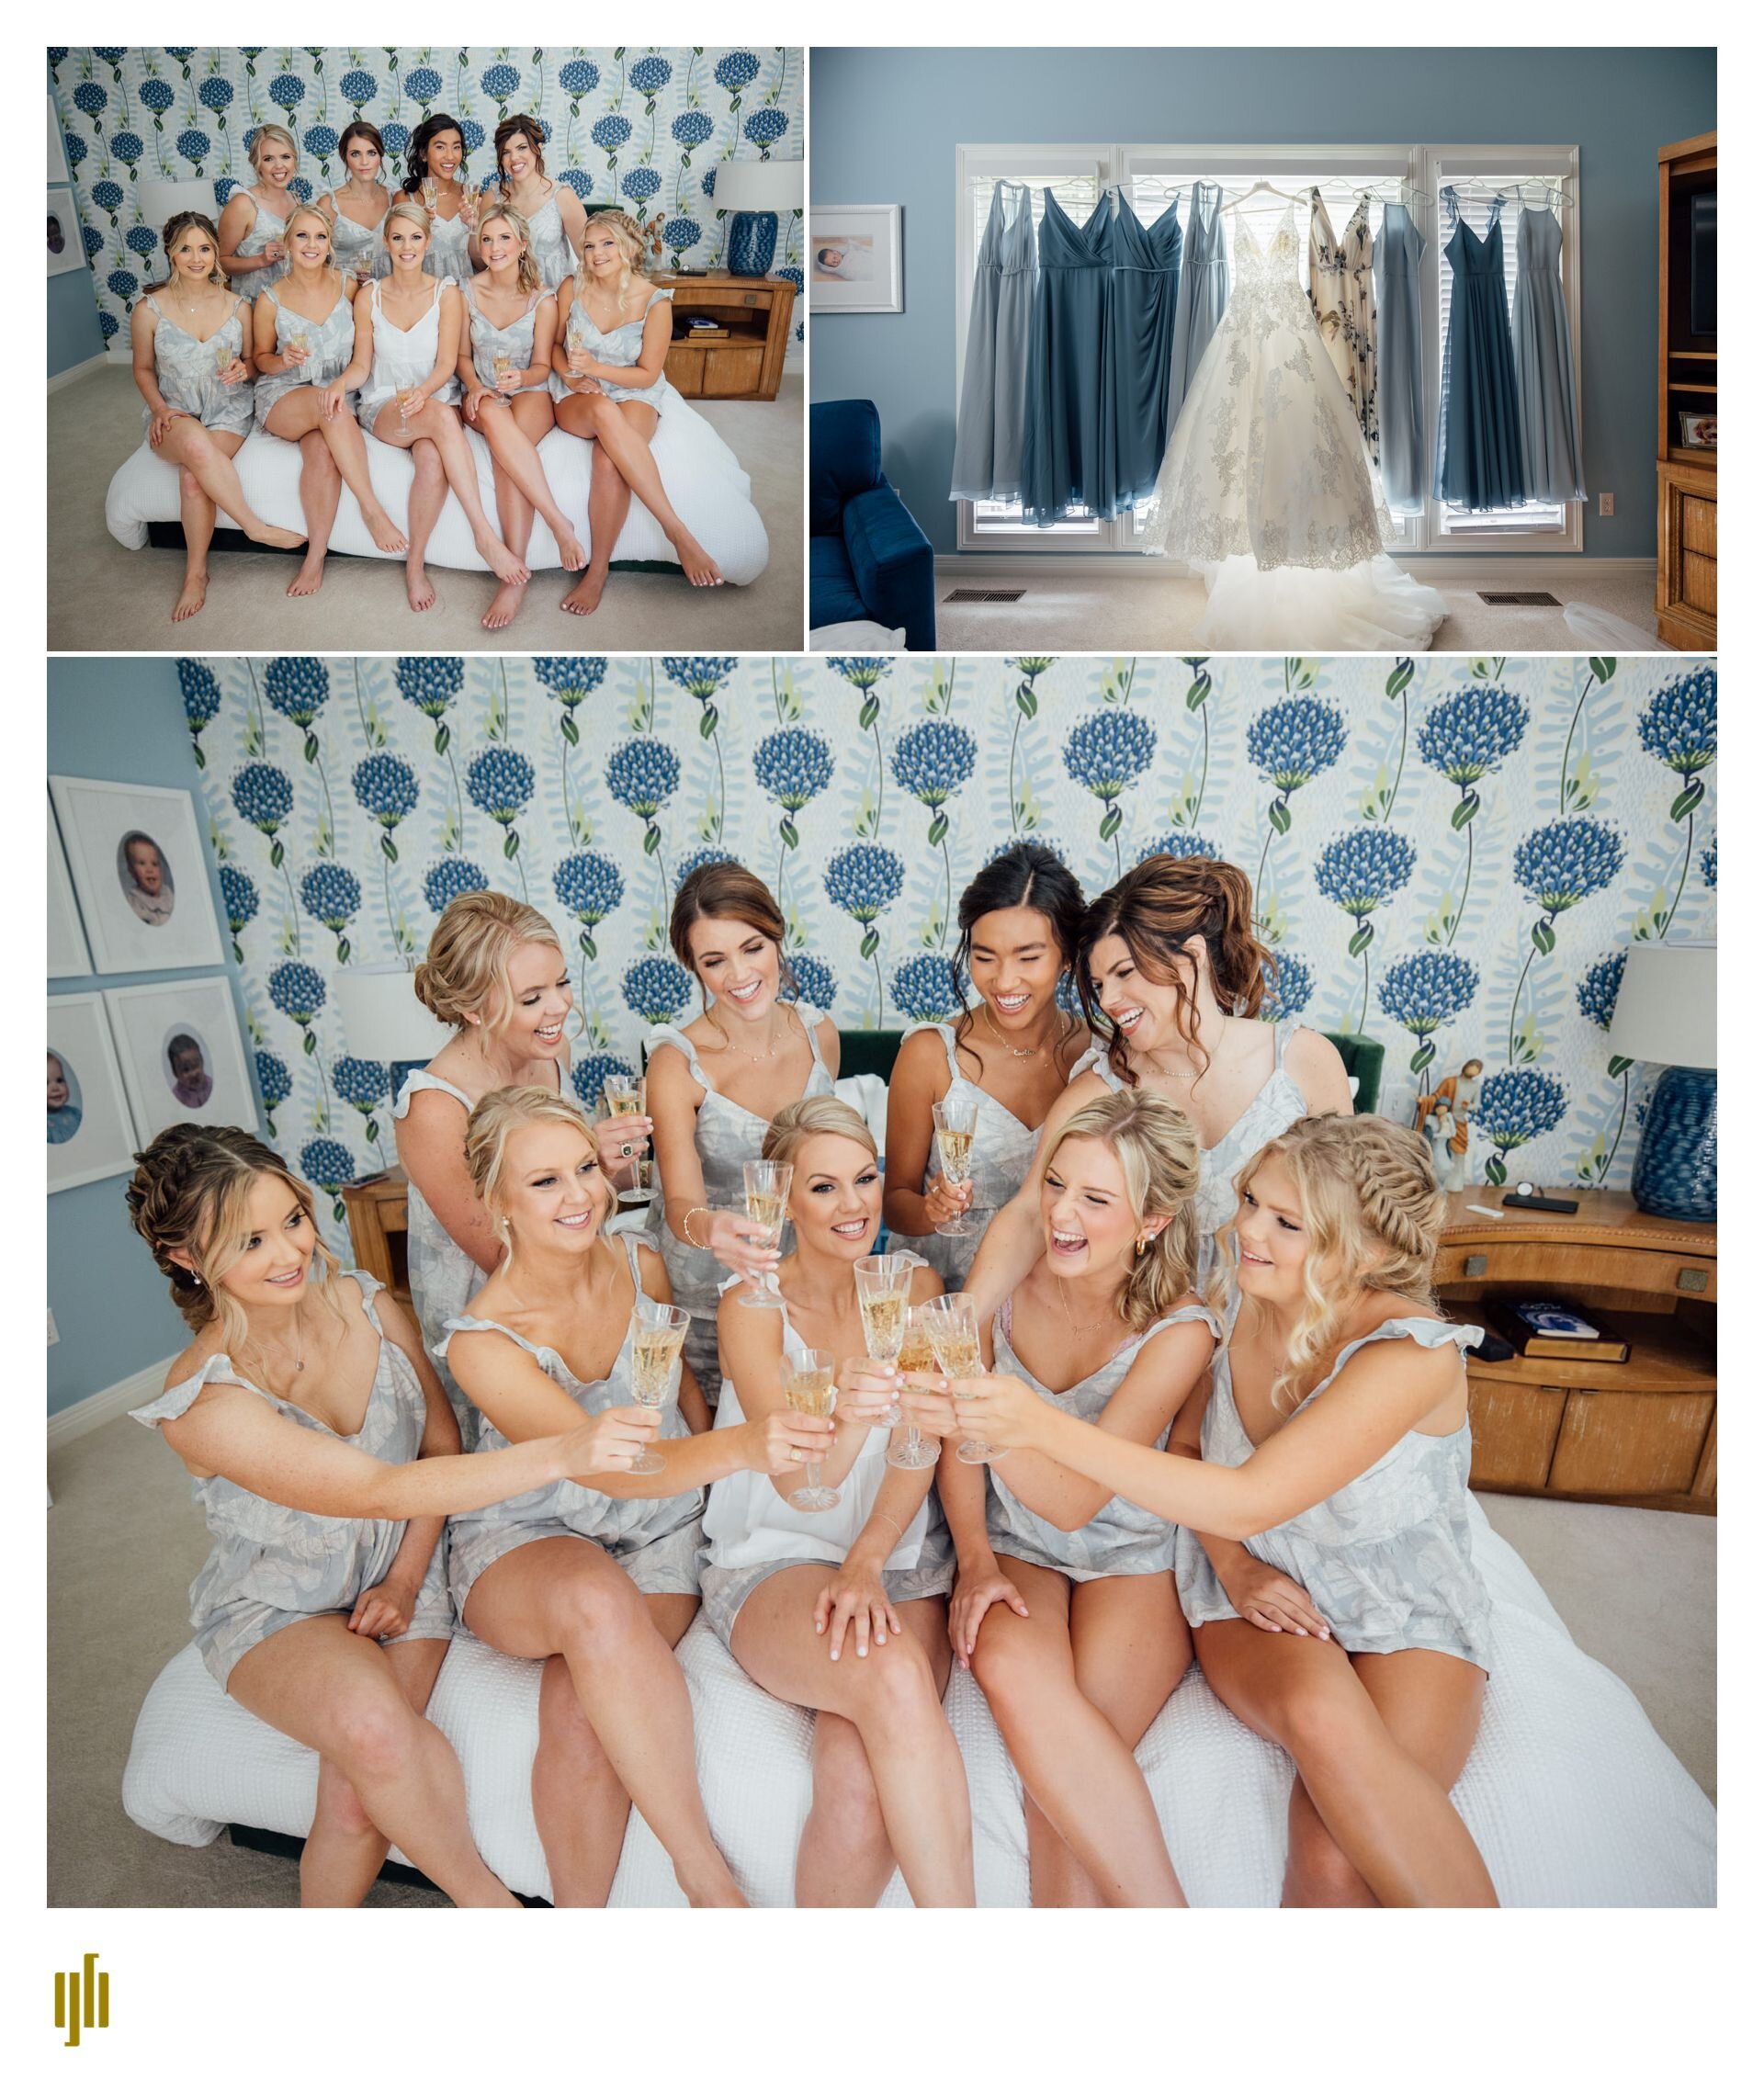
Connor and Anna are (still) married!

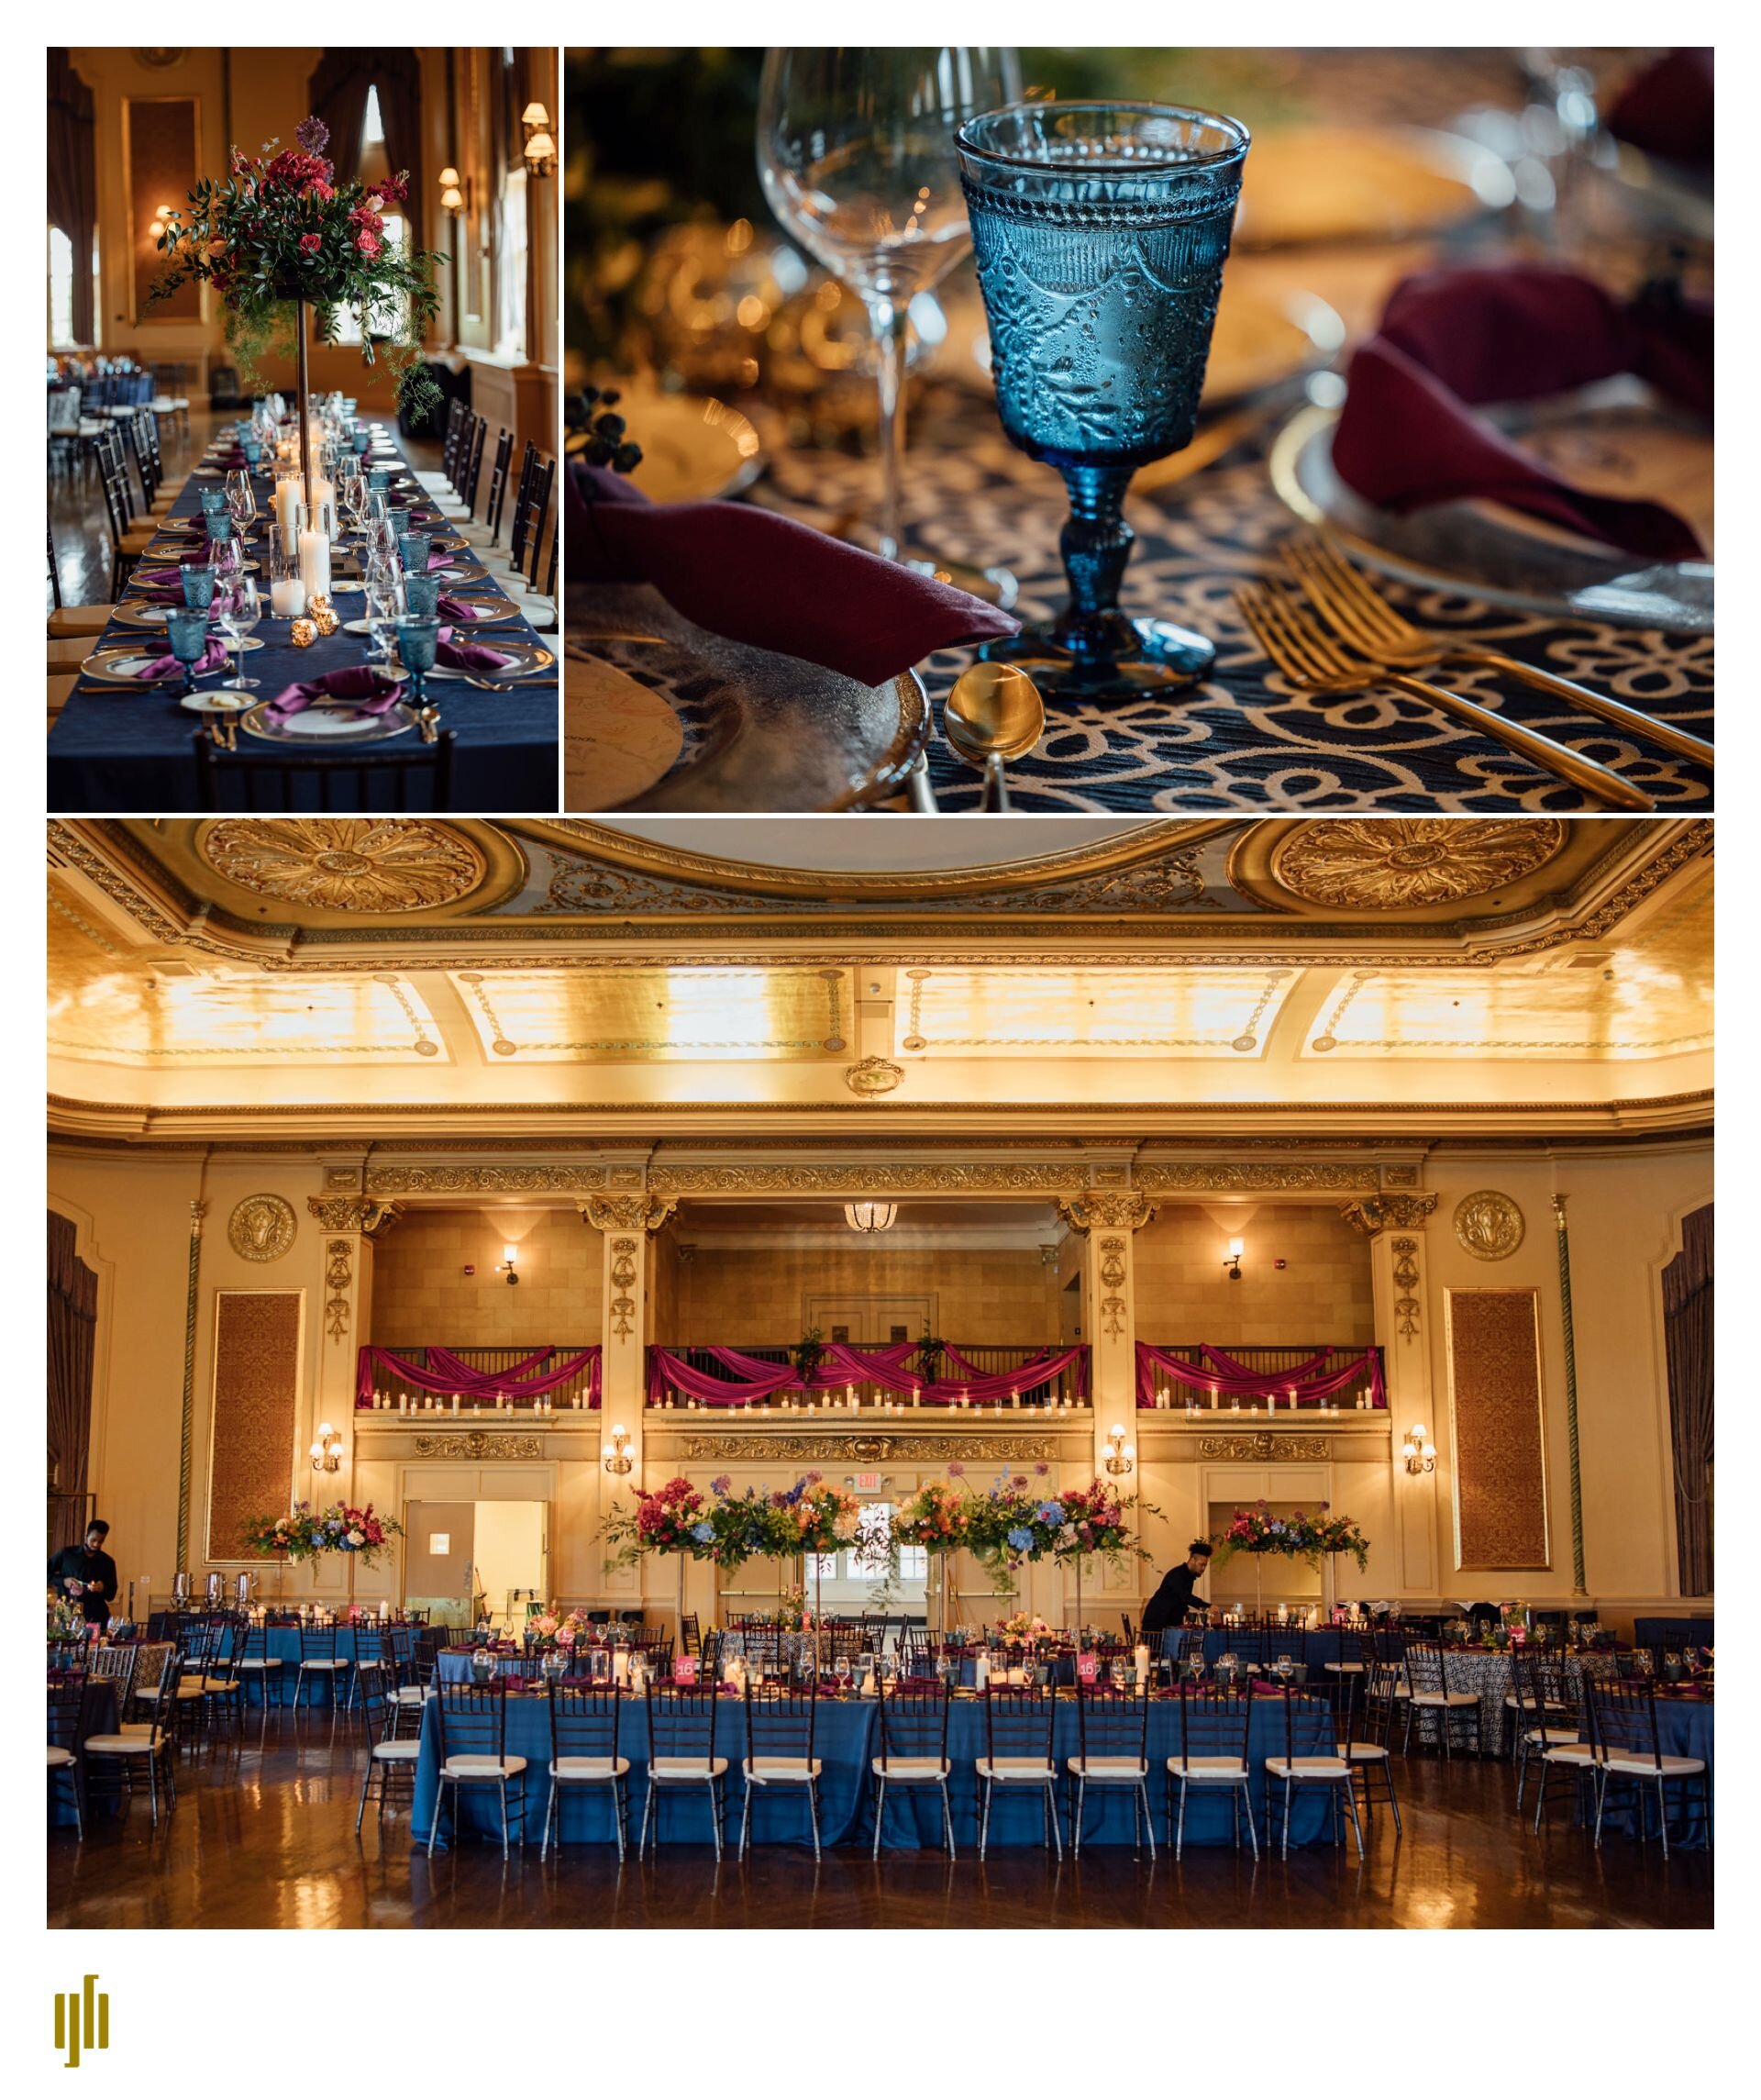
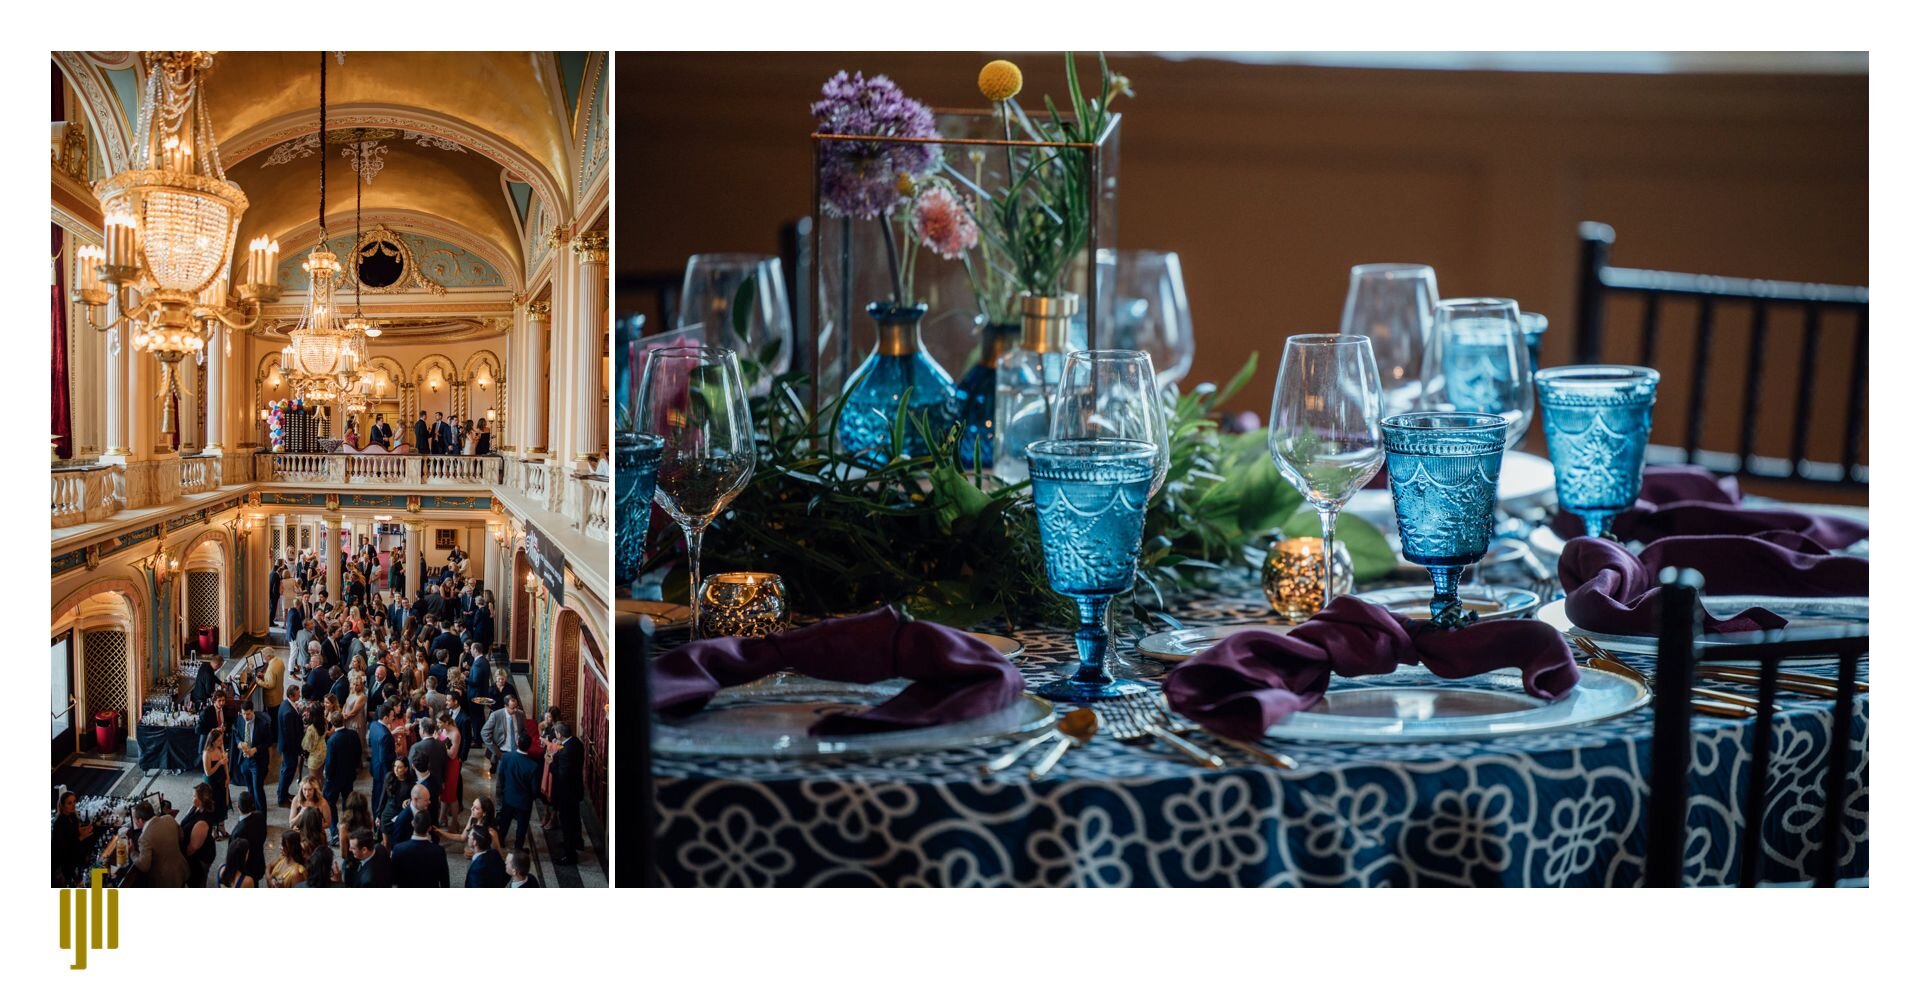
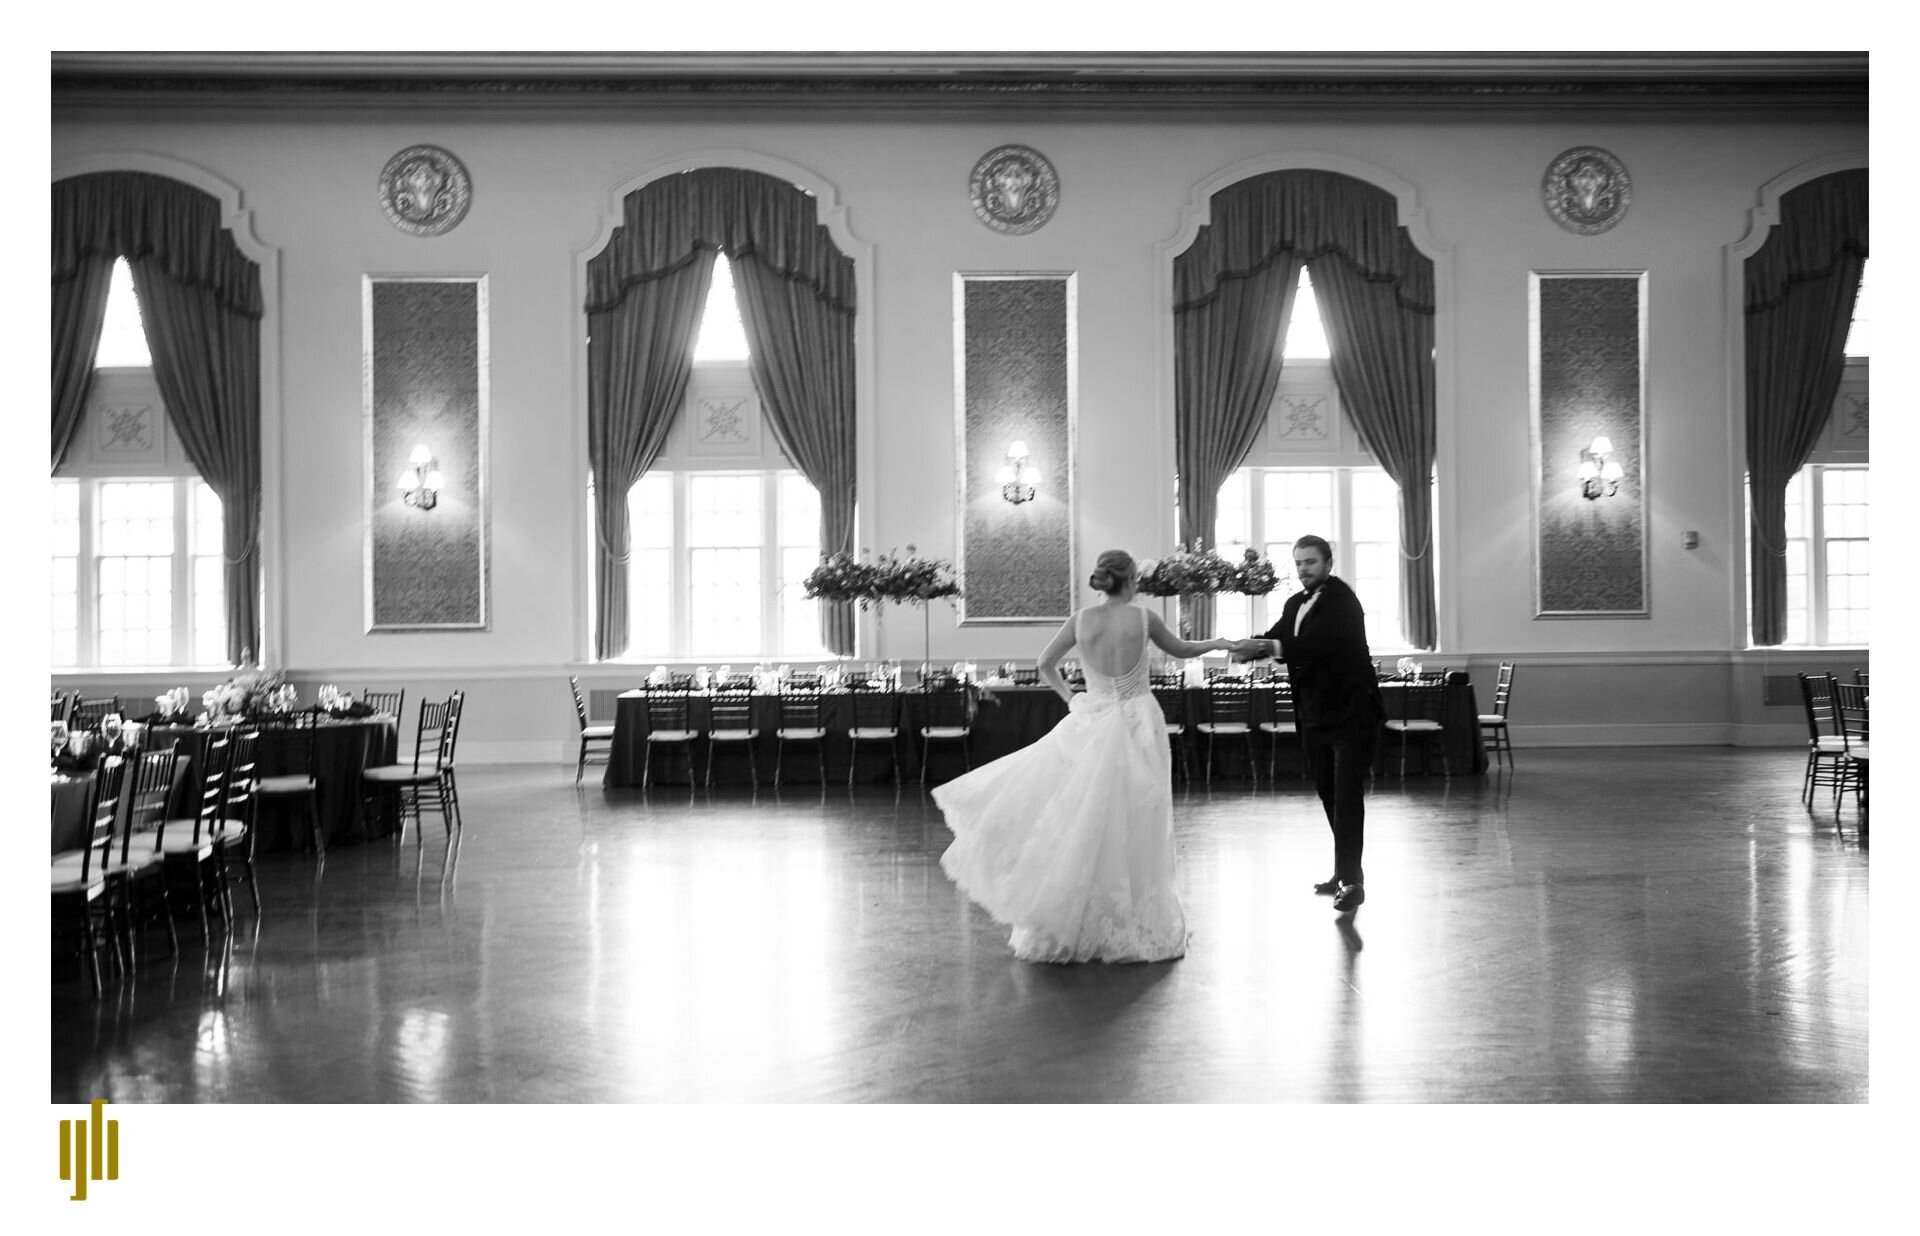
Last September, after much deliberation and reorganizing of plans, Connor and Anna were married in an intimate Notre Dame Log Chapel wedding, but they had always dreamed of a full wedding celebration surrounded by all of their friends and family. In June, 2021 that day finally came, and let me tell you. It was worth the wait. I loved being with them for their first ceremony and it was sooo cool to photograph the celebration they had planned all along. Here’s a preview!

Flowers & design : Cher Goggins with Merry Me Events

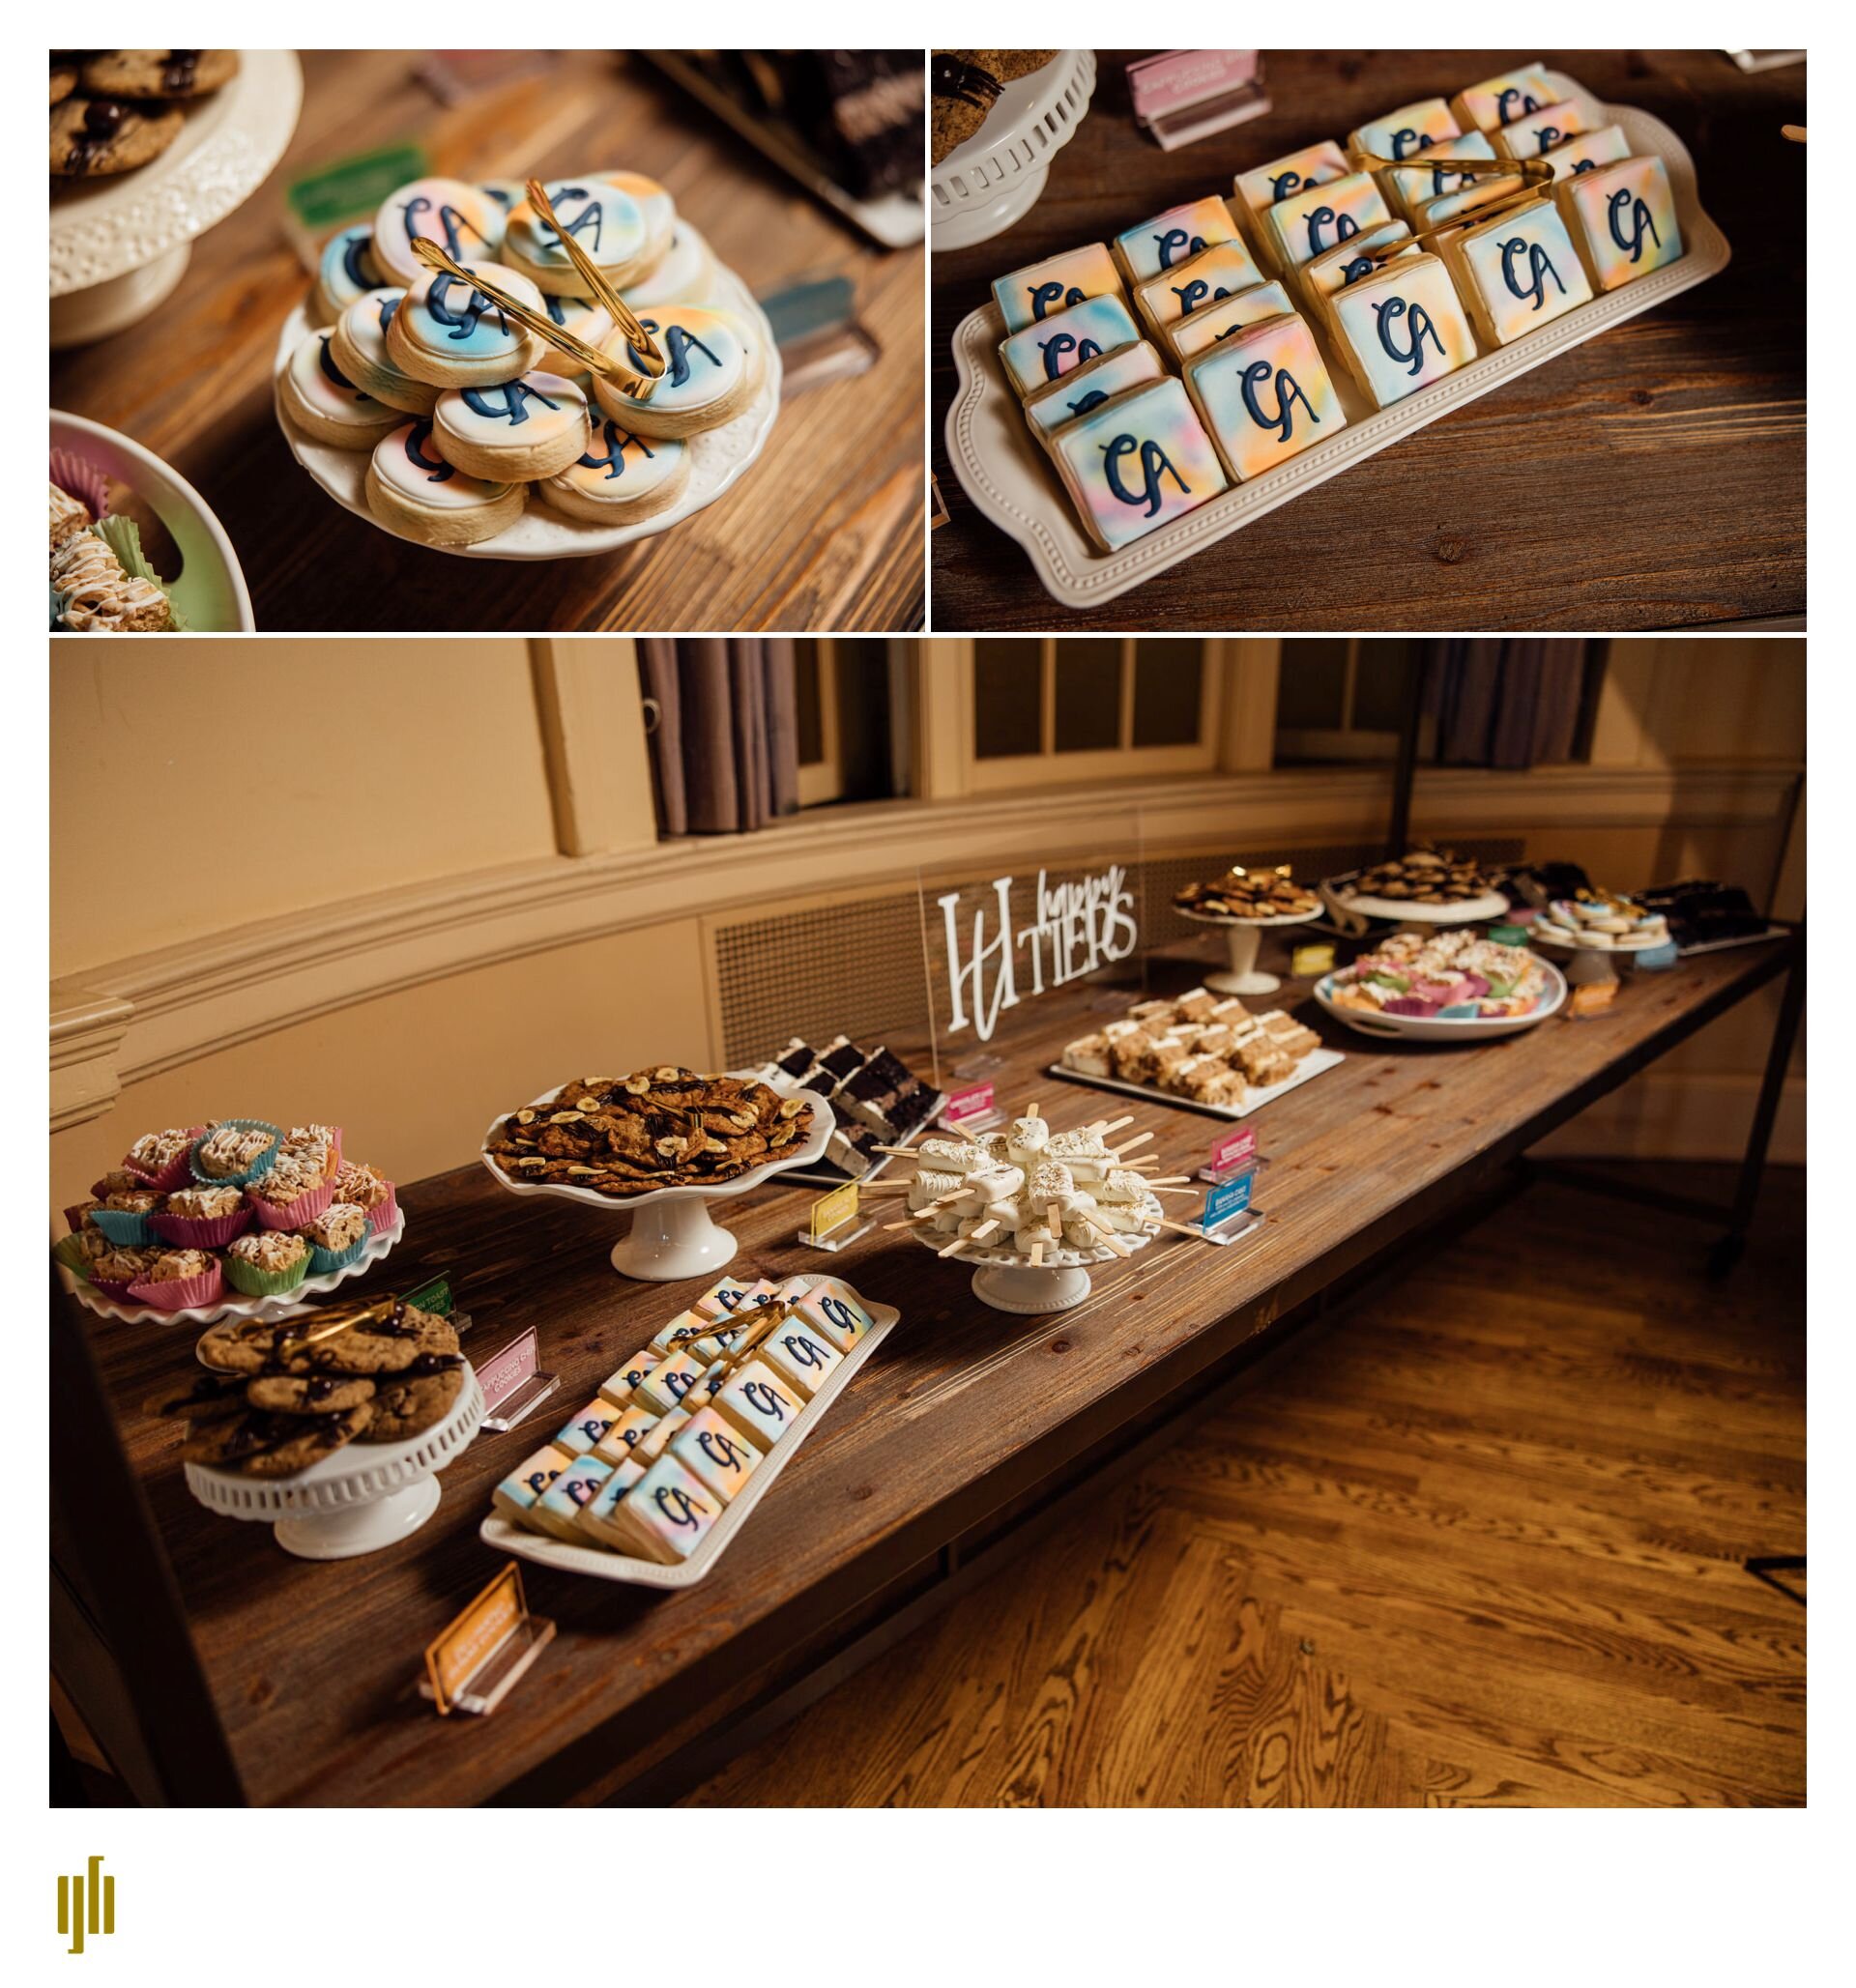
Cake: Anna Edmonds with Happy Tiers Bakeshop

Band: Enough Said with Maggie Speaks

Lighting: Pro Show Lighting

Videographer: Marko with 27 entertainment

Makeup: Viktoria Zarvosky with Beautoria

Kevin and Alaina are married!

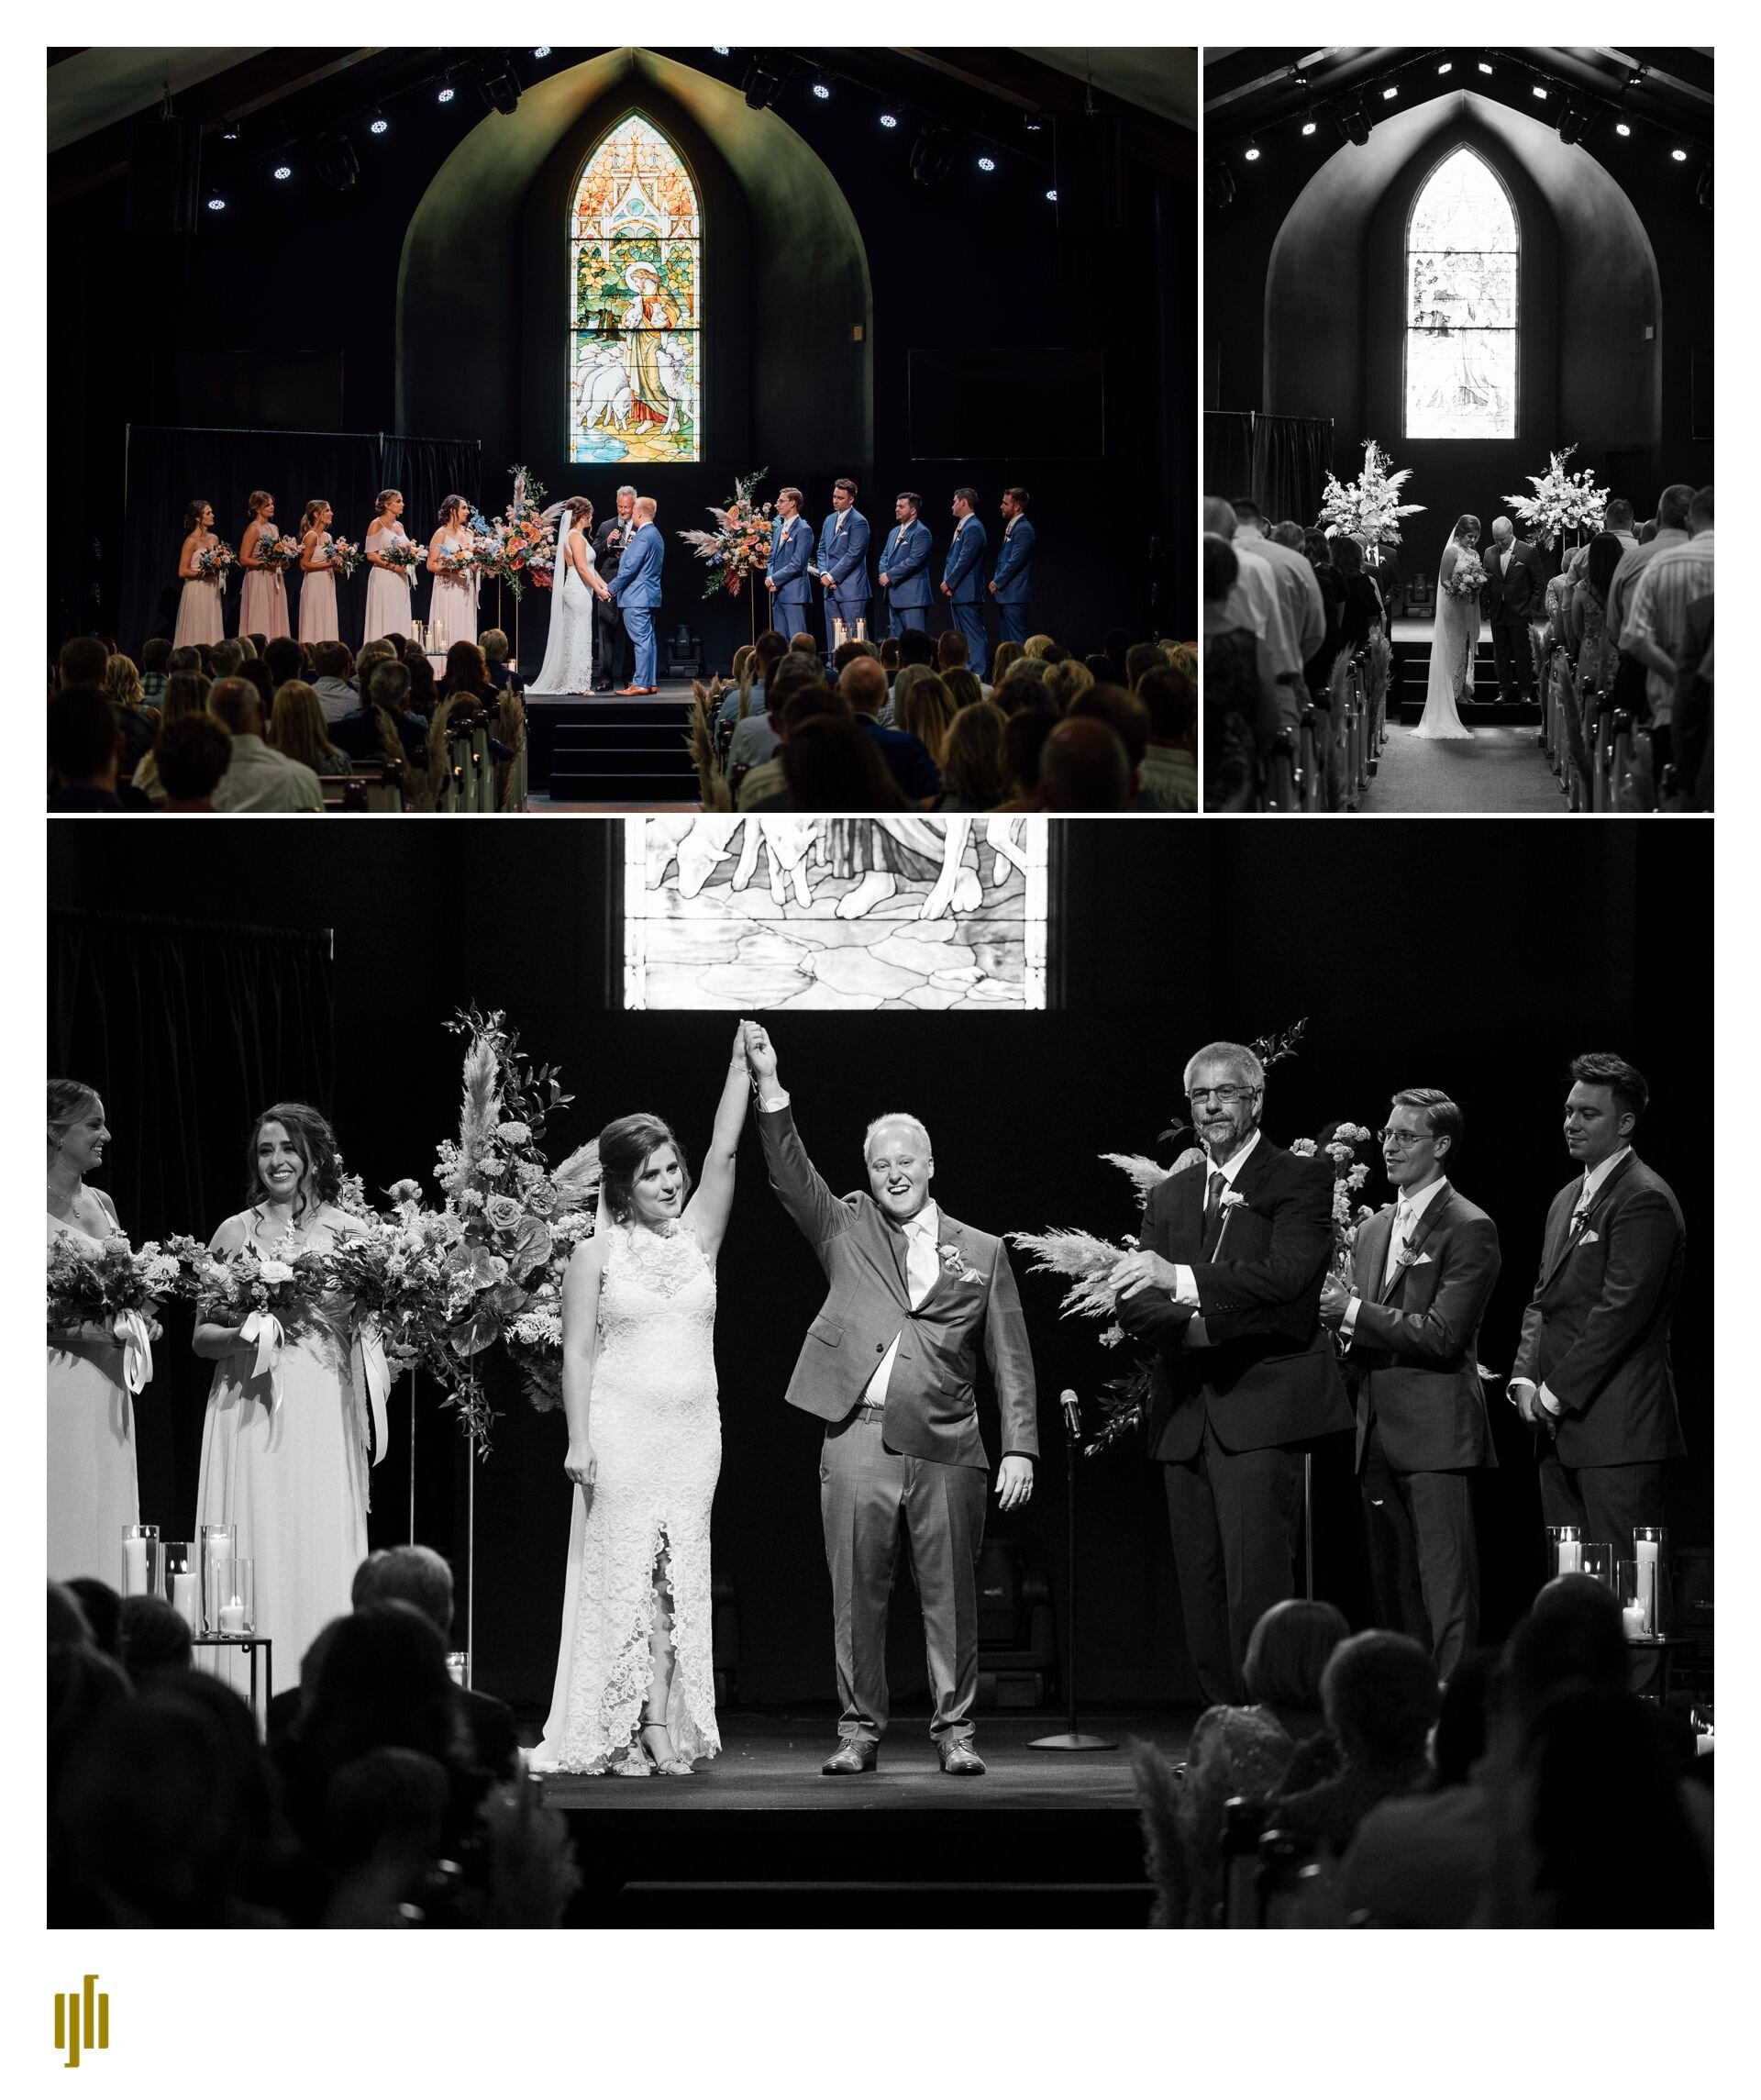
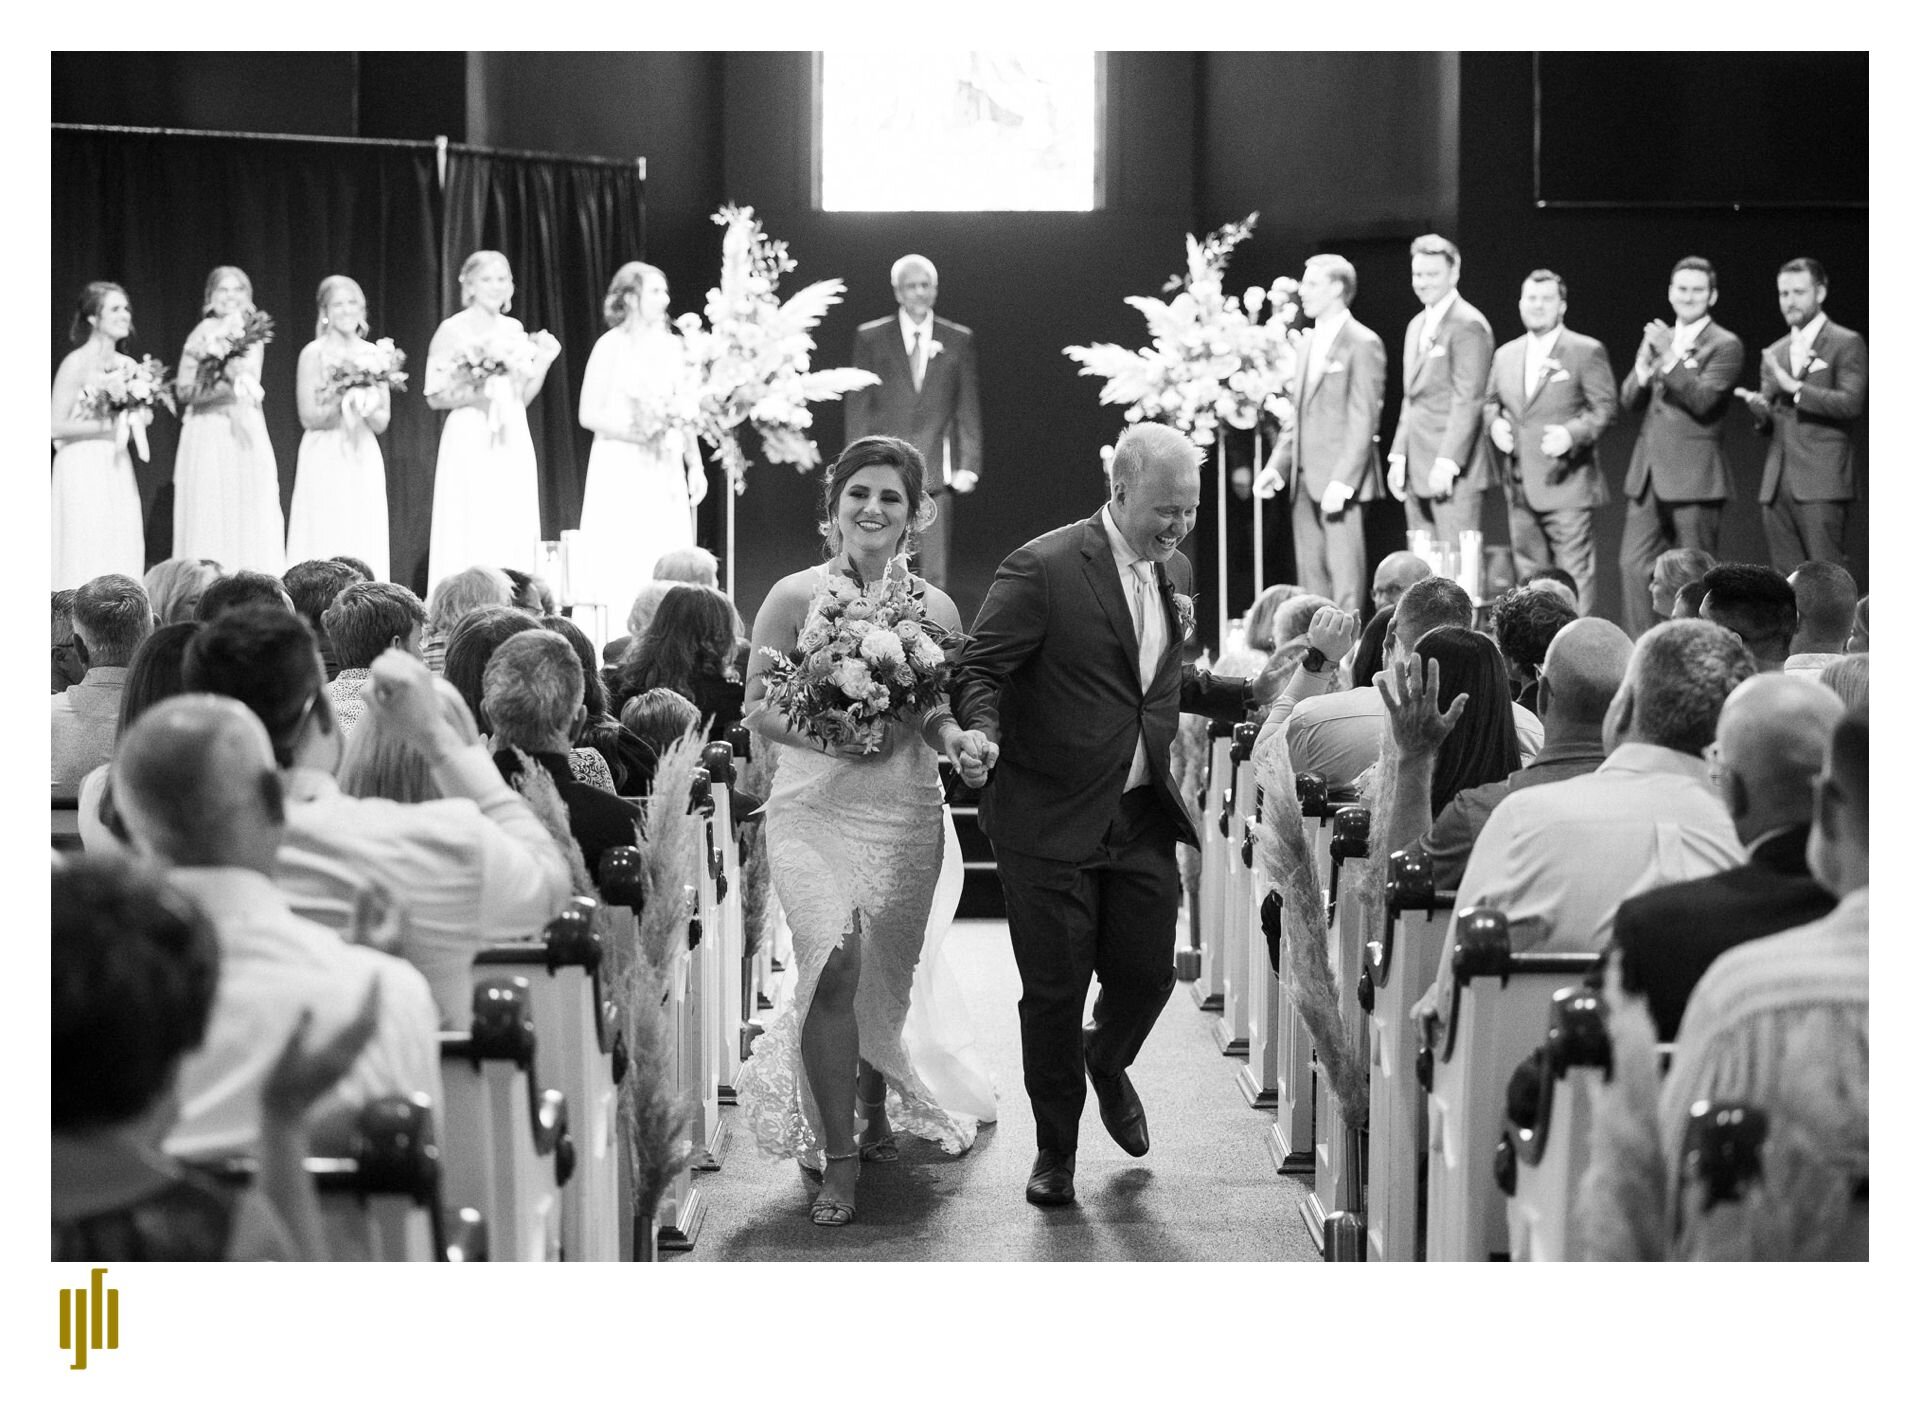
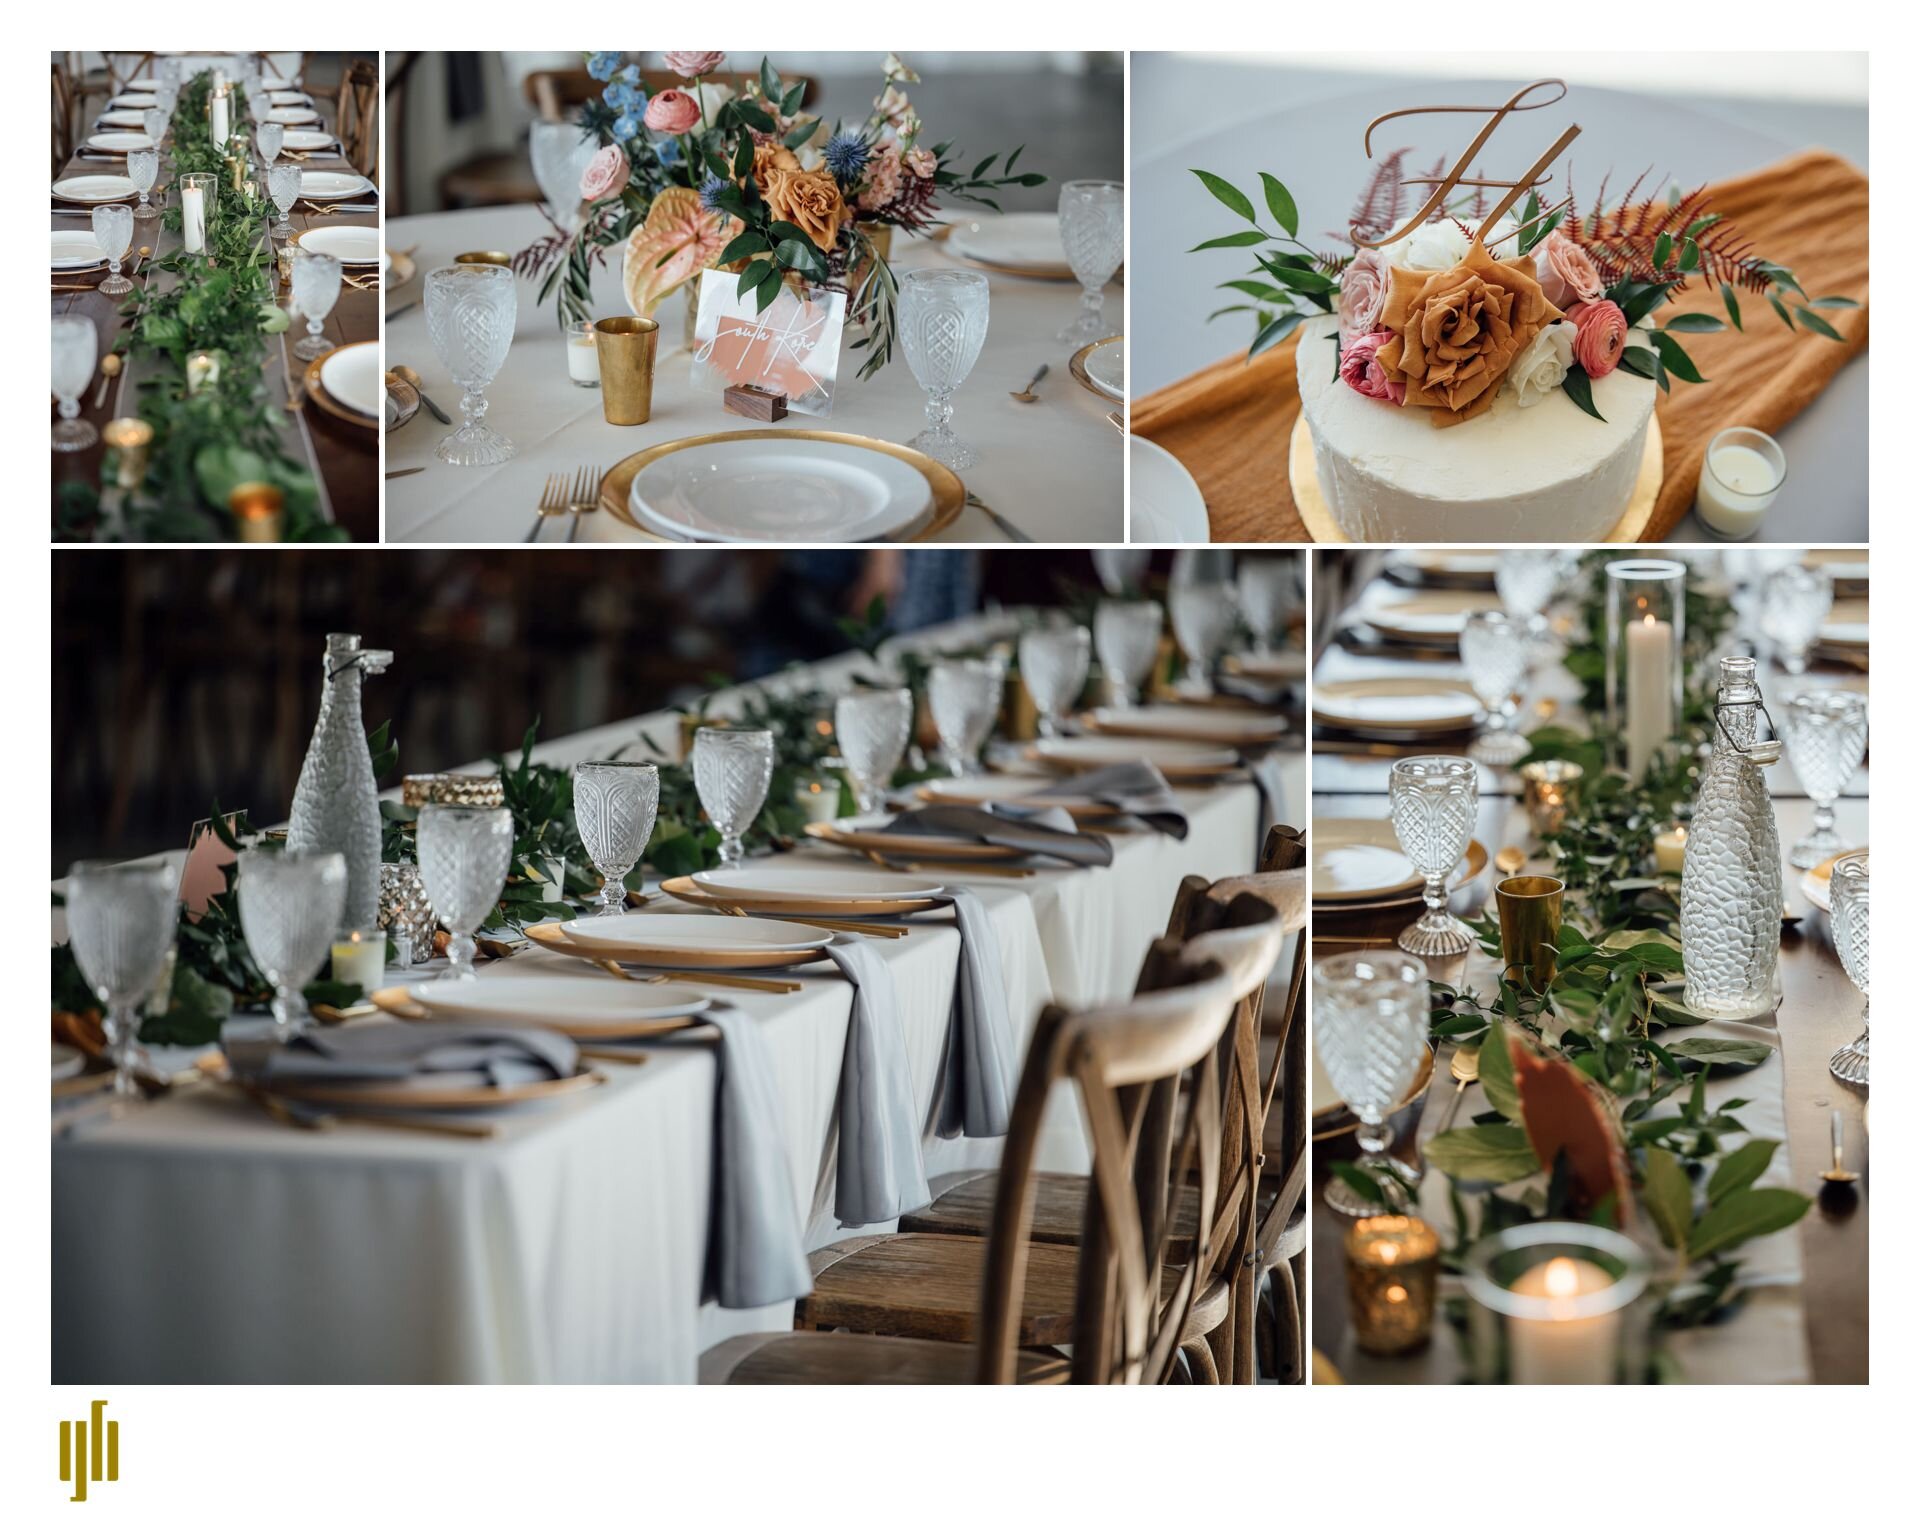
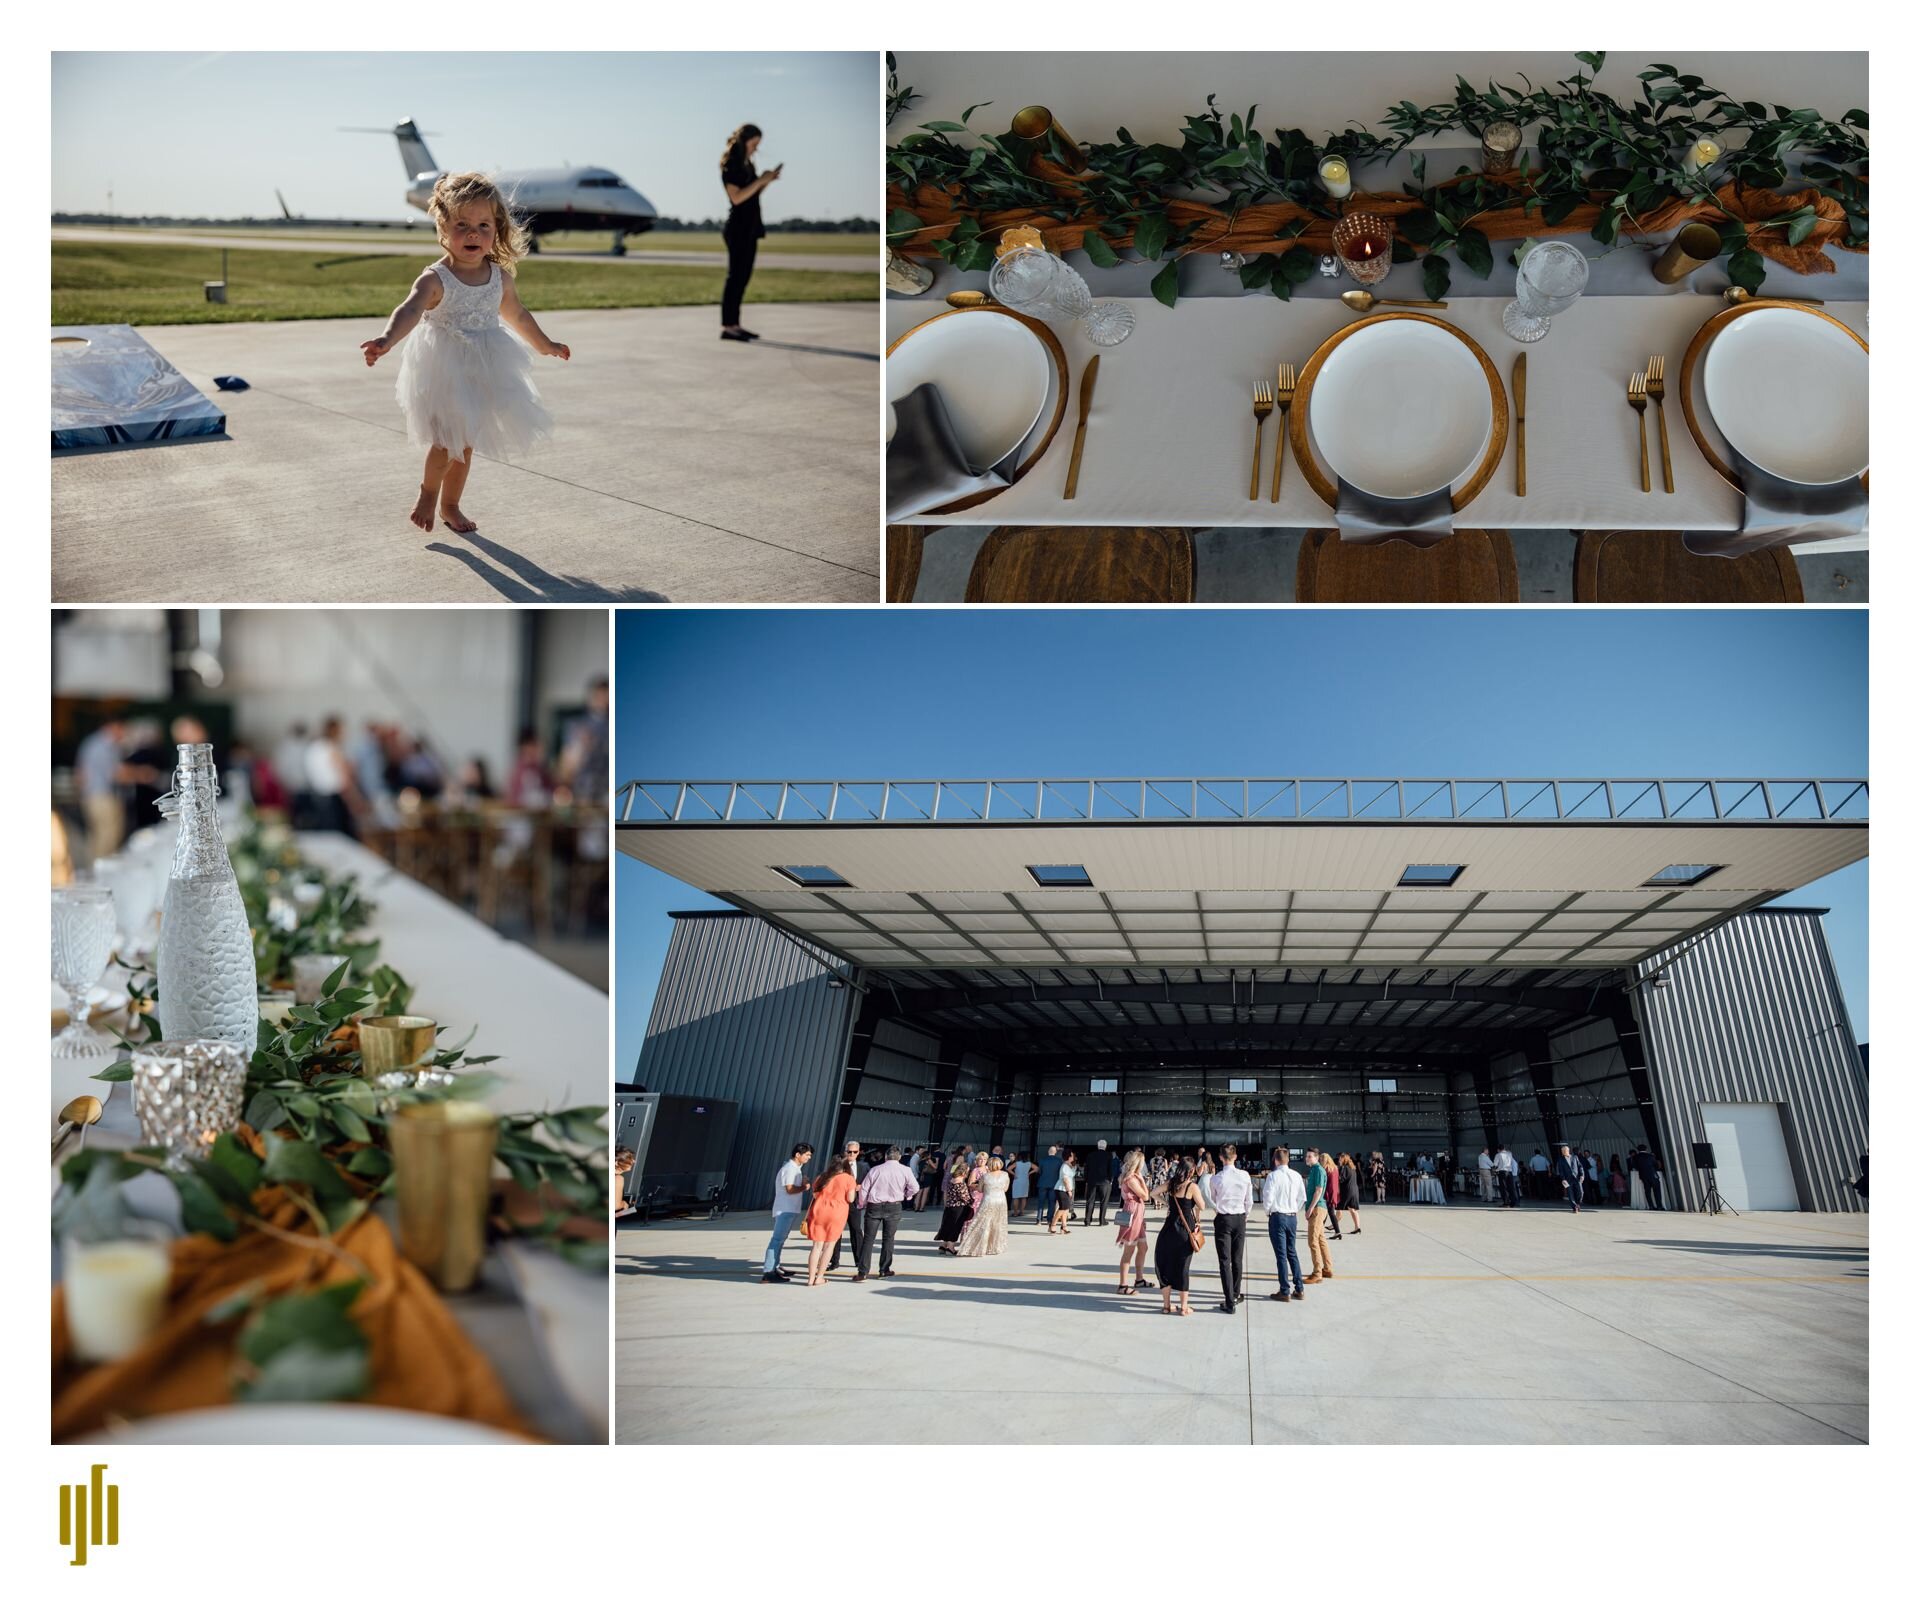
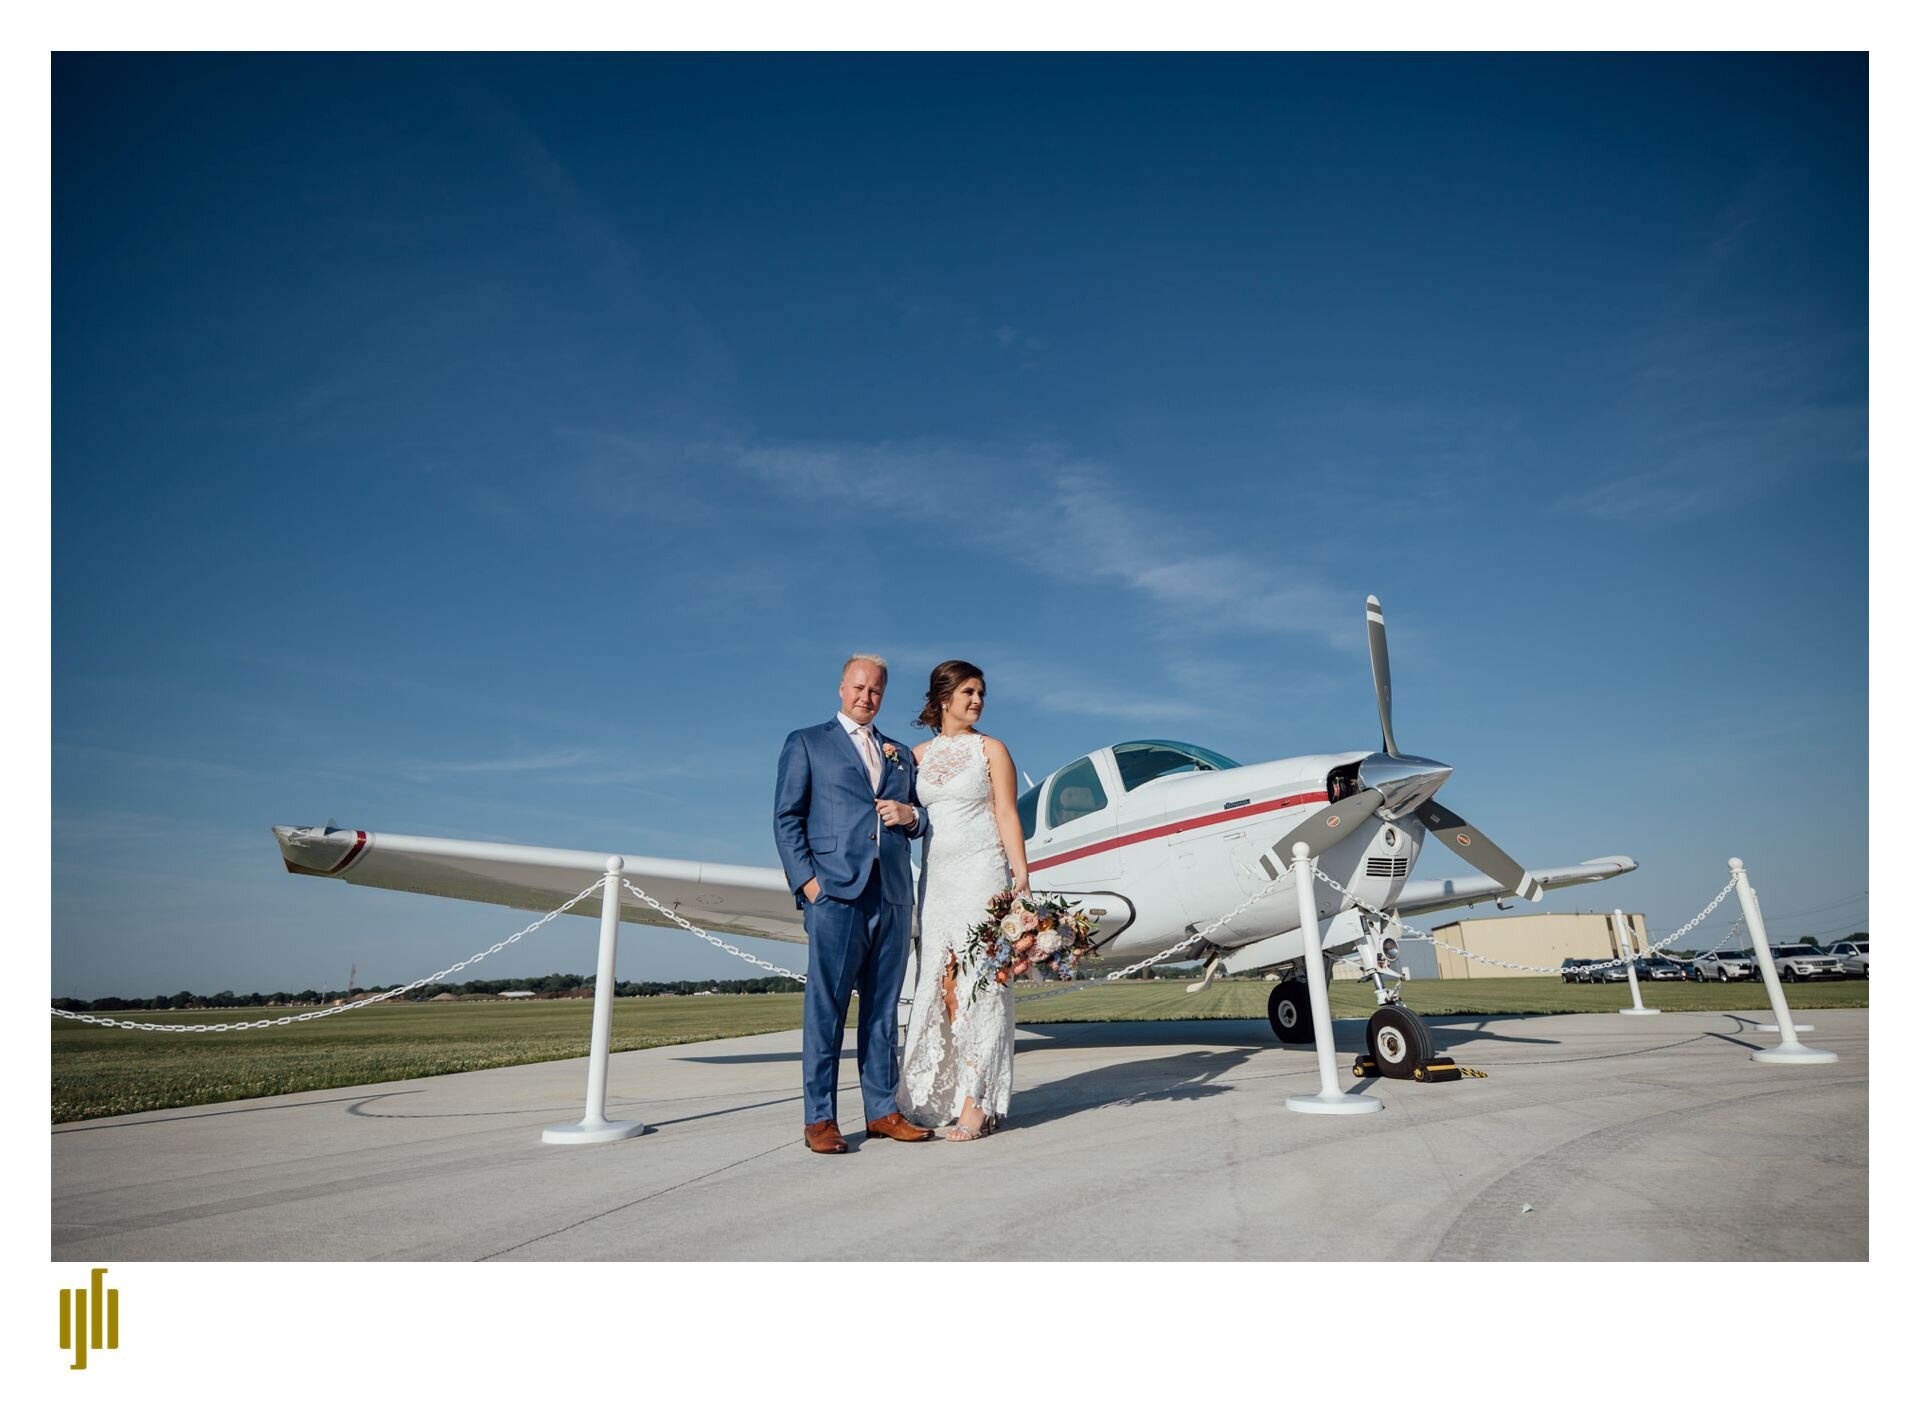
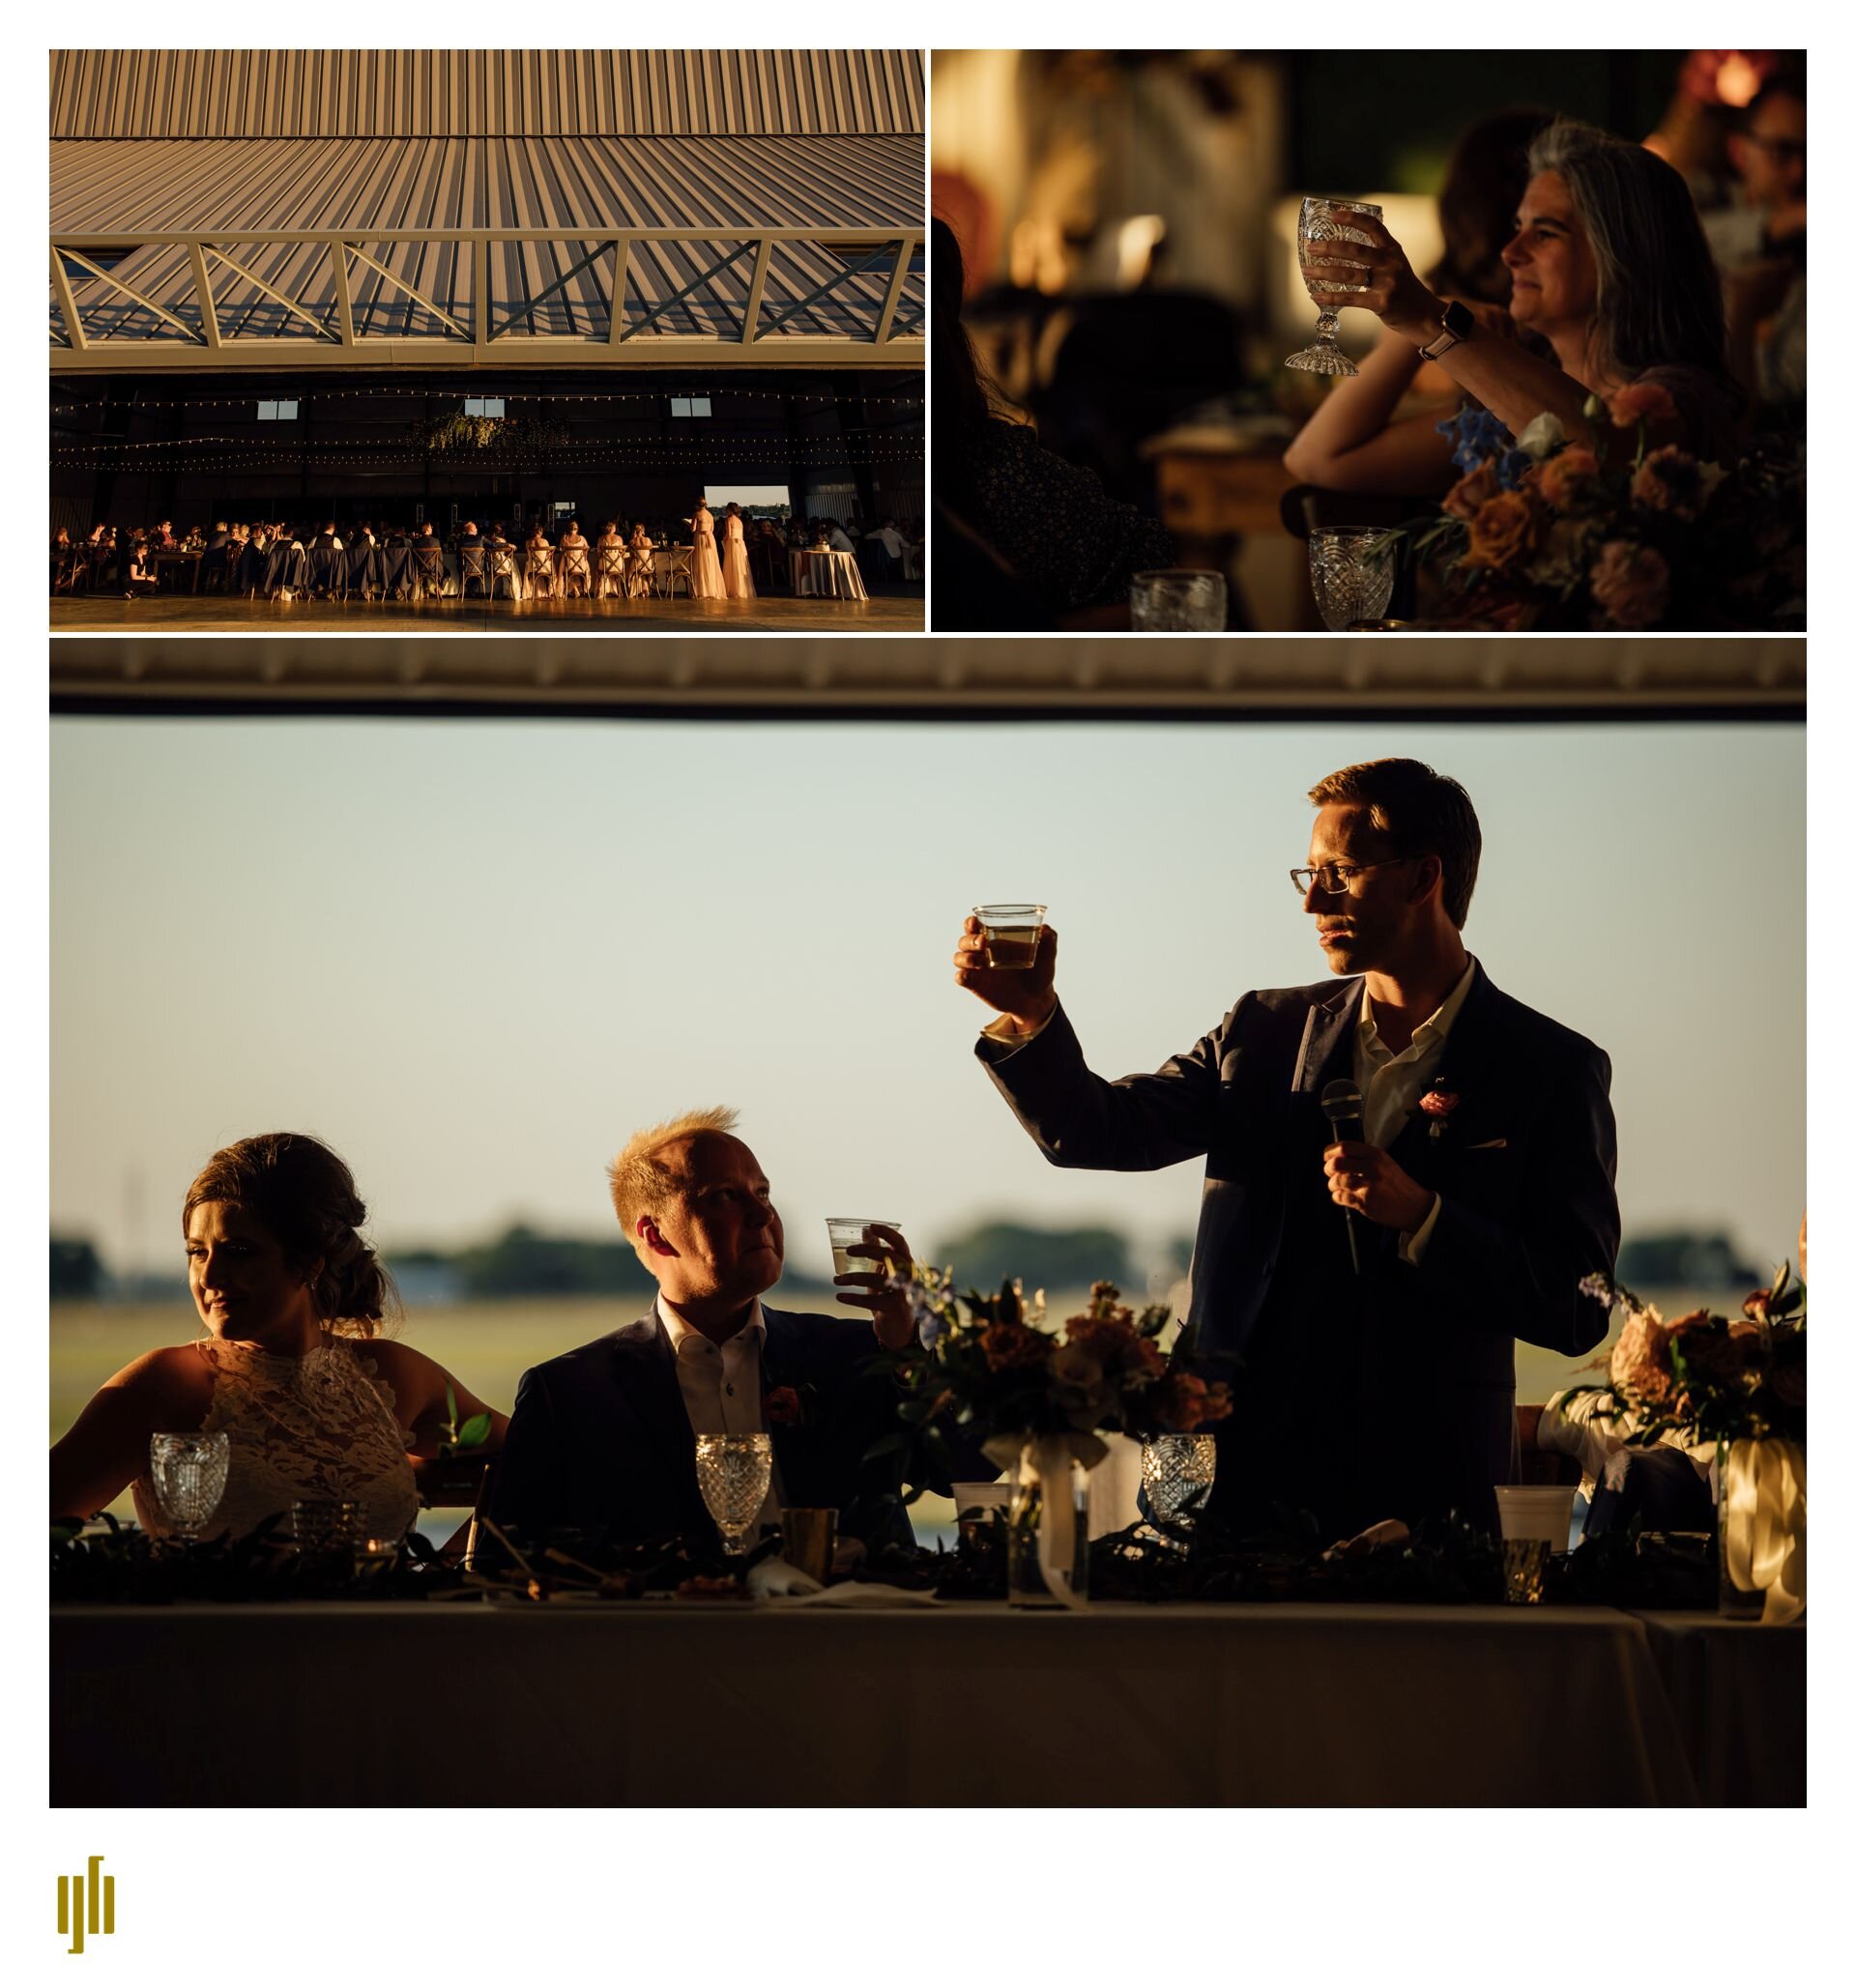
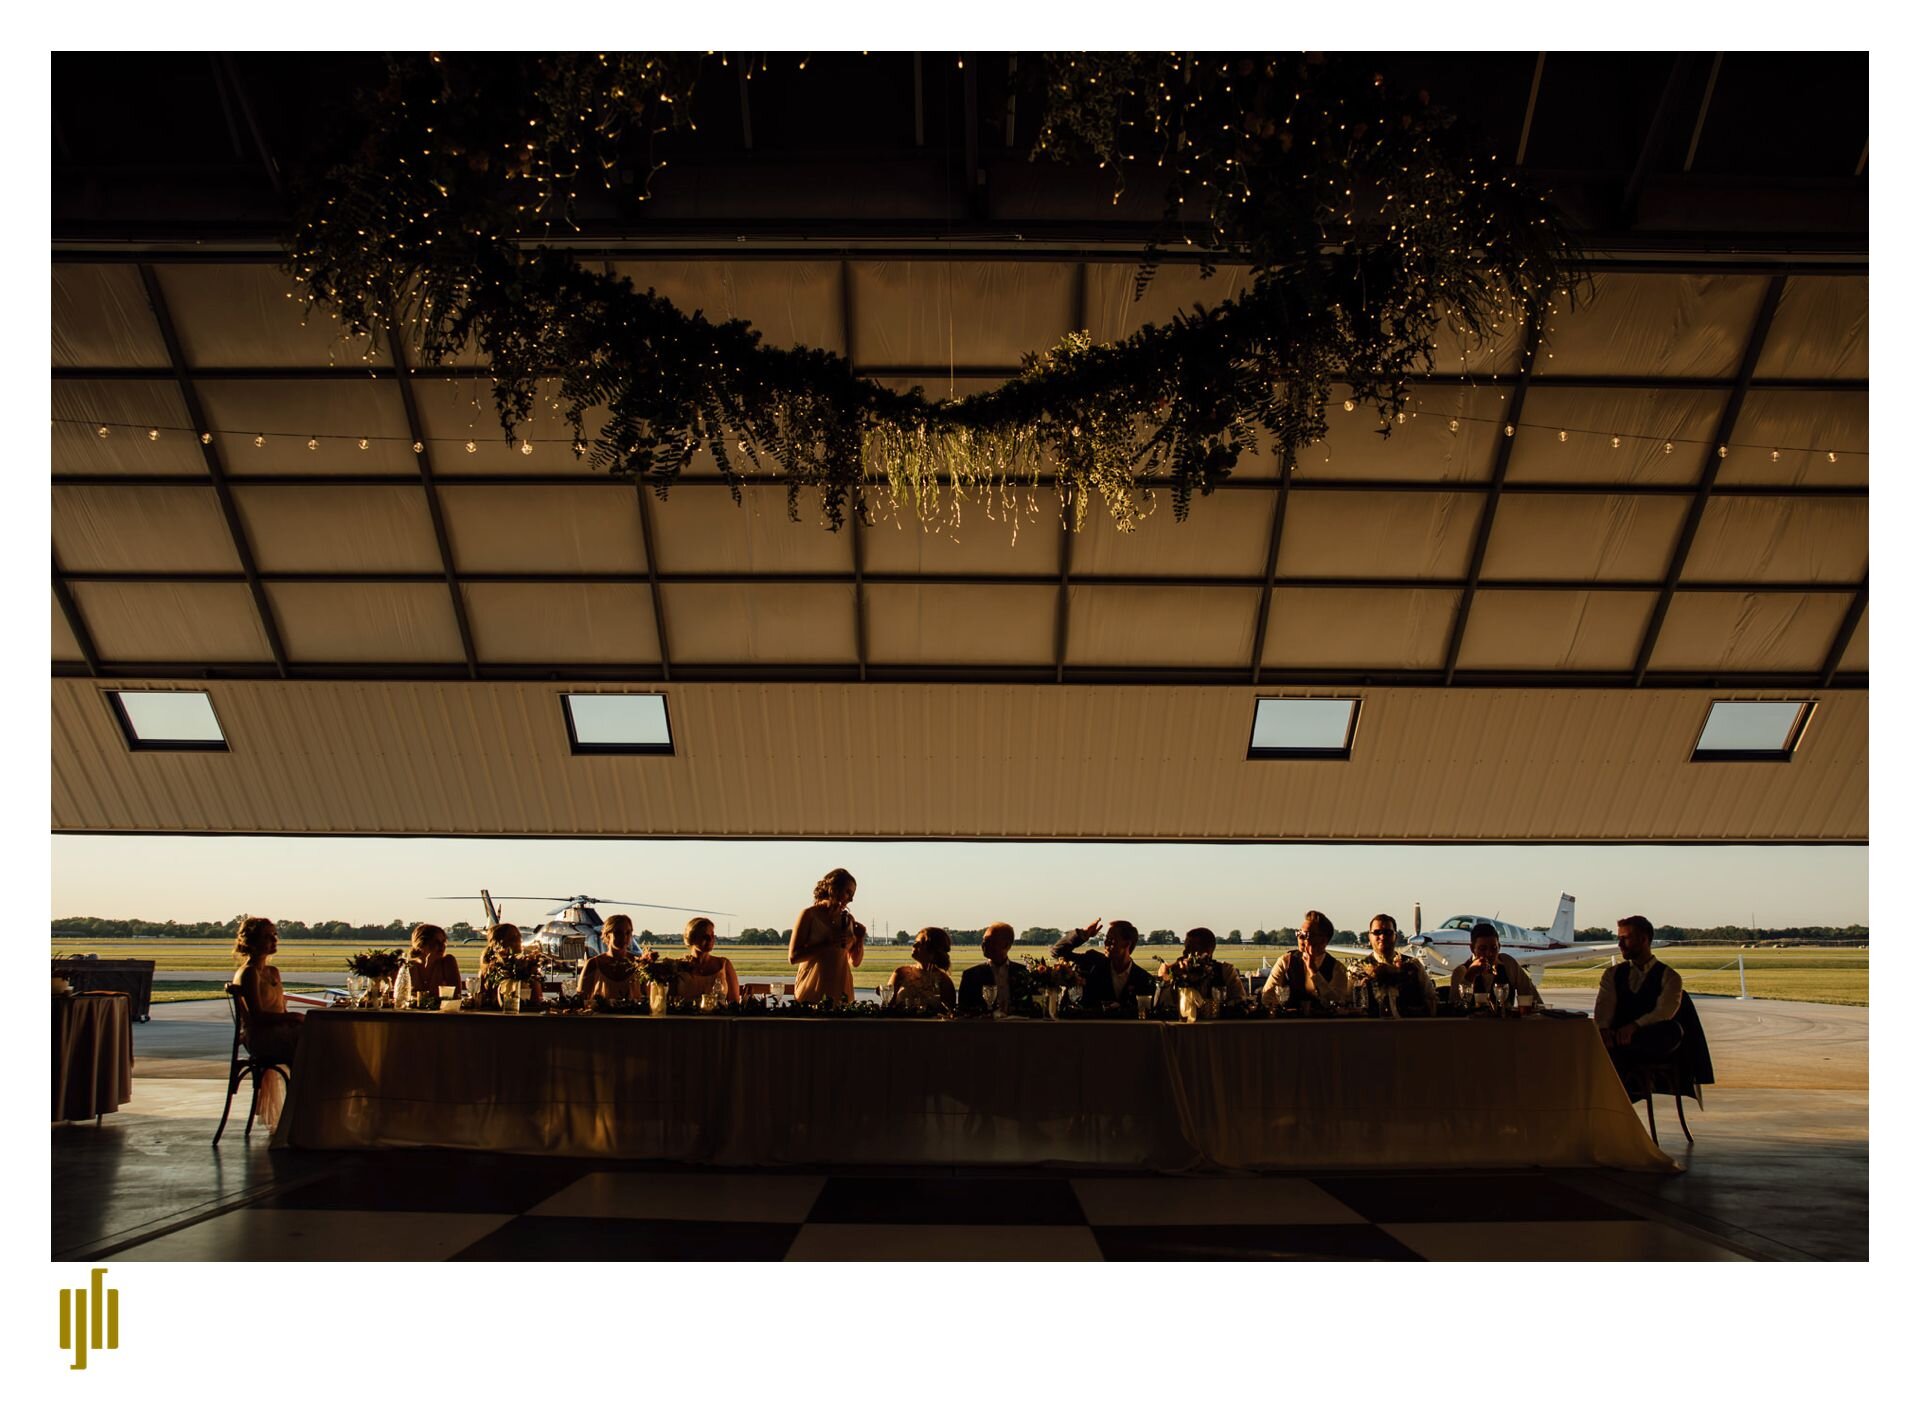
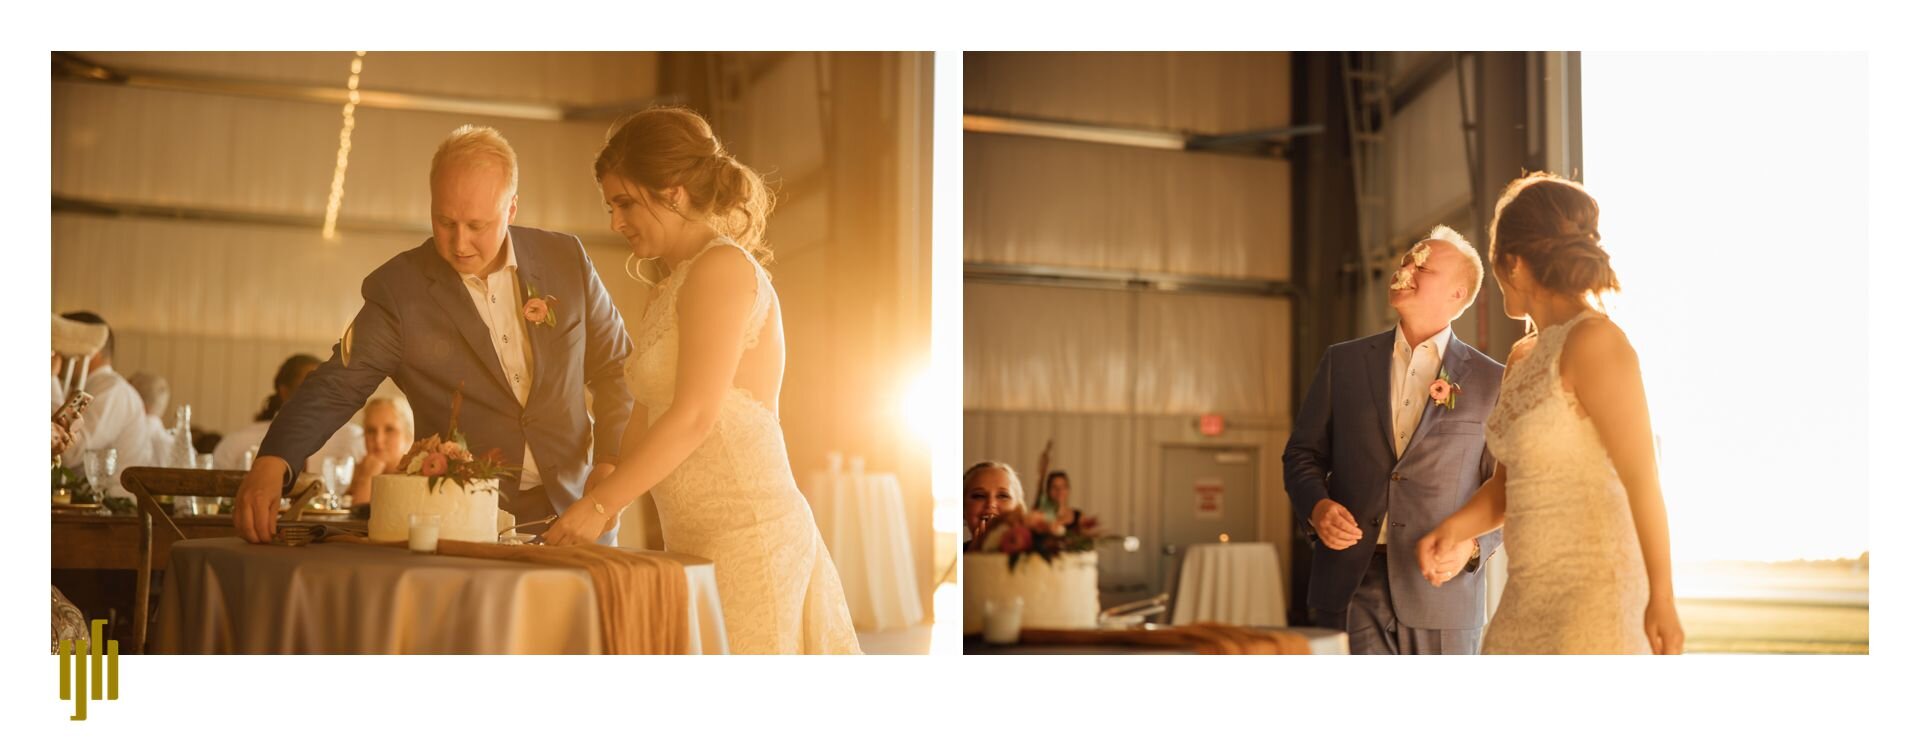
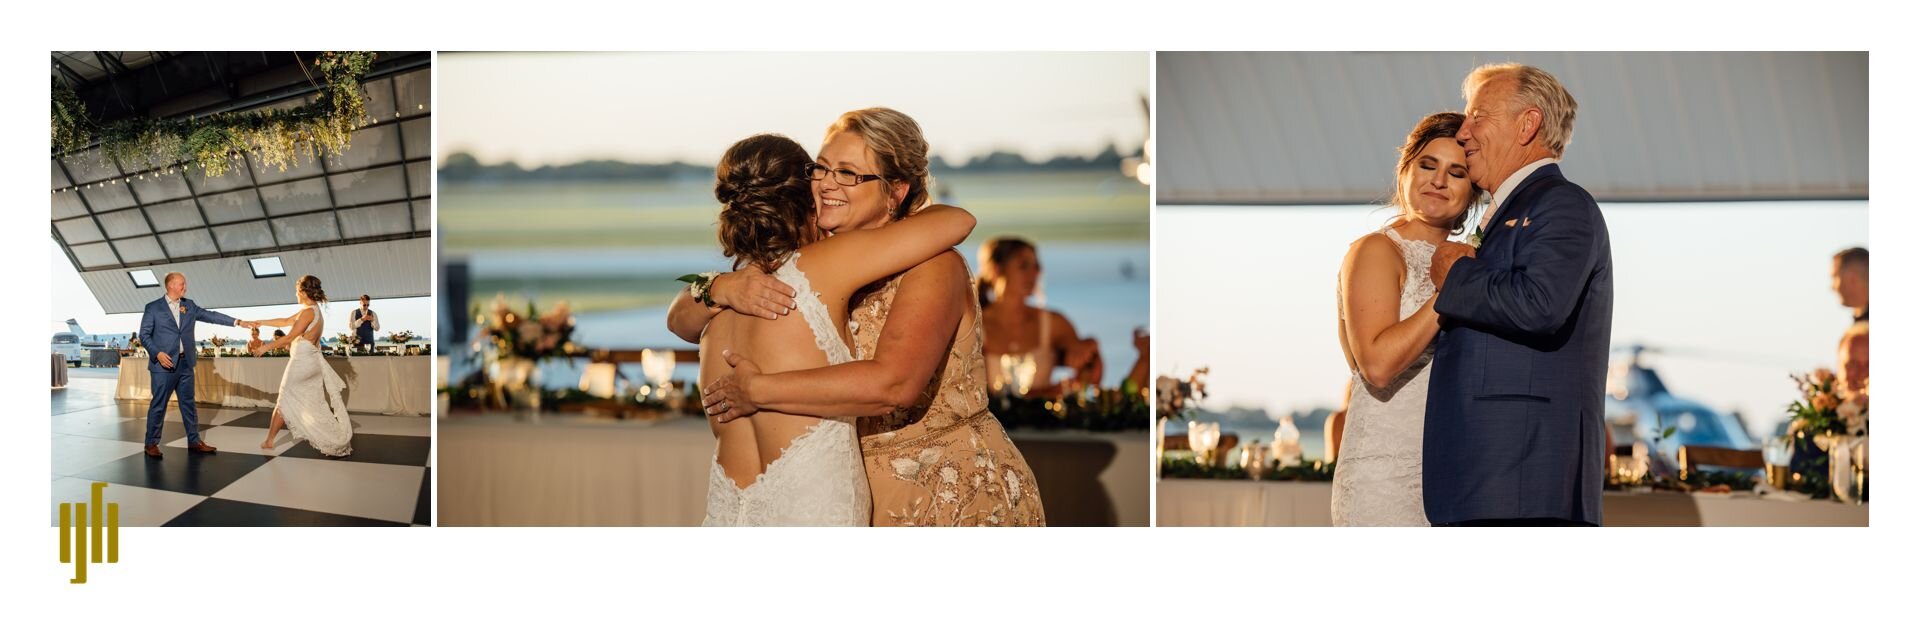
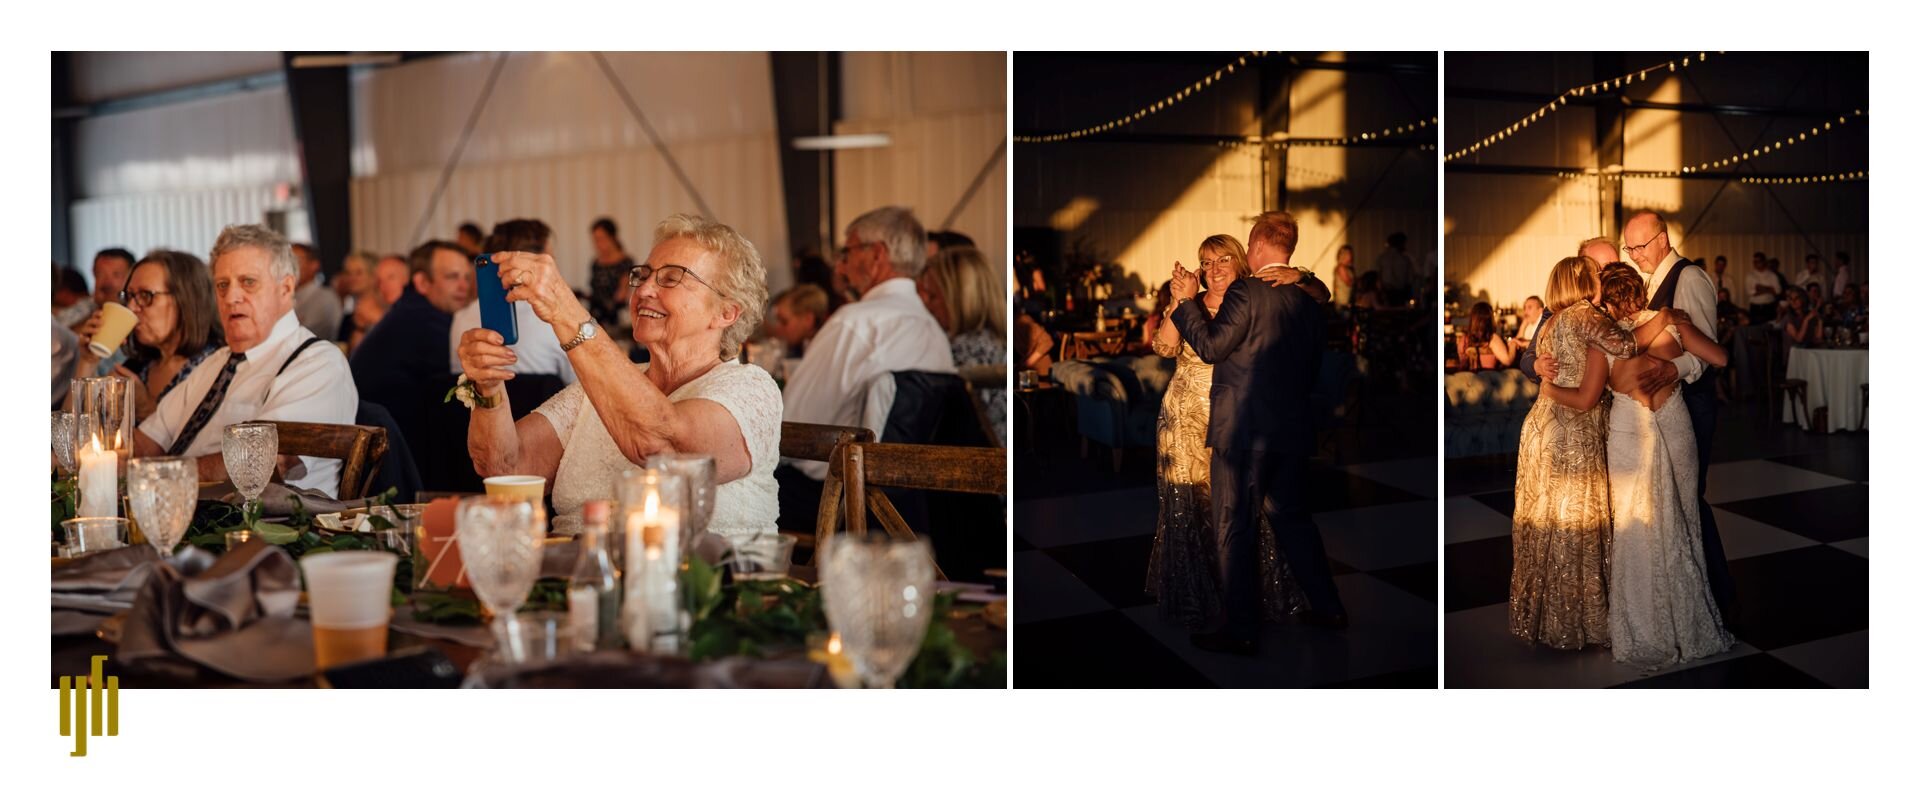
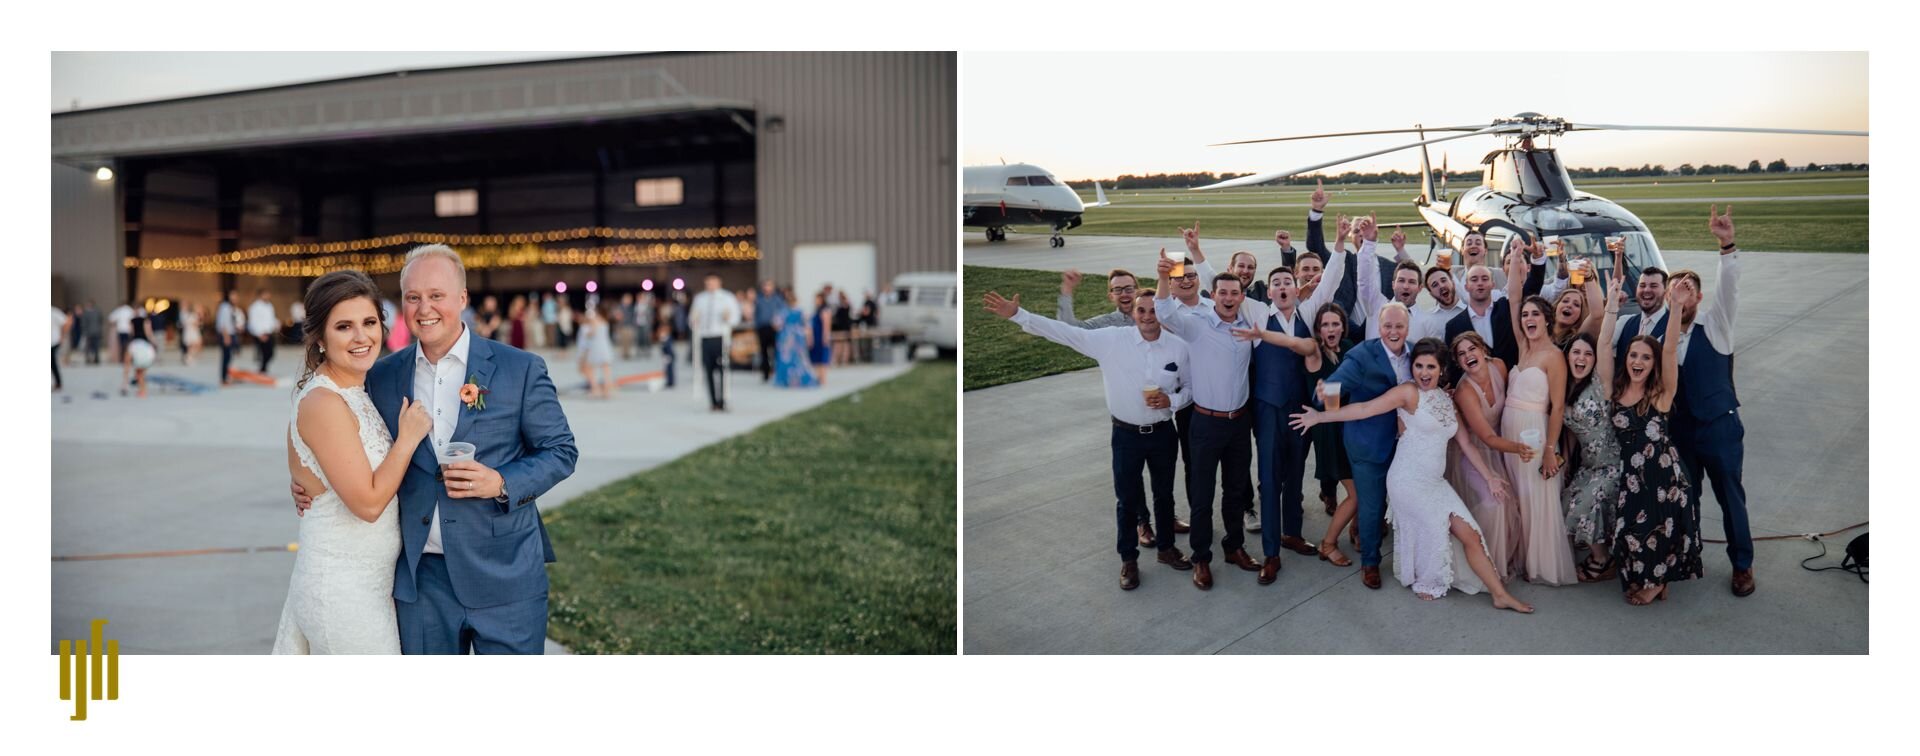
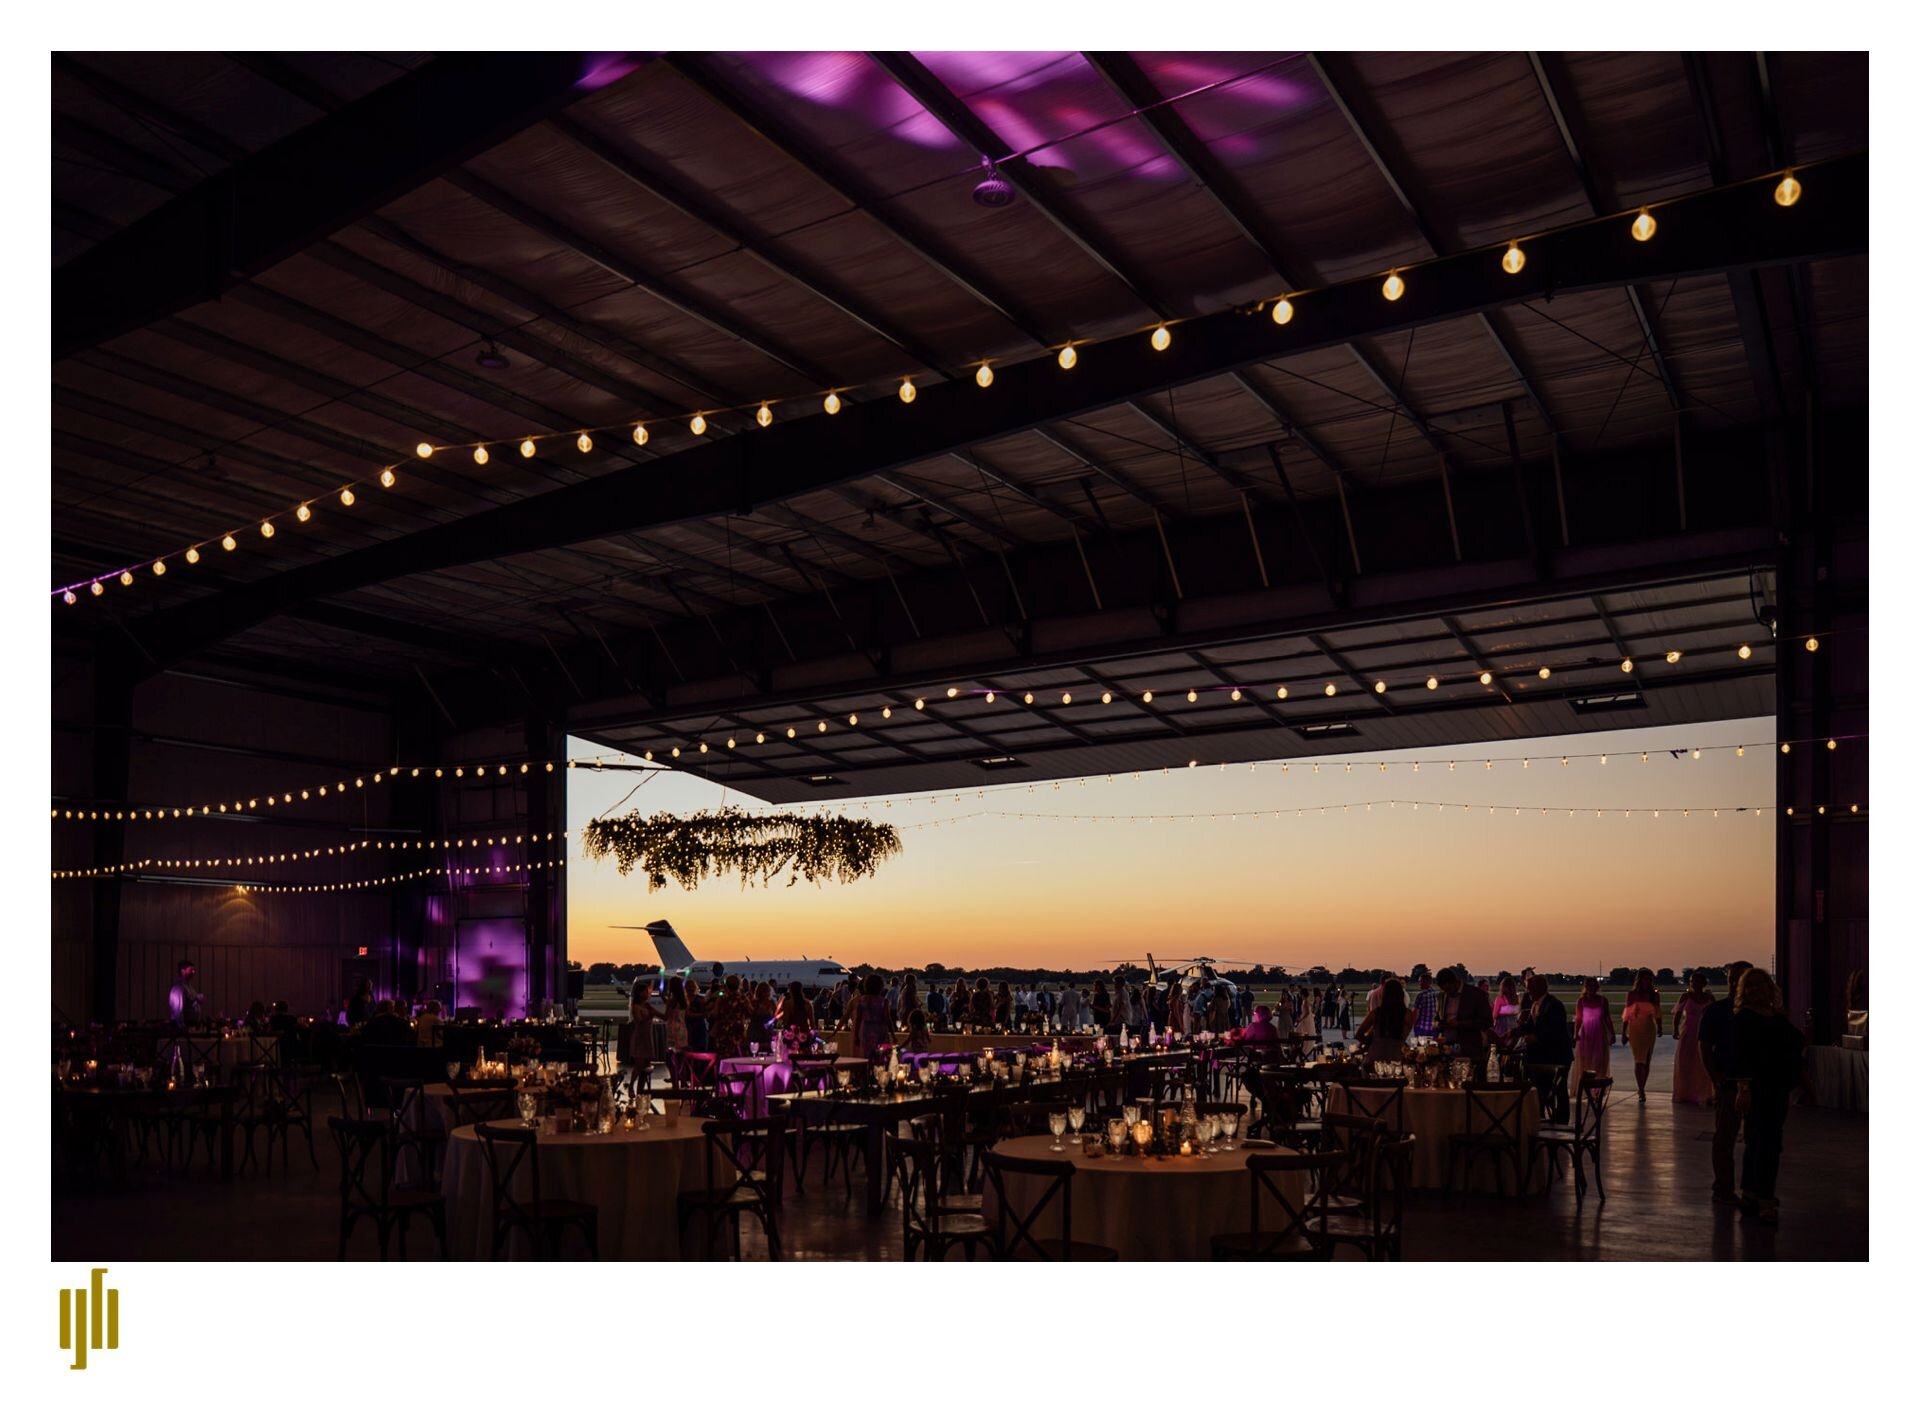
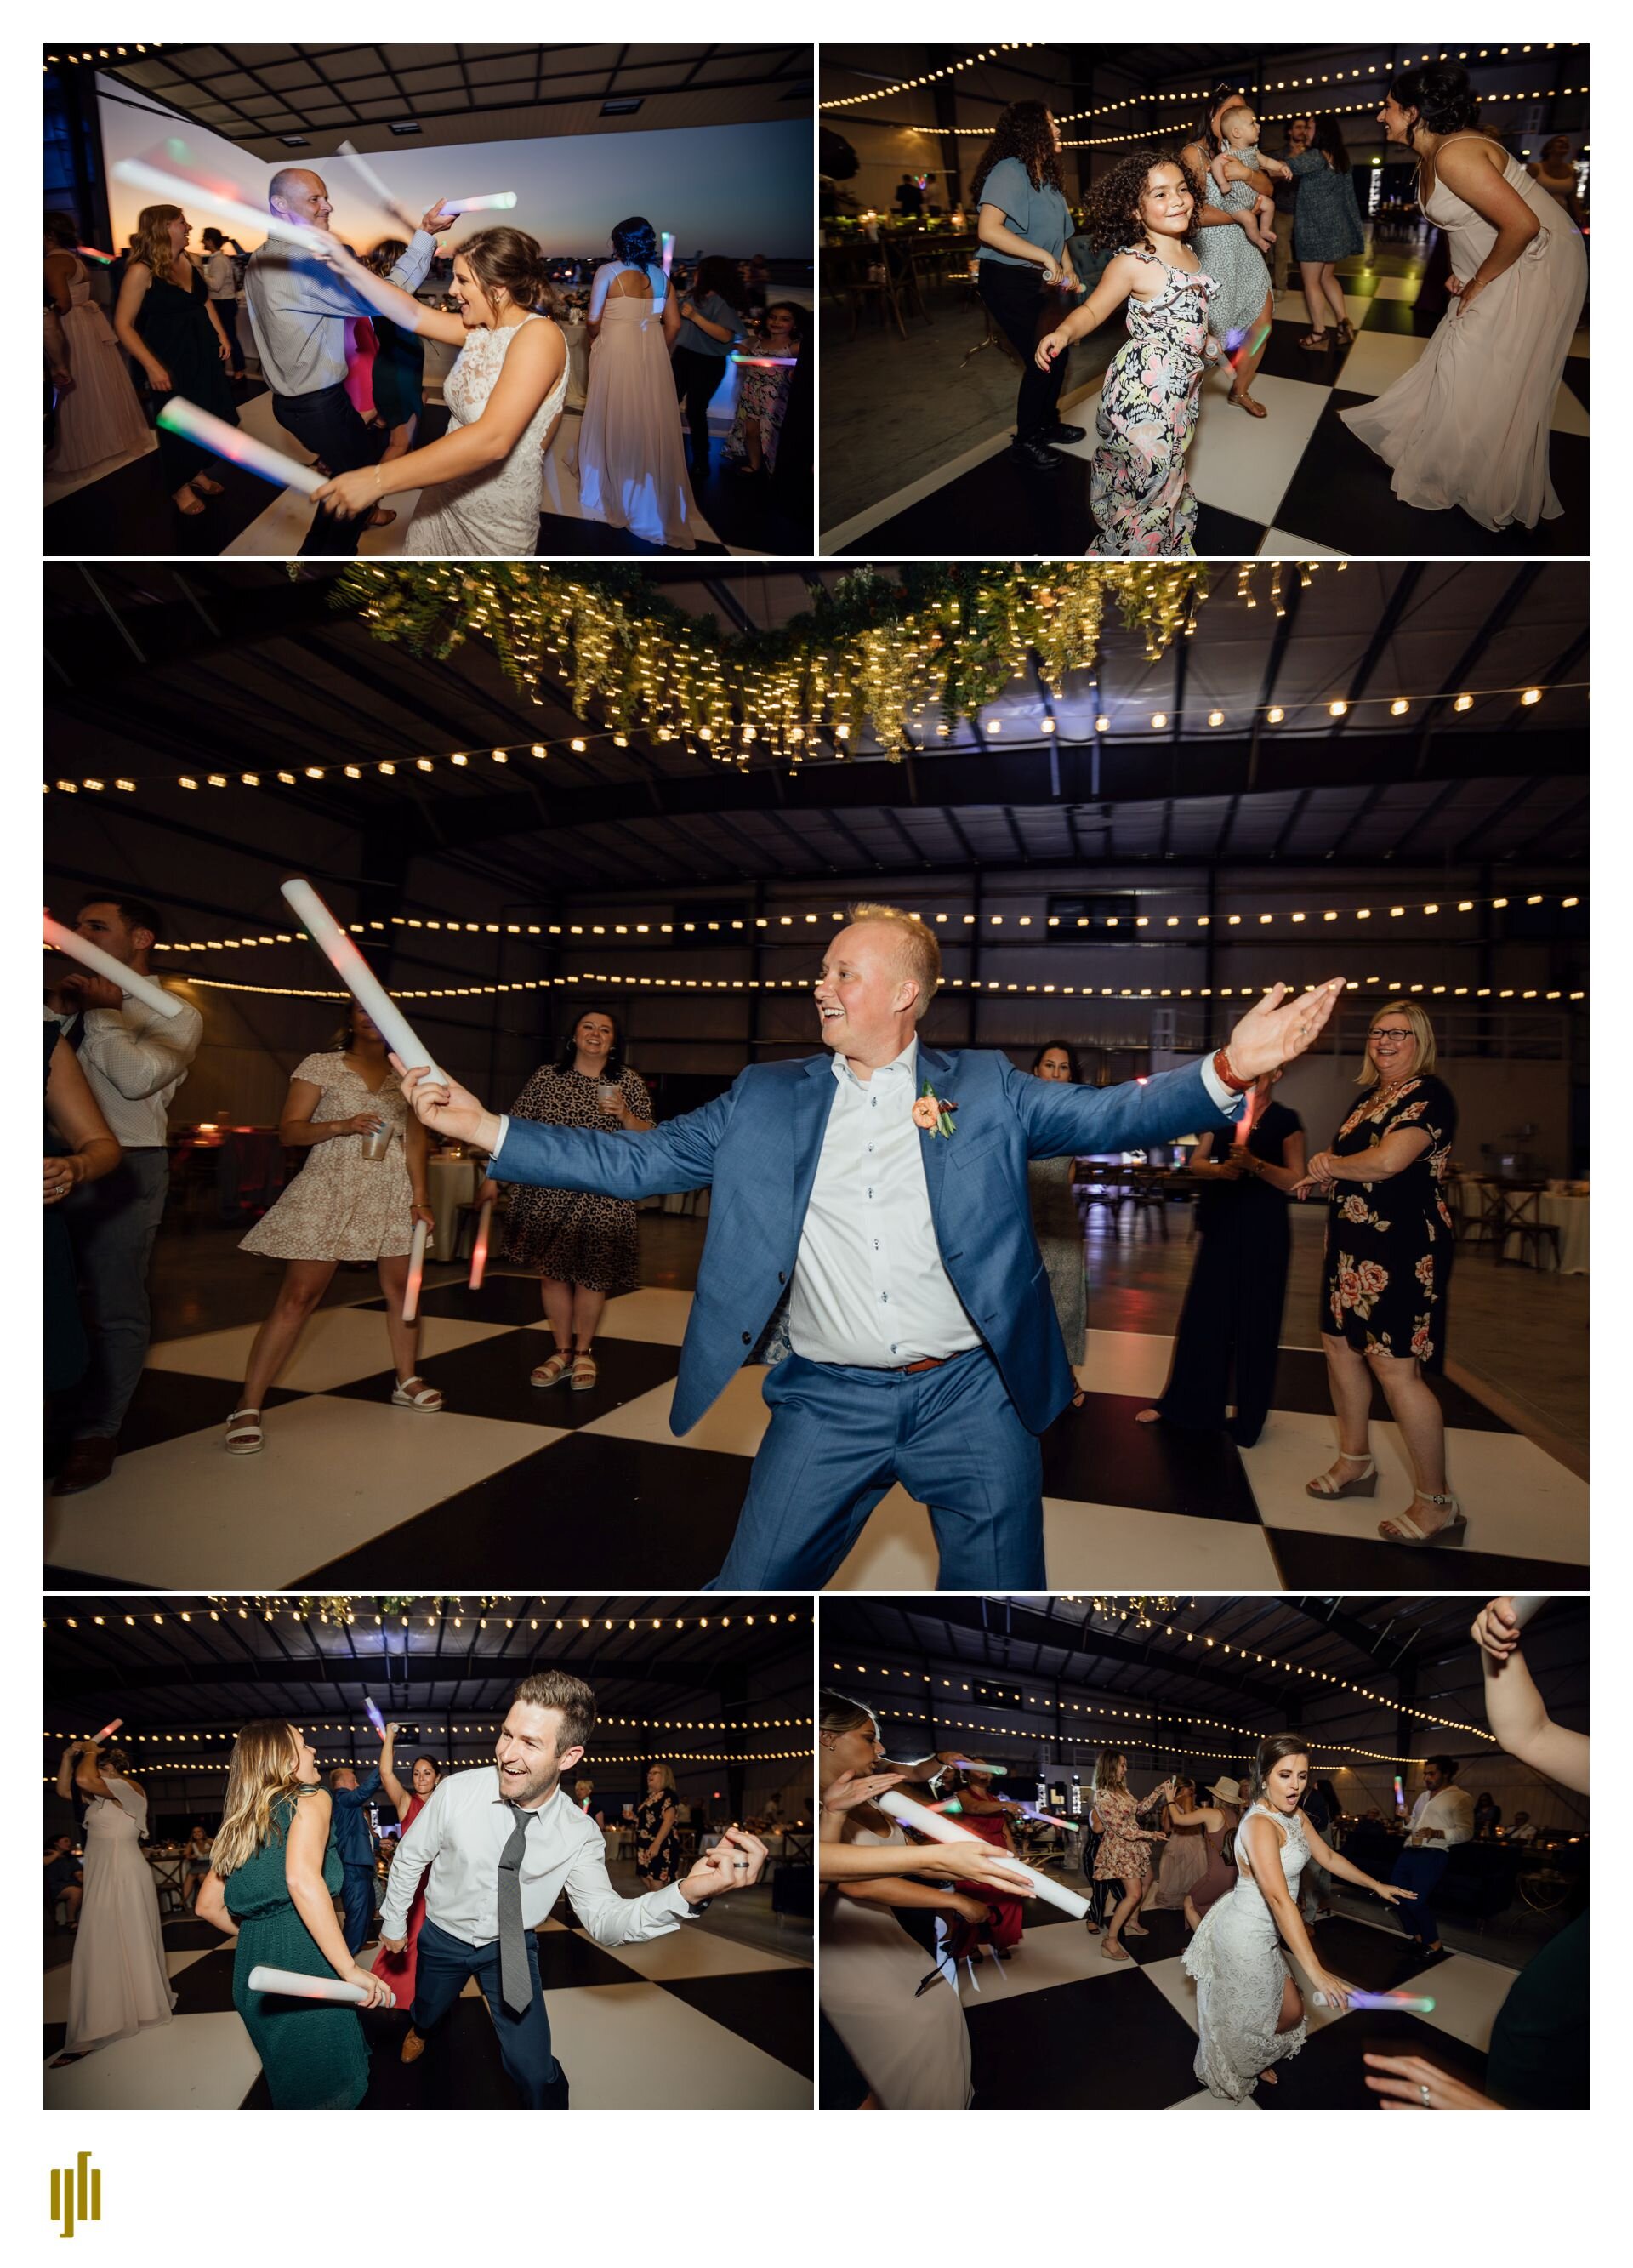
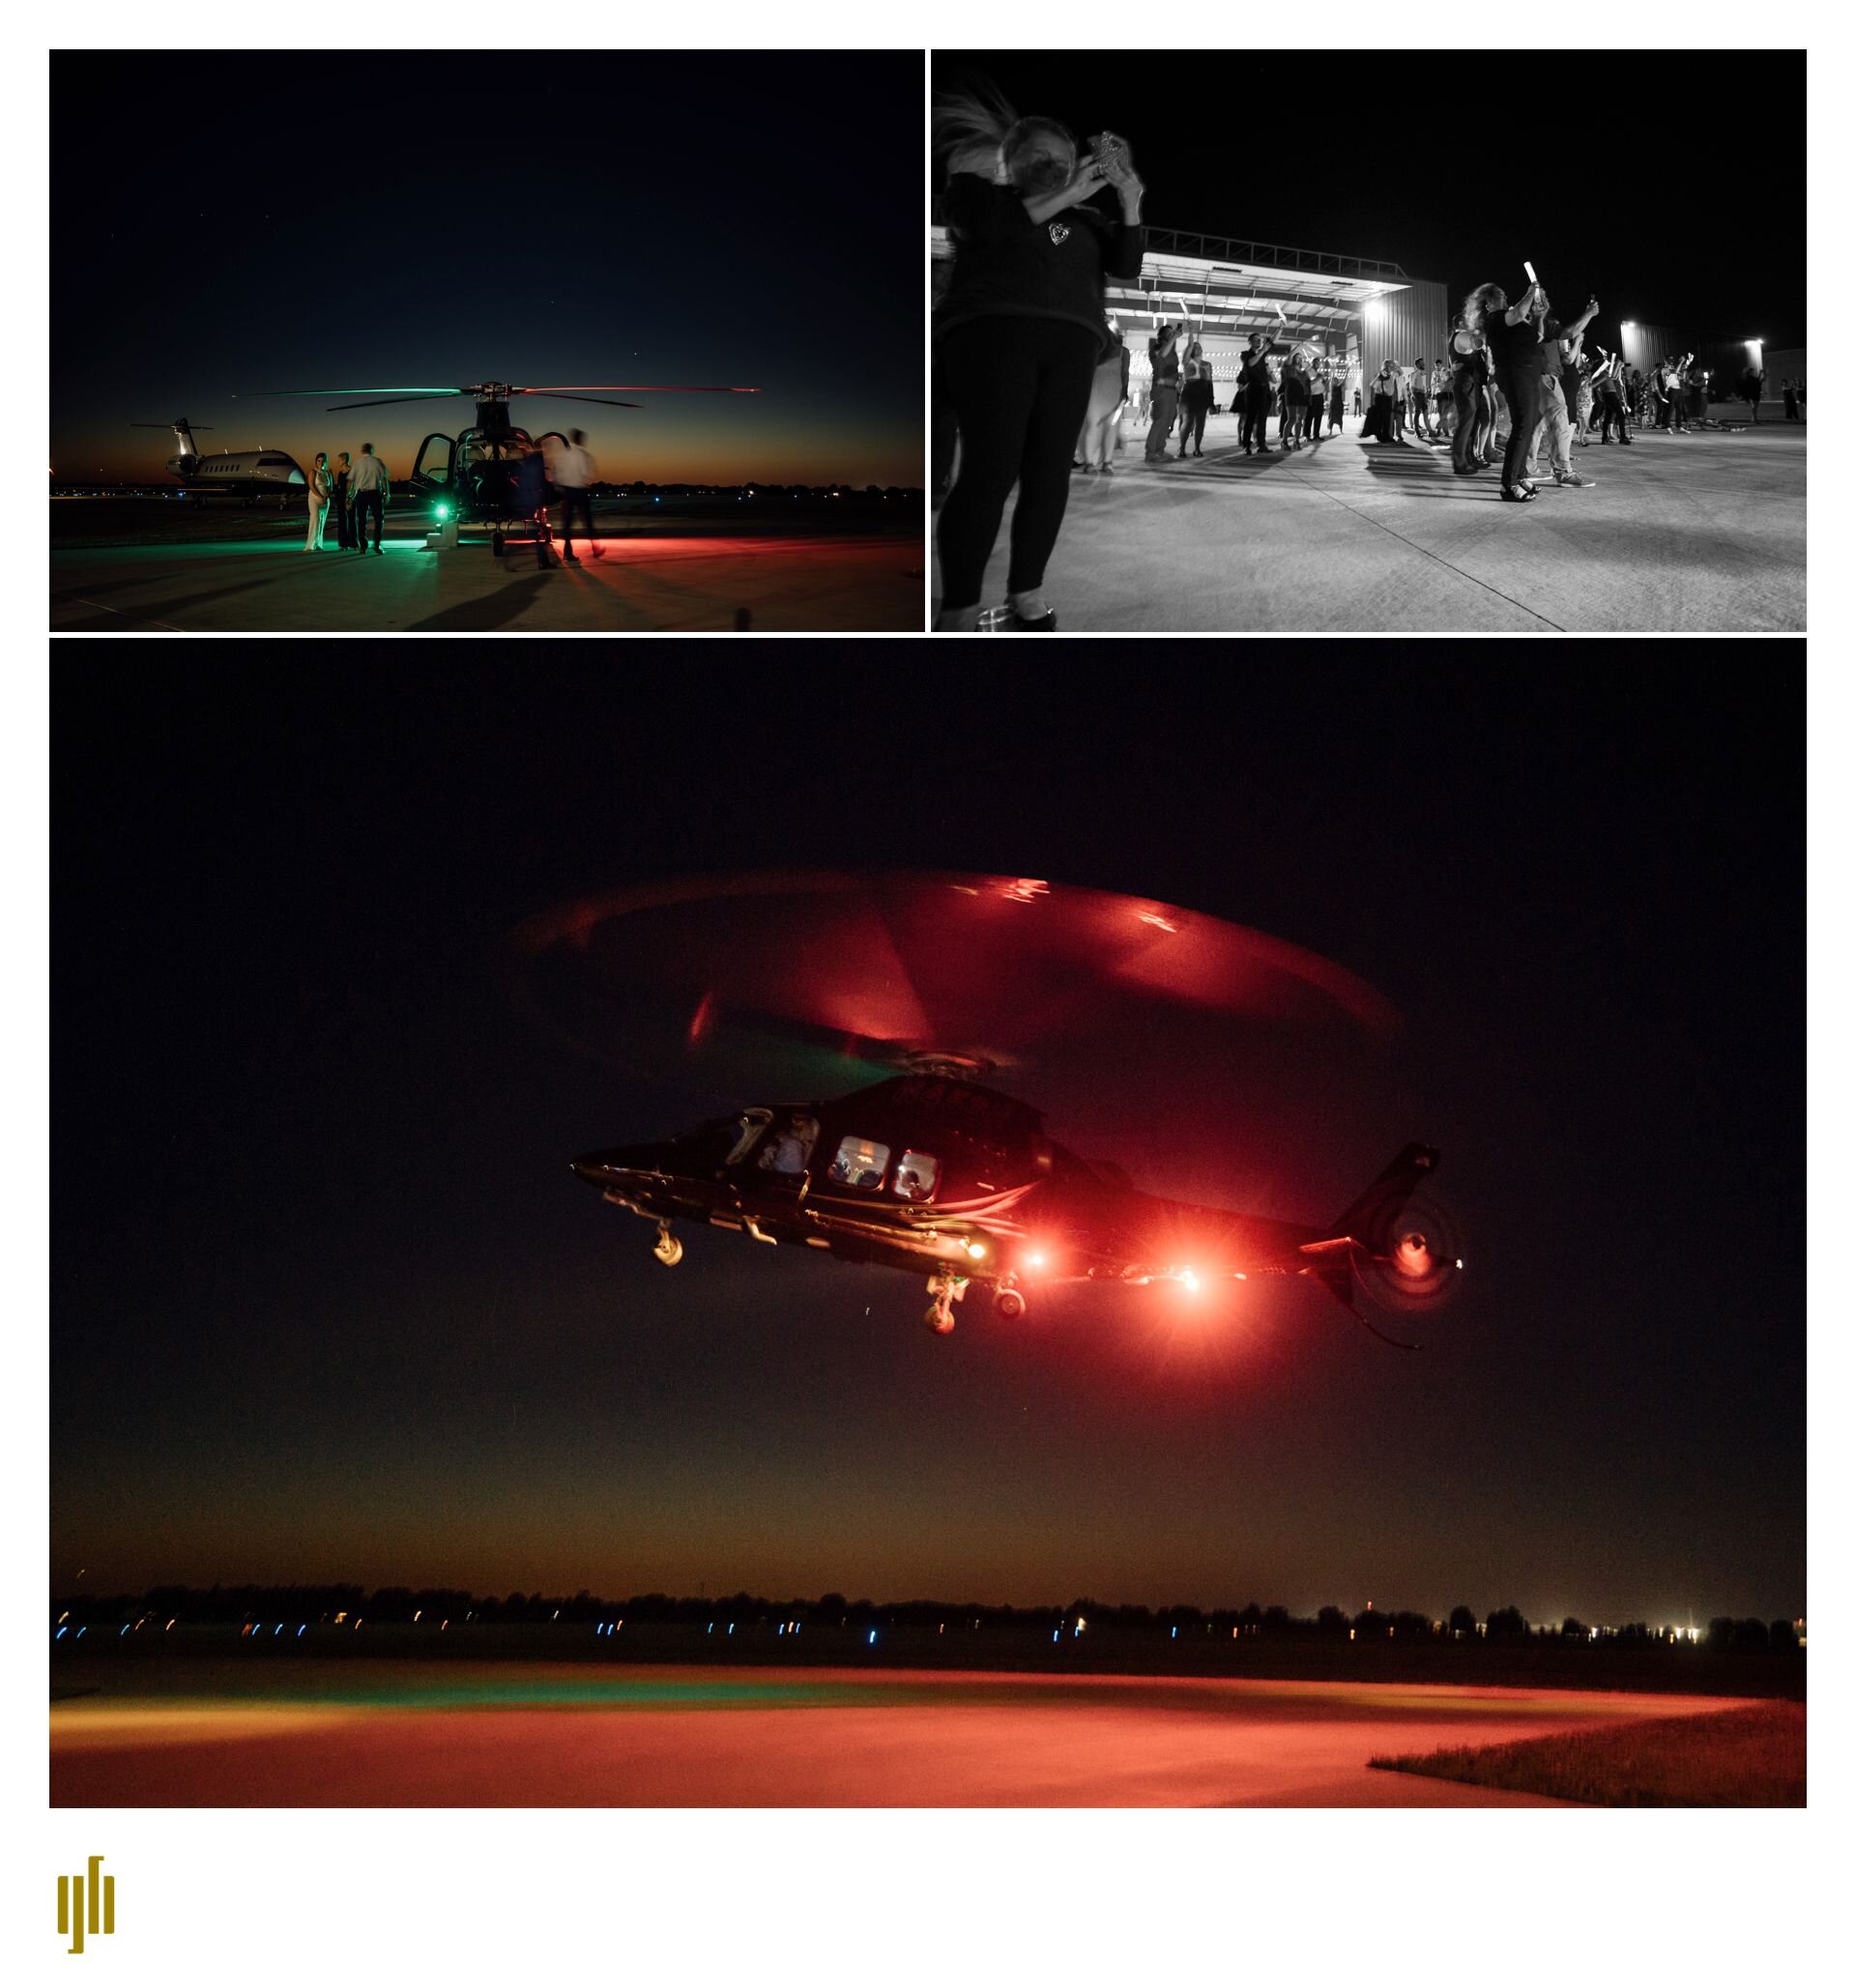
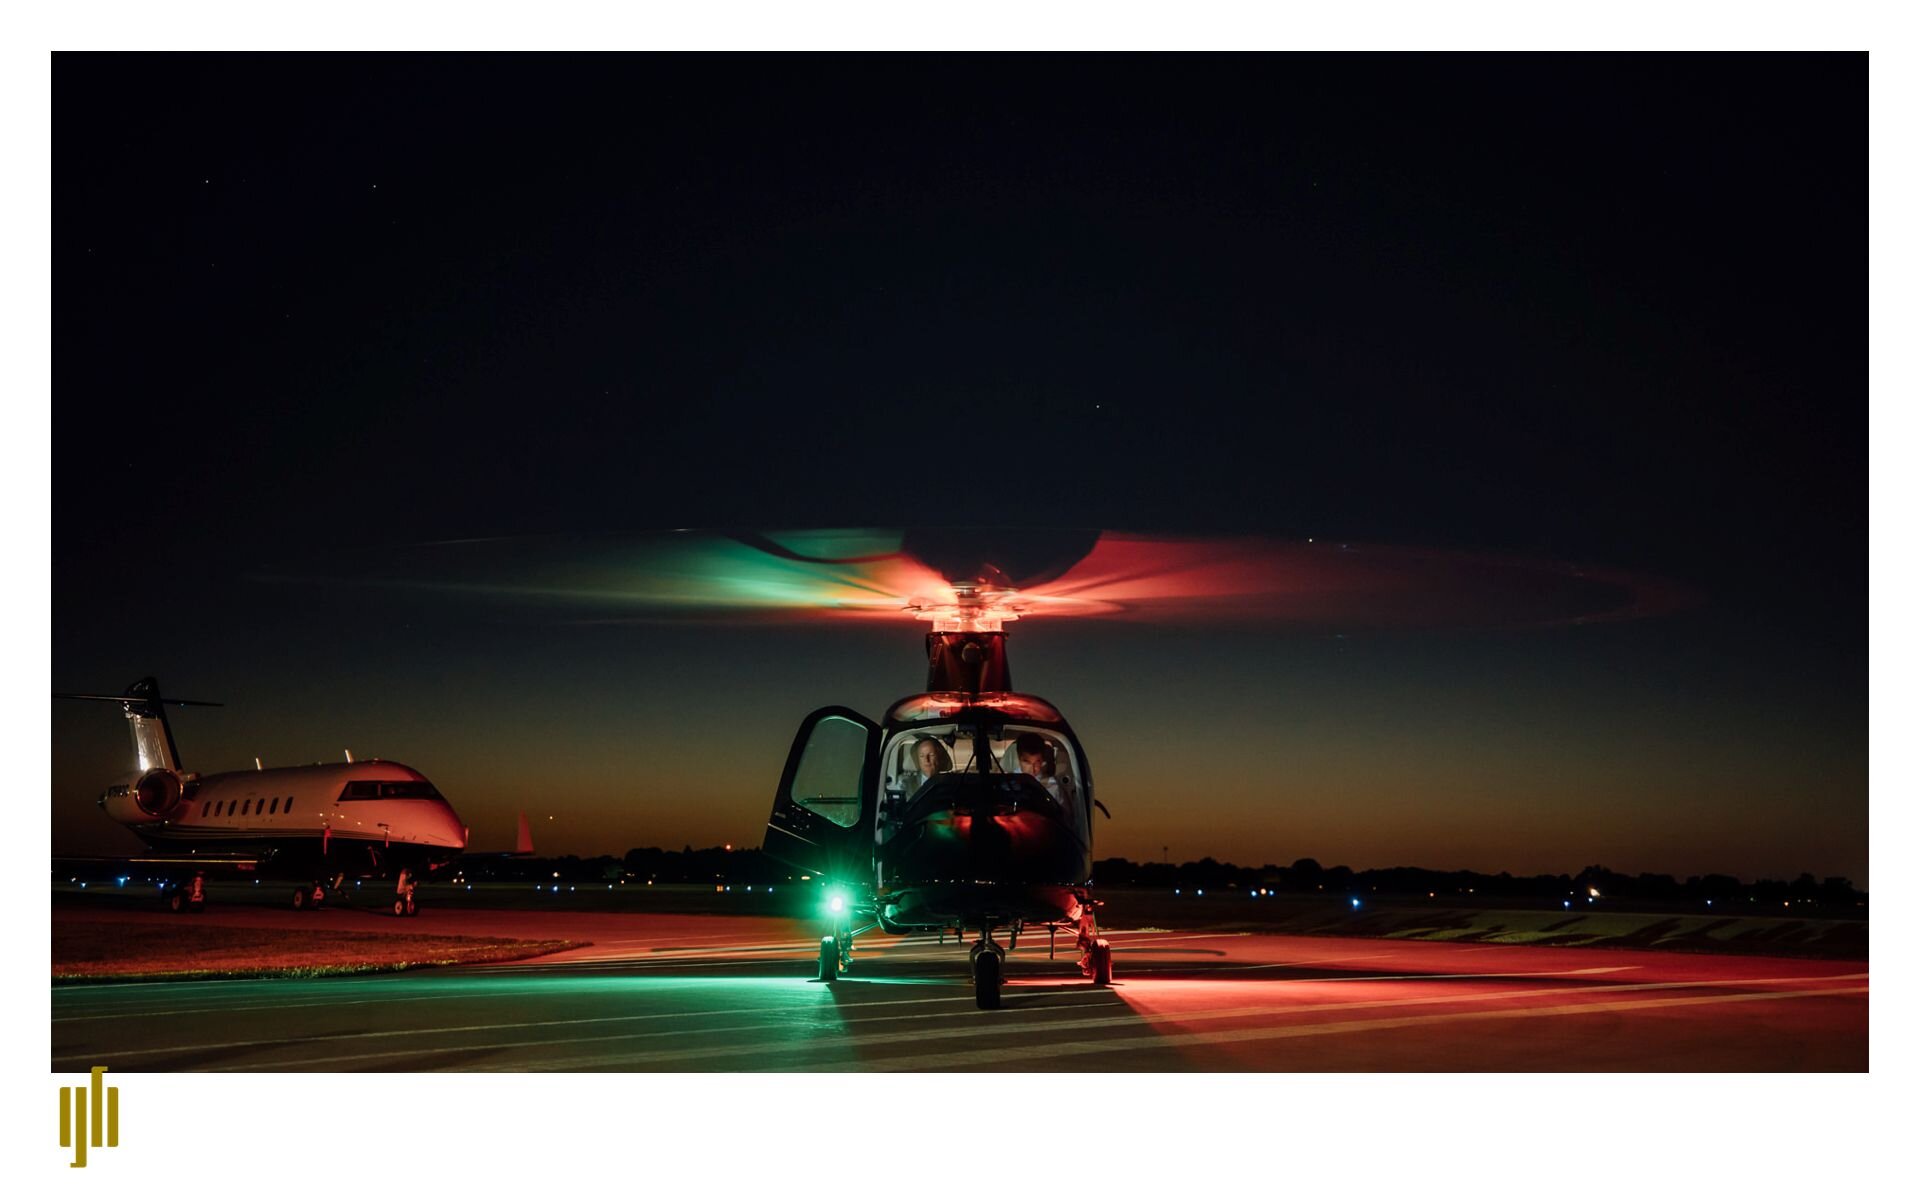
Woah, what a wedding. Cross a few things off my bucket list here, like photographing a helicopter exit, but the overall impression I got from Kevin and Alaina’s wedding is two wonderful people who complement each other in really neat ways. Since Kevin is a pilot, they decided to have the reception at an airport, which made for a beautiful sun-soaked evening, a perfect sunset, and an exit that you have to see. Thanks so much for having me out you guys. It was an honor to be there.

Magmod Magbox initial review - Grant Beachy Photo

About 7 months ago, Magmod launched a Kickstarter that had some pretty lofty goals. They had redesigned a softbox with… magnets. More than that though, it had no internal diffusion or structure to interfere with light, had a unique modular setup, and offered a way to use gels (which is a huge deal for me). Additionally, they designed a sort focusing screen as an optional front diffusor, which serves the dual purpose of controlling light similar to a grid, while at the same time magnifying its power. Wild! Since i’m already in the Magmod system, I very much appreciated their attempts at innovation, and supported the campaign. Well guess what? After a few small delays (with good communication) I finally got the box on my doorstep! I immediately set up a quick shoot, tried it out, and though I’d share my results here.

Nice packaging. There’s a tear off at the bottom that allows it to open like this. Was half-surprised they didn’t have magnets to close it up again.

Nice packaging. There’s a tear off at the bottom that allows it to open like this. Was half-surprised they didn’t have magnets to close it up again.

After a quick unpack. The pro kit includes almost everything you need to get started (except mag grips for your flashes).

After a quick unpack. The pro kit includes almost everything you need to get started (except mag grips for your flashes).

Good: Everything is very well-built. They obviously put some love into this. The light pattern is impossibly smooth across the face, and I don't know how they did it, considering there's no internal diffusion. Very, very efficient regarding power output. Gels fit in well. I like the mag shoe a lot. The cold shoe is very well built, and I'm probably gonna use these on all my stands for speedlights. All the magnets grab securely and release silently.

Bad: Very conflicted on the case. It’s huge. I understand why it exists, mostly because of focus diffusor and it’s inability to be crushed, but it adds an entire piece to my kit. If you want drama, and controlled light, the focusing diffusor makes it hard to go low enough with power. It's stupid efficient. No worries, cause they included an ND gel, but wait. What if you are making drama in a low light tungsten room? Now you need two gels, and it's not gonna hold that. Considering doing a little velcro mounting system so one gel can clip in, and one gel can velcro to the face, so i can double up. It's a workaround though. Finally, good job on the magnets for every dang thing, but it's actually a little tricky to get the diffusors on the face of the thing with the magnets (already getting faster, so again less of a problem).

Anyhow, like i said, I did a shoot, so here are a few examples of how the light looks. I’ll let you decide. Note, that if you have a model with good skin, bone structure, and posing, you could probably throw about any kind of light at them and get something acceptable, so factor that into the equation :-).

First up, just a basic headshot with an 85mm. The magbox has the softer fabric diffusor on the front and there is a small white reflector below to help lift the shadows. Not bad, not bad.

First up, just a basic headshot with an 85mm. The magbox has the softer fabric diffusor on the front and there is a small white reflector below to help lift the shadows. Not bad, not bad.

Second up, I was pretty excited about the gels, so I put a full plus green on the magbox and positioned it above and to the right to simulate a bit of fluorescent light, then bounced some pink light around to fill in like a neon sign. Again, not bad…

Second up, I was pretty excited about the gels, so I put a full plus green on the magbox and positioned it above and to the right to simulate a bit of fluorescent light, then bounced some pink light around to fill in like a neon sign. Again, not bad…

Finally, I wanted to test efficiency, so I put one Flashpoint ad200 in the MagBox and the focus diffusor on the front to shoot against the sun. This is f/22 at with the ad200 at 1/2 power. Very very efficient. For shooting in bright circumstances wi…

Finally, I wanted to test efficiency, so I put one Flashpoint ad200 in the MagBox and the focus diffusor on the front to shoot against the sun. This is f/22 at with the ad200 at 1/2 power. Very very efficient. For shooting in bright circumstances with small flashes, this is amazing. The downside is getting it low enough in very dark circumstances, but that’s life.

So in general: This is not a large softbox. That means you will have to be very precise with angles if you want harder lighting ratios, and it will reward you getting the light very close. The focusing diffusor is a beast. I shot with one ad200 at half power and it was a strong f/22. Easily competed with the sun.

Is it worth it? Minus the kickstarter early bird advantages, the kit is right at $500 . It has the cold shoe, the mag ring mounting bracket, the mag box itself, the fabric diffusor (softer light), the focusing diffusor (acts as a magnifier and a grid somehow) and a set of corrective gels (which was honestly one of the biggest reasons I wanted it). That's a lot of money. is it 493 dollars better than a crappy shoot through? No, but it is better if you need what it does, which is controlled light precisely placed, and you are already in the magmod ecosystem, or you plan on being. It's almost over-engineered, so it's a bit heavier than I was expecting, and I'm still figuring out how to get it places easily. Currently, I'm leaning toward the idea that it is worth it, but will see how I feel after a few months of banging it around. Will update this blog when I have more to say. Thanks for reading along!

Grant Beachy Photo - Best of 2018

2018, like all years, was full of opinions, triumphs, tragedies, loneliness, and thankfulness. I’ve spent 20 minutes sitting here, thinking about the good things and the unexplainably unfair things that I have seen my friends and acquaintances experience this year. They seem to defy a neat moral, but they do reinforce a thing that I’ve been thinking about. Life is easier together. This year I’ve made baby steps to experience that in person. I’ve spent much time looking at others through a screen. It’s a safe way to see the world, but hardly a substitute. For 2019, I want to see more of the world in person. I want to feel the real joys and the real sadness. The real cuts, and the real healing. I hope to hear opinions from real people this year, and express fewer opinions in the virtual world.

This year instead of trying to theme my Best Of too tightly, I picked things that represented more of the total experience. Some of these photos are for the joy of photography, some are for the necessary business side. Some photos, somehow bridge that magical divide between fulfilling and paying. Some are rejected ideas that may get another life someday. Some are as safe as can be. Some are my most risky concepts so far. They all combine to hopefully show the reality of all work. There can be basic routine and adrenaline-tingling decisions in the same week. I hope to embrace both more fully in 2019.

To all of you who have hired me or recommended me in 2018: Thank you. It’s hard to convey how much your faith has impacted me. As a small company, I don’t have much of an advertising budget, but I have discovered that your word carries more weight than all the money I could spend. When you refer my services to a friend, you are doing something that I truly can not accomplish by myself. Thank you again, and I wish you a wonderful 2019.

Grant Beachy

How I organize Lightroom classic CC catalogs

One of the most intimidating things about taking a lot of photos is the organization of all these photos. I have talked to so many people who have lost photos from sessions they haven’t delivered, who have no meaningful way of keeping track of photos from 3 years ago, or are confused about the basic function of Lightroom catalogs, so they import the photos, render JPEGs and remove them from LR again. This doesn’t have to happen. Lightroom is an incredibly powerful tool to help organize sessions and find the original RAW photos, even years from now. It’s searchable by folder name and metadata like camera used, lens used, rating, etc. Here is my method. First, a few basic principles I adhere to…

1. First off, a basic overview of how I store photos. This isn’t set in stone, but it works for me.
- I store my Lightroom catalog and finished JPEGs on my main computer drive. Basic maintenance tasks include deleting old catalog backups now and then, and that’s about it. That way, even if i have an external disconnected, i can still get my finished work in case I have a quick request for a photo, or need something for social media while I’m away from my archival drives.

- I store all current projects on an ssd external drive. This drive is only for current project RAW files. The reason I do it that way is because then I can see at a glance what I have left to edit, and I get the little thrill of moving a session to my archival drive when it’s done. It keeps my life visually organized. I use an SSD because it’s faster to work off of and there is no mechanical noise.

- I store all the finished session raw files on an archival hard drive system that is set up in RAID 1. It’s not as fast as the ssd, but it holds a lot and is easily searchable. I see no benefit in deleting keeper raws, since hard drive space is increasingly cheap, and being able to go back and search photos from the beginning of my career has saved my butt a few times.

Ok, moving on for now….

2. Once you’ve imported photos to LR, do not move them EXCEPT THROUGH LIGHTROOM. You can drag and drop folders between recognized hard drives and file structures. Make sure you always do that. If you need to make subfolders, you can also do that in Lightroom by right clicking and using the “create new folder” option. If you create your folder structure inside Lightroom, it will make your life easier.
3. I organize every one of my sessions in this file system and naming convention

YY.MM.DD-genre-specific shoot name

Why year first? Because then it will never get out of order, even if multiple years are in the same folder. I always list genre as well, since it’s an easily searchable term, but always starting with date allows me to narrow down a search easily.

For finished JPEG folders, I mirror this naming convention exactly. They are stored on the main drive, and under a JPEG folder, but if I want to find both the raw and the jpeg files, I can just search the whole system with that name and both folders will pop up.

4. Large catalogs are not the enemy. I currently have 229k (now 313K in Sept of 2020) photos in my main catalog. LR has come a long ways from the days where large catalogs would slow down systems. Other than catalog backups being a bit time consuming, there are no performance hits that I’m seeing and the ability to search through photos is nice. If I’ve been working on another computer, I export a small catalog and import it into the main catalog when I get it back. (*update on this. Now I just sync smart previews to the cloud and leave the originals on the main computer. Any work I do in Lightroom can be synced back to my main computer, and it’s pretty handy.)

Ok, a photo, so you can visually see what I’m talking about.

Screen%2BShot%2B2018-12-16%2Bat%2B8.21.46%2BPM.jpg

A few things to note…

- As you can see in my current projects drive, I’m caught up other than a few undated folders. That’s why I have the time to write this blog. My only exception to the strict “YY.MM.DD-genre-shoot specific” naming convention is for a few catch-all folders that i keep for test shots and goof around stuff. As you can see, in an entire year, it only accounts for 365 photos, but it’s handy to avoid making a new folder for every. single. import. Also, it’s nice for ongoing personal projects. I try to keep these very few.
- You may notice the color rating beside the folders. That was a failed experiment. I didn’t find it helpful once LR introduced the search bar.

-I have no need for sub folders other than by year. Search is easy.

-On months or days that are in the single digits, it’s important to insert the 0 before the number. That keeps everything in order.

- You can see there are two drives listed. When I’m done with a project in the “current projects” drive, I simply drag it down to “Imports 2018” under “photos!”. Lightroom moves the files and updates its database so that no links are broken.

- You can also see that I’m not super dogmatic on my genre-specific name part. It’s been suggested that I generate a google doc or something with a defined list of genres and conform shoots to that. I think that’s a good idea over the long haul, and it would allow for reference later.

- Finally, if the folder sizes seem fairly small, it’s because I do a first cull before importing (usually in Photo Mechanic, but you could rate in LR as well and delete the photos not picked). I see no reason to have a pile of photos to agonize over, so my first cull involves picking only photos that I think have a chance of being included in the final, either because of technical merit or the content (i.e. grandpa, etc). I operate on gut for the first cull, so I move very quickly, but sometimes it means I can cut a third of my total photos before I get started on the real cull. If there is a question on first cull, I include it. I get much tougher on second when I decide on what photos to deliver, but I keep all files after first cull.

This is obviously a very quick overview, but I’ll do my best to update it if you have questions. Basically, getting this plan together near the beginning of my career, has been incredibly helpful. It’s kept me from feeling overwhelmed and made sure that every photo is accounted for. If you develop a solid plan, it will make photography a much more approachable activity, both for now and for the future.

P.S. Notice there is no real mention of back up strategies other than the RAID system for archival. That’s for another time. This is just so the initial organization makes sense. Thanks for reading! Hope it’s helpful.